How To Make A Crochet Kokemmi Doll
Crochet Kokemmi Doll
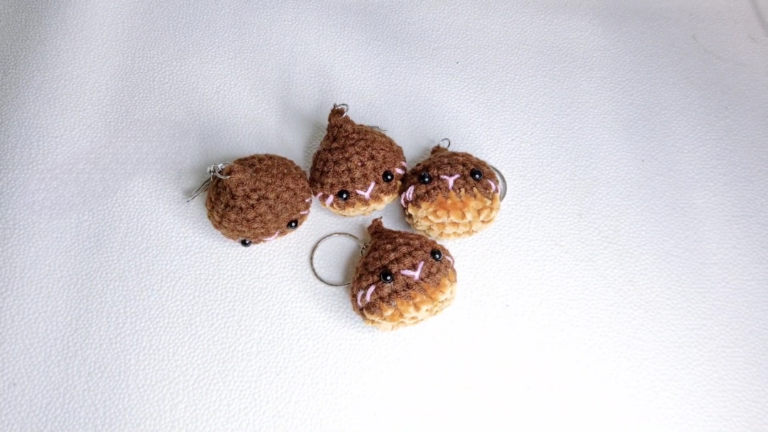
Brighten your day and wardrobe with the charming Crochet Kokemmi Doll, a delightful accessory to carry along on sunny days out or to sit prettily on your desk. This colorful little companion not only adds a whimsical touch to your style but is also versatile enough to be customized to suit your taste or size preferences. Adjusting the size is as simple as changing the hook size or yarn thickness, making it perfectly adaptable for any use.
The Crochet Kokemmi Doll blends whimsy and utility with its lively, endearing design and sturdy construction, which makes it not just a playful decoration but also a durable little helper for holding small items like pins or clips. Ideal for both beginners and experienced crafters, this pattern is accessible to all with comprehensive instructions designed to support visual learners with diagrams, and well-explained steps for those who thrive on written guides.
Crochet Kokemmi Doll

The Kokemmi doll is delightful for anyone who enjoys handmade accessories or is keen on amigurumi—the Japanese art of knitting or crocheting small stuffed animals. Its unique features like the customizable expressions and dimensions make it stand apart from typical crochet dolls. Typically, a beginner to intermediate crocheter can complete this doll over a weekend, making it a satisfying project without being overly challenging. Dive into making your very own Kokemmi Doll and enjoy the process of bringing this adorable creation to life!
Abbreviations
and— round
st — stitch
sc — single crochet
hdc — half double crochet
dc — double crochet
FLO — in front loop only
*…* — repeat from * to * x times
FO — fasten off
Instructions
I. Head
Start with color A.
Rnd 1 6 sc in magic ring
Rnd 2 *2 sc in next sc* 6x [12]
Rnd 3 *2 sc in next sc, 1 sc* 6x [18]
Rnd 4 *2 sc in next sc, 2 se* 6x [24]
Rnd 5 *2 sc in next sc, 5 sc* 4x [28]
Rnd 6 *2 sc in next sc, 3 sc* 7x [35]
Rnd 7-11 35 sc
Place the eyes between round 9 and 10,
7 st apart (counted in and 10) and start
stuffing the head.
Rnd 12 *sc2tog, 3 se* 7x [28]
Rnd 13 *sc2tog* 14x [14]
II. Body
Change to color B
Rnd 14 14 sc FLO
Rnd 15 *2 sc in next sc, 2 sc, 2 sc in
next sc, 3 se* 2x [18]
Rnd 16 *2 sc in next sc, 5 sc* 3x [21]
Rnd 17 21 sc
Rnd 18 *2 sc in next sc, 6 se* 3x [24]
Rnd 19 *2 sc in next sc, 7 se* 3x [27]
Rnd 20-21 27sc
Change to color C.
Rnd 22 *sc2tog, 7 sc* 3x [24], FO
111. Hair
First, you make a cap, using the color E:
Rnd 1 6 sc in magic ring
Rnd 2 *2 sc in next sc* 6x [12]
Rnd 3 *2 sc in next sc, 1 sc* 6x [18]
Rnd 4 *2 sc in next sc, 2 sc* 6x [24]
Rnd 5 *2 sc in next sc, 5 sc* 4x [28]
Rnd 6 *2 sc in next sc, 3 sc* 7x [35]
Rnd 7-10 35 sc
Rnd 11 1 hdc, 14 dc, 1 hdc, 1 sc, FO
Next, come the buns:
Rnd 1 6 sc in magic ring
Rnd 2 *2 sc in next sc* 6x [12]
Rnd 3-4 12 sc
Rnd 5 *sc2tog, 1 sc* 4x [8], FO and
leave a long tail for sewing
Repeat rnd 1 to 5 for the second bun.
Stuff the buns and place the cap on the
head to sew the buns to the cap.