Crochet Kawaii Cat Keychain Amigurumi Pattern
If you’ve been searching for a crochet cat project that’s tiny, adorable, and easy to finish, this amigurumi pattern is for you. You’ll make a small white kawaii cat with pink cheeks, tiny pink paws, and sweet little safety eyes, perfect for beginners.
An amigurumi crochet cat is a small stuffed toy made using tight single crochet stitches, usually worked in rounds. Amigurumi is popular because its shapes are cute and simple, and you can add personality with tiny details like eyes, cheeks, and accessories This project is best for beginners to easy intermediate crocheters who want to practice the basics: magic ring, single crochet, increases, and decreases. The pattern also includes small add-ons (a yellow hood/mane and a flower), which are great confidence-builders without being overwhelming.
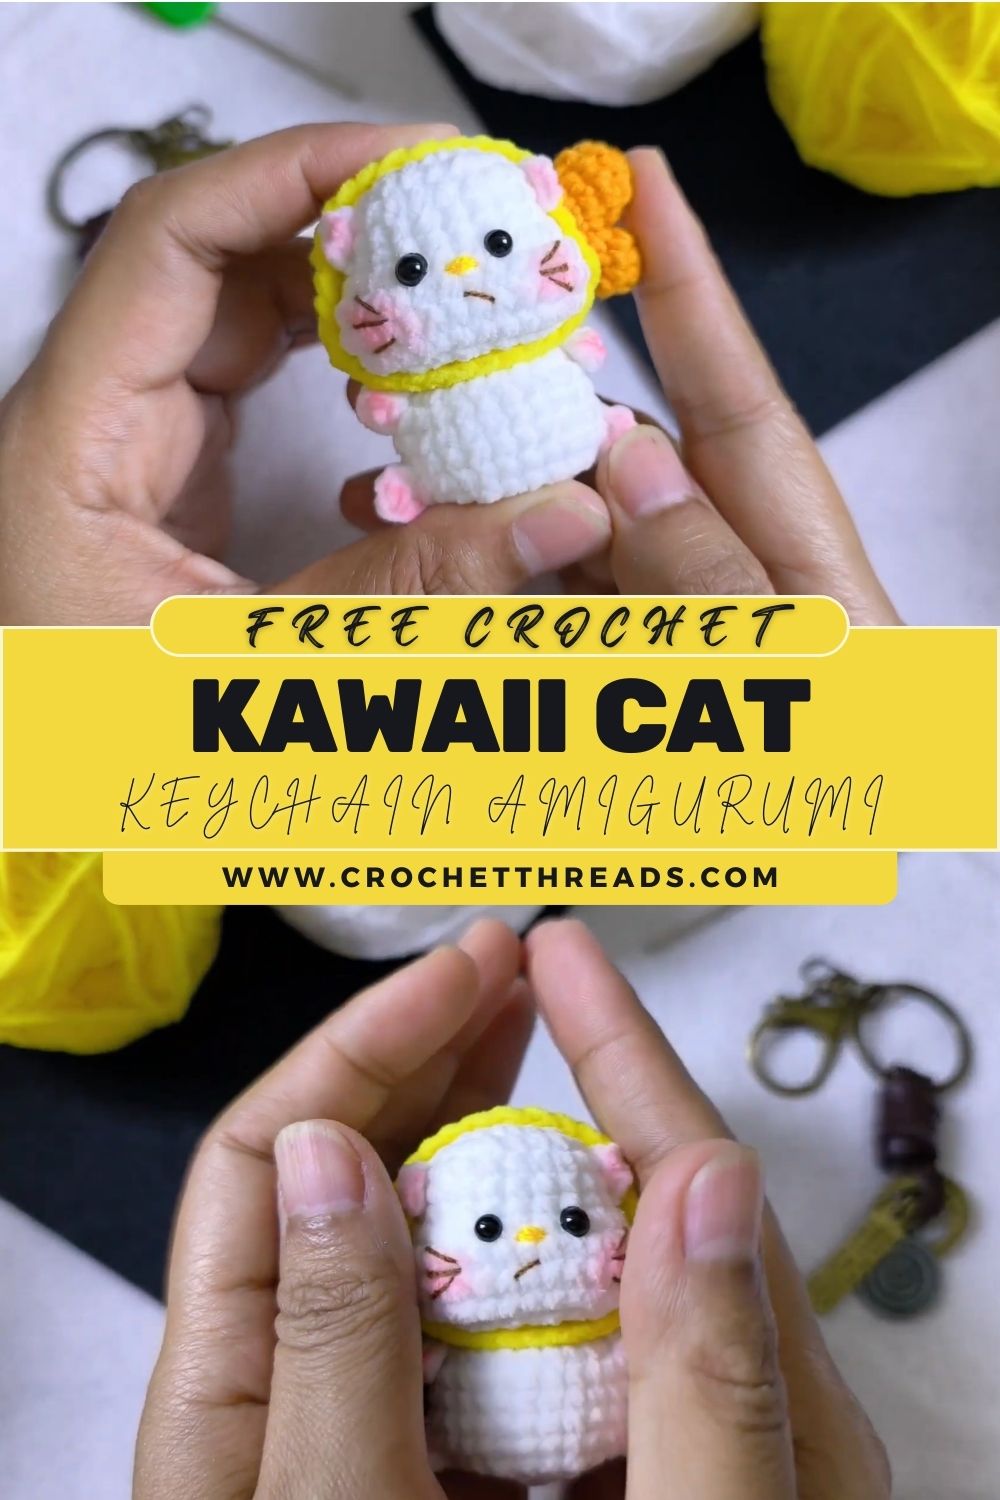
Your finished cat will be a mini white plush with a smooth,th rounded body, small ears, tiny arms and legs with pink paw details, and a cheerful kawaii face. The standout detail is the yellow hood (or lion-style mane) framing the face, plus an orange flower on the side, ide giving the design a cute “dress-up” look.
You can use this amigurumi cat as a keychain charm, a bag accessory, a desk buddy, a gift topper, a party favour, or nursery decor. It’s also excellent for learning neat assembly and face placement skills that make every future amigurumi look more professional.
Materials Needed (With Purpose)
- White yarn (main body): Creates the cat’s head/body, ears, arms, and legs.
- Yellow yarn (hood/mane): Frames the face like a hood or lion mane for a playful look.
- Orange yarn (flower): Makes the small floral accent on the side of the hood.
- Pink yarn (cheeks + paws + inner ear): Adds a kawaii blush and tiny paw details.
- Crochet hook size:
- Use 2.5–3.5 mm for DK/worsted yarn (smaller hook = tighter stitches).
- If using plush/chenille yarn, use the hook size recommended on your yarn label, but keep stitches tight.
- Safety eyes (6–8 mm recommended for keychain size): Gives a polished, cute face quickly.
- Fiberfill stuffing: Shapes the head and body so the cat stays plush and round.
- Yarn needle (tapestry needle): For sewing parts together and embroidery details.
- Stitch marker: Helps you track the first stitch of each round (very helpful for beginners).
- Scissors: For clean yarn cuts.
- Keychain ring (optional): Turns your cat into a keychain or bag charm.
Optional extras: black embroidery thread for finer whiskers, felt circles for cheeks, a small bell or bow.
Abbreviations / Crochet Terms
- MR (Magic Ring): A way to start crocheting in a circle with no hole in the centre.
- ch (chain): The basic starting stitch that looks like a little braid.
- sc (single crochet): The main amigurumi stitch; creates a tight fabric.
- inc (increase): Make 2 sc in the same stitch to grow the circle.
- dec (decrease): Combine 2 stitches into 1 to shape smaller (best done as an invisible decrease).
- sl st (slip stitch): A joining stitch used to connect rounds or finish edges.
Finished Size and Skill Level
- Finished size: About 7–10 cm (3–4 in) tall (keychain-sized), depending on yarn and hook.
- Skill level: Beginner to easy intermediate (simple stitches + basic sewing).
- Estimated time: 2–5 hours, depending on experience and how detailed you make the face.
Pattern Overview (Parts You’ll Make)
- Head/body: One piece for a smooth, plush look
- Arms: Small tubes with pink paw tips
- Legs: Slightly larger pieces with pink paws
- Ears: Small triangles with optional pink inner detail
- Face details: Safety eyes, embroidered nose/mouth, cheeks, whiskers
- Yellow hood/mane: A ring/ruffle that sits around the face
- Orange flower: Small crochet flower attached to the hood
- Assembly: Sew everything neatly and align for symmetry
Step-by-Step Crochet Pattern (General Notes)
Important amigurumi tips before you begin:
- Work in continuous rounds (do not join unless specified).
- Use a stitch marker in the first stitch of each round.
- Keep your stitches tight so stuffing doesn’t show.
- Always check the stitch count at the end of each round.
Recommended yarn: Smooth cotton or acrylic yarn makes stitches easier to see. Plush yarn is cute but harder for beginners.
Head and Body Pattern (White Yarn)
This pattern makes a rounded “chibi” cat with almost no neck,k perfect for a keychain plushie.
Head + Body (worked as one piece)
Round 1: 6 sc in MR (6)
Round 2: inc in each st around (12)
Round 3: (sc, inc) around (18)
Round 4: (2 sc, inc) around (24)
Round 5: (3 sc, inc) around (30)
Rounds 6–8: sc around (30)
Place safety eyes now (recommended):
- Place between Rounds 7 and 8, about 6–7 stitches apart.
- Before locking the backs, hold the face patch/hood idea up to visualise the spacing.
Round 10: (2 sc, dec) around (18)
Start stuffing the head firmly, shaping it round.
Add a bit more stuffing.
(This jump creates a cute “body starts under head” look without a neck.)
Rounds 14–16: sc around (30)
Stuff the body as you go. For keychains, a slightly firmer body holds shape better.
Round 17: (3 sc, dec) around (24)
Round 18: (2 sc, dec) around (18)
Round 19: (sc, dec) around (12)
Finish stuffing. Make sure the base is slightly flattened so it sits.
Round 20: dec around (6)
FO, close the opening, weave in ends.
Beginner-friendly note: If Round 12 feels confusing, think of it as “opening back up” after shaping the head so the body can be wider.
Arms Pattern (Make 2)
We’ll create tiny arms with a pink paw tip.
Arms (start with pink)
Round 1: 6 sc in MR (6)
Round 2: sc around (6)
Change to white on the last yarn-over of Round 2.
Rounds 3–5: sc around (6)
Lightly stuff only the paw end if you want (optional).
Flatten the top and close with stitching through both layers:
- sl st across 3 stitches (or sew closed with needle)
FO, leave a long tail for sewing.
Tip: For extra-cute “tiny paws,” keep the arms unstuffed and slightly flat.
Round 1: 6 sc in MR (6)
Round 2: (sc, inc) around (9)
Round 3: sc around (9)
Change to white on the last yarn-over of Round 3.
Rounds 4–6: sc around (9)
Stuff lightly.
Flatten the top and close:
- sc across the opening through both layers (about 4–5 sc) to seal
FO, leave a long tail for sewing.
Beginner note: If you prefer simpler legs, skip Round 2 and just do a 6-stitch tube.
Ears Pattern (Make 2)
Small ears add instant “cat” shape.
Outer ear (white)
Round 1: 4 sc in MR (4)
Round 2: (sc, inc) around (6)
Round 3: sc around (6)
FO, leave tail.
Inner ear (pink, optional)
Round 1: 3 sc in MR (3)
FO, leave tail.
Sew the pink inner ear onto the white ear before attaching the white ear to the head.
Tip: Keep ear stitching minimal so it stays neat and doesn’t bulk up.
14) Face Detailing (Eyes, Nose, Mouth, Cheeks, Whiskers)
Eye placement
- Safety eyes placed between Rounds 7–8
- Spacing 6–7 stitches apart
- Make sure they’re level by counting stitches from each eye to the centre
Nose embroidery (simple)
Use pink or black thread/yarn:
- Insert the needle between the eyes, 1–2 rounds below them
- Make a tiny horizontal stitch (about 1 stitch wide)
Mouth design (easy “kawaii” style)
- From the centre of the nose, stitch a small “Y” shape:
- one short stitch down
- two tiny diagonal stitches outward
Pink cheeks
Options:
- Embroidered blush: Make 2–3 short pink stitches under each eye
- Felt circles: Cut tiny pink circles and stitch or glue (glue is best for decor, not toys)
Whiskers step-by-step
Use black thread or very thin black yarn:
- Add 2 short whiskers on each side of the face
- Keep them short for a cute mini look (long whiskers can look messy at this scale)
Beginner tip: Always embroider with the head firmly stuffed; details sit better on a full shape.
Yellow Hood / Mane Pattern (Frames the Face)
This piece makes your cat look extra special, like wearing a hood or a mini lion mane.
Hood/Mane Ring (yellow, worked in rounds)
We’ll crochet a ring, then add a simple ruffle edge.
Round 1: ch 18, join with sl st to form a ring (be careful not to twist) (18 ch)
Round 2: sc in each ch around (18)
Round 3 (ruffle round): (inc) in each st around (36)
FO, leave a long tail for sewing.
Fit and shaping
- The ring should fit around the cat’s face like a halo.
- If it feels too tight, start with ch 20 instead of 18.
- If it’s too loose, start with ch 16.
Attaching the hood
- Centre it around the face so the ruffle frames the eyes and cheeks.
- Sew the inner edge to the head with small stitches, evenly around.
Optional decorative edge: Instead of increases in Round 3, you can do (sl st, ch 1) around for a subtler edge.
Orange Flower Pattern (Side Detail)
A tiny flower adds a sweettt handmade touch and hides any seam on the hood.
Simple 5-petal flower (orange)
Round 1: MR, (ch 2, sl st) x 5 into the ring
That creates 5 small loops/petals.
Pull the MR tight, FO, leave a tail for attaching.
Centre detail (optional)
- Use a small piece of yellow yarn and make a couple of tiny stitches in the centre.
Attach the flower
- Sew onto one side of the hood, slightly above the cheek area.
- Angle it so it looks like a hair accessory.
Assembly Instructions (Step-by-Step)
Assemble in this order for best alignment:
- Place ears on top of the head, roughly between Rounds 3–5.
- Space them evenly from the centre line.
- Sew firmly around the base of each ear.
- Place legs on the lower front of the body.
- Make sure both legs sit at the same height.
- Sew using a whip stitch, then weave the ends into the body.
- Place arms slightly higher than legs, toward the front.
- Sew them so they point slightly inward (cute “hug” pose).
Add the yellow hood/mane
- Wrap the hood around the face.
- Adjust until the eyes are framed nicely.
- Sew the inner edge in place with small, even stitches.
Attach the orange flower
- Sew a flower to the hood’s side.
- Hidthe e yarn tails by weaving them into the hood and trimmi themng.
Final face alignment check
- Look straight on: are the eyes level, the cheeks even, the hood centred?
- Make tiny adjustments before fully weaving in all ends.
Optional keychain attachment
- Sew a small loop of yarn at the top of the hood (or head).
- Attach a keychain ring through the loop.
Pattern Notes / Pro Tips
- Stitch tension: Tight stitches = cleaner plush and no stuffing showing. If gaps appear, go down a hook size.
- Use a stitch marker: It prevents spiral drifting and makes counting much easier.
- Invisible decrease: Use front-loop-only decreases for a smoother finish.
- Eye placement timing: Insert eyes before the head closes (around Round 8–10).
- Symmetry tips: Always attach parts in pairs (ears, legs, arms) by counting from the centre.
- Proper stuffing: Stuff the head firmly, the body medium-firm, and the limbs lightly. Overstuffing can stretch stitches.
Common Mistakes to Avoid (and Fixes)
- Losing stitch count in rounds
- Fix: Count each round and place a marker in the first stitch.
- Holes between stitches (stuffing shows)
- Fix: Use a smaller hook or tighten tension; avoid pulling yarn too loosely.
- Eyes look uneven or “off”
- Fix: Measure placement by counting stitches between the eyes and checking the level before locking the backs.
- Lumpy stuffing
- Fix: Add the stuffing in small pieces and push it into the edges; don’t use a single big clump.
- The hood doesn’t fit the face
- Fix: Adjust starting chain (16–20). It should sit snug, not squeeze.
- Ears flopping sideways
- Fix: Sew the ear base more firmly and use a few stitches into the head for support.
- The flower looks messy
- Fix: Tighten the magic ring fully and keep petals small; stitch the centre down when attaching.
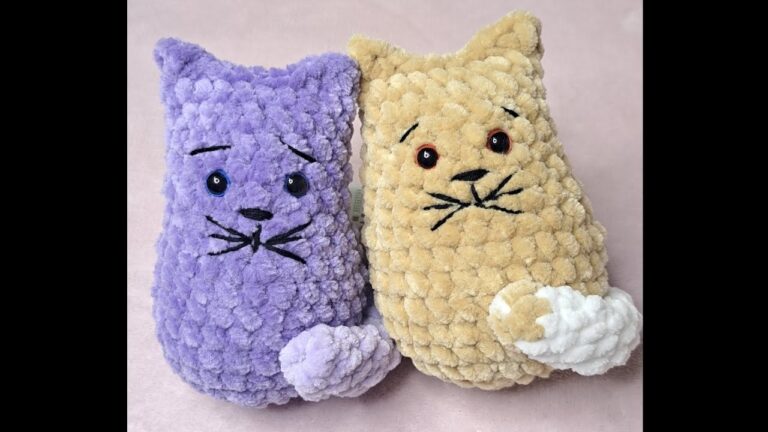
Customization Ideas
- Colour variations:
- Cream cat with pastel hood
- Greyy cat with a yellow hood
- Calico-inspired patches (surface crochet spots)
- Add accessories: a tiny bow, a scarf, a mini bell, or a heart applique.
- Keychain option: add a strong yarn loop or small metal clasp.
- Bigger plush version: use thicker yarn (bulky) and a larger hook; keep stitch counts the same.
- Expression variations: sleepy eyes (embroidered), smiling mouth, or little fangs.
- Seasonal themes:
- Spring: pastel hood + flower bouquet
- Halloween: orange hood + tiny pumpkin
- Winter: white hood with blue scarf
Why This Pattern is Great for Beginners
This crochet cat is small enough to finish quickly, but it teaches the most important amigurumi skills: working in rounds, shaping with increases/decreases, stuffing, and simple assembly. The hood and flower are optional “bonus skills” that help you practice finishing details without requiring advanced stitches. You’ll learn a lot, and you’ll end up with a cute result that looks gift-ready.
Conclusion
This Cute Amigurumi Crochet Cat Tutorial is meant to feel friendly and doable even if you’re new to amigurumi. With a simple white body, tiny pink paws, sweet cheeks, a bright yellow hood/mane, and an orange flower, your finished cat will look like a tiny handmade character full of charm. If you make one, considermakingg a second version witha different hoodcolours or a new facial expression. Handmade amigurumi is special because every tiny choice makes it unique.