Handmade Crochet Chubby Panda Toy Amigurumi Pattern
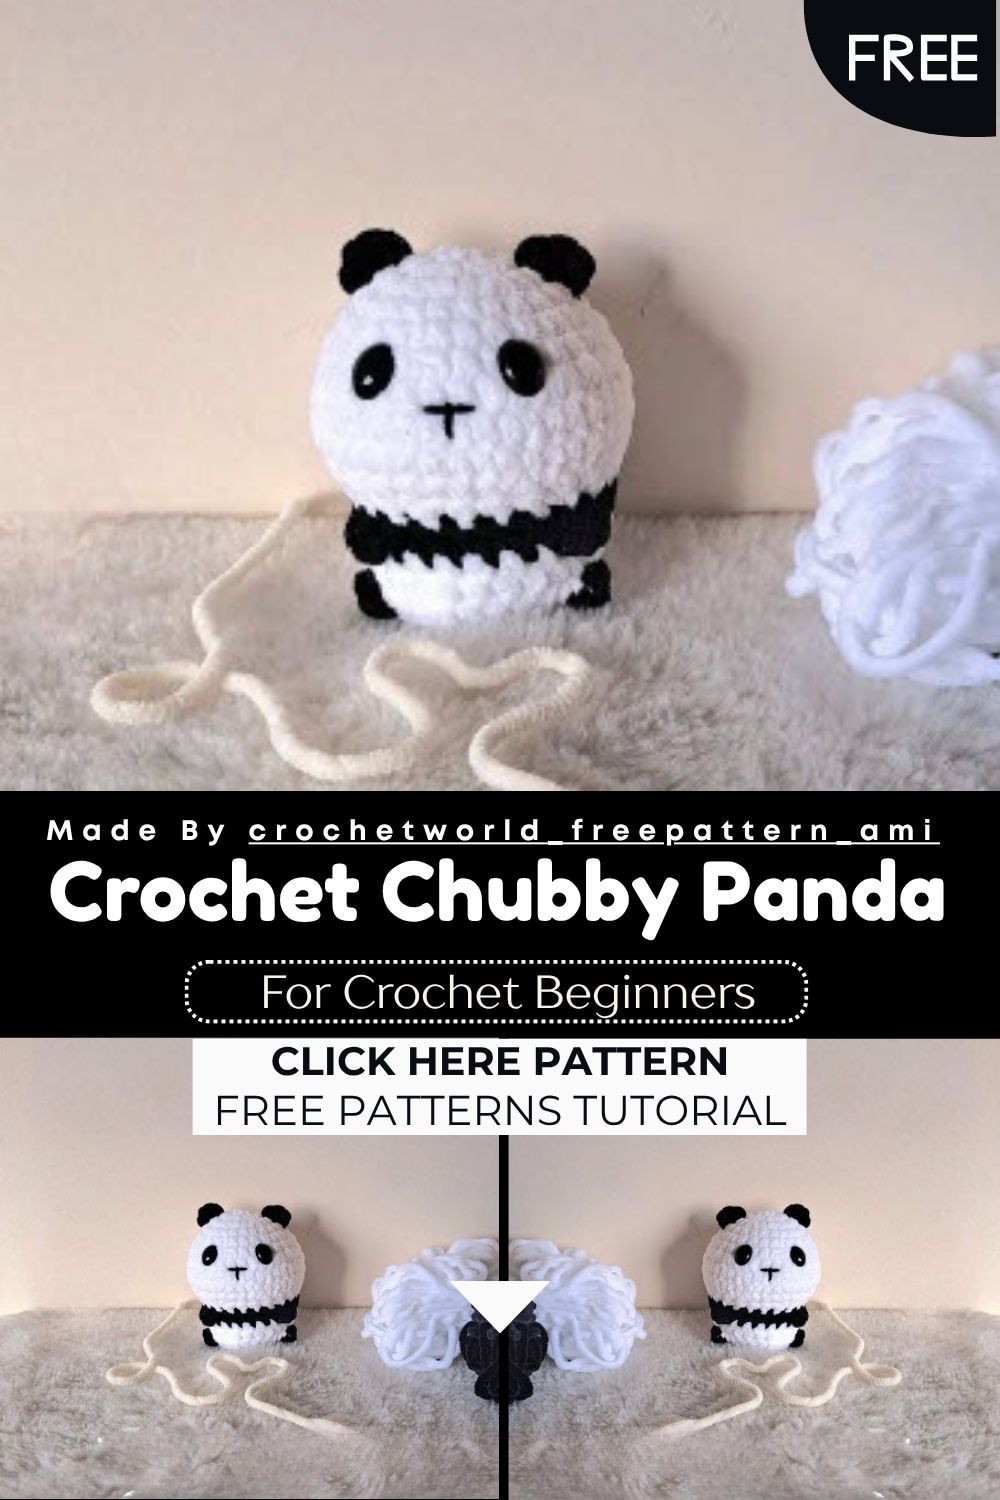
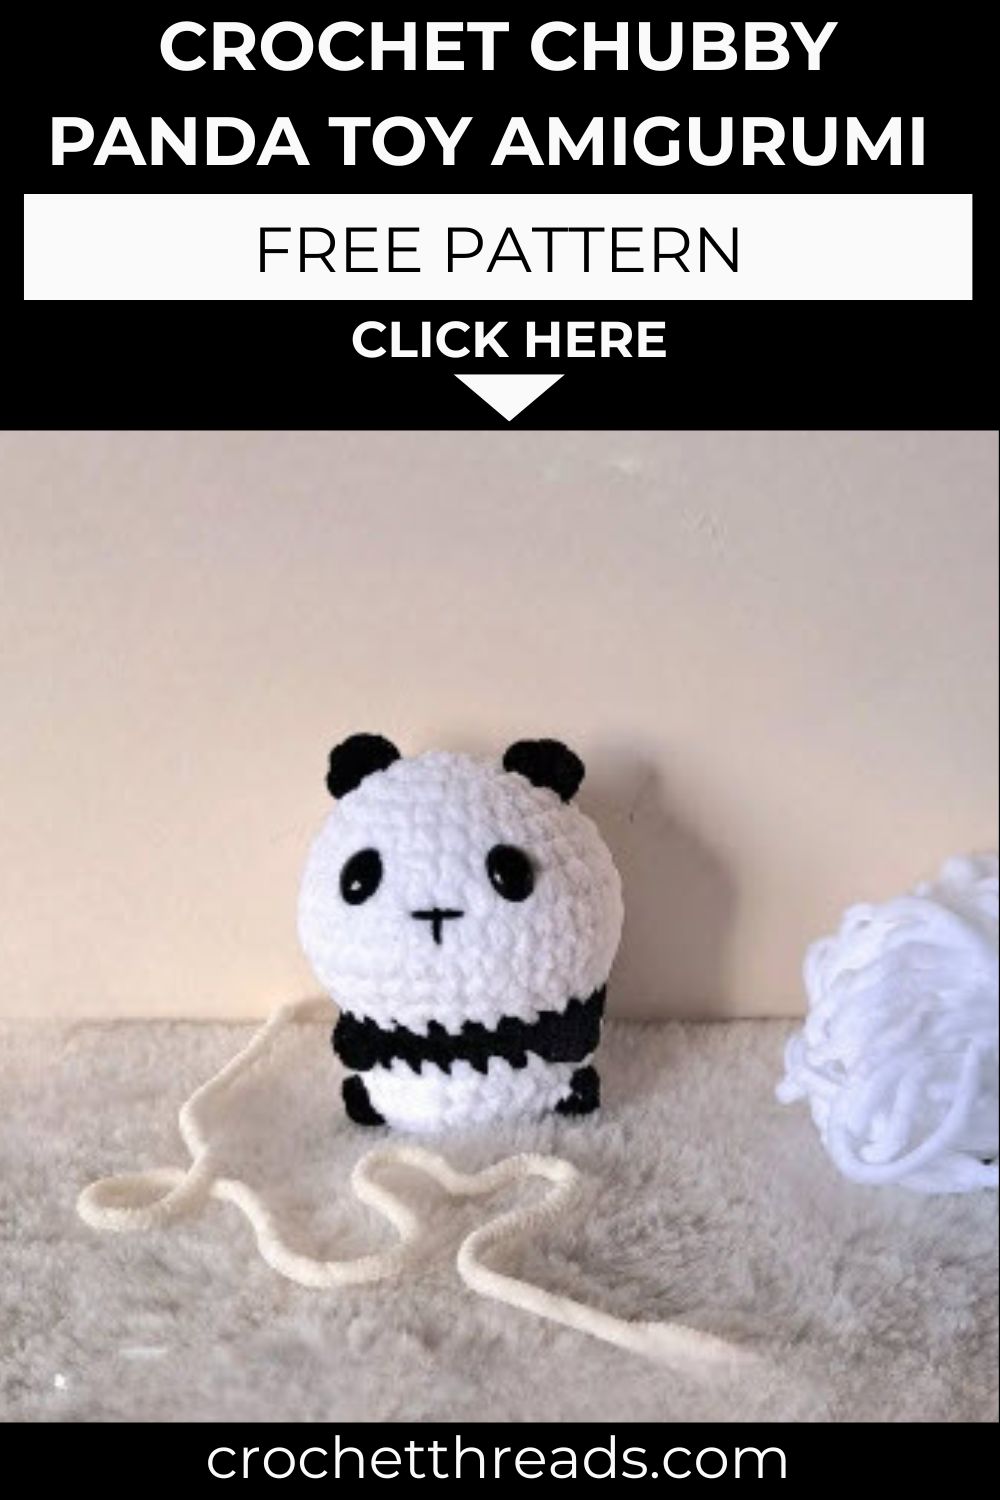
Chenille yarn turns this Crochet Chubby Panda Toy amigurumi into an irresistibly soft toy. Its rounded body, bobble-stitch eye patches, and tiny ears give it real personality. The beginner-friendly pattern uses simple stitches, perfect for a cuddly handmade gift or a relaxing weekend project.
Amigurumi pandas rank among the most popular crochet projects for good reason. Chunky chenille yarn gives this design a plush, huggable texture kids and collectors both love. Black bobble stitches create expressive eye patches without embroidery, while a T-shaped nose finishes the face. Every round builds gradually from the base up, so beginners follow along easily. The finished panda works well as a nursery decoration or a thoughtful handmade gift.
Skill Level
Confident beginners comfortable with magic rings, increases, decreases, and color changes handle this Crochet Chubby Panda Toy pattern well. The bobble stitch adds a slight challenge, but repetition throughout makes it simple to master.
Pattern Overview
- Worked entirely in continuous rounds with no joining, standard amigurumi construction
- Body shaped from a magic ring, increasing steadily into a rounded, chubby form
- Bobble stitches form the eye patches directly during regular rounds, skipping embroidery work
- A color change from white to black separates the head and body sections cleanly
- Small mr-based ears made separately and sewn onto the head afterward
- Toy stuffed gradually as rounds decrease, ending in a snug fastened-off bum
Materials
Gather these few simple supplies before starting the panda pattern.
- Chenille yarn, Worsted weight, in white
- Chenille yarn, Worsted weight, in black
- 3.5mm crochet hook
- Polyester stuffing
- Yarn needle
- Small T-shaped nose, for sewing onto the finished face
- Stitch markers, for tracking eye placement
Abbreviations
MR – Magic Ring
SC – Single Crochet
INC – Increase
|DEC – Decrease
BBL – Bobble Stitch (4 DC)
HDC – Half Double Crochet
ST – Stitch
FO – Fasten Off
CC – Color Change
Special Techniques
- Magic ring (MR): creates an adjustable starting loop for a tight, hole-free center
- Bobble stitch (BBL): work 4 double crochets into one stitch, then close them together for a raised eye-patch texture
- Color change (CC): switch chenille yarn colors mid-round for a clean white-to-black transition
- Stitch markers: mark key increase points so eye placement stays accurate across rounds
- Gradual stuffing: add stuffing progressively rather than all at once for even, lump-free shaping
Instructions
Body
- Round 1: 8 sc in MR (8)
- Round 2: 8 inc (16)
- Round 3: (sc, inc) x8 (24)
- Round 4: 24 sc (24)
- Round 5: (3 sc, inc) x6 (30)
- Round 6: 30 sc (30)
- Round 7: 9 sc, 3 inc, inc (place a marker in the 2nd stitch of this inc), 4 sc, inc (place a marker in the 1st stitch of this inc), 3 inc, 9 sc (38)
- Rounds 8–9 (2 rounds): 38 sc (38)
- Round 10: 9 sc, 4 dec, 4 sc, 4 dec, 9 sc (30)
- Round 11: (3 sc, dec) x6 (24)
Put a marker in the last stitch from the first 4-inc group and in the first stitch from the following 4-inc group, so the eye positions stay easy to find. The eyes sit between Round 6 and Round 7, four stitches apart. BBL placement may need slight adjustment depending on tension; honestly, it helps to align the bobbles with the corner of each eye.
Change color (CC) to black.
- Round 12: sc (24)
- Round 13: 9 sc, BBL, 6 sc, BBL, 7 sc (24)
Ears
Pause the body here to make and attach the ears, sewing each one on top of Round 3 and Round 4.
- Round 1: sc, 2 hdc, sc in MR
Continuing the Body
Begin stuffing at this stage.
- Round 14: 24 sc (24)
- Round 15: 9 sc, inc, 6 sc, inc, 7 sc (26)
- Round 16: 9 sc, CC to black, BBL, CC to white, 9 sc, CC to black, BBL, CC to white, 6 sc (26)
- Round 17: sc, BBL, sc, dec, (3 sc, dec) x4, sc (21)
- Round 18: 10 dec, sc (11)
Finish stuffing before the final round.
- Round 19: 2 dec, then FO (9)
Close the bum opening and sew on the T-shaped nose to finish the face.
Common Mistakes
- Skipping stitch markers, then losing track of where the eyes should sit
- Working bobble stitches too loosely, which produces flat rather than raised eye patches
- Stuffing everything at the end instead of gradually, leading to lumpy shaping
- Rushing color changes and leaving loose yarn tails at the transition point
- Miscounting the decrease rounds near the closing rounds, distorting the panda’s bum
Assembly
- Attach the ears after Round 13, positioned over Rounds 3 and 4 on the head
- Align each bobble-stitch eye patch with the corner of its marked eye position
- Place the eyes between Rounds 6 and 7, spaced four stitches apart using the markers
- Stuff firmly before closing Round 18, then top off stuffing before the final decreases
- Close the bum opening neatly, then sew on the small T-shaped nose
Important Remarks
- Chenille yarn stretches differently than standard acrylic, so tension may vary between makers
- A smaller or larger hook slightly changes the finished panda’s overall size
- Keep stitch markers in place for both eye alignment and BBL corner placement
- Marker placement across Rounds 6 through 11 saves real time once the eyes go on
Conclusion
This Crochet Chubby Panda Toy amigurumi proves how a handful of simple stitches combine into an adorable finished toy. Chenille yarn, magic rings, and bobble-stitch eyes work together for a soft, professional-looking result. Whether making it as a gift or adding it to a handmade shop, this pattern rewards patience and careful marker placement. Grab a hook and get stitching today.