Free Crochet Yellow Electric Monster Amigurumi Pattern
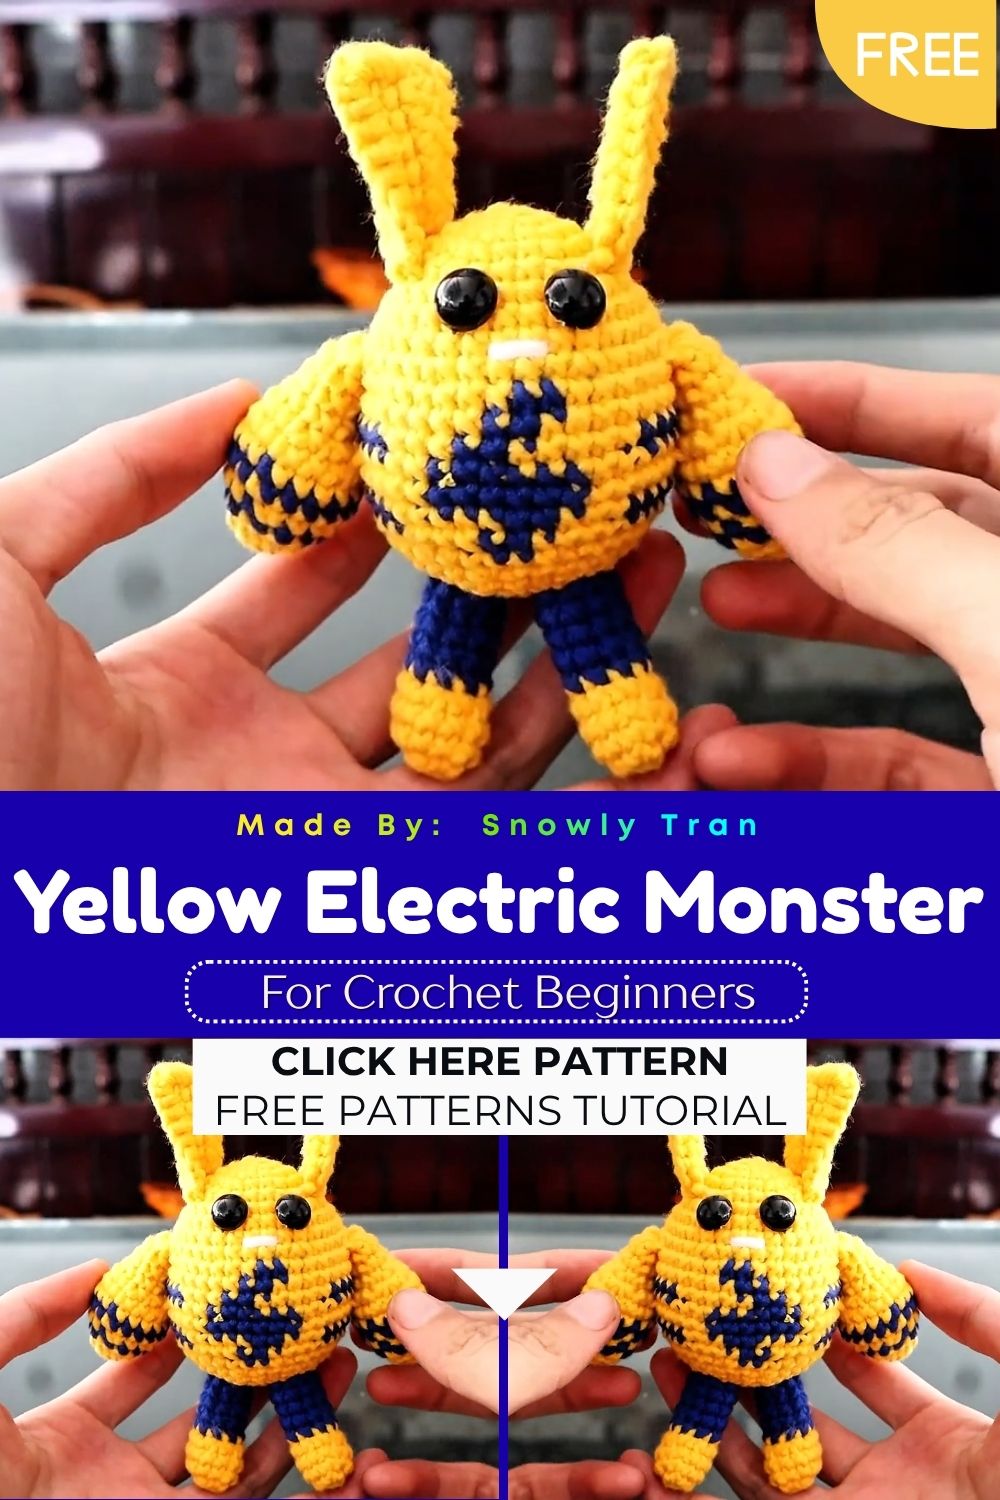
This Crochet Yellow Electric Monster amigurumi brings big cuteness into a small, huggable shape perfect for any yarn stash. Rounded ears, soft cheeks, and a cheerful lightning tail make it an instant favorite among crocheters who love quick, genuinely satisfying projects.
Is it beginner-friendly? Absolutely. The whole project relies on single crochet, simple increases, and simple decreases, so if you’ve made even one amigurumi ball before, you already have the skills to finish this one. There’s no color-changing chart, no complicated cabling, and no fussy lace work involved. You just need patience, a bit of stuffing, and a free afternoon.
Pattern Overview
Before grabbing your hook, here’s a quick snapshot of what you’re making:
- Finished Size: Approximately 5 to 6 inches tall (12–15 cm), depending on yarn weight and tension
- Difficulty Level: Beginner to easy-intermediate
- Time Required: 3 to 5 hours total, including stuffing and assembly
- Project Type: Amigurumi plushie / stuffed toy, perfect as a shelf decoration, keychain base, or cuddly gift
This project is worked in continuous rounds (no joining unless noted), which keeps the surface smooth and seamless ideal for a clean, professional-looking finish.
Materials Needed
Gather these supplies before you start so you’re not pausing mid-round to dig through your stash:
- Yarn: Worsted weight (4) acrylic or cotton yarn in yellow (main color), black (for facial details), and red or brown (small amount, for cheeks)
- Crochet Hook: 3.0mm–3.5mm hook (size depends on your yarn weight and how tight you crochet)
- Stuffing: Polyester fiberfill stuffing
- Yarn Needle: For sewing pieces together and weaving in ends
- Stitch Markers: To keep track of the first stitch in each round
- Scissors: For trimming yarn tails
- Safety Eyes (optional): 6mm–9mm black safety eyes, or you can embroider the eyes instead if you’re making this for a small child
Tip: cotton yarn gives your amigurumi a firmer shape, while acrylic yarn is softer and more budget-friendly. Either works great for this pattern.
Crochet Abbreviations
If you’re new to amigurumi, here’s a quick refresher on the terms used throughout this pattern:
- sc — single crochet
- inc — increase (2 single crochets worked into the same stitch)
- dec — decrease (2 stitches worked together as one, also called invisible decrease in amigurumi)
- ch — chain
- sl st — slip stitch
- st(s) — stitch(es)
- FO — finish off
Rounds are worked continuously in a spiral unless the pattern says otherwise, so use a stitch marker to mark the beginning of each round.
Step-by-Step Crochet Pattern
Head
Worked in yellow.
- Round 1: 6 sc in magic ring (6)
- Round 2: inc in each st around (12)
- Round 3: sc, inc repeat around (18)
- Round 4: sc 2, inc repeat around (24)
- Round 5: sc 3, inc repeat around (30)
- Round 6: sc 4, inc repeat around (36)
- Rounds 7–13: sc in each st around (36) 7 rounds even
- Round 14: sc 4, dec repeat around (30)
- Round 15: sc in each st around (30); insert safety eyes here, spaced about 8–9 stitches apart
- Round 16: sc 3, dec repeat around (24)
- Round 17: sc in each st around (24) begin stuffing firmly
- Round 18: sc 2, dec repeat around (18)
- Round 19: sc 1, dec repeat around (12) add more stuffing
- Round 20: dec around (6)
- FO, leaving a long tail, cinch the last stitches closed and weave in.
Ears
Make 2, worked in yellow.
- Round 1: 6 sc in magic ring (6)
- Round 2: sc in each st around (6)
- Round 3: inc, sc 5 repeat once (7)
- Rounds 4–6: sc in each st around (7)
- FO, leaving a long tail for sewing. Flatten slightly and fold the base into a soft point before attaching.
Body
Worked in yellow.
- Round 1: 6 sc in magic ring (6)
- Round 2: inc in each st around (12)
- Round 3: sc, inc repeat around (18)
- Round 4: sc 2, inc repeat around (24)
- Round 5: sc 3, inc repeat around (30)
- Rounds 6–11: sc in each st around (30) — 6 rounds even
- Round 12: sc 3, dec repeat around (24)
- Round 13: sc in each st around (24) — begin stuffing
- Round 14: sc 2, dec repeat around (18)
- Round 15: sc 1, dec repeat around (12) — add final stuffing
- Round 16: dec around (6)
- FO, leaving a long tail to close and attach to the head.
Arms
Make 2, worked in yellow.
- Round 1: 5 sc in magic ring (5)
- Rounds 2–6: sc in each st around (5) — 5 rounds even
- FO, leaving a long tail. Stuff lightly, just the tip, and leave the top open for sewing onto the body.
Legs
Make 2, worked in yellow.
- Round 1: 6 sc in magic ring (6)
- Round 2: inc in each st around (12)
- Round 3: sc in each st around (12)
- Round 4: sc 4, dec repeat around (10)
- Rounds 5–7: sc in each st around (10) — 3 rounds even
- FO, leaving a long tail. Stuff each leg firmly so the toy can stand upright.
Tail (Lightning Bolt Detail)
Worked in yellow with a small amount of black for outline detail if desired.
- Chain 12
- Row 1: sc in 2nd chain from hook, sc across (11 sc)
- Turn and sc across again for a second row to add thickness
- FO, leaving a long tail for sewing
- Fold gently into a lightning bolt zigzag shape and tack the folds in place with a few small stitches before attaching to the back of the body.
Assembly Instructions
- Attach the head to the body: Line up the closed ends of the head and body, then use your yarn needle and the long tail to whip stitch them together securely, adding a pinch more stuffing through the gap before closing completely.
- Attach the arms: Position the arms on either side of the body, roughly at the widest point, and sew around the opening edge so they sit slightly forward-facing.
- Attach the legs: Sew the legs to the bottom of the body, spacing them evenly so your amigurumi can sit or stand without tipping over.
- Attach the ears: Pin the ears to the top of the head first to check placement, then sew firmly along the base of each ear.
- Attach the tail: Sew the folded lightning bolt tail to the lower back of the body.
- Add facial details: If you didn’t use safety eyes, embroider two small eyes using black yarn or embroidery floss. Add a simple smile with a few backstitches, and use small stitches or blush marker to shade in soft red or brown cheek circles on either side of the face.
- Finishing touches: Weave in all remaining yarn tails, trim closely, and gently shape the toy by fluffing the stuffing through the seams.
Beginner Tips
- Always use a stitch marker on round one — it’s easy to lose track of where a round starts in continuous amigurumi rounds.
- Keep your stitches tight and consistent so stuffing doesn’t peek through the gaps.
- Stuff a little at a time rather than all at once; this helps you keep an even, rounded shape instead of lumps.
- Count your stitches at the end of every round for the first few projects until it becomes second nature.
- If a section looks uneven, don’t be afraid to unravel a round or two and redo it — it’s faster than fixing it later.
- Block your pieces lightly with your hands after stuffing to smooth out the surface.
Customization Ideas
- Different yarn colors: Try pastel yellow, orange, or even a two-tone design for a fresh twist on the same pattern.
- Keychain version: Crochet a mini head-only version, about 2 inches tall, and attach a keyring for a portable accessory.
- Mini plushie version: Use a thinner yarn weight and smaller hook for a tiny 3-inch collectible version.
- Gift ideas: This amigurumi makes a sweet birthday gift, baby shower present, or stocking stuffer.
- Home decor uses: Style it on a bookshelf, desk, or nursery dresser as a playful pop of color.
Care Instructions
- Hand Wash: Gently hand wash your finished amigurumi in cool water with a mild detergent, avoiding harsh scrubbing on embroidered details.
- Drying: Press out excess water with a towel and lay the toy flat to air dry, reshaping it while damp so it dries evenly.
- Storage: Store in a dry, dust-free space away from direct sunlight to prevent the yellow yarn from fading over time.
FAQ Section
Which yarn is best for this pattern?
Worsted weight cotton or acrylic yarn both work well. Cotton gives crisper stitch definition, while acrylic is soft, affordable, and beginner-friendly.
Can beginners really make this Crochet Yellow Electric Monster amigurumi?
Yes. The pattern only uses single crochet, increases, and decreases, so it’s an excellent project for someone making their second or third amigurumi.
How long does this pattern take to complete?
Most crocheters finish this project in 3 to 5 hours, though total time can vary depending on experience and how often you take breaks.
Can I sell the finished Crochet Yellow Electric Monster amigurumi?
Yes, you’re welcome to sell finished physical items made from this free pattern for personal small-business income. Please don’t resell or redistribute the written pattern itself as your own.
Conclusion
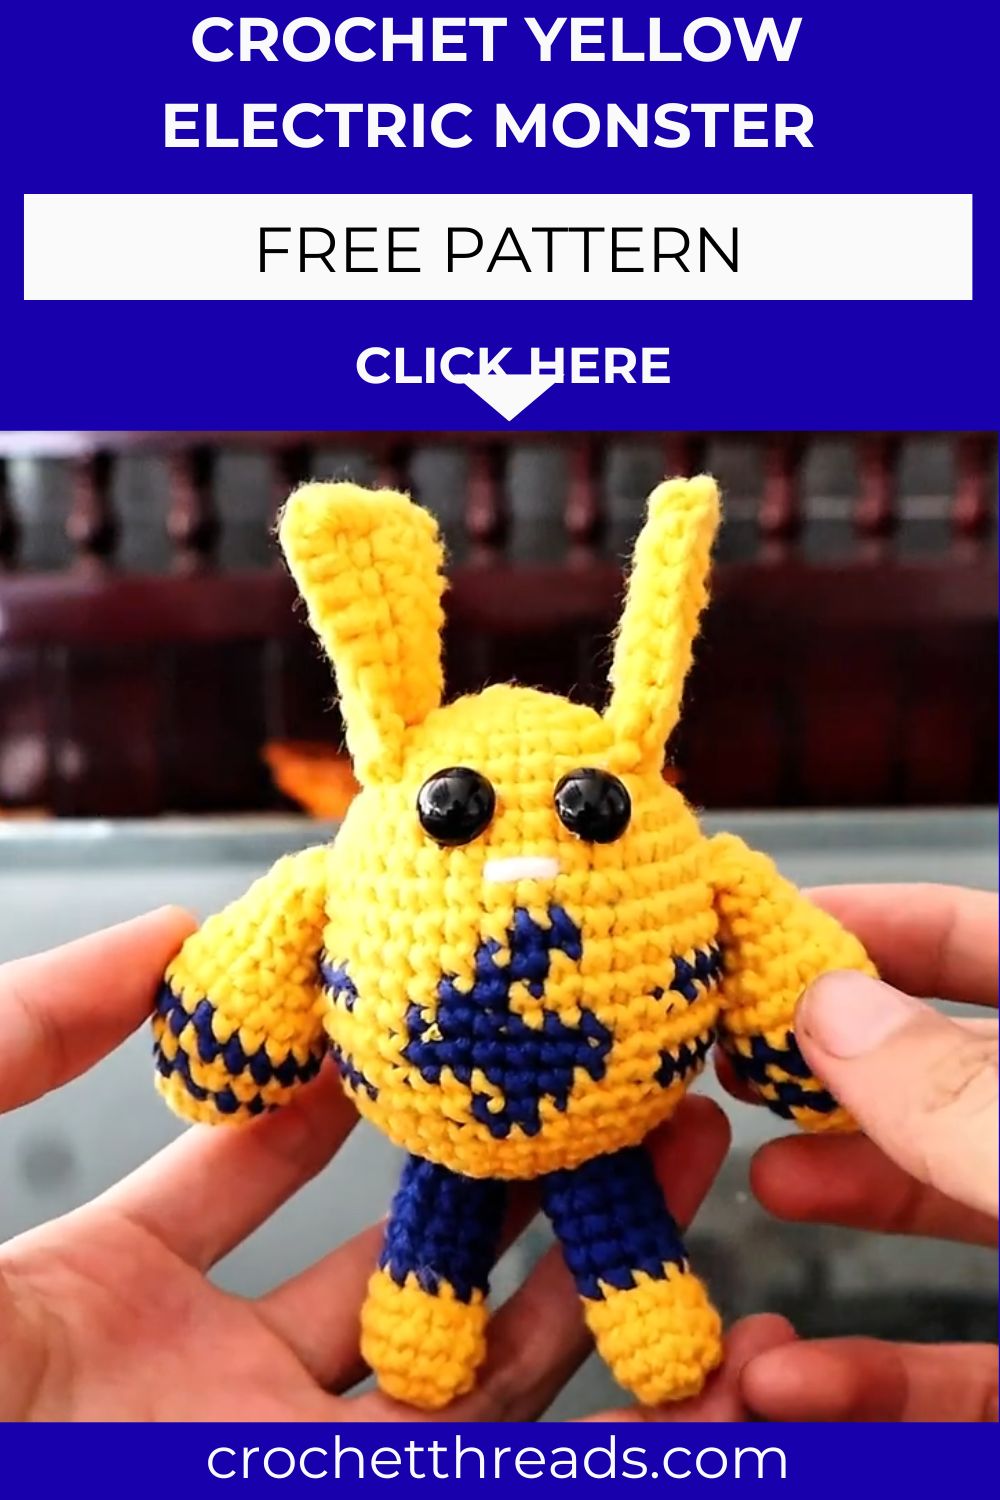
This Crochet Yellow Electric Monster amigurumi is proof that a simple stitch combination can create something seriously adorable. Whether you’re crocheting it for a gift, a keychain, or just for the joy of finishing a new project, this pattern is a fun, low-stress way to practice your amigurumi skills. Grab your hook, pick your favorite shade of yellow, and give this pattern a try. Don’t forget to share a photo of your finished creation with the crochet community.