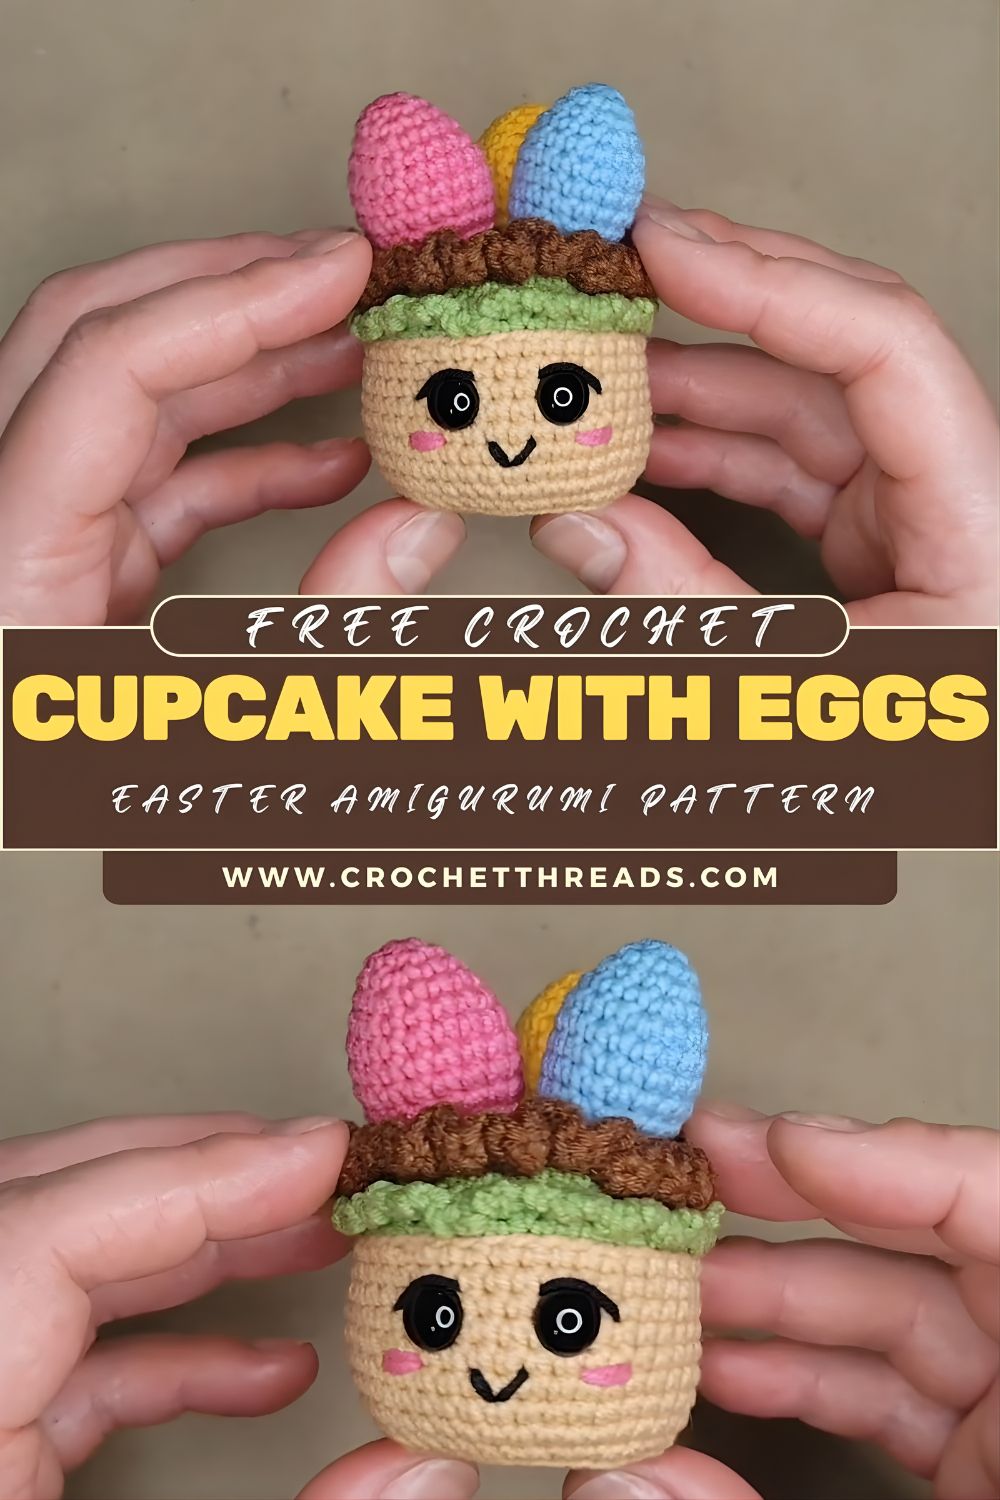
Crochet Cupcake with Eggs – Easy Easter Amigurumi Pattern
This Crochet Cupcake with Eggs is the sweetest Easter amigurumi project, part cupcake, part springtime décor, and totally giftable. With a simple cupcake base, a swirly frosting top, and tiny crochet Easter eggs, it’s a cute, beginner-friendly toy you can finish in an afternoon. Use pastel yarns for a classic Easter palette or customize it to match your home décor. This little amigurumi cupcake also makes an adorable basket stuffer, desk plush, or handmade gift.
Amigurumi crochet toys are small, stuffed crochet creations usually worked in continuous rounds with single crochet to build clean, sculpted shapes. They’re popular because they’re quick to make, easy to personalize, and perfect for gifting. Cupcake-style crochet toys are especially loved: they’re bright, cheerful, and naturally “stacked,” so they look impressive even though the construction is simple (base + frosting + decorations). Adding mini Easter eggs makes this design extra special for springtime,e instantly turning a cute cupcake into a themed Easter crochet decoration.
This Crochet Cupcake with Eggs Easter Amigurumi pattern is best for beginners to confident beginners, since you’ll practice increases, decreases, basic color changes, and simple assembly. Most crocheters can finish it in about 2–4 hours, depending on experience and how many eggs you add on top.
3) Materials Needed
Yarn Colors
- Brown (cupcake base)
- Pink (frosting)
- White (whipped details/sprinkles accents)
- Yellow or pastel colors (mini eggs—mix pastel blue, lavender, mint, peach, etc.)
Tools & Notions
- Crochet hook: 2.5 mm–3.5 mm (choose smaller for tighter stitches)
- Fiberfill stuffing
- Yarn needle (tapestry needle)
- Stitch marker
- Safety eyes (optional if you want a face) or embroidery thread
- Scissors
Optional but helpful:
- A small amount of felt (tiny sprinkles or cheeks)
- Fabric glue (for sprinkle appliqués)
- Poly pellets (tiny weight at the bottom for stability)
4) Crochet Abbreviations
- MR – Magic Ring
- sc – Single Crochet
- inc – Increase (2 sc in the same stitch)
- dec – Decrease (sc2tog or invisible decrease)
- sl st – Slip Stitch
- ch – Chain
- hdc – Half Double Crochet
- dc – Double Crochet
- st / sts – Stitch / Stitches
- BLO – Back Loop Only (optional for edging)
5) Finished Size
Finished size depends on yarn weight and hook size:
- With DK yarn + 2.75–3.0 mm hook: cupcake about 4–5 in (10–13 cm) tall; eggs about 1–1.5 in (2.5–4 cm).
- With worsted yarn + 3.25–3.5 mm hook: cupcake about 5–6.5 in (13–16 cm) tall; eggs about 1.25–2 in (3–5 cm).
6) Step-by-Step Crochet Pattern (Beginner-Friendly)
Pattern Notes
- Work in continuous rounds unless stated otherwise.
- Use a stitch marker to mark the first stitch of the round.
- For a polished amigurumi look, use invisible decreases.
- Stuff firmly, but don’t stretch stitches.
A) Cupcake Base (Brown)
This is the “liner/bottom” of the cupcake—slightly tapered, with a flatter base.
Round 1: MR, 6 sc (6)
Round 2: inc around (12)
Round 3: (sc, inc) x6 (18)
Round 4: (2 sc, inc) x6 (24)
Round 5: (3 sc, inc) x6 (30)
Round 6: (4 sc, inc) x6 (36)
To create a defined edge between the bottom and sides (optional but cute):
Round 7 (optional): sc around in BLO (36)
Build the sides:
Rounds 8–11: sc around (36) — 4 rounds
Slight taper inward toward the top:
Round 12: (4 sc, dec) x6 (30)
Round 13: sc around (30)
Round 14: (3 sc, dec) x6 (24)
Round 15: sc around (24)
Fasten off, leaving a long sewing tail, or keepthe yarn attached if you prefer joining frosting by crochet seam.
Stuffing tip: Stuff the base firmly. If you want it to stand nicely, add a small circle of felt/plastic canvas at the very bottom inside.
B) Cupcake Frosting (Pink)
This frosting is a rounded “swirl mound” that sits on the top opening of the base. You’ll crochet it as a separate piece and sew it on.
Round 1: MR, 6 sc (6)
Round 2: inc around (12)
Round 3: (sc, inc) x6 (18)
Round 4: (2 sc, inc) x6 (24)
Round 5: (3 sc, inc) x6 (30)
Round 6: (4 sc, inc) x6 (36)
Rounds 7–9: sc around (36) — 3 rounds
Begin shaping the swirl into a dome:
Round 10: (4 sc, dec) x6 (30)
Round 11: sc around (30)
Round 12: (3 sc, dec) x6 (24)
Round 13: sc around (24)
Round 14: (2 sc, dec) x6 (18)
Stuff firmly, shaping into a smooth dome.
Round 15: (sc, dec) x6 (12)
Round 16: dec x6 (6)
Fasten off, close, weave in.
Optional Frosting “Swirl Ridges” (easy effect)
With pink (or white), surface slip stitch spiraling from the top center outward to create swirl texture, OR stitch shallow spiral lines with a yarn needle.
C) Mini Easter Eggs (Make 3–5)
Make them in assorted pastel colors (yellow, lavender, mint, baby blue, etc.).
Round 1: MR, 6 sc (6)
Round 2: (sc, inc) x3 (9)
Round 3: sc around (9)
Round 4: (2 sc, inc) x3 (12)
Rounds 5–6: sc around (12) — 2 rounds
Round 7: (2 sc, dec) x3 (9)
Lightly stuff.
Round 8: sc around (9)
Round 9: (sc, dec) x3 (6)
Fasten off, close, weave in—leave a tail if you prefer sewing from the egg.
Optional Egg Stripes / Dots
- Add simple embroidery stripes with contrasting thread.
- Or change color for Round 5 to create a band, then switch back.
D) Decorative Details (Sprinkles / Embroidery)
Choose one (or combine):
Option 1: Embroidered Sprinkles (fast + cute)
Use small strands of contrasting yarn (white, yellow, mint, etc.) and embroider short straight stitches around the frosting.
Option 2: Crochet Sprinkle Bits
Make tiny “sprinkle” pieces:
- ch 3, sl st in 2nd ch and next ch. Fasten off.
Sew a few onto the frosting.
Option 3: French Knot “Candy Dots”
With embroidery thread, add tiny dots around the frosting.
E) Assembly Instructions (Stuffing + Attaching)
Step 1: Stuff and shape the cupcake base
- Ensure the base is firm and sits evenly.
- Add extra stuffing near the bottom edges to prevent collapsing.
- Optional: insert a reinforcing circle inside the base.
- Center frosting on top of the cupcake base.
- Pin in place.
- Sew around with whip stitch through both loops, keeping the seam neat.
- After sewing halfway, you can add a little extra stuffing under the frosting edge if you want a fuller “puffy top.”
- Arrange 3–5 mini eggs on the frosting top.
- Pin first to get a balanced look.
- Sew each egg down securely with a few stitches through the bottom of the egg into the frosting.
- Add sprinkles.
- Weave in all ends.
- Press and shape the cupcake so it stands straight.
Optional face (cute “kawaii cupcake”):
- Add 6–10 mm safety eyes on the base, or embroider sleepy eyes.
- Stitch a tiny smile with black thread and add blush cheeks with pink yarn.
7) Beginner Tips
- Keep stitches tight: Use a smaller hook (2.5–3.0 mm) so stuffing doesn’t show.
- Use a stitch marker: Mark the first stitch of every round to avoid losing count.
- Neat color changes: Change color on the last yarn-over of the final stitch in the old color.
- Stuff in small pieces: Many small bits of fiberfill prevent lumps.
- Pin before sewing: Pins (or stitch markers) help keep eggs symmetrical and frosting centered.
8) Customization Ideas
- Pastel Easter cupcake palette: Mint base + lavender frosting + yellow eggs for a spring vibe.
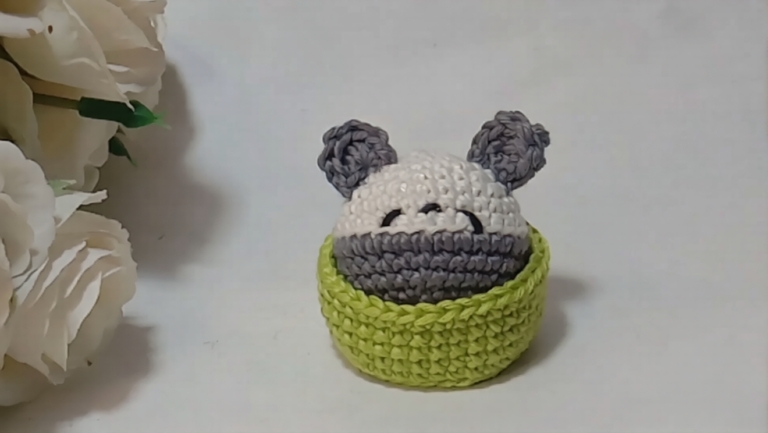
- Add bunny ears: Crochet two small ears and insert them behind the eggs.
- Turn it into a keychain: Make a mini version with sport yarn and add a keychain loop at the top.
- Make a bigger plush version: Use chunky yarn and scale up the hook—same stitch counts, bigger result.
- Add a cupcake wrapper texture: Surface stitch vertical lines on the base to mimic wrapper ridges.
9) FAQs
1) Is this Crochet Cupcake with Eggs pattern beginner-friendly?
Yes—this is a beginner-friendly Easter amigurumi using basic stitches (sc, inc, dec) and simple sewing.
2) What yarn is best for amigurumi cupcakes?
DK or worsted yarn in cotton or acrylic works best. Cotton gives clean stitch definition; acrylic is soft and budget-friendly.
3) Can I sell finished products made from this pattern?
Generally, yes—small-batch finished items are fine. If you publish the pattern, add your own policies and avoid using copyrighted branding.
4) How long does it take to make?
Most crocheters finish in 2–4 hours, depending on experience and how many eggs/sprinkles you add.
5) How do I make the cupcake stand up better?
Stuff firmly, add a reinforced base circle, and consider a small pellet weight at the bottom.
10) Conclusion
This Crochet Cupcake with Eggs Easter Amigurumi is a cheerful, quick project that works beautifully as Easter décor, a basket stuffer, or a handmade spring gift. With simple shapes and plenty of room for pastel customization, it’s the kind of pattern you’ll want to make in multiples. Try different egg colors, add extra sprinkles, and make a whole set for a festive Easter display!