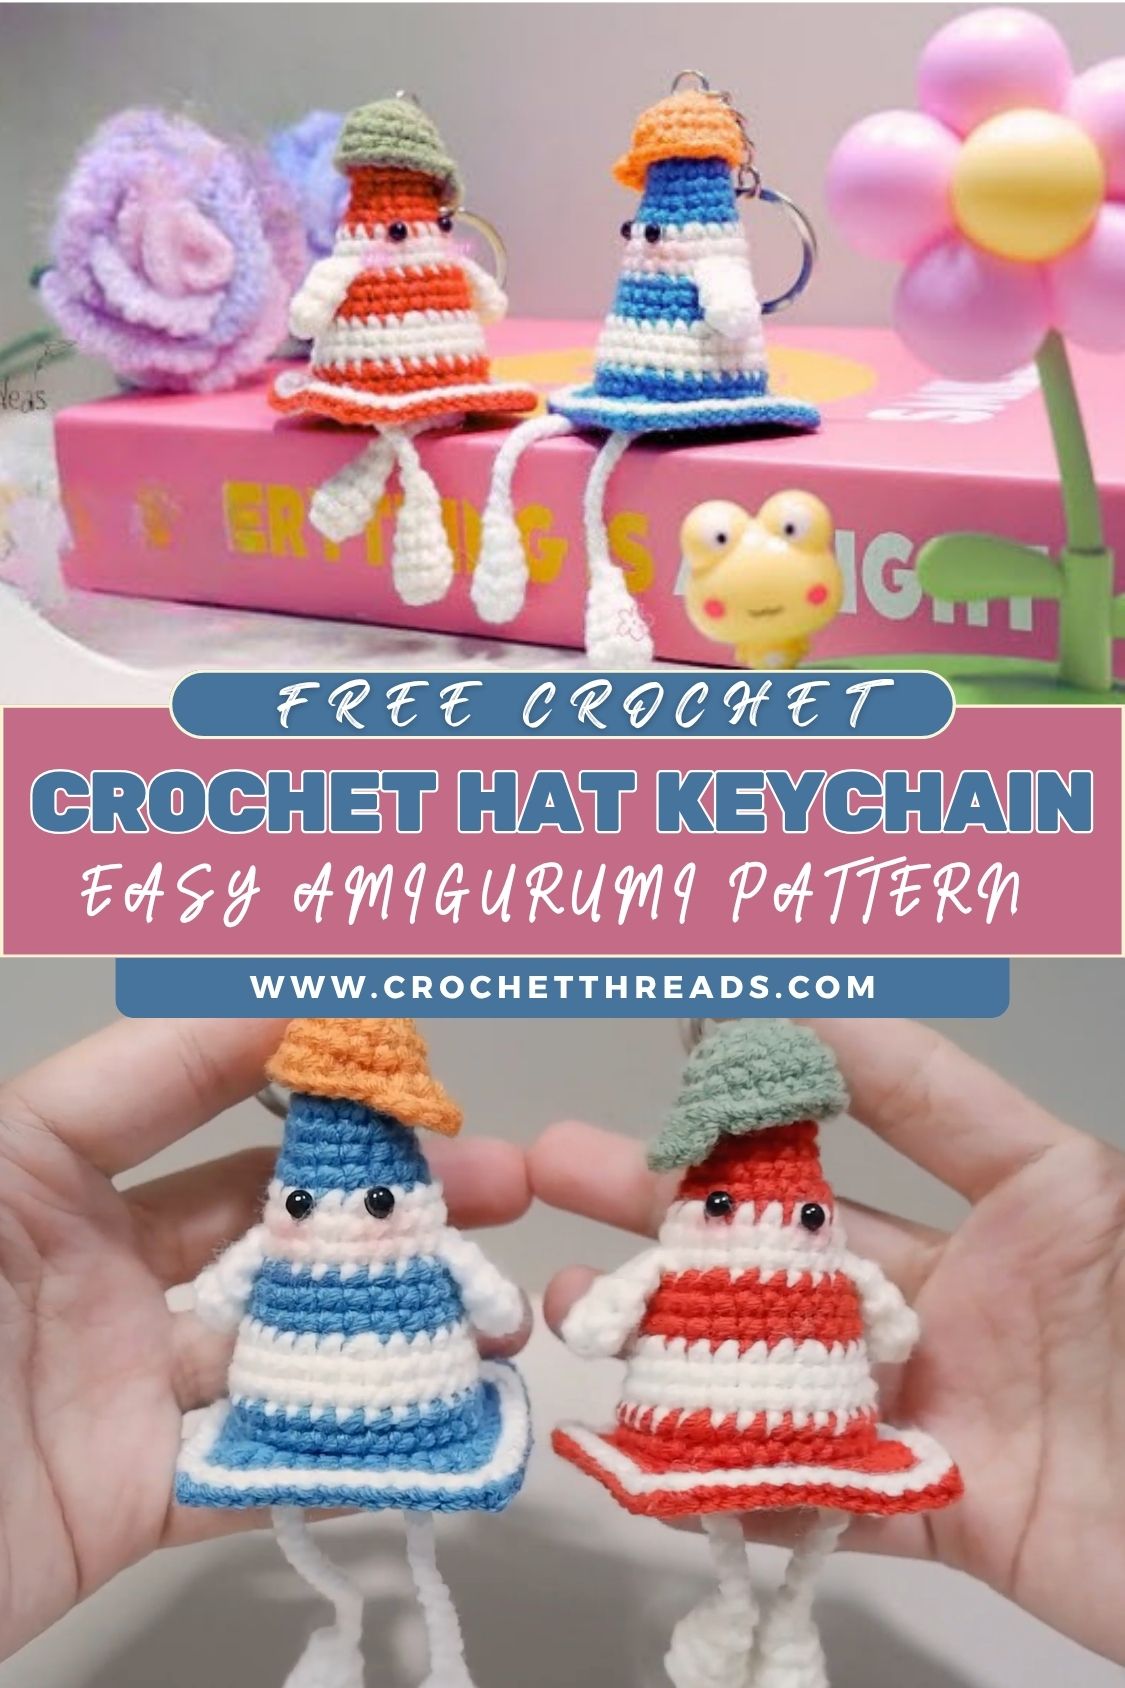
Brilliant Crochet Ice Cream Cone Keychain Amigurumi Pattern beginners
A Crochet Ice Cream Cone Keychain is one of the cutest ways to turn yarn into something practical, tiny, giftable, and full of personality. This easy amigurumi tutorial will guide you through every step so you can crochet a mini hat, attach a keychain loop, and create a charming accessory for bags, keys, or gifts.
If you’re searching for a simple, satisfying beginner project, a cute hat keychain is a perfect place to start. It’s small enough to finish in one sitting, yet it still teaches essential amigurumi skills such as working in continuous rounds, shaping with basic stitches, and neatly finishing a project. Best of all, it’s incredibly customizable; you can change colors, add stripes, stitch on a tiny heart, or even make it match someone’s favorite outfit.
This step-by-step guide to crocheting a hat keychain is designed for beginners who want clear instructions and a neat final result. For visual inspiration, you can also refer to the video link you were provided (watching someone shape the rounds can be helpful). Still, the instructions below are written clearly so you can follow along at your own pace.
Skill Level
Beginner (perfect for first-time amigurumi and small crochet projects)
Materials Required
- Yarn (choose 1–2 colors for the hat; DK or worsted works well)
- Crochet hook (appropriate size for your yarn; typically 2.5–4.0 mm for amigurumi-style tight stitches)
- Stitch markers (or a scrap of yarn/clip marker)
- Safety eyes (optional, only if you want to turn it into a “hat character”)
- Scissors
- Yarn needle (tapestry needle)
- Keychain loop (split ring, lobster clasp, or small keychain hardware)
Optional extras (fun but not required):
- Small pom-pom, bead, or tiny embroidered patch
- Fabric glue (for decorations only, stitching is stronger)
Abbreviations Used
- Mr. — Magic Ring
- sc — Single Crochet
- sl st — Slip Stitch
- ch — Chain
Important Tips Before Starting
- Maintain even tension: consistent stitches make your hat look smooth and round.
- Use the correct hook size: for keychains, tighter stitches look cleaner and hold shape better.
- Weave in yarn ends securely: keychains get handled a lot, so secure ends are important.
- Double-check keychain loop placement: attach it centered so the hat hangs straight.
- Get creative: stripes, a tiny bow, initials, or a mini flower can make it feel truly yours.
Step-by-Step Instructions: Crocheted Hat Keychain
Step 1: Start with a Magic Ring and Crochet the Base of the Hat
This first section creates the top (crown) of the hat.
- Make a magic ring (mr).
- Crochet 6 sc into the ring.
- Pull the ring tight to close.
Now increase to widen the top:
- Round 2: 2 sc in each stitch around (12 sc)
- Round 3: (sc, inc) repeat around (18 sc)
- “inc” here means 2 sc in the same stitch.
Beginner note: Use a stitch marker in the first stitch of each round so you don’t lose track.
Step 2: Work in Rounds to Create the Body of the Hat
Now you’ll build height and form the hat shape.
- Round 4: sc around (18 sc)
- Round 5: sc around (18 sc)
- Round 6: sc around (18 sc)
Want a slightly taller hat? Add one more round of sc around.
Tip for a neat shape: If your hat looks a bit pointy at the top, add one extra “increase” round before the straight rounds. If it looks too wide, reduce the number of increase rounds.
Step 3: Add the Brim (Optional Color Change)
The brim gives your mini hat that classic finished look. You can keep the same color or switch to a contrast shade.
Optional: Change color
- On the last stitch of the previous round, stop before the final yarn-over, then yarn-over with the new color to complete the stitch.
Brim round
- Round 7 (Brim): (sc, inc) repeat around
This creates a gentle flare so the brim sticks out slightly.
To make the brim more defined, finish with:
10. Round 8 (Edge): sl st around for a clean border (optional)
Fasten off, leaving a tail for sewing/finishing.
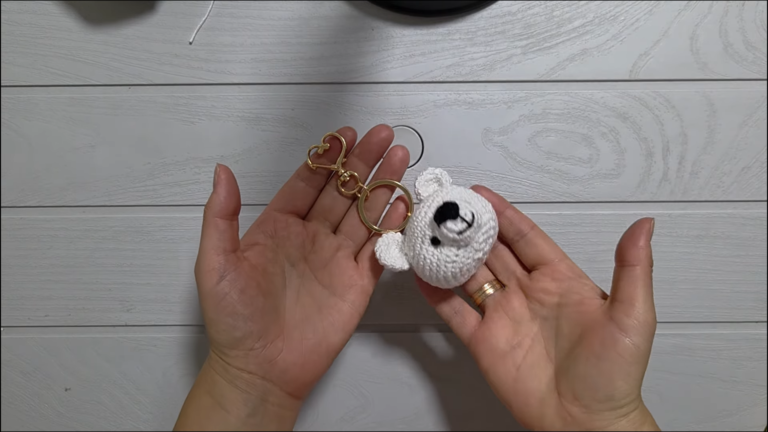
Step 4: Attach the Keychain Loop and Finalize the Project
There are two easy ways to attach the keychain loop:
Option A (Most secure): Yarn loop attachment
- Cut a sturdy piece of yarn (or use embroidery floss).
- Thread it through the top center of the hat.
- Tie it firmly to the keychain ring with double knots.
- Pull the knot inside the hat if possible, then weave the ends in.
Option B: Metal jump ring through stitches
- Insert a small jump ring through a few tight stitches at the hat top.
- Attach the keychain hardware to the jump ring.
- Make sure it’s closed tightly so it can’t slip out.
Final step: Use your yarn needle to weave in all ends inside the hat, going through multiple stitches in different directions for strength.
Assembly Instructions (Quick Checklist)
- Attach the keychain loop centered at the top so it hangs straight.
- Weave in yarn ends with a yarn needle (don’t just knot and trim).
- Gently shape the brim with your fingers for a crisp finish.
Beginner Tips (Extra Helpful!)
- Choose lighter-colored yarn if your new stitches are easier to see.
- Go slowly and use a stitch marker every round.
- If your stitches look loose, switch to a smaller hook.
- Make one “practice hat” first, then your second one will look amazingly neat.
Conclusion
A Crochet Ice Cream Cone Keychain is a fun, simple, and rewarding project perfect for beginners who want a quick win and something cute they can actually use. Try different color combos, add tiny embellishments, and experiment with brim styles to make each keychain feel unique. Once you make one, you’ll probably want a whole collection of them for every bag, friend, and gift occasion!