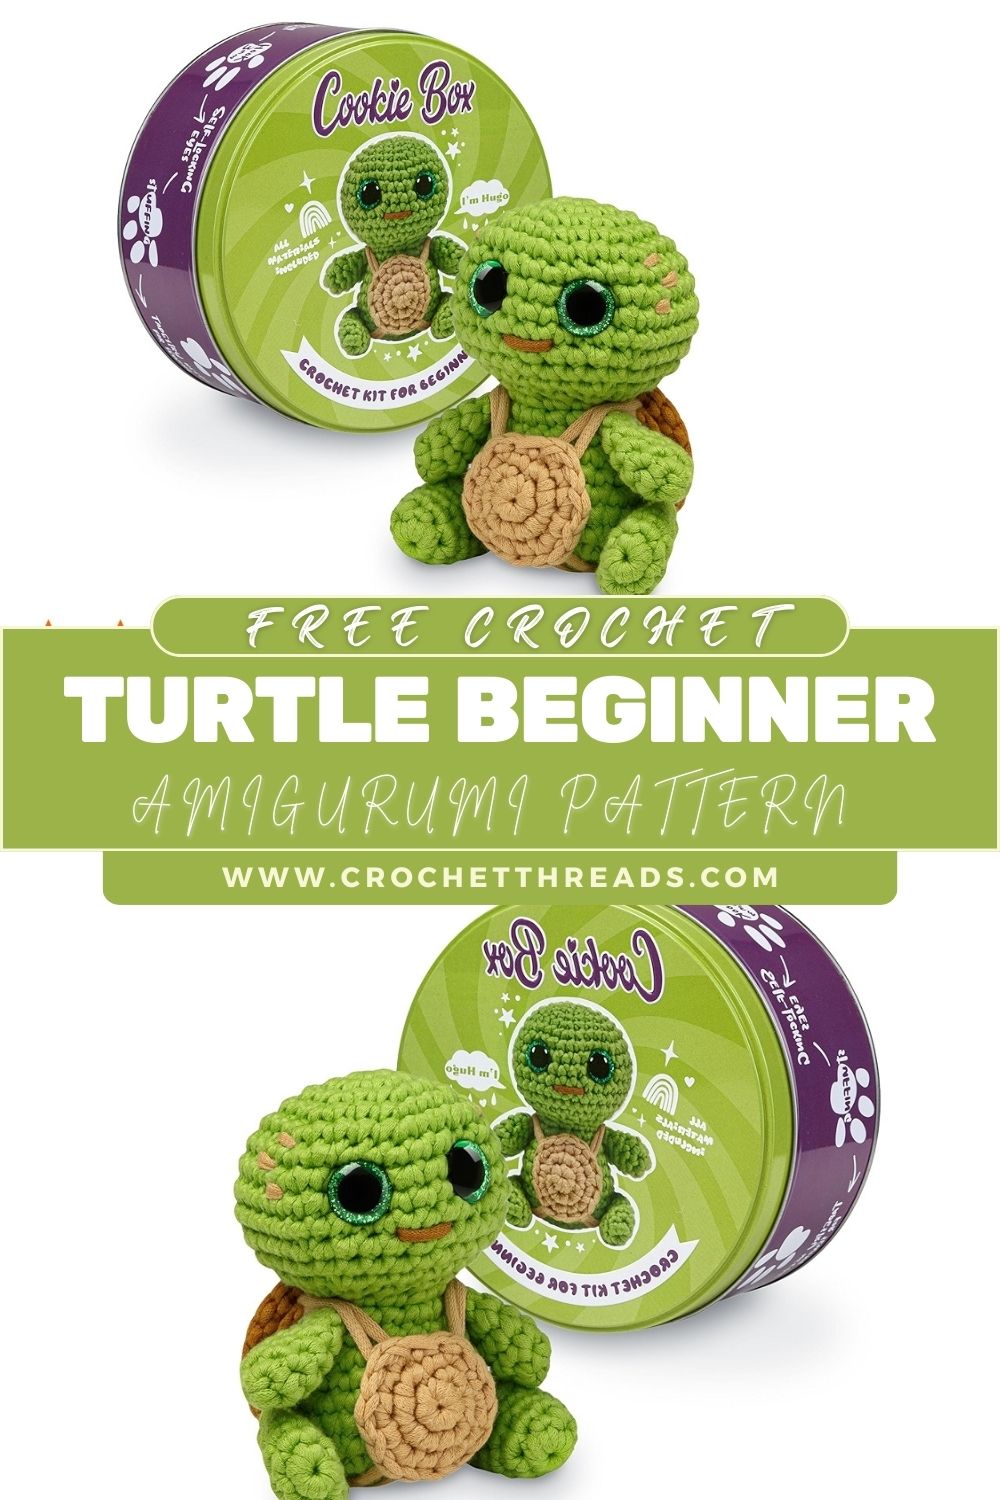
Crochet Turtle Beginner Amigurumi Pattern Step-by-Step
Looking for a crochet turtle pattern that’s cute, simple, and actually beginner-friendly? This amigurumi turtle has a soft green body, shiny eyes, and a cosy beige shell, perfect for learning step by step.
This design is inspired by classic beginner crochet kits and step-by-step video tutorials (often seen in “Turtle Hugo” style kits). You’ll make:
- A round head with big glossy safety eyes
- A tiny smiling mouth
- A soft, lightly textured green body
- A beige/tan shell (front and back)
- Tiny arms and legs with cute proportions
It’s ideal if you’re learning the basics of magic ring, single crochet, increase, decrease, and sew, and want a finished plush that looks professional. You can use it as nursery decor, a desk buddy, a handmade gift, or even a comforting “pocket pal.” Amigurumi is also a wonderful mindful craft: repetitive rounds + soft yarn = calm.
Materials Needed
Here’s a classic beginner-kit style supply list (use what you have, exact brands aren’t required):
- Green yarn (body/head/limbs): worsted (medium #4) or DK (#3)
- Beige/tan yarn (shell): matching weight to green
- Crochet hook: 2.5 mm–3.5 mm (choose smaller than yarn label for tight stitches)
- Fiberfill stuffing
- Safety eyes: 8 mm–12 mm (10 mm is a nice “big-eyed” look)
- Tapestry needle (yarn needle)
- Scissors
- Stitch marker (or a scrap of yarn)
Optional: blush/pink embroidery thread for cheeks, a small amount of brown yarn for shell edging.
Skill Level
Beginner / Advanced Beginner
You should be comfortable with:
- Working in continuous rounds
- Counting stitches
- Basic shaping (inc/dec)
- Simple sewing/assembly
If you’re brand new, don’t worry, this pattern is written to be “video-tutorial friendly,” meaning each part is small and repetitive.
Crochet Abbreviations
- MR = Magic Ring
- sc = single crochet
- inc = increase (2 sc in the same stitch)
- dec = decrease (single crochet 2 together; preferably invisible decrease)
- sl st = slip stitch
- ch = chain
- st = stitch
- FO = fasten off
Finished Size
Approximate size (depending on yarn/hook/tension):
- 15–20 cm (6–8 in) long from head to tail end
To make it bigger, use thicker yarn and a larger hook (but keep stitches tight).
To make it smaller, use thinner yarn and a smaller hook.
Design Overview (What You’ll Make)
This turtle is built from beginner-friendly shapes:
- Head: a simple sphere with safety eyes and an embroidered smile
- Body: a rounded oval “base” that connects to the head
- Shell (Back): a domed circle in beige/tan
- Shell (Belly/Front): a flatter circle/oval in beige/tan
- Arms: tiny, rounded tubes
- Legs: slightly large,r rounded tubes (so it sits cutely)
- Face: safety eyes + small stitched smile
Step-by-Step Crochet Pattern (Beginner-Friendly)
Notes before you start
- Work in continuous rounds unless stated otherwise.
- Use a stitch marker to mark the first stitch of each round.
- Stitch counts are listed at the end of each round in parentheses.
- For the neatest plush look, keep stitches tight and use invisible decreases.
A) Head (Green)
Round 1: MR, 6 sc (6)
Round 2: inc around (12)
Round 3: (sc, inc) around (18)
Round 4: (2 sc, inc) around (24)
Round 5: (3 sc, inc) around (30)
Rounds 6–8: sc around (30)
Place Safety Eyes
Insert safety eyes between Rounds 7 and 8, about 7–8 stitches apart (adjust for your preferred “cute” spacing).
Round 10: (2 sc, dec) around (18)
Start stuffing the head firmly but smoothly.
Add a bit more stuffing.
FO, close the hole.
Tip: Don’t cut the yarn too short; leave a tail if you want to sew the head to the body with the same strand (optional).
B) Body (Green)
The body is a rounded shape on which the shell will sit.
Round 1: MR, 6 sc (6)
Round 2: inc around (12)
Round 3: (sc, inc) around (18)
Round 4: (2 sc, inc) around (24)
Round 5: (3 sc, inc) around (30)
Round 6: (4 sc, inc) around (36)
Rounds 7–9: sc around (36)
Round 10: (4 sc, dec) around (30)
Round 11: (3 sc, dec) around (24)
Begin stuffing the body. Keep it slightly softer than the head so it hugs the shell nicely.
Round 12: (2 sc, dec) around (18)
Round 13: (sc, dec) around (12)
Add more stuffing and shape it into a smooth oval.
Round 14: dec around (6)
FO, close the hole.
C) Shell (Beige/Tan) – Back Shell (Domed)
This piece is slightly larger and more “cap-like.”
Round 1: MR, 6 sc (6)
Round 2: inc around (12)
Round 3: (sc, inc) around (18)
Round 4: (2 sc, inc) around (24)
Round 5: (3 sc, inc) around (30)
Round 6: (4 sc, inc) around (36)
Round 7: (5 sc, inc) around (42)
Round 8: sc around (42)
Round 9: sc around (42)
FO, leave a long tail for sewing.
Optional texture idea (still beginner-friendly):
On Round 9, you can do (sc in back loop only) around to create a subtle ridge.
C) Shell (Beige/Tan) – Front/Belly Shell (Flatter)
This piece is flatter and can be slightly smaller, so the seam sits under the turtle.
Round 1: MR, 6 sc (6)
Round 2: inc around (12)
Round 3: (sc, inc) around (18)
Round 4: (2 sc, inc) around (24)
Round 5: (3 sc, inc) around (30)
Round 6: (4 sc, inc) around (36)
Round 7: sc around (36)
FO, leave a long tail for sewing.
Optional “belly plates” look:
Embroider simple lines later using a slightly darker beige.
D) Arms (Make 2, Green)
Small, rounded arms.
Round 1: MR, 6 sc (6)
Round 2: (sc, inc) around (9)
Rounds 3–5: sc around (9)
Lightly stuff only the end (optional;l many kit-style turtles have unstuffed arms).
Round 6: (sc, dec) around (6)
FO, leave a tail for sewing.
E) Legs (Make 2, Green)
Slightly bigger than arms for a stable “sitting” look.
Round 1: MR, 6 sc (6)
Round 2: inc around (12)
Rounds 3–5: sc around (12)
Stuff lightly.
Round 6: (2 sc, dec) around (9)
Round 7: sc around (9)
FO, leave a tail for sewing.
Face Details (Eyes + Smile)
Eye Placement
- Place safety eyes between the rounds and –8 of the head
- Spacing: 7–8 stitches apart
- Make sure they look straight before snapping the backings on permanently
Smile Embroidery
Using black yarn or embroidery thread:
- Insert the needle slightly below the eyes (around Round 9–10)
- Stitch a small curved smile (like a short “U” shape)
- Optional: add tiny cheek stitches with pink thread
12) Assembly Instructions (Step-by-Step)
Take your time here; a clean assembly is what makes a beginner project look professional.
Attach Head to Body
- Position the head centred on the body.
- Sew using whip stitch through stitches on both pieces.
- Add a pinch more stuffing right before fully closing the seam if needed.
- Place legs on the lower sides of the body (think “turtle sitting”).
- Sew each leg on securely with small stitches.
- Check symmetry by looking from the front and top.
- Attach arms slightly higher than legs, closer to where the shell will sit.
- Angle them slightly forward for a hug-like pose.
You’ll sandwich the body between the two shell pieces: CentreThe
- e belly shellis on the underside of the body.
- Centre the back shell on top.
Sew around the edge, aligning stitches:
- Stitch through back shell → body edge → belly shell, repeating around.
- Leave a small opening near the back.
- Add a small amount of stuffing between the shell and the body to make the shell puffier.
- Finish sewing closed and weave in ends.
Tip: Pin pieces with stitch markers first to prevent shifting.
Stuffing Tips (For Smooth, Cute Shapes)
- Use small pieces of fiberfill, not one big clump.
- Stuff the head firmly so the face holds shape around the eyes.
- Stuff the body moderately—too firm and the shell may sit awkwardly.
- Avoid lumps by pushing stuffing into the edges with the back of your hook.
Beginner Tips (Video-Tutorial Friendly)
- Count every round: Most amigurumi issues come from missing an increase or decrease.
- Use a stitch marker: Mark the first stitch of each round so you don’t get off track.
- Magic ring help: If MR is hard, chain 2, then work 6 sc into the first chain (less neat, but it works).
- Invisible decrease: Insert hook into front loop of next stitch, then front loop of next stitch, yarn over, pull through, yarn over, pull through two.
- Keep even tension: Tight stitches prevent stuffing from showing.
Customization Ideas
Make this turtle your own (and keep it beginner-simple):
- Colour swaps: pastel pink turtle, ocean blue turtle, mint + cream shell
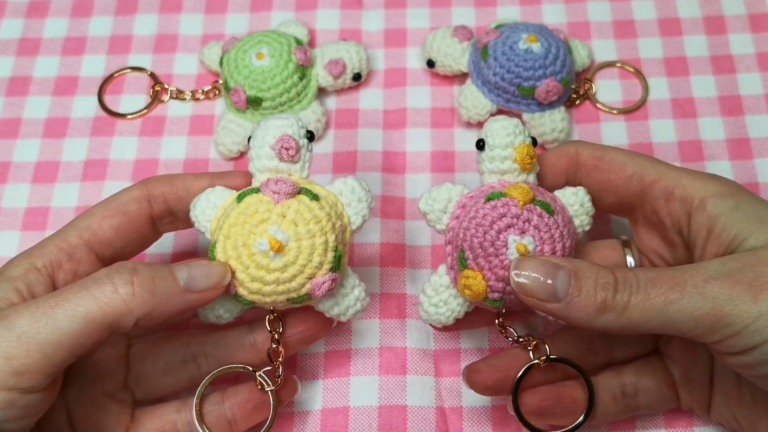
- Keychain version: use thinner yarn (sport/fingering) and add a keyring loop on the shell
- Gift themes:
- Baby shower: soft cotton + embroidered sleepy eyes
- Birthday: add a tiny crocheted party hat
- Cartoon style: extra-large eyes, smaller limbs, and a bigger shell
Common Mistakes to Avoid
- Wrong stitch counts: If your piece ripples or cones, recount your increases.
- Loose tension: Gaps between stitches expose stuffing—use a smaller hook if needed.
- Misplaced eyes: Always test placement first (pin or insert without backing).
- Uneven stuffing: Lumpy head/body usually means stuffing wasn’t distributed to the edges.
- Shell not centred: Pin/mark quarter points on both shell pieces before sewing.
Care Instructions
To keep your crochet turtle plush looking new:
- Spot clean with mild soap and a damp cloth.
- If using acrylic yarn, gentle handwashing is usually okay; reshape and air-dry.
- If using cotton yarn, it may handle washing better but can feel heavier.
- Do not machine dry, as heat can warp stuffing and loosen stitches.
- Store away from direct sunlight to prevent fading.
Safety note: Safety eyes are not recommended for children under 3. For baby toys, embroider the eyes instead.
Who Is This Pattern For?
This beginner crochet turtle pattern is ideal for:
- Beginners learning amigurumi fundamentals
- DIY bloggers who want a cute, photogenic, quick project
- Handmade gift makers (baby showers, birthdays, get-well gifts)
- Craft fair sellers looking for a simple plush design (see FAQ about selling)
- Anyone who enjoys relaxing, repetitive crochet with an adorable result
Conclusion
This amigurumi turtle is the kind of project that builds confidence fast: simple shapes, beginner-friendly stitches, and a super cute finished look with shiny eyes and a soft shell. Whether you’re following a kit, a step-by-step video tutorial, or this written pattern, you’ll end up with a cuddly green turtle that’s perfect for gifting or keeping on your desk as your tiny crochet mascot.
If you make your own version, try a new shell colour or add embroidered detail; small custom touches make amigurumi extra special.