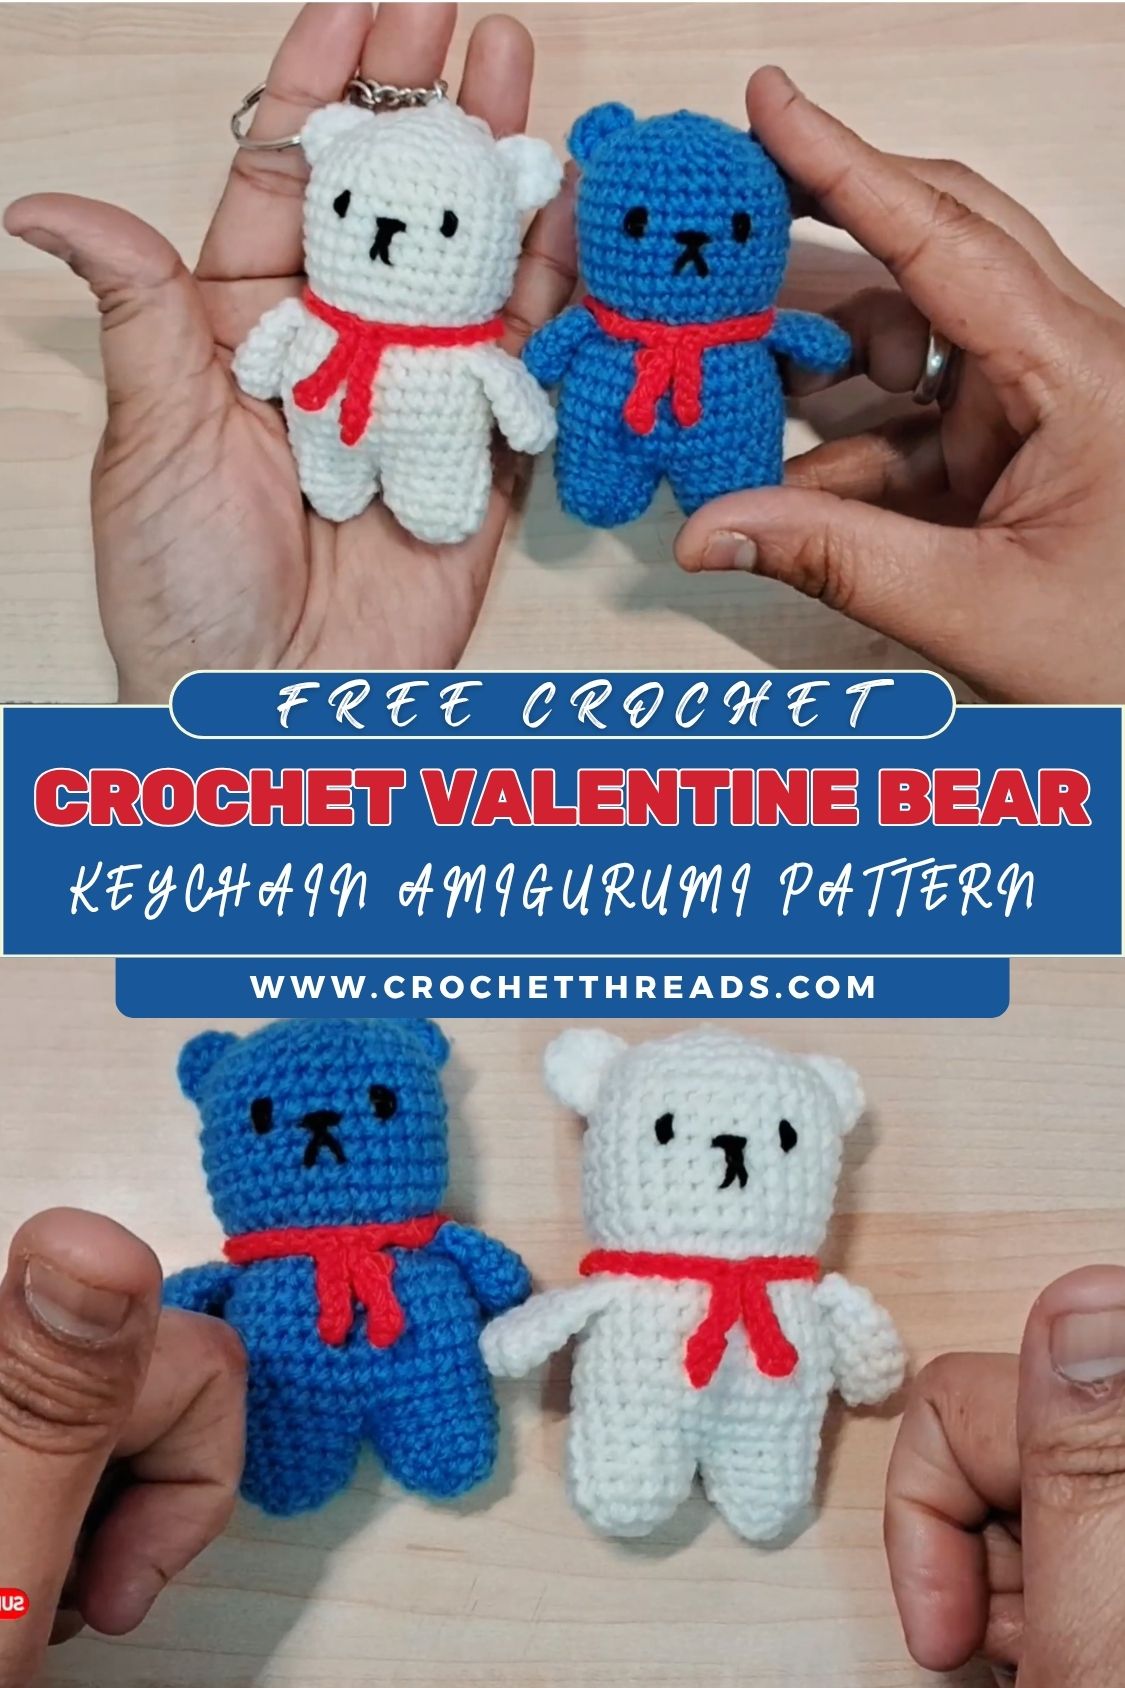
Easy Steps to Make a Cute Crochet Valentine Bear Keychain Amigurumi Pattern
Looking for a quick, adorable, giftable crochet Valentine bear keychain? This mini amigurumi bear keychain is perfect for Valentine’s Day crochet, bag charms, and handmade couple gifts, and it also works well as a scrap-yarn crochet project.
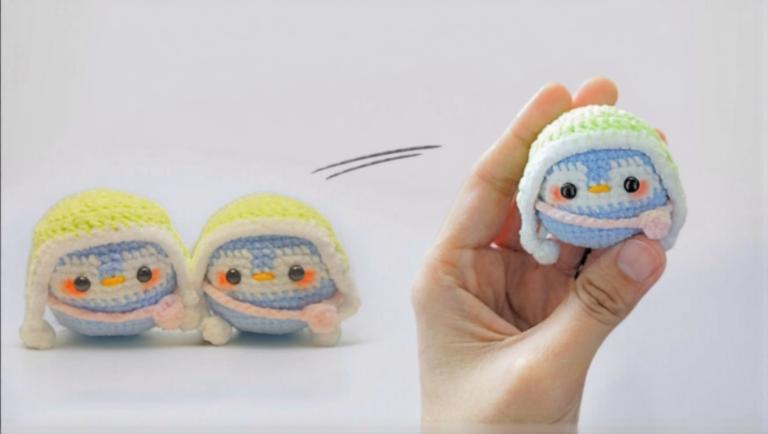
A tiny crochet bear keychain is one of the sweetest ways to turn yarn into a keepsake. Inspired by the YouTube tutorial “ Easy Steps to Make a CUTE Crochet Valentine Bear Keychain”, this beginner-friendly pattern breaks the project into simple parts: make the bear, add a heart detail, then finish it as a keychain. If you’re new to amigurumi, you’ll practice working in the round, simple shaping, and basic assembly skills that carry over to many other crochet plush keychain patterns.
Note: Your scrape didn’t include the video’s full transcript/pattern specifics (it showed “Error transcribing YouTube”), so the tutorial below is written as a clear, beginner-friendly pattern based on the video’s concept and typical construction for a small bear keychain. If you’d like it to match the creator’s stitch counts exactly, paste the pattern notes from the video description or captions and I’ll align everything precisely.
Estimated time to complete
- Beginner: 1.5–2.5 hours
- Confident crocheter: 45–90 minutes
Materials list
Yarn (choose one option):
- Sport/DK (#3) or Worsted (#4) yarn in:
- Bear color (brown, tan, cream, etc.)
- Accent color for heart (red, pink, or white)
- Small amount of black yarn or embroidery floss (for facial details), optional
Hooks & tools:
- Crochet hook: 2.75–3.5 mm (use a smaller hook than your yarn label suggests for tight amigurumi fabric)
- Fiberfill stuffing
- Stitch marker (or scrap yarn)
- Yarn needle (tapestry needle)
- Scissors
- Keychain hardware: split ring, lobster clasp, or ball chain
- Optional: jump ring, small swivel clasp, keychain cord
Optional face supplies:
- 6–8 mm safety eyes (not recommended for small children)
- Pink felt or blush for cheeks
Crochet abbreviations (US terms)
- MR = magic ring
- ch = chain
- sl st = slip stitch
- sc = single crochet
- inc = increase (2 sc in the same stitch)
- dec = decrease (single crochet 2 together / invisible decrease preferred)
- BLO/FLO = back/front loop only
- st(s) = stitch(es)
- rnd = round
Step-by-step: Crochet Valentine Bear Keychain (3 easy steps)
Step 1: Crochet the bear (head + body as one piece)
This creates a small, sturdy bear that’s ideal for a keychain.
Head (worked in continuous rounds)
- Rnd 1: MR, 6 sc (6)
- Rnd 2: inc around (12)
- Rnd 3: (sc, inc) x6 (18)
- Rnd 4: (2 sc, inc) x6 (24)
- Rnd 5: (3 sc, inc) x6 (30)
- Rnd 6–8: sc around (30)
- Rnd 9: (3 sc, dec) x6 (24)
- Rnd 10: (2 sc, dec) x6 (18)
Add eyes (optional):
- Place safety eyes between Rnd 7–8, about 5–6 sts apart.
- If embroidering, wait until after stuffing so you can place features evenly.
- Rnd 11: (sc, dec) x6 (12)
- Start stuffing the head firmly.
Body (continue from head)
- Rnd 12: (sc, inc) x6 (18) begins body width
- Rnd 13: (2 sc, inc) x6 (24)
- Rnd 14–16: sc around (24)
- Rnd 17: (2 sc, dec) x6 (18)
- Rnd 18: (sc, dec) x6 (12)
- Stuff the body firmly (especially if it will hang from a keychain).
- Rnd 19: dec around (6)
- Fasten off, close hole, weave in end.
Approximate size:
- With DK yarn + 3.0 mm hook: ~ 6–8 cm (2.5–3 in) tall
- With worsted + 3.5 mm hook: ~ 8–10 cm (3–4 in) tall
Step 2: Crochet the details (ears, arms, snout, heart)
These small pieces give the “Valentine bear” look.
Ears (make 2)
- MR, 6 sc (6)
- (sc, inc) x3 (9)
- sc around (9)
Fasten off, leaving a tail for sewing. Lightly flatten, do not stuff.
Arms (make 2)
- MR, 6 sc (6)
- sc around (6)
- (sc, inc) x3 (9)
- Rnd 4–6: sc around (9)
Lightly stuff only the bottom (optional), flatten the op. Fasten off with sewing tail.
Snout/muzzle (optional but cute)
- MR, 6 sc (6)
- inc around (12)
- sc around (12)
Fasten off, leaving a tail for sewing. Lightly stuff or leave flat.
Tiny heart (Valentine accent)
Choose one of these simple options:
Option A: Mini flat heart (quick + beginner-friendly)
- MR, 3 sc, 3 dc, 3 sc, sl st into MR
- Pull the ing tight to shape the heart.
Fasten off, leaving a tail to sew on.
Option B: Small puffy heart (more 3D)
- Crochet two small circles: MR 6 sc; Rnd 2 inc around (12); fasten off first, don’t fasten off second.
- With the second circle still on the hook, around the cond circle, then join to the st and sc around both to form a heart shape; lightly stuff and close.
(If you want, I can write exact round-by-round counts for a specific size.)
Step 3: Assemble + add keychain hardware
Assembly is where amigurumi really comes to life.
Pin pieces first
Use sewing pins or stitch markers to place:
- Ears: top sides of the head, symmetrical
- Arms: sides of upper body, slightly forward
- Snout: centered below eye line
- Heart: center chest or held slightly to one side
Sew ears
<ul>
- Sew each ear across the flattened edge onto the head.
- Use small whip stitches; pull them snug so they don’t flop too much.
Sew arms
<ul>
- Stitch arms onto the body around Rnd 13–15 area (depending on your bear’s proportions).
- Make a few extra stitches at the top corners for durability (keychains get tugged).
Sew snout + embroider face
<ul>
- Sew snout centered under the eyes.
- Embroider:
- Nose: small triangle or oval
- Mouth: simple “Y” or curved smile
- Optional: add blush with a tiny bit of pink yarn or pastel.
Attach the heart
- Sew the flat heart to the chest, or stitch it so it looks like the bear is “holding” it (tack it under one arm).
Add a hanging loop + keychain
Simple yarn loop method (secure):
- Insert the hook at the top center of the head.
- Pull up a loop of yarn and ch-10–18 (depending on the desired length).
- Slip stitch back into the same point, fasten off.
- Attach a split ring or a clasp through the loop.
Hardware method (extra sturdy):
- Sew a jump ring or small keychain loop to the top of the head with strong thread/yarn.
- Attach the keychain clasp to the ring.
Tips for beginners (and making it look neat)
- Use a smaller hook than normal for tight stitches so stuffing doesn’t show.
- Mark your first stitch each round to avoid losing count.
- Learn the invisible decrease for smoother shaping.
- Stuff gradually (especially the head) so it stays round.
- Weave in ends thoroughly. Keychains get a lot of friction in bags/pockets.
Color ideas
- Classic Valentine: brown bear + red heart
- Soft aesthetic: cream bear + blush pink heart
- “Strawberry” theme: pink bear + red heart
- Couple set: make two bears with different heart colors or initials
Keychain options
- Split ring (simple, common)
- Lobster clasp (easy to clip onto bags)
- Ball chain (cute and lightweight)
- Add-ons: tiny bell, name tag, letter beads, mini ribbon bow
Gift wrapping ideas
- Tie to aa Valentine’scard with a ribbon
- Put in a clear treat bag with confetti + a “Handmade with love” tag
- Attach to a small box with tissue paper for a boutique feel
Conclusion
This crochet Valentine bear keychain is a fast, adorable amigurumi project that makes a heartfelt handmade gift perfect for classmates, friends, or a sweet bag charm for yourself. If you’d like to follow along visually (especially for assembly and shaping), watch the original tutorial here: If you share what yarn weight and hook size you’re using, I can also help you fine-tune the finished size and adjust the stitch counts to match the exact look you want.