Free Crochet Foldover Shorts Pattern With Buttons
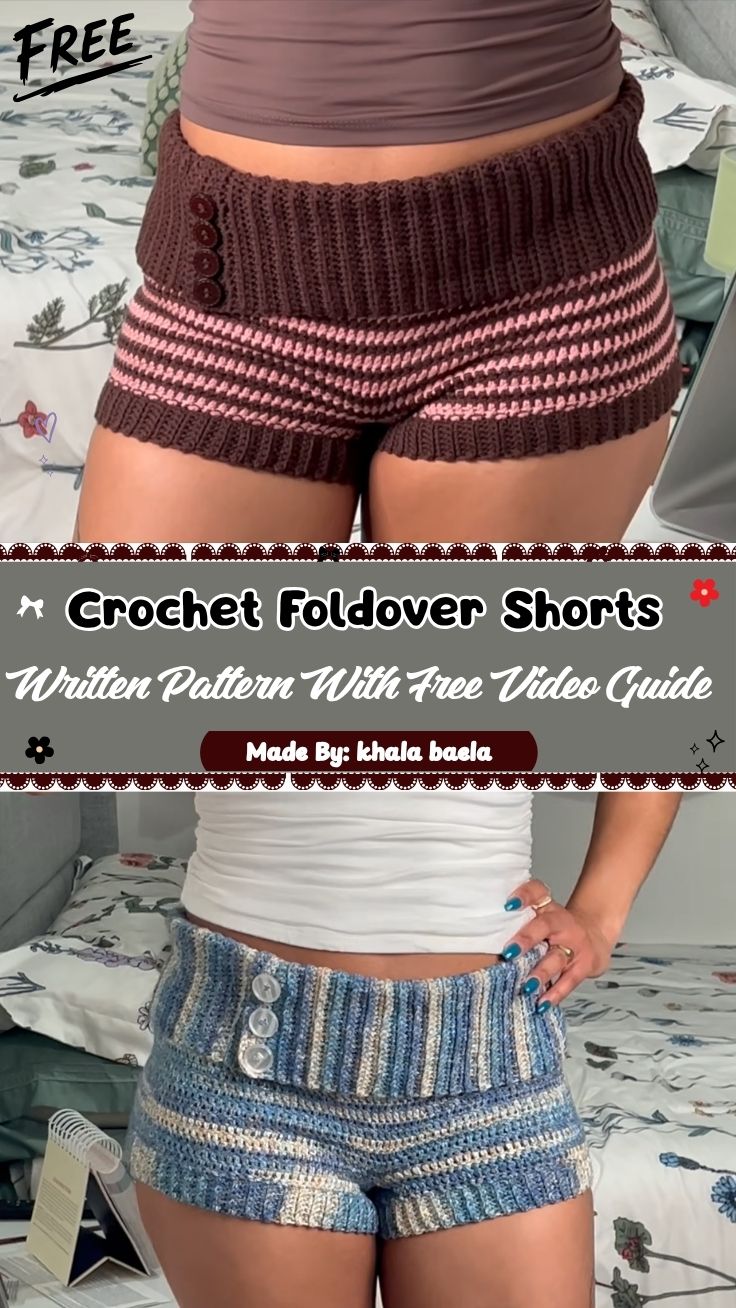
Rows of richly marled blue yarn fold neatly at the waist to create the standout detail behind this Free Crochet Foldover Shorts Pattern With Buttons, giving a simple garment shape real visual interest. Two decorative buttons anchor the folded band in place, turning an everyday pair of crochet shorts with buttons into a piece that looks intentionally styled rather than basic.
Variegated blue yarn works up into a neatly striped texture across the whole body, while a wide fold-over waistband doubles the fabric for extra structure and flattery. This design suits everyday casual wear, summer outings, and relaxed hangouts especially well, where its comfortable fit and distinctive details stand out. The two buttons on the front of the band aren’t purely decorative; they help keep the fold secured through regular wear, giving this fold-over waistband shorts pattern real everyday function alongside its style. Anyone drawn to handmade crochet shorts will enjoy the slightly unexpected touch of how that button elevates the whole design.
About This Free Crochet Foldover Shorts Pattern
A dense, ribbed-style body forms the main leg panels of these shorts, worked in rows before the top edge folds over on itself to create a thicker, structured waistband. That folded band gets secured with two buttons stitched through both layers, holding the fold in place while adding a clean, tailored detail to the front.
Skill level sits at an intermediate range, mostly because garment shaping and the foldover waistband technique both require more planning than a flat accessory pattern. The stitch work itself stays fairly straightforward, relying on consistent rows rather than any especially complex textured pattern.
Project Details
- Skill Level: Intermediate
- Finished Size: Customizable (recommend measuring waist, hip, and inseam before starting)
- Estimated Time Required: 6 to 8 hours
- Recommended Yarn Weight: Worsted weight, ideally a marled or variegated cotton-blend
- Crochet Hook Size: 4.5mm to 5.0mm
Materials Needed
- Marled or variegated worsted weight yarn (main color)
- Crochet hook (4.5mm–5.0mm)
- Two decorative buttons
- Tapestry needle
- Stitch markers
- Scissors
- Measuring tape
- Sewing needle and thread (for securing buttons)
Crochet Stitches & Techniques
- Chain Stitch (ch): Forms the foundation row for each leg panel.
- Single Crochet (sc): Builds the dense ribbed texture of the main body.
- Half Double Crochet (hdc): Adds subtle height variation through certain rows.
- Foldover Waistband Technique: Doubles the top rows over to create a thicker, structured band.
- Fastening Off: Secures each finished panel and waistband section.
- Sewing Pieces Together: Joins the leg panels and attaches the buttons through the folded band.
Only these core techniques appear throughout the pattern, keeping the project approachable despite its garment format and decorative detailing.
Pattern Instructions
Chaining the Foundation Row
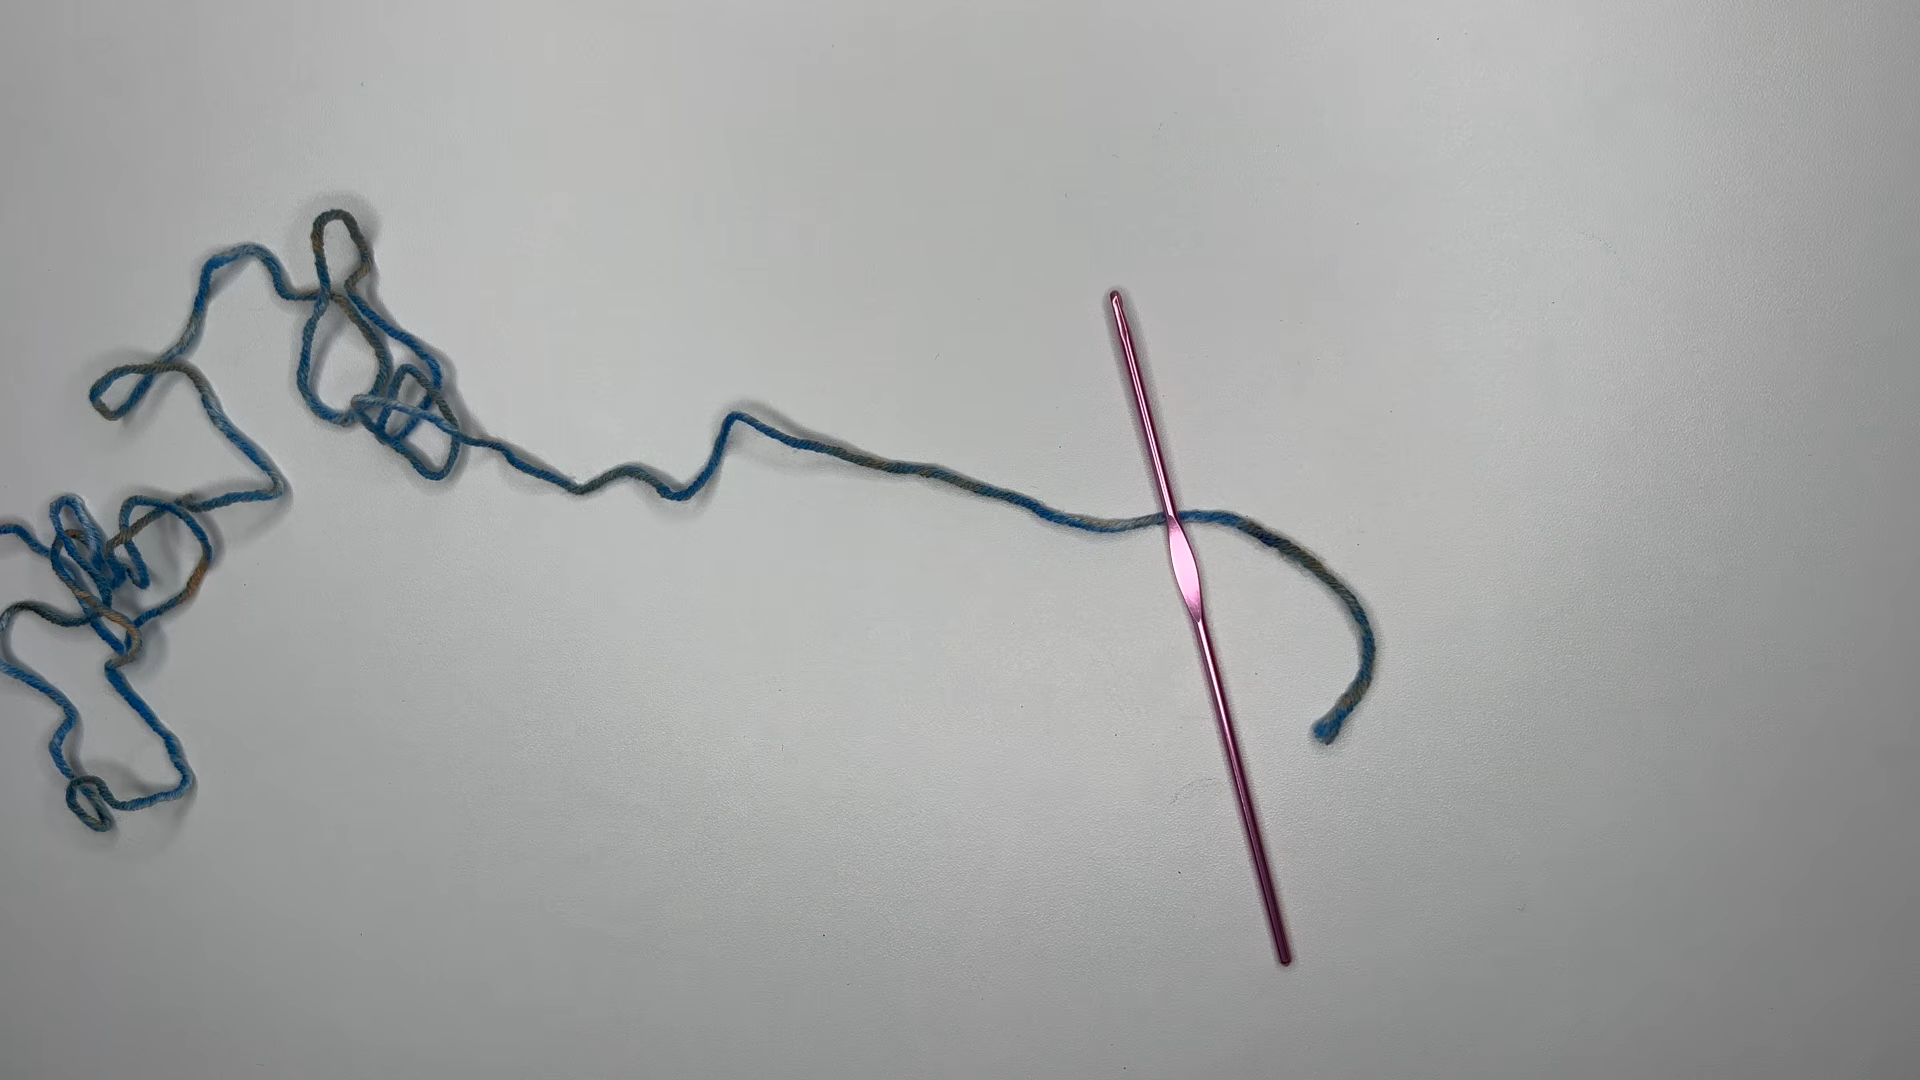
Chain a length matching your hip measurement plus ease, checking the count against actual well-fitting shorts before moving forward. Getting this starting measurement right saves considerable rework later, since a finished panel is far harder to resize than an initial chain.
Building the Leg Panels
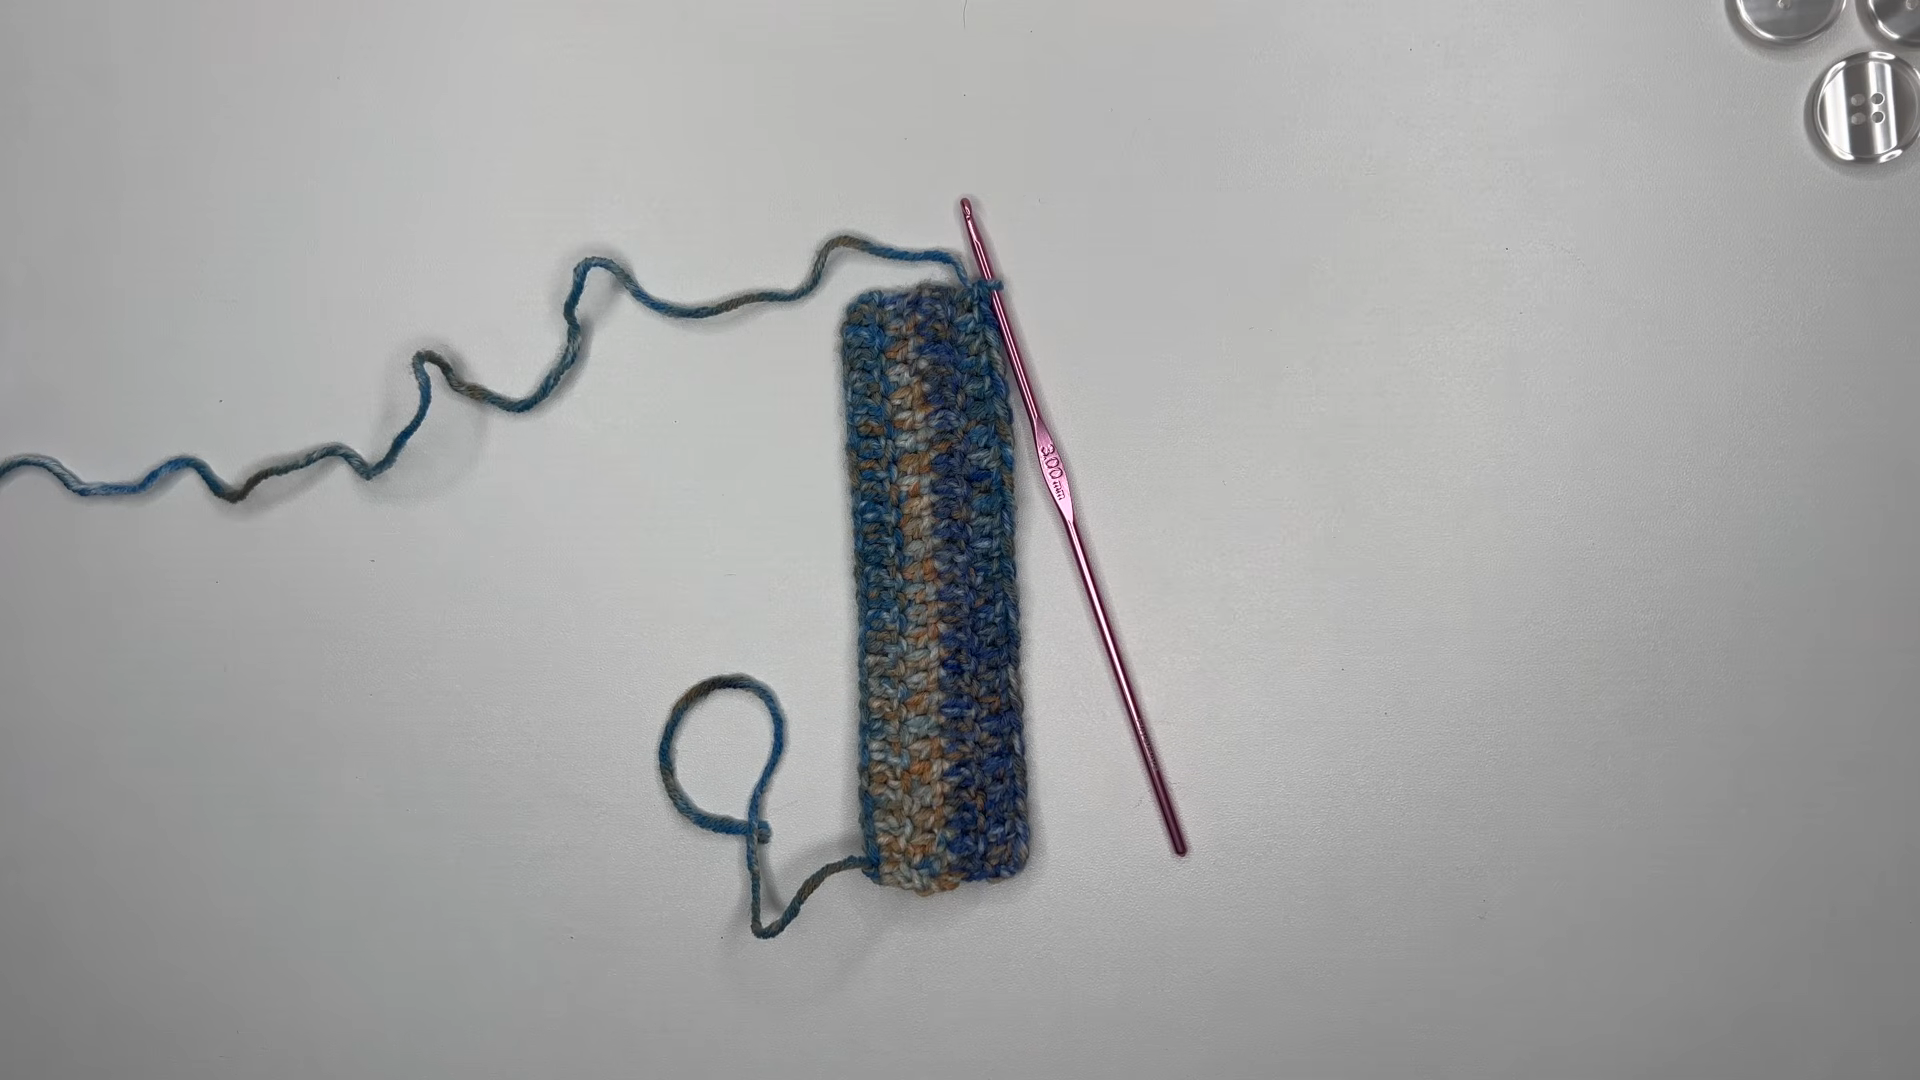
Work rows of single or half double crochet across the full width, continuing until the panel reaches your desired length from waist to leg opening. Keep tension consistent throughout this section, since dense fabric here helps the finished shorts hold their shape through regular wear.
Shaping the Leg Openings
Decrease gradually at the sides of each panel as you approach the leg opening, tapering the fabric so the finished shorts sit comfortably around the thigh. Work both panels identically through this section so the finished pair matches evenly on both sides.
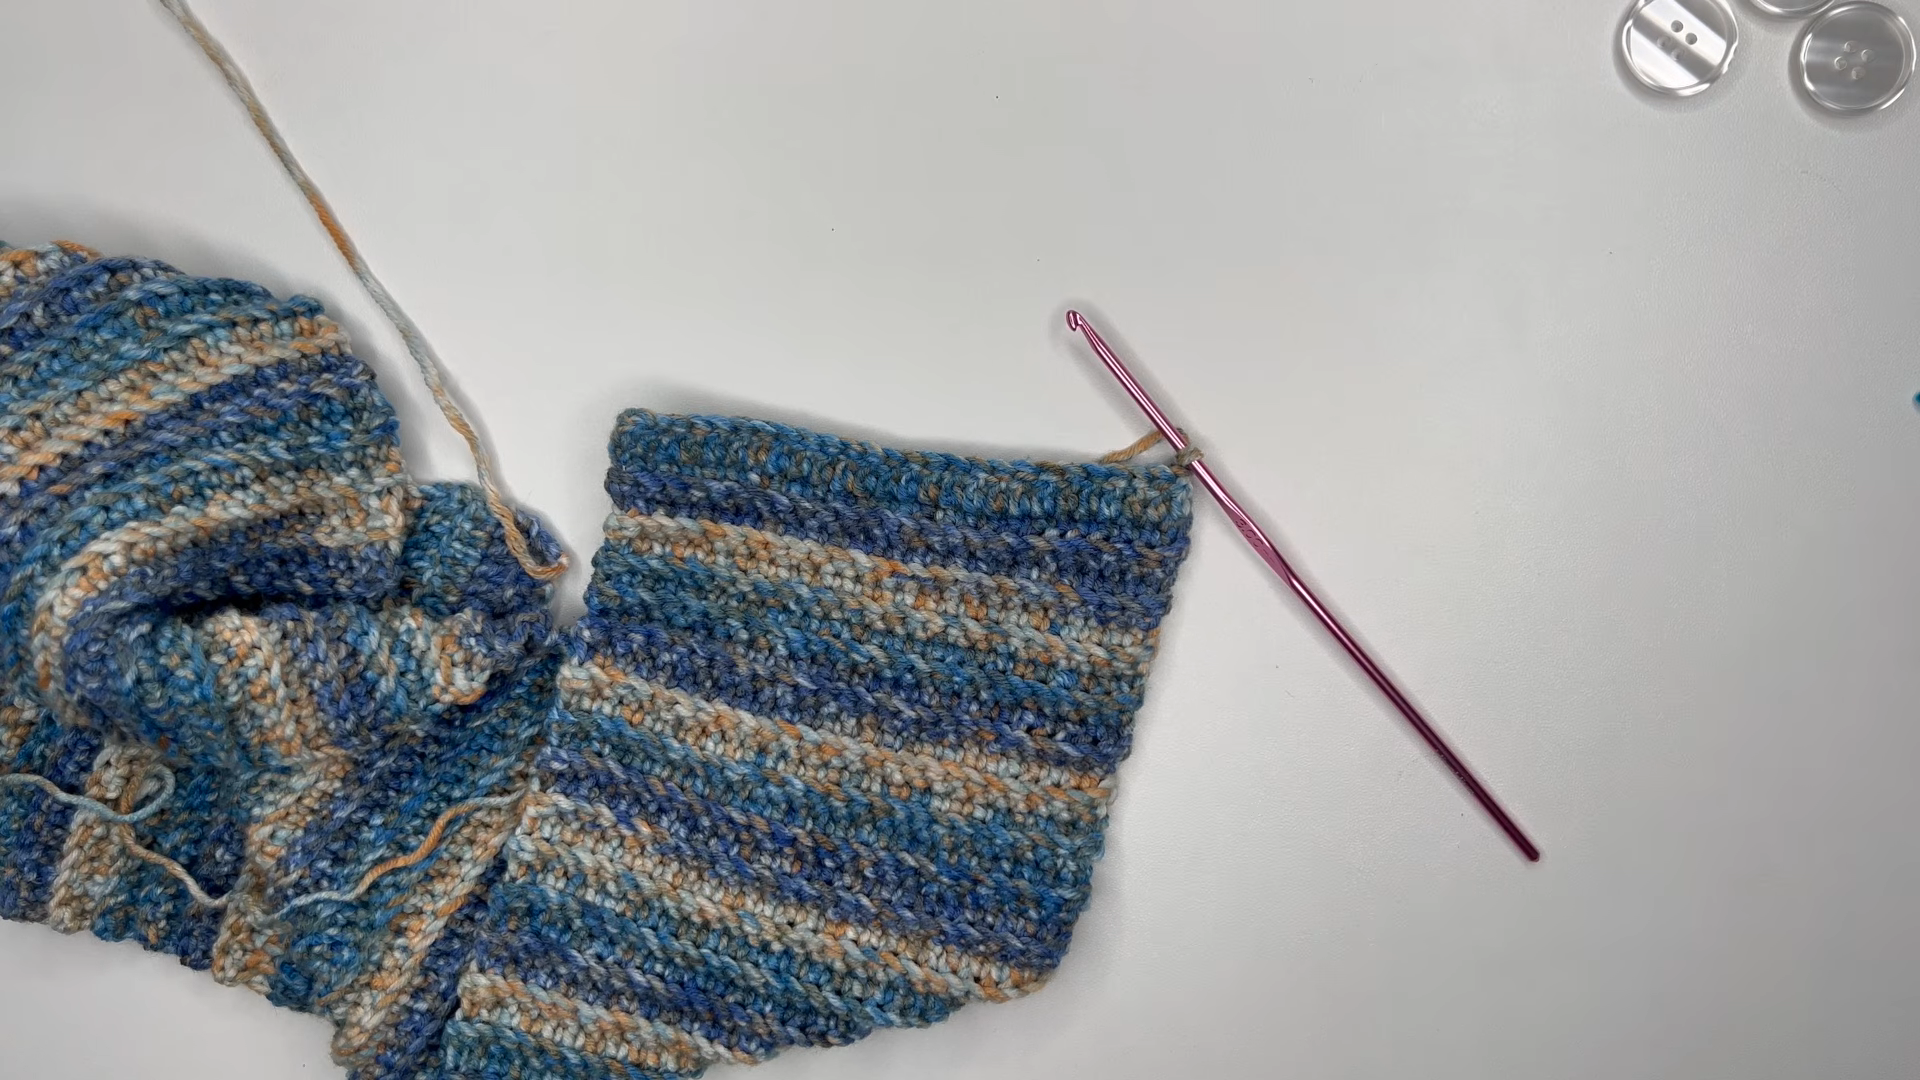
Working the Foldover Waistband
Once the main body reaches full length, continue working several additional rows in the same stitch pattern to create the extra fabric needed for folding over. Fold this extended section down against the outside of the waistband and pin it in place before securing with a few tacking stitches.
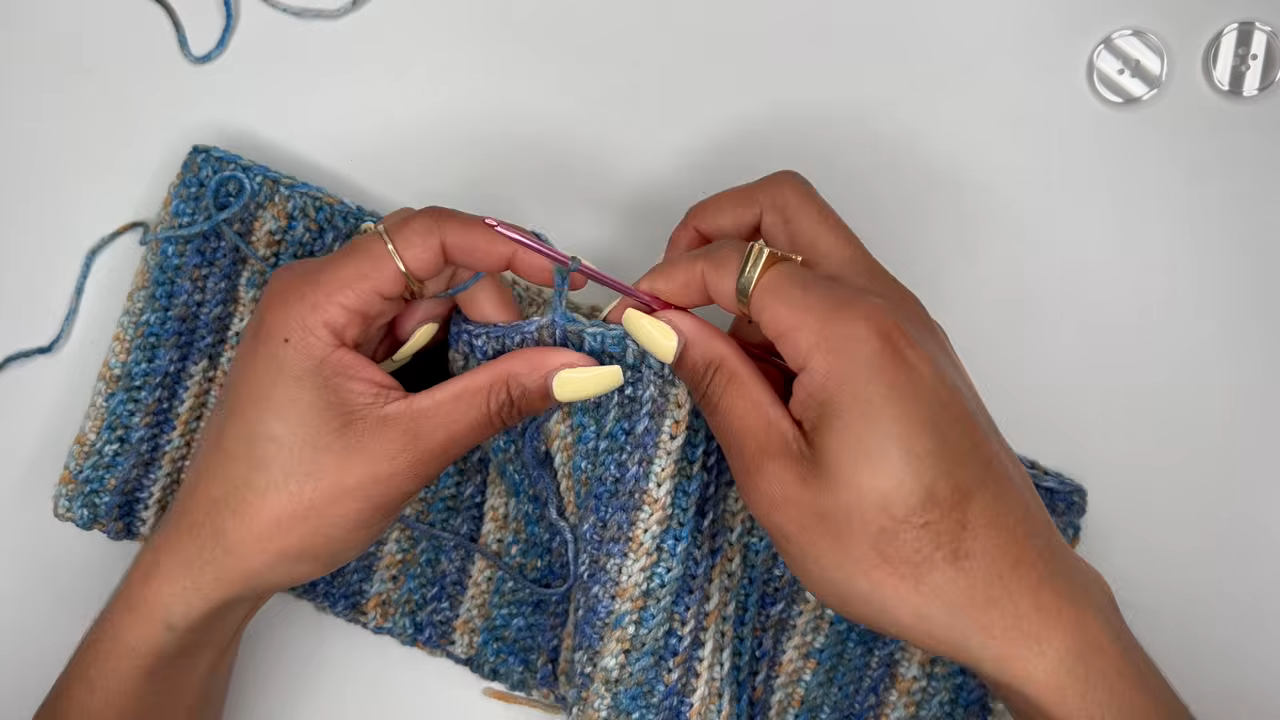
Adding the Button Detail
Position two buttons evenly spaced along the front of the folded waistband, marking their placement before stitching them securely through both layers of fabric. Sewing through both the folded band and the body beneath it keeps the fold anchored in place during wear rather than flopping loose.
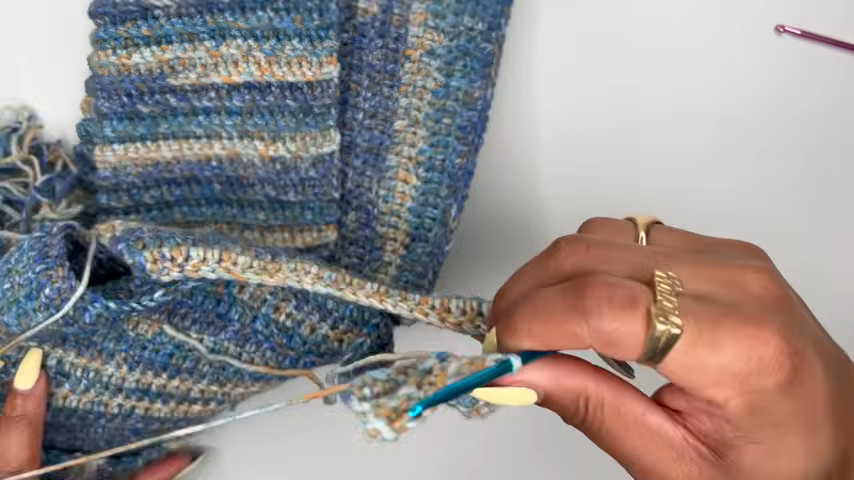
Joining the Panels
Lay both leg panels together and single crochet or whip stitch along the inseam and outer seams, leaving the leg openings free. Keep the seam tension even so the finished shorts don’t pull or twist to one side once worn.
Final Assembly
Weave in every remaining loose end using a tapestry needle, checking the waistband fold and button attachment points closely since these areas see the most handling during wear. Try the finished shorts on for a final fit check, adjusting the fold or button placement if anything sits unevenly.
Care Instructions
(This is a new section I’ve added beyond the standard structure, since a wearable garment with buttons benefits from clear care guidance that a simple accessory pattern wouldn’t need.)
Hand washing in cool water helps preserve both the stitch definition and the marled color pattern of the yarn, especially if the fiber blend includes any wool content. Laying the shorts flat to dry prevents the foldover waistband from stretching out of shape, which can happen if the wet garment hangs under its own weight. Removing the buttons before any machine washing, if that method is preferred, protects both the buttons and the surrounding stitches from unnecessary strain during the wash cycle.
Tips for Success
- Measure waist, hip, and inseam before chaining the foundation row.
- Keep tension consistent across both panels for a symmetrical, comfortable fit.
- Pin the foldover band in place before stitching to keep the fold even all the way around.
- Try the shorts on partway through assembly to catch fit issues while easy to adjust.
- Reinforce button attachment points with extra stitches, since they see regular handling.
Personalization Ideas
Color Variations
Swapping the marled blue for a solid neutral shade gives these shorts a cleaner, more minimalist look.
Length Adjustments
Shortening the leg panels creates a more fitted short style, while lengthening them moves toward a bermuda-style silhouette.
Button Alternatives
Swapping standard buttons for wooden or leather-look toggles changes the overall styling from casual to more rustic.
Waistband Width
Working extra rows before folding creates a wider, more structured band for those who prefer a bolder waistline detail.
Common Mistakes to Avoid
Skipping the initial measurement step can lead to shorts that fit too tight or too loose. Check the dimensions against real clothing before starting to avoid unnecessary rework. Folding the waistband unevenly can also make the front look lopsided once the buttons are attached. Pin the fold in place before stitching to keep everything level. Attaching buttons through only the top fabric layer can leave the fold loose. Stitch through both layers to keep the waistband detail secure.
Frequently Asked Questions
What yarn works best for shorts like this?
A sturdy worsted weight cotton-blend or wool-blend yarn holds its shape well under regular wear, and a marled or variegated colorway adds visual interest without extra color-change work.
Can I skip the buttons entirely?
Certainly. The foldover waistband still looks tidy without buttons, though the buttons help keep the fold securely in place during movement.
How do I keep both leg panels matching?
Counting rows and stitches carefully on the first panel, then repeating that exact count and shaping on the second, keeps both pieces consistent.
Is this Free Crochet Foldover Shorts pattern suitable for beginners?
The straight rows stay manageable for beginners, though the foldover waistband technique and garment shaping benefit from some prior experience.
Can I make these shorts without a foldover band?
Yes, working a simple straight waistband instead skips the folding technique entirely, though it changes the overall styled look of the piece.
How much yarn do I typically need for this Free Crochet Foldover Shorts project?
Amount varies by size, but most versions use two to three skeins of worsted weight yarn for a complete pair.
Can I add a drawstring instead of relying on the fold for fit?
Absolutely. Threading a cord through the waistband before folding it over adds an extra layer of adjustable fit.
Conclusion
A folded waistband and two well-placed buttons create a small detail with a big styling impact. These shorts work well as everyday loungewear. Pair them with a simple top for a more polished look. This design proves that handmade pieces can feel just as intentional as store-bought styles.
Give this pattern a try and experiment with different button styles or colors. You can add small details that match your personal style. Share your finished shorts with fellow crocheters who appreciate projects full of thoughtful details.