
Crochet Airplane Plushie Plane Amigurumi Tutorial for Beginner
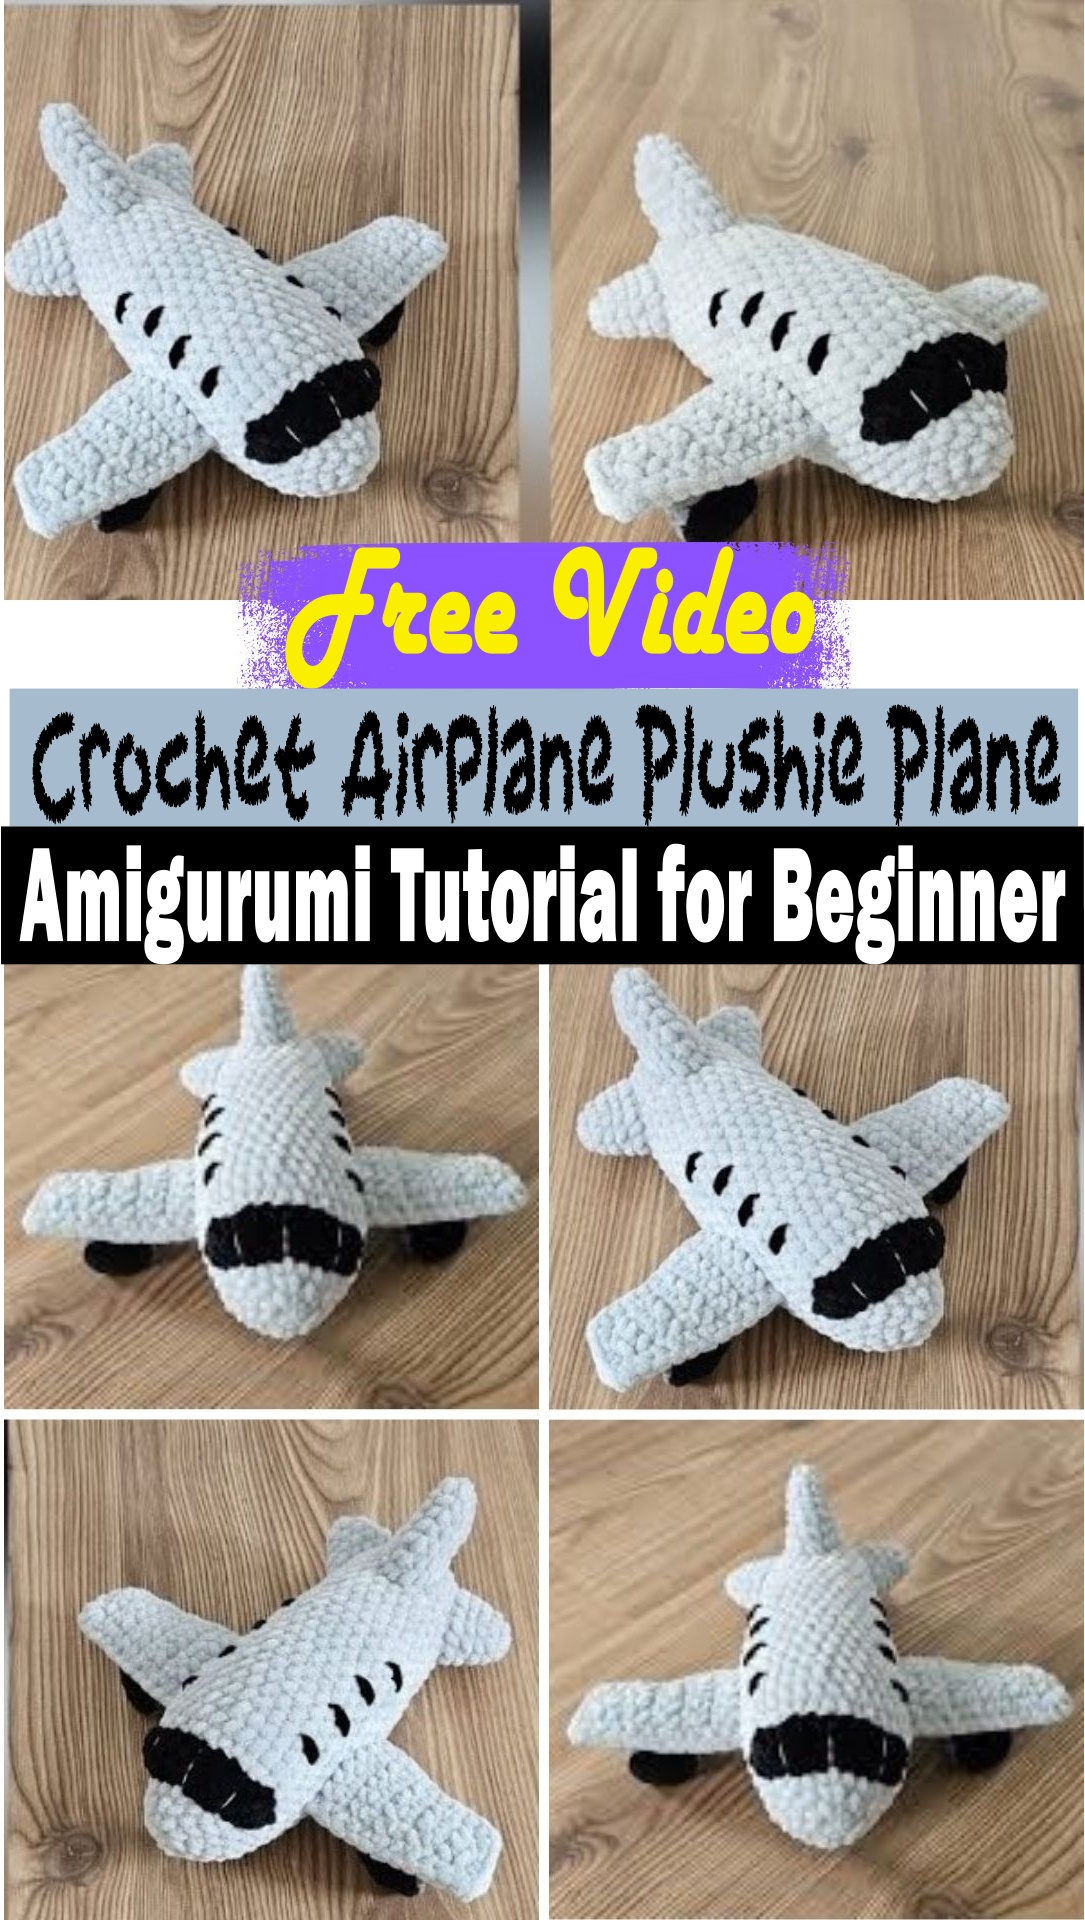
Crochet Airplane Plushie Plane Amigurumi has taken the world by storm, offering a delightful way to create cute and cuddly plush toys with just a hook and yarn. Among the myriad of adorable patterns, the airplane plushie stands out as a charming project for beginners. Whether you’re looking to expand your crochet skills or simply want to create a unique gift for a loved one, this crochet airplane plushie tutorial will guide you through the process with ease.
In this comprehensive guide, you’ll learn everything from selecting the right materials to executing each step with precision. By the end of this tutorial, you’ll have your very own crochet airplane plushie, ready to soar into the hearts of those around you. Let’s embark on this creative journey together!
Materials Needed
Before diving into the creation process, it’s essential to gather all necessary materials. Here’s a list of the items you’ll need to crochet your airplane plushie:
Yarn: Choose a soft, medium-weight yarn in your desired colors (e.g., light blue for the body, white for the wings, and red for accents).
Crochet Hook: A 4mm hook is typically recommended for this type of project.
Fiberfill Stuffing: To give your plushie its soft and squishy texture.
Tapestry Needle: For sewing pieces together and weaving in ends.
Scissors: To cut yarn efficiently.
Stitch Markers: Useful for keeping track of rounds.
Safety Eyes (optional): To give your airplane a playful face.
Embroidery Thread (optional): For adding details like windows or logos.
Making the Crochet Airplane Plushie
Creating your crochet airplane plushie involves several steps, each contributing to the final adorable toy. Here’s a detailed guide to help you along the way:
1. Creating the Body
Forming the Base: Start with a magic ring and work single crochet stitches to form a round base. Increase the stitch count gradually to create a cylindrical shape, which will form the fuselage of the plane. Use a stitch marker to keep track of your rounds.
Building the Structure: Continue crocheting in the round, maintaining the stitch count to build the airplane’s body. As you progress, you can change colors to create different sections, like the nose and tail.
Shaping the Tail: Toward the end of the body, begin decreasing stitches to shape the tail. This will give your airplane a sleek, aerodynamic appearance.
2. Crafting the Wings
Starting the Wings: Each wing is made separately. Begin with a chain stitch and work single crochets back and forth, increasing at the edges to form a triangular shape.
Attaching the Wings: Once both wings are complete, sew them onto the sides of the airplane body using a tapestry needle. Ensure they are symmetrically aligned for a balanced look.
3. Adding the Details
Designing the Propeller: Use a contrasting color to crochet a small round piece, which will serve as the airplane’s propeller. Attach it securely to the front of the body.
Creating the Tail Fin: Construct a smaller triangular piece for the tail fin using the same technique as the wings. Attach it to the top of the tail section.
Incorporating Safety Eyes: If desired, add safety eyes to the front of the airplane to give it a playful, characterful face.
4. Final Assembly
Stuffing the Airplane: Before closing off the body, fill it with fiberfill stuffing to achieve the desired thickness and softness. Be careful not to overstuff, which can distort the shape.
Closing the Body: Finish the body by decreasing stitches and closing off the end with a tapestry needle.
Weaving in Ends: Secure all loose ends by weaving them into the body and trimming any excess yarn.
Tips for Success
Consistent Tension: Maintaining even tension throughout the project ensures a uniform appearance and prevents the plushie from being too tight or too loose.
Color Coordination: Choose colors that complement each other and enhance the airplane’s aesthetic appeal.
Patience and Practice: Crocheting amigurumi requires patience and practice. Don’t be discouraged by initial challenges every stitch brings you closer to a delightful creation.
Personalization: Feel free to add personal touches, such as embroidered logos or different color schemes, to make your plushie truly unique.
Conclusion
Creating a crochet airplane plushie is a rewarding project that combines creativity, skill, and a touch of whimsy. With this detailed tutorial, even beginners can craft a charming amigurumi toy that captures the imagination. As you follow each step, remember to enjoy the process and take pride in the delightful plushie that takes shape in your hands. Happy crocheting!


