Crochet Half Cup Top Pattern with Wooden Ball Detail
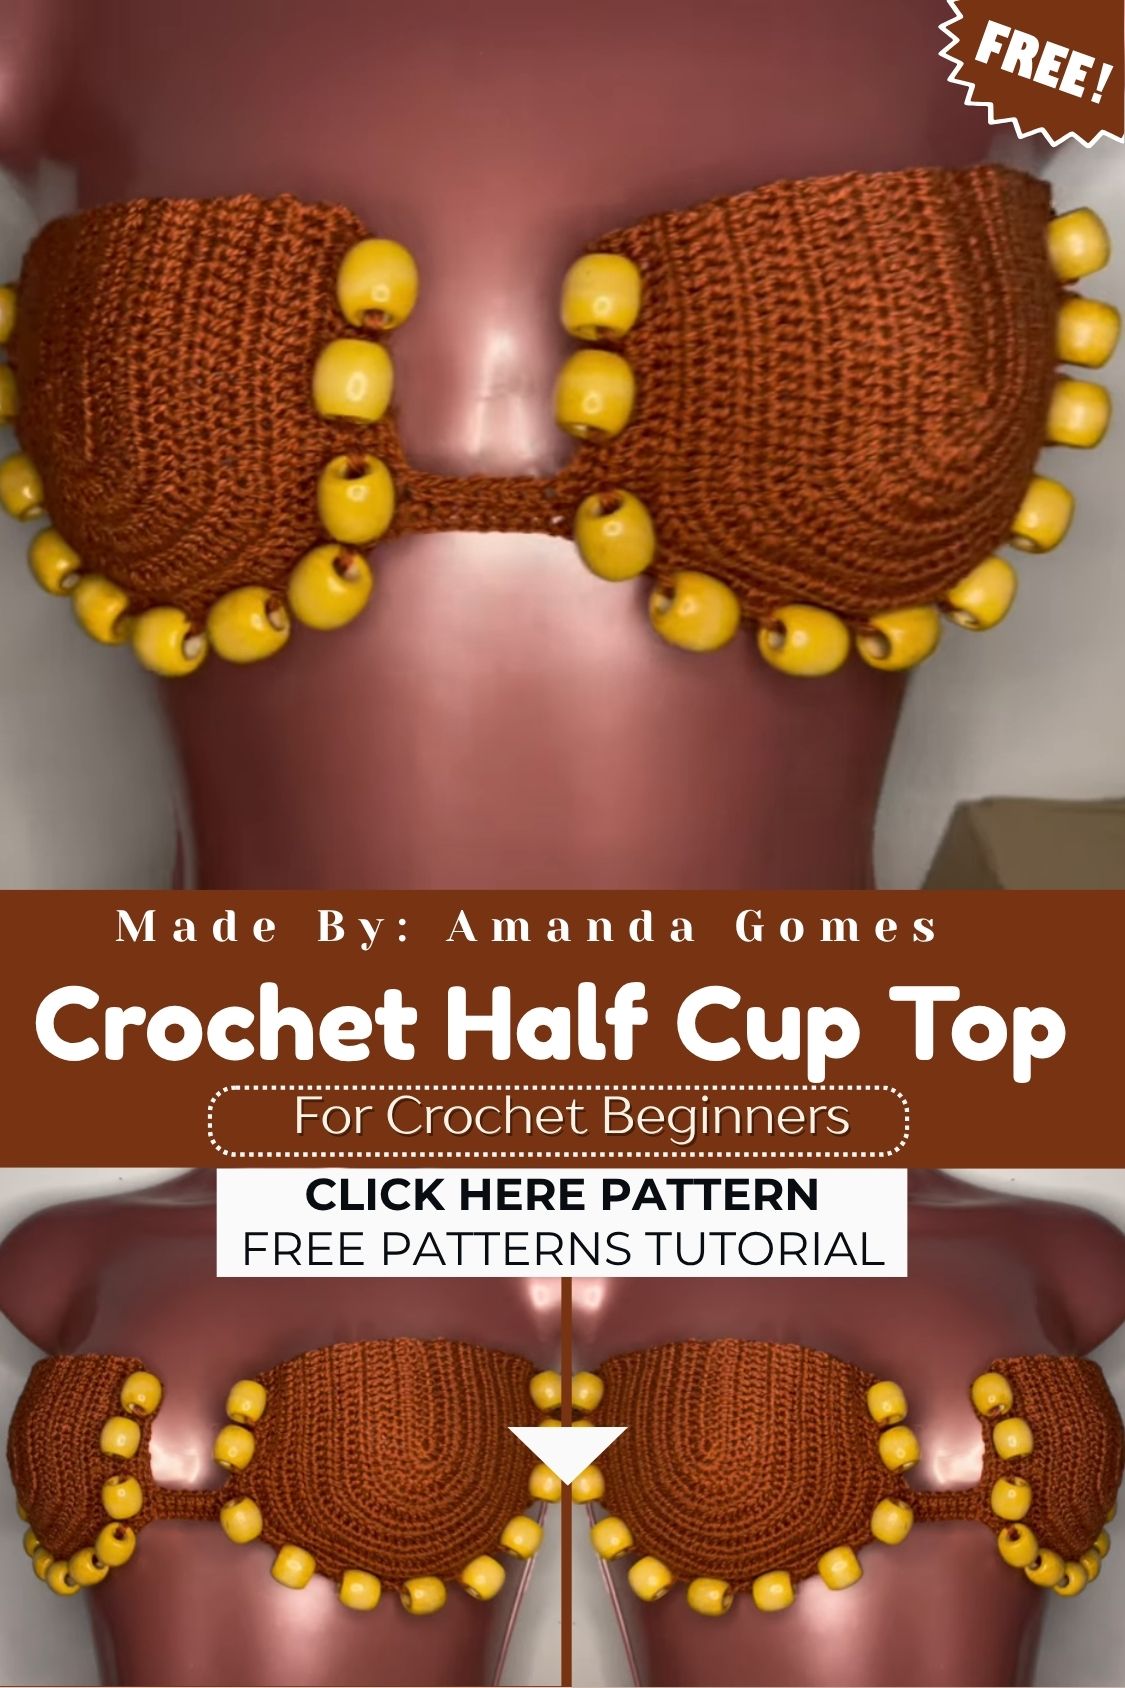
A perfect blend of sunshine, beach, and boho style, this Crochet Half Cup Top is a beautiful handmade garment. Tiny wooden details add a unique charm to its simple design, while the soft yarn it’s made from feels comfortable and looks stylish to wear. This project is ideal for crocheters who want to create a special, beautiful summer piece for themselves.
Simple stitches come together to form this beautiful, stylish handmade garment: the Crochet Half Cup Top. Perfect for beach days, festivals, or layering under a jacket, its wooden bead trim gives it that natural boho feel. Since it’s made with basic crochet stitches, this pattern is easy for beginners too and comes together quickly, while the finished top has a unique, boutique-quality look.
Skill Level
This is a beginner-to-intermediate-friendly project. If you already know single crochet, increases, and decreases, you can finish this. Counting stitches carefully across the cup-shaping rounds is the only slightly tricky part for total beginners.
Materials and Supplies List
Here is everything you need to gather before starting:
- Cotton or cotton-blend yarn (DK or worsted weight works best for swim and summer tops), 2 to 3 colors
- Crochet hook size 3.5mm to 4mm (adjust based on your yarn weight and tension)
- Small wooden balls or wooden beads with pre-drilled holes (10 to 16 pieces, depending on trim length)
- Tapestry or yarn needle for weaving in ends and sewing pieces
- Scissors
- Stitch markers
- Measuring tape
- Optional: elastic thread for extra stretch support in the band
Crochet Techniques Used
You will lean on a small set of core techniques throughout this project:
- Magic ring to start each cup without a visible hole
- Single crochet (sc) as the main stitch for structure and shape
- Increase and decrease rounds to form the curved cup shape
- Sewing pieces together to join cups, band, and straps neatly
Step-by-Step Crochet Pattern Instructions
Step 1: Creating the Cup Base
Start each cup with a magic ring and work your first round of single crochet stitches into it, closing the ring snugly. Low-key, this first round sets the tone for how neat your whole cup looks later, so keep your tension even.
- Round 1: 6 sc into magic ring, pull tight
- Round 2: 2 sc in each stitch around (12 sts)
- Round 3: alternate 1 sc, 2 sc in next stitch, repeat around (18 sts)
- Continue increasing every round by adding 6 stitches until your cup reaches your desired bust measurement
Step 2: Shaping the Cup Curve
Once your circle reaches the right diameter, switch to working straight rounds of single crochet without increasing. This builds the depth of the cup so it sits nicely rather than lying flat.
- Work 3 to 5 straight rounds in sc, depending on desired cup depth
- Use stitch markers at the start of each round so you never lose your place
Step 3: Making the Second Cup
Repeat Steps 1 and 2 to make a matching second cup. No joke, matching tension between the two cups matters more than matching stitch count exactly, since amigurumi-style stuffing tricks do not apply here, but even tension keeps both cups looking like a true pair.
Step 4: Building the Body Band
Connect both cups with a straight band of single crochet rows worked back and forth. This band sits under the bust and gives the top its structure.
- Chain the length needed to span both cups plus a little ease
- Work single crochet rows until the band reaches your desired height
- Attach the cups to the top edge of the band using your yarn needle
Step 5: Adding the Straps
Chain a long foundation row for each strap, then work one row of single crochet back along the chain to reinforce it. Attach straps to the top corners of each cup, crossing them at the back or tying halter-style depending on your preferred fit.
Step 6: Wooden Ball Trim Detail
This is where the piece gets its signature look. Thread your wooden balls onto a length of yarn or crochet them directly into the trim round along the bottom band or strap edges.
- Space wooden balls evenly, roughly every 3 to 4 stitches
- Secure each ball firmly so it does not slide during wear
- For a fringe effect, leave small yarn tassels between beads
Step 7: Assembly Process
Lay both finished cups and the band flat to check symmetry before sewing. Sew the cups onto the band first, then attach straps last so you can adjust the fit while trying the piece on.
Step 8: Finishing Touches
Weave in every loose end using your tapestry needle, working through several stitches so nothing unravels in the wash. Give the whole piece a light steam block if your yarn allows it, which helps the stitches sit flatter and more even.
Helpful Beginner Tips
- Keep your stitches on the tighter side so the fabric holds its shape and does not stretch out under water or sun
- Use stitch markers at the start of every round, especially during increase rounds, so you never lose count
- Try the piece on as you go rather than waiting until the very end, since fit adjustments are much easier mid-project
- Choose a smaller hook than the yarn label suggests if you tend to crochet loosely
Design Customization Ideas
- Different colors: try ombre shades or a two-tone contrast between cups and band for a bold beach look
- Cute accessories: add shell charms, small tassels, or beaded fringe alongside the wooden balls
- Mini size variations: scale down the same pattern to make a matching top for a doll or as a keychain-style miniature charm
FAQ Section
What is the best yarn for this kind of Crochet Half Cup Top?
Cotton or cotton-blend yarn works best since it holds its shape, breathes well in warm weather, and dries faster than acrylic if worn near water.
How do I make my crochet pieces feel firm and structured?
Tighter stitches, a smaller hook size, and even tension throughout each round keep the fabric firm without needing extra stiffening.
How long does this project usually take?
Most crocheters finish this top in 4 to 6 hours of active work, spread across a couple of relaxed sessions.
Conclusion
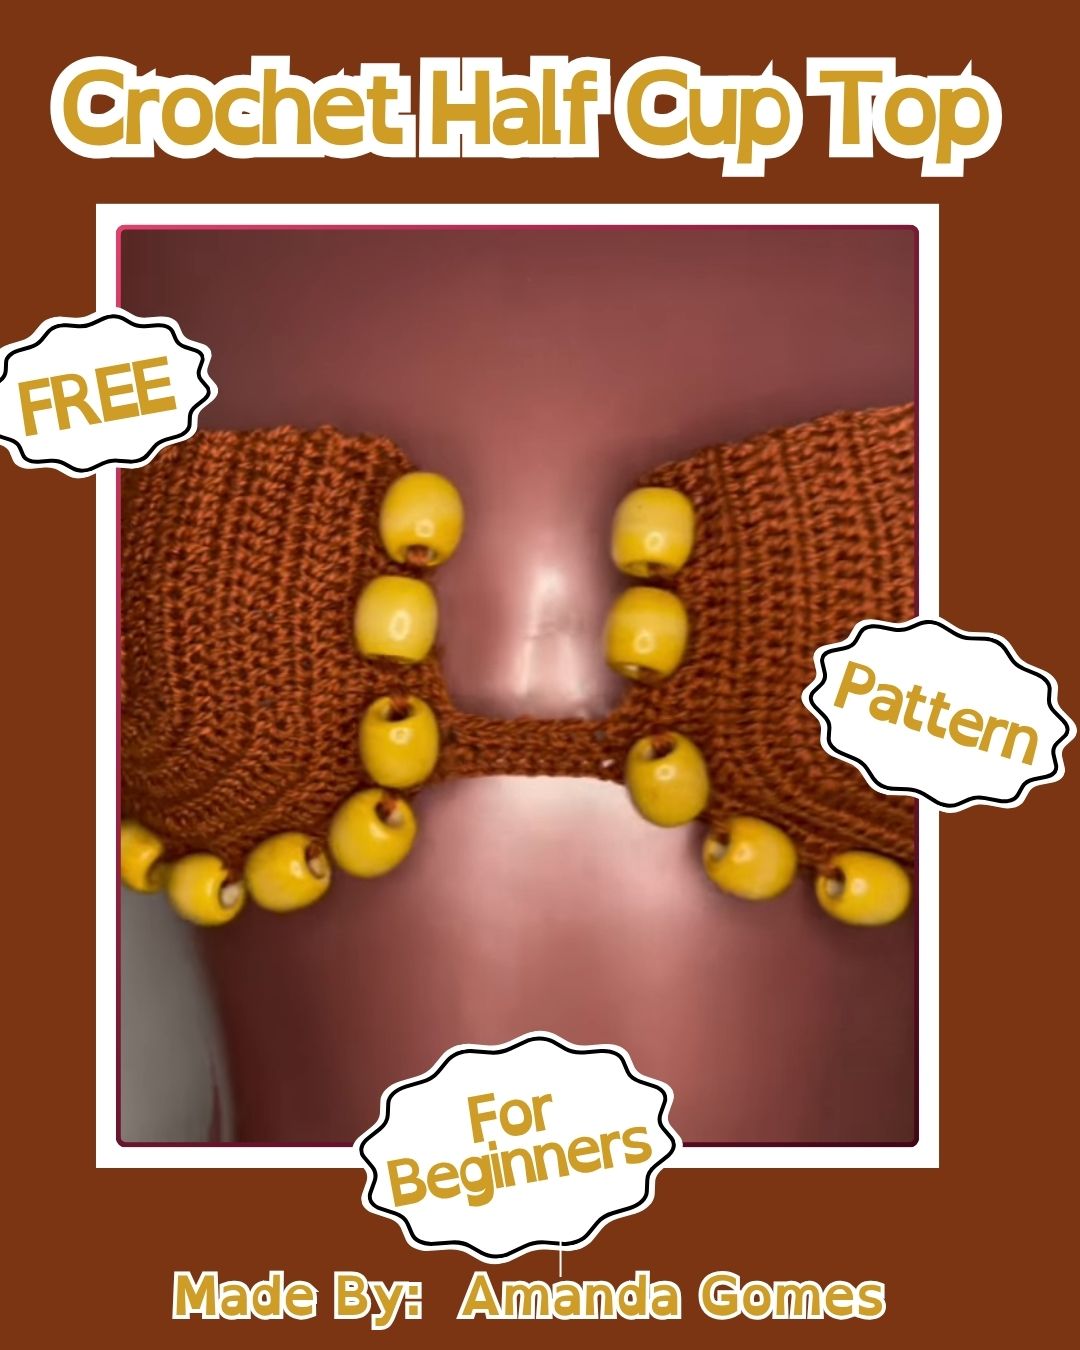
This half Crochet Half Cup Top with wooden ball detail is such a fun way to bring a little handmade charm into your summer wardrobe. Grab your hook and cotton yarn, give it a try, and share your finished top with fellow crochet lovers online.