Gorgeous Crochet Hen Pattern with Nest for Easter Decor
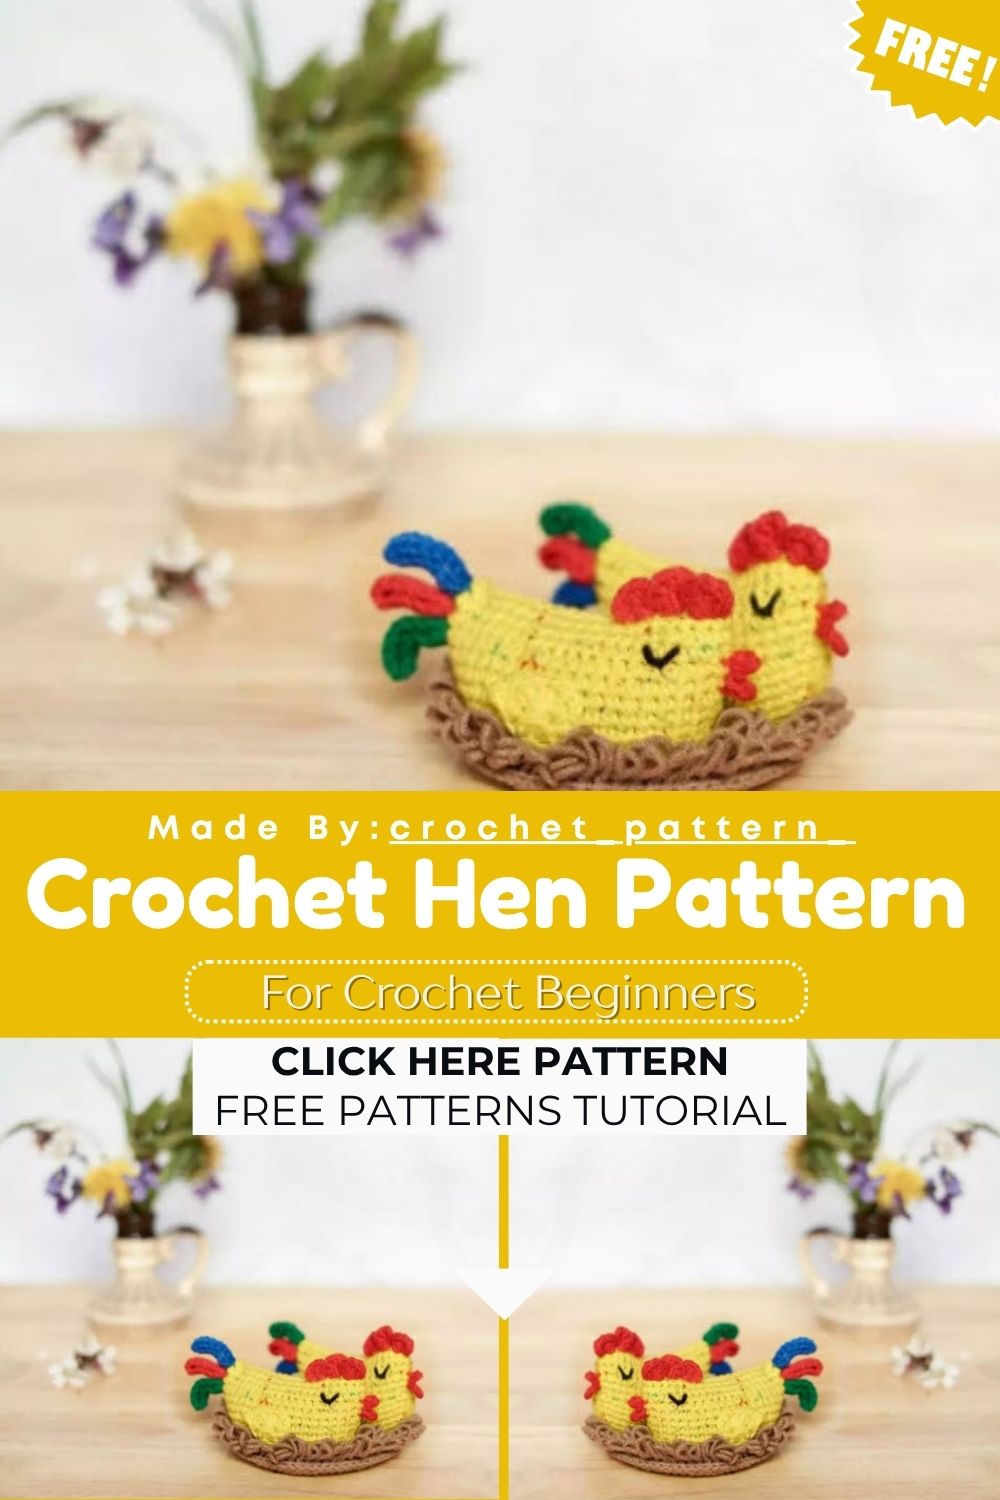
Spring decor gets even more charming with this little crochet chicken sitting cozily in its own nest. This Crochet Hen Pattern comes together quickly with minimal yarn, making it a perfect choice for Easter decor, brightening up a kitchen or dining table, or gifting a loved one a sweet handmade present.
Easter decor instantly looks more charming with this little crochet chicken. Trust me, this pattern is so simple that even beginners can finish it in one relaxed weekend, yet the final result feels like a beautiful boutique-bought decoration. Its tiny comb, wings, tail feathers, and embroidered innocent eyes give it plenty of personality. At the same time, its compact size makes it a great choice for an Easter table, kitchen decor, shelf display, gift basket, or a lovely handmade present.
Crochet Hen Pattern
Skill Level
This Crochet Hen Pattern suits confident beginners comfortable with magic rings, increases, and decreases. Basic stitches, light shaping, and simple sewing make this hen approachable for most beginners.
Pattern Overview
- Finished size: roughly 9 cm long (including beak and tail) and 5 cm tall
- Yarn: sport weight/4ply cotton-blend yarn in yellow, red, green, blue, and black
- Hook: 1.6mm
- Construction: worked in continuous spiral rounds for the body, with small separate pieces for the comb, beak, tail feathers, and wings
- Difficulty: beginner-friendly, with light sewing and simple shaping
- Best for: Easter décor, spring table settings, gift-giving, or pairing with a matching crocheted nest
- Time needed: most crocheters finish the hen and all her small pieces within a couple of relaxed evenings
- Yarn amounts: each color is used in small quantities, making this a great scrap-buster project for leftover cotton-blend yarn
Materials
Gather these supplies before starting:
- Sport weight/4ply yarn, Alize Cotton Gold Tweed (100g/330m, 57% cotton, 3% polyester, 40% acrylic) – yellow, color 110, for the main body
- Sport weight/4ply yarn, Yarnart Jeans (50g/160m, 55% cotton, 45% acrylic) – red, color 90, for the comb
- Yarnart Jeans – green, color 63, for one tail feather
- Yarnart Jeans – blue, color 54, for one tail feather and the beak
- Small amount of black yarn, for the embroidered eyes
- 1.6mm crochet hook
- Polyester toy filling
- Yarn needle and scissors
Abbreviations
MR – Magic Ring
| ch – Chain
| sst – Slip Stitch
| sc – Single Crochet
| hdc – Half Double Crochet
| dc – Double Crochet
| dc3tog – 3 Double Crochets Worked Together
| tr – Treble Crochet
| inc – Increase (2 sc in one stitch)
| dec – Decrease (2 sc together)
| BLO – Back Loops Only
| * – Repeat
Special Techniques
- Magic Ring (MR): forms a tight, adjustable starting circle for the body, keeping the center gap-free once tightened
- Increase (inc): two single crochets worked into the same stitch, used to widen rounds gradually and shape the rounded body
- Back Loops Only (BLO): crocheting only through the back loop leaves a visible ridge along the seam, used when closing the body
- Picot detail (wings): a small chain-2 loop closed with a slip stitch, creating the pointed wingtip
- dc3tog: three double crochets combined into a single stitch, used to taper the comb’s shape at its edges
Instructions
Body
- Round 1: ch13, from the second chain from the hook: inc, 10 sc, inc, then on the other side of the chain: inc, 10 sc, inc (28 sts)
- Round 2: (inc, 12 sc, inc) *2 (32 sts)
- Round 3: 32 sc (32 sts)
- Round 4: (inc, 14 sc, inc) *2 (36 sts)
- Rounds 5–6: 2 rounds of 36 sc (36 sts)
- Round 7: (inc*2, 16 sc) *2 (40 sts)
- Rounds 8–9: 2 rounds of 40 sc (40 sts)
- Round 10: (inc*2, 18 sc) *2 (44 sts)
- Rounds 11–13: 3 rounds of 44 sc (44 sts), plus a few extra single crochets to align the edge so the thread sits on the side
Leave a long yarn tail for sewing. Stuff the body firmly, then sew the opening closed through the outer loops. Fasten off and weave in all ends.
Comb
Attach red yarn to the very edge of the head, at any point, then work along the edge:
- ch3, work 4 dc into the same stitch
- Skip 1 stitch, sl st into the next stitch
- ch2, work 4 dc into the same stitch as the sl st
- Skip 1 stitch, sl st into the next stitch
- ch2, work 3 dc into the same stitch
- ch2, sl st into the next stitch
Fasten off, cut the yarn, and weave in the ends.
Beak
- ch3, from the second chain on the hook work 2 sl st
- ch3, from the second chain on the hook work 2 sl st
Leave a yarn tail for sewing. Attach the beak to the body two to three rounds below the comb. Fasten off and weave in the ends.
Eyes
Embroider the eyes with black thread, positioned two rounds below the comb and three stitches away from the beak. Each eye should span one round in height, with two stitches of space between the upper edges.
Tail
Crochet three feathers, each in a different color:
- ch15, from the second chain on the hook, work 14 sc
Leave a yarn tail for sewing. Fold each feather in half with the right side facing out, then sew the edges closed. Attach all three feathers to the back of the body, starting from the top round and layering the colors for fullness.
Wings (make 2)
- In MR, work: 2 sc, 2 hdc, 2 dc, 1 tr, ch2, sl st into the top of the tr (this forms the picot tip), 1 tr, 2 dc, 2 hdc, 2 sc, then fasten off with a sl st
Leave a yarn tail for sewing. Attach both wings symmetrically to the sides of the body, sewing through the lower loops only so the wingtips move freely.
Common Mistakes
- Skipping stitch markers while shaping the body rounds, which leads to miscounted increases and an uneven, lopsided shape
- Overstuffing before closing the final rounds, which makes it difficult to sew the last few stitches neatly
- Attaching the comb and beak too close together, crowding the face and throwing off the hen’s proportions
- Leaving yarn tails too short for sewing, resulting in weak seams that loosen with regular handling
- Rushing the wing picot detail, which can pull too tight and hide the pointed tip if tension isn’t checked
- Forgetting to weave in ends securely between each small piece, which leaves loose threads visible once the hen is fully assembled
- Switching yarn weights mid-project without adjusting hook size, which changes the overall proportions of the finished hen
Assembly
- Stuff the body firmly while closing the final rounds, then sew the opening shut through the outer loops
- Attach the comb along the top edge of the head, centering it before securing with a few stitches
- Position the beak two to three rounds below the comb, then sew it firmly in place
- Embroider the eyes with black thread, spacing them evenly on either side of the beak
- Fold the three tail feathers, sew their edges closed, and attach them to the back, layering the colors
- Attach both wings symmetrically to the sides, sewing only through the lower loops so the tips stay loose
Important Remarks
- Yarn weight and hook size can be adjusted for a slightly larger or smaller finished hen, as long as tension stays even
- A small crocheted or woven nest pairs beautifully with this hen for a complete Easter display
- Color combinations can be swapped to match other themes, such as spring florals or farmhouse-style decor
- Safety eyes can replace embroidered eyes for a different look, though embroidery keeps this hen safe for younger crafters to handle
- Store finished hens away from direct sunlight to keep the yarn colors from fading over time
Conclusion
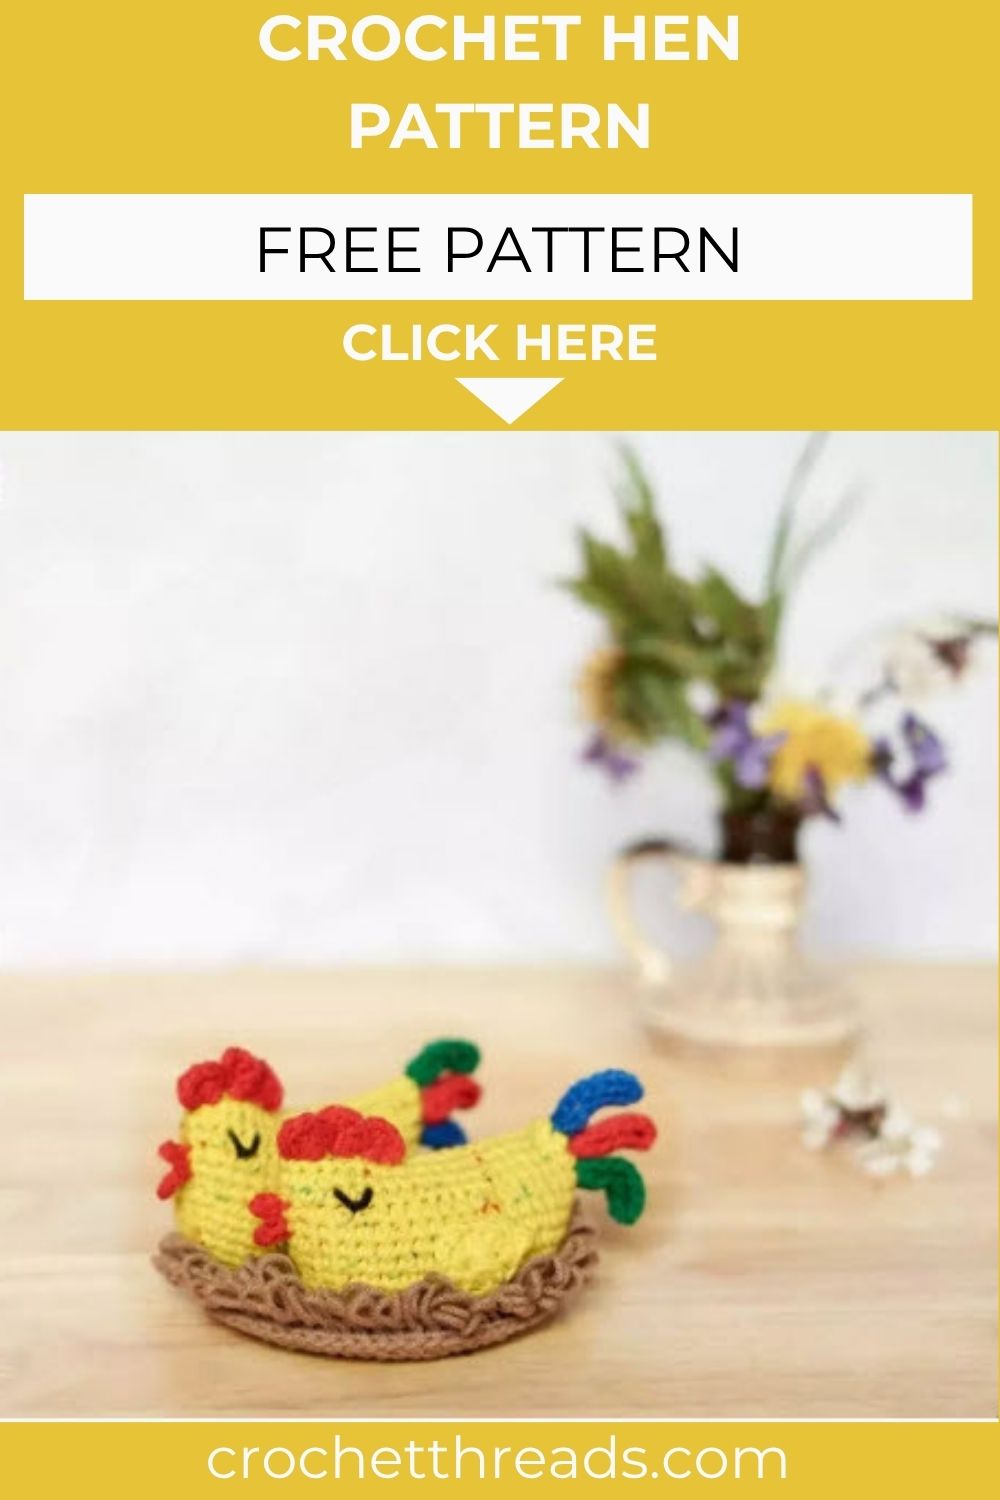
Little Crochet Hen Pattern like this one bring so much warmth to a spring mantel or Easter basket display. Once the comb, wings, and tail feathers are attached, the finished piece looks far more detailed than it actually was to make. Give this pattern a try, snap a photo of your finished hen, and add her to your growing collection of amigurumi favorites.