Sweet Crochet Little Cow Keychain Amigurumi Pattern For bags
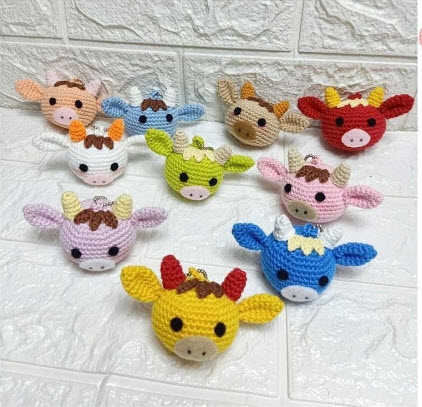
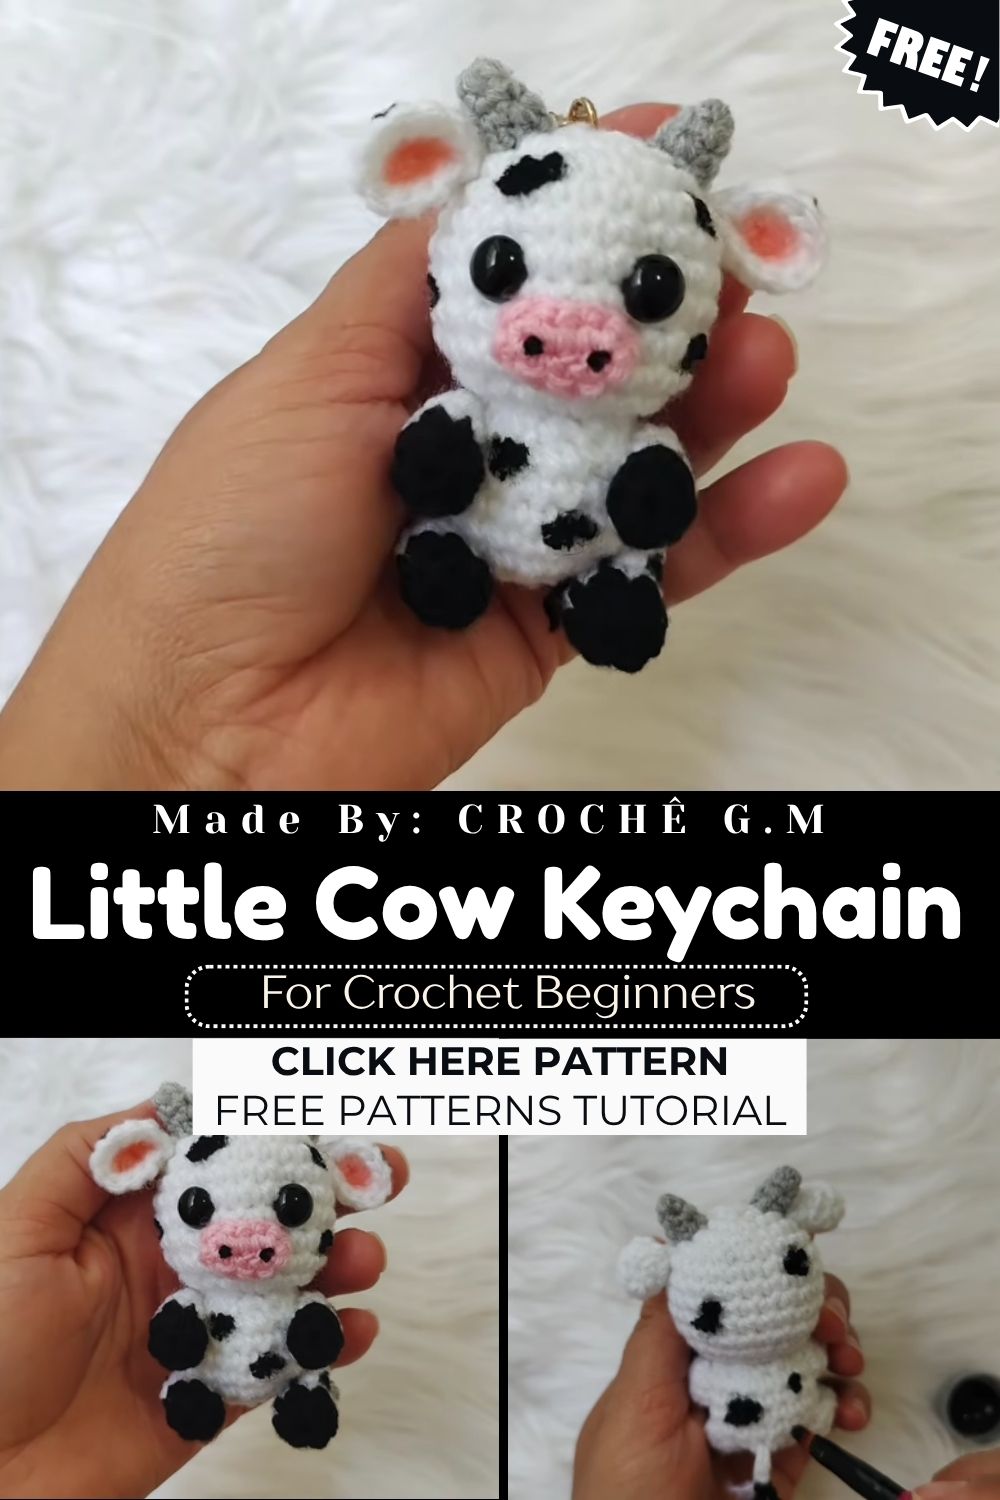
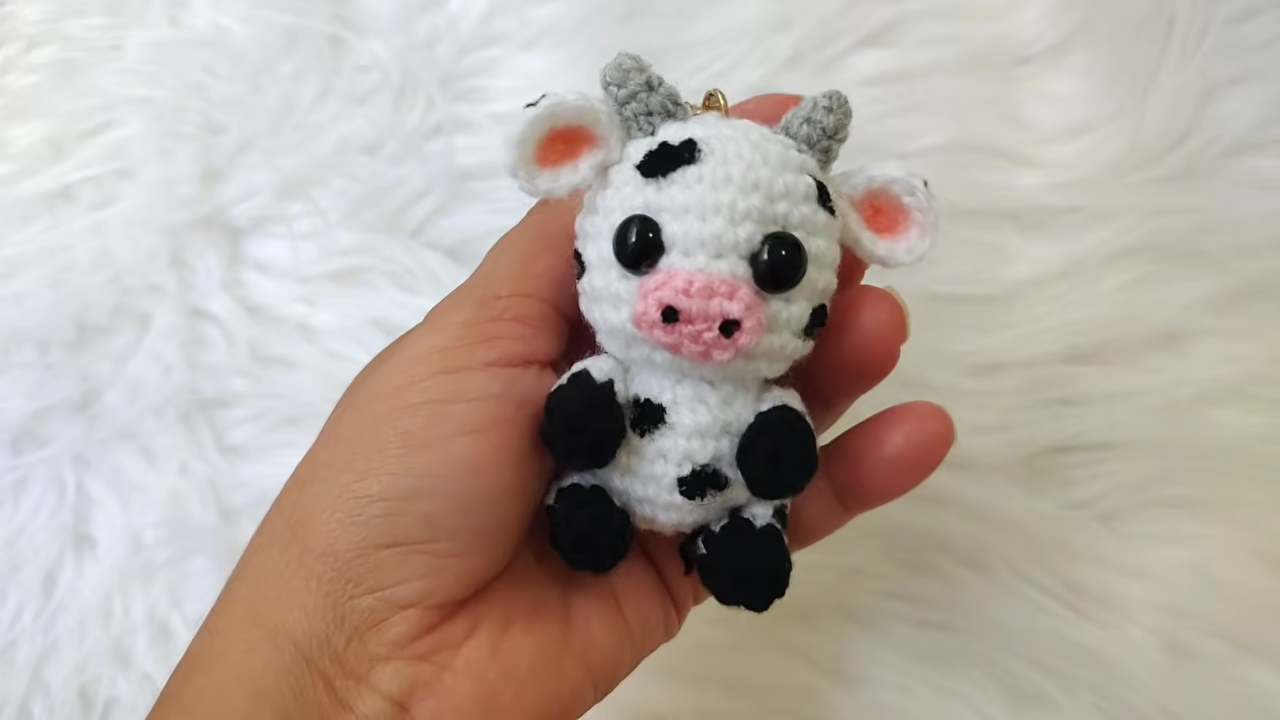
This Sweet Crochet Little Cow Keychain Amigurumi Pattern for Bags builds an adorable, palm-sized cow amigurumi keychain using simple rounds and a handful of playful details. Black and white spots, tiny pink cheeks, and floppy ears come together into a charming little companion that clips onto any bag or backpack in no time.
About This Crochet Little Cow Keychain
Two simple round shapes stack together to form the head and body, joined seamlessly so the finished cow has that classic chibi-style proportion crocheters love. Small pieces like the ears, horns, hooves, and snout attach separately, each adding just enough dimension to bring the character fully to life.
Skill level stays approachable throughout, since every individual piece relies on basic single crochet rounds. The real charm comes from assembly and detail placement rather than complicated stitch work, making this a satisfying project for anyone comfortable with amigurumi basics.
Project Details
- Skill Level: Beginner to Intermediate
- Finished Size: Approximately 3 to 3.5 inches tall
- Estimated Time Required: 2 to 3 hours
- Recommended Yarn Weight: DK or lightweight cotton yarn
- Crochet Hook Size: 2.0mm to 2.5mm
Materials Needed
- White yarn (main body and head color)
- Black yarn (spot patches and hooves)
- Pink yarn (snout and inner ear detail)
- Gray yarn (horns)
- Small amount of dark yarn or embroidery thread (nose dots)
- Safety eyes (black, small size)
- Crochet hook (2.0mm–2.5mm)
- Fiberfill stuffing
- Tapestry needle
- Stitch markers
- Scissors
- Keychain clasp or jump ring
Crochet Stitches & Techniques
- Magic Ring (MR): Starts each rounded piece, including the head, body, and small details.
- Single Crochet (sc): Builds the entire body of the amigurumi.
- Increase (inc): Widens each round piece into its rounded shape.
- Invisible Decrease (inv dec): Closes rounds smoothly at the top of the head and tips of the ears and horns.
- Color Changes: Introduces black spots and the pink snout at the correct rounds.
- Fastening Off: Secures the yarn once each small piece is complete.
- Sewing Pieces Together: Joins the head, body, ears, horns, snout, and hooves into the finished cow.
Only these techniques appear throughout the pattern, which keeps the project accessible even with its several small individual pieces.
Pattern Instructions
Starting the Head
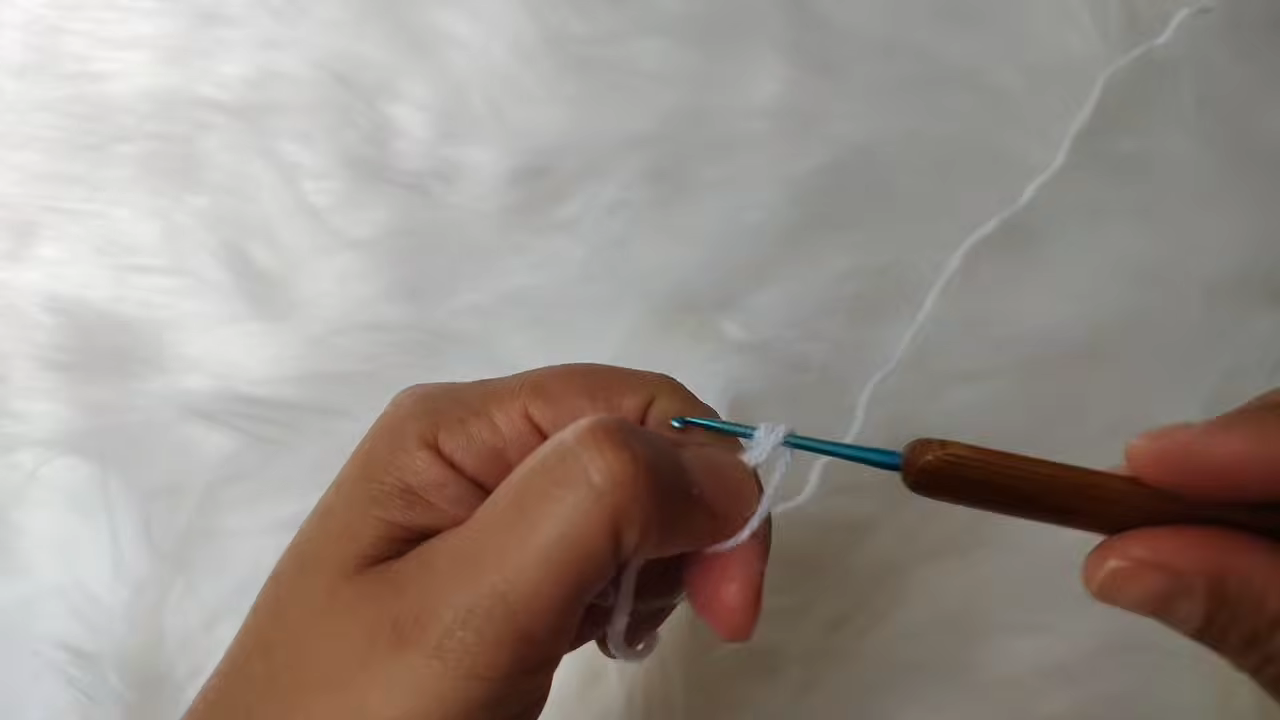
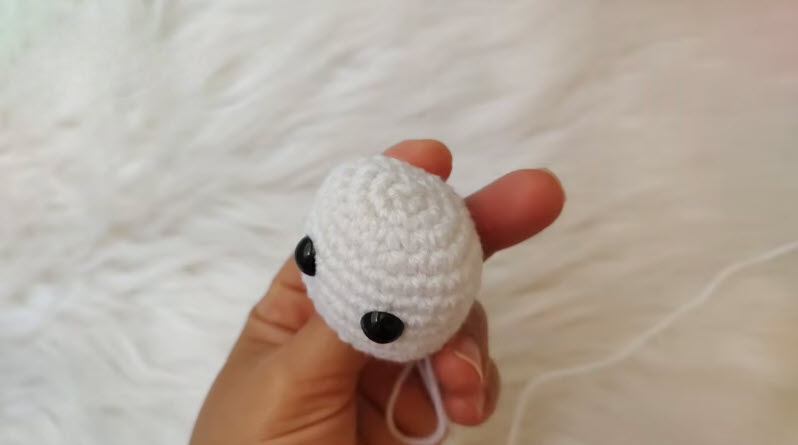
Form a magic ring with white yarn and work six single crochets into it, pulling the loop closed and marking the first stitch of the round. Increase steadily over the following rounds to build a smooth, rounded head shape, adding safety eyes once the head reaches its widest point.
Adding the Black Spot Patches
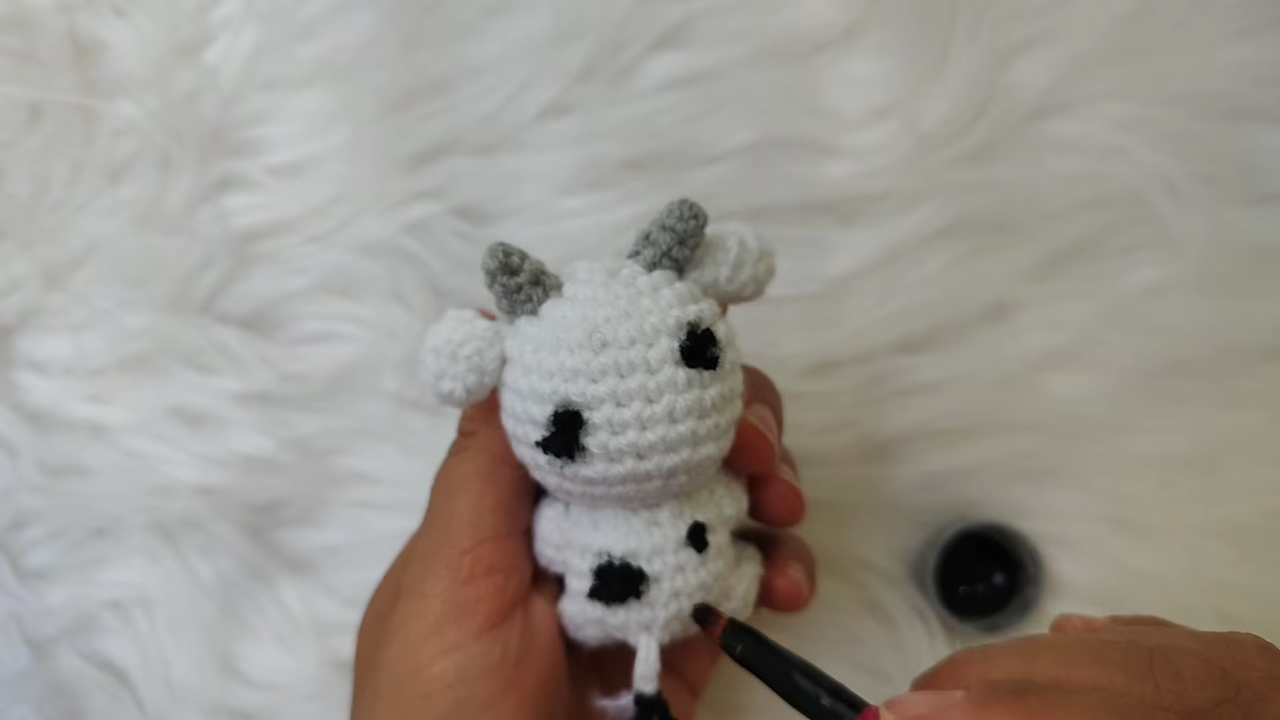
Introduce small patches of black yarn scattered irregularly across the head and body as you work, carrying the white yarn loosely behind each patch to keep the surface smooth. Irregular spot placement gives the finished cow a more authentic, playful look rather than a symmetrical pattern.
Crocheting the Body
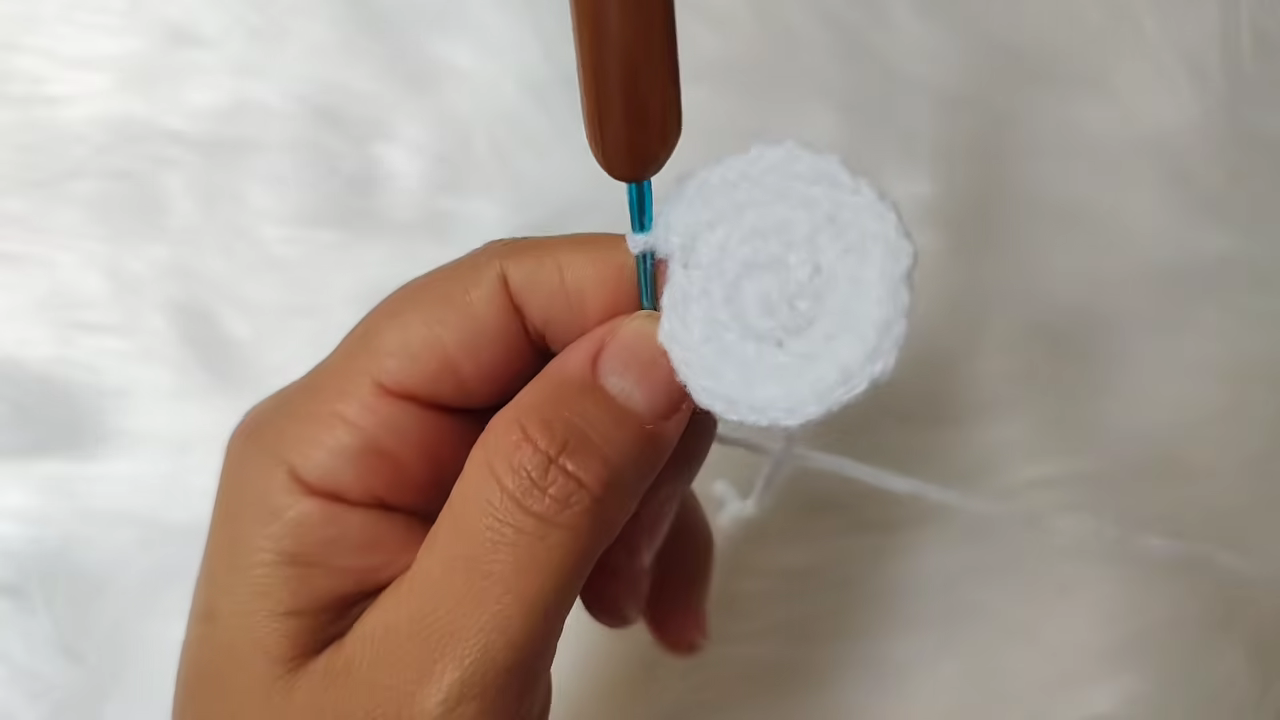
Form a second, slightly larger circle using white yarn, following the same increase pattern before working several rounds even to build the body’s height. Continue adding black patches in this section as well, then begin stuffing gradually as the piece grows taller.
Making the Hooves
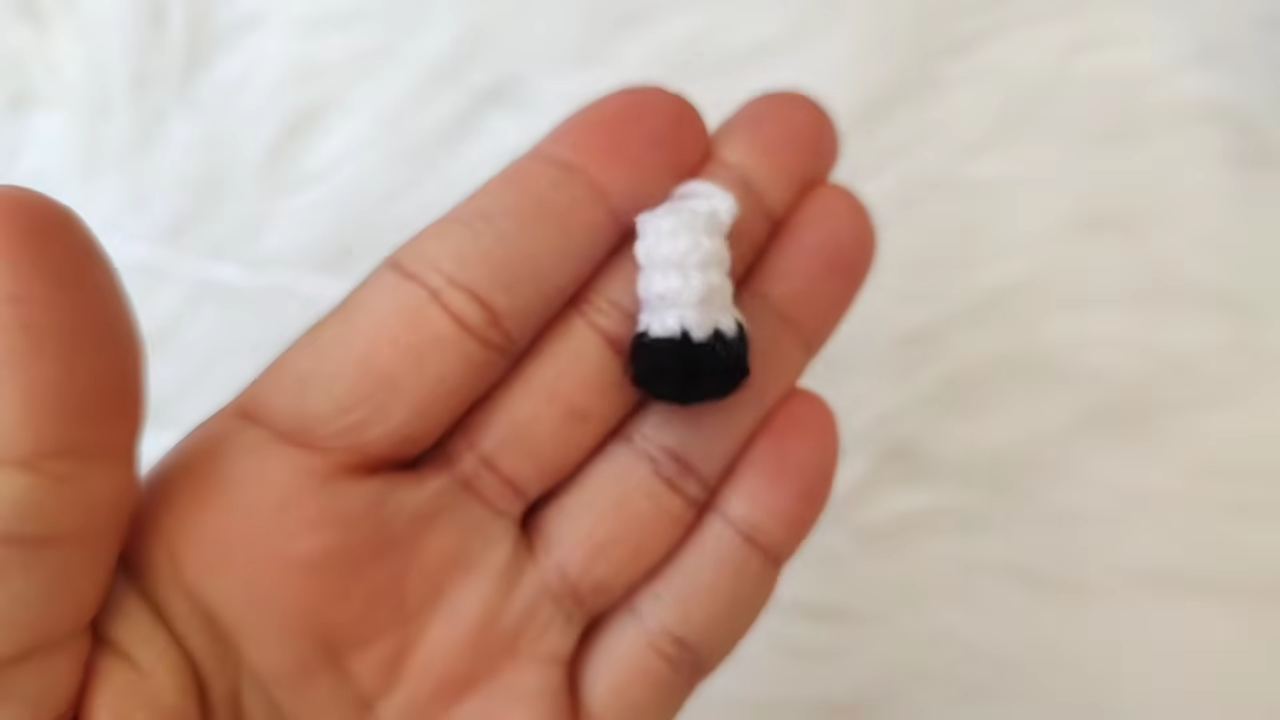
Work each small hoof piece by starting with black yarn, switching to white after a round or two to create the two-toned leg detail seen in the finished amigurumi. Leave a tail on each piece for attaching to the base of the body later.
Crafting the Ears and Horns
Crochet two small ear pieces using white yarn with a touch of pink worked into the center for the inner ear detail, then form two short gray horn pieces using a tight tube shape. Set all four pieces aside with tails left for sewing.
Adding the Snout
Work a small flattened oval using pink yarn, embroidering two tiny nostril dots near the center once the piece is complete. This snout attaches directly to the lower half of the face once all the head details are ready.
Joining All Pieces
Sew the head onto the top of the body first, checking that it sits centered and balanced before securing it firmly. Attach the ears, horns, snout, and hooves at their respective positions, working slowly to keep the face symmetrical and the hooves evenly spaced beneath the body.
Final Assembly
Attach a small keychain clasp or jump ring at the top of the head, securing it firmly since this point carries the weight of the finished piece when clipped to a bag. Weave in every remaining loose end using a tapestry needle, checking the small pieces closely since they hide loose tails less easily than the larger body sections.
Tips for Success
- Keep spot placement irregular and varied for a more natural, farmyard look.
- Add safety eyes before fully closing the head, since inserting them afterward becomes difficult.
- Stuff firmly but evenly so the finished keychain holds its shape without feeling lumpy.
- Secure the keychain clasp with several reinforcing stitches, since it bears regular weight and movement.
- Weave in tails on small pieces immediately after finishing them, before they get lost among other parts.
Personalization Ideas
Color Variations
Swapping black spots for brown creates a different cattle breed look without changing the construction at all.
Size Adjustments
Using a slightly larger hook and thicker yarn turns this same pattern into a bigger standalone plush rather than a keychain.
Expression Changes
Embroidering a small smile beneath the snout adds extra personality and warmth to the finished face.
Alternate Attachments
Swapping the keychain clasp for a hair clip or bag charm hook changes how the finished cow gets worn or displayed.
Common Mistakes to Avoid
Frequently Asked Questions
What yarn works best for a small amigurumi like this?
DK or lightweight cotton yarn gives clean stitch definition at this small scale, making details like the spots and snout easier to shape neatly.
Can I make this without safety eyes?
Certainly. Embroidered eyes work as a safer alternative, especially if the finished keychain will be around young children.
How do I keep the black spots from looking too uniform?
Varying the size and placement of each patch, rather than repeating the same shape, gives the pattern a more realistic, scattered look.
Is this Crochet Little Cow Keychain pattern beginner-friendly?
Mostly yes, since each piece relies on basic stitches, though assembling several small parts benefits from a little prior amigurumi experience.
How much yarn do I need for one cow keychain?
Only a small amount of each color is needed, since the finished piece measures just a few inches tall.
Can I turn this into a bag charm instead of a keychain?
Yes, swapping the keychain clasp for a bag charm hook or clip works perfectly with the same construction.
How long does the whole Crochet Little Cow Keychain project usually take?
Most makers finish within two to three hours, with the small detail pieces taking longer than the main head and body rounds.