Free Crochet Pancake Buddy Keychain Amigurumi Pattern
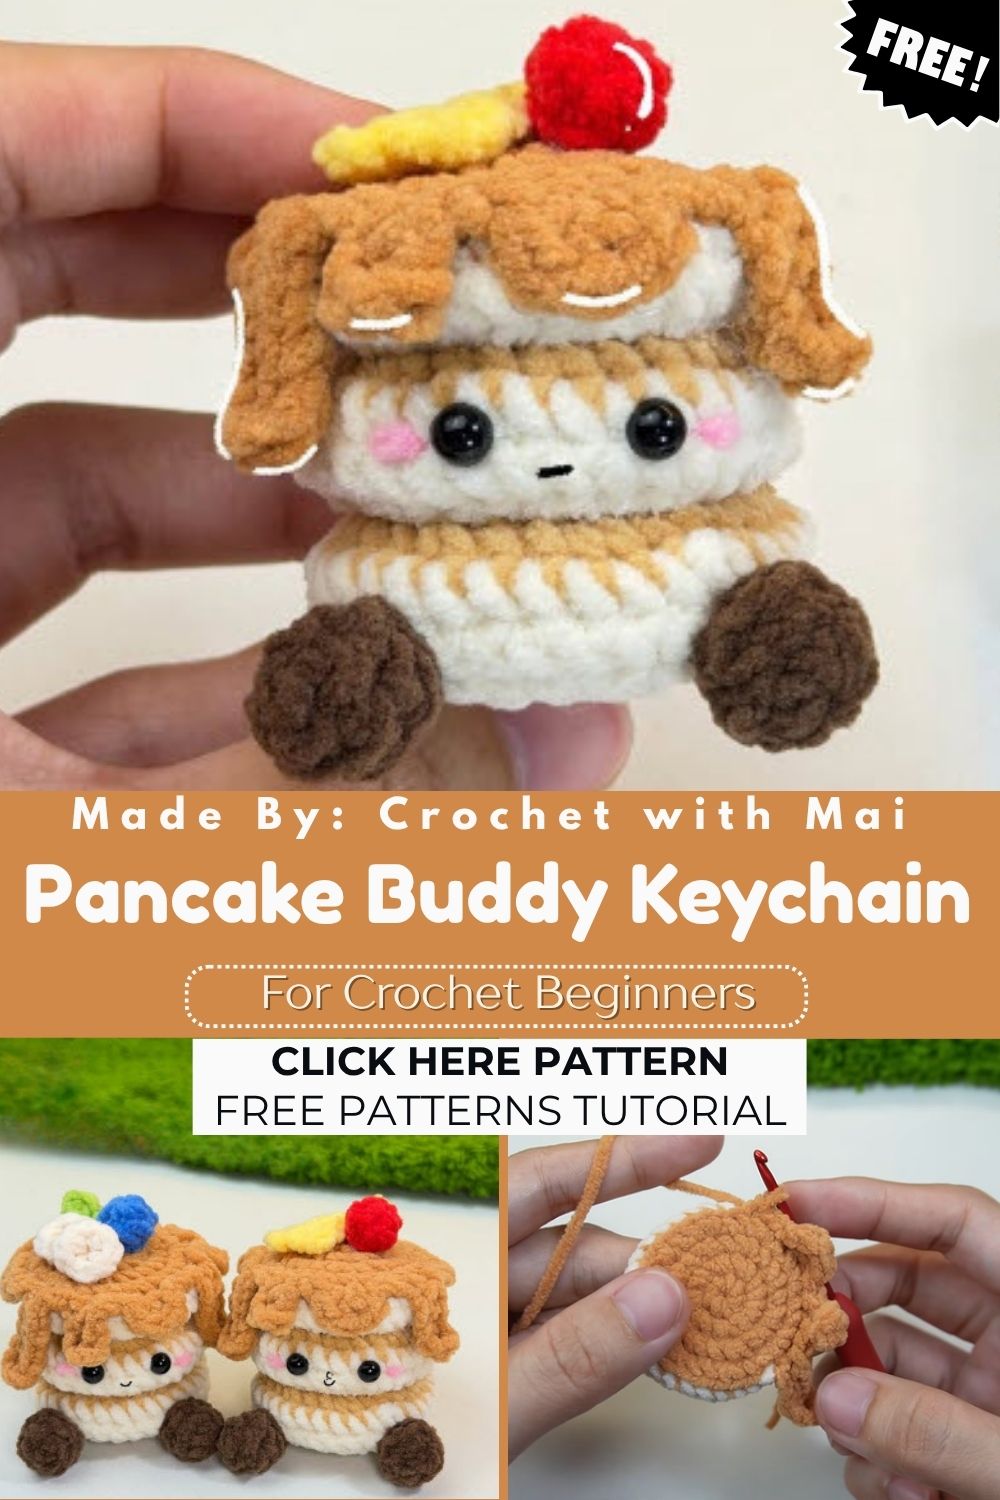
Breakfast-themed amigurumi has a way of feeling instantly comforting, and this Crochet Pancake Buddy Keychain leans right into that charm. Built as a soft, rounded stack with a textured golden-brown top and a sweet little face, this pattern turns a breakfast favorite into a keychain you’ll want to show off.
This Pancake Buddy comes together from two main pieces: a light-colored round base and a golden-brown, textured top layer that mimics the fluffy, lightly browned surface of a real pancake. A small topping on top and simple facial details finish off the design, giving it a distinctive, lively look. This design suits a kitchen shelf, breakfast-themed decor, or a food-themed craft display especially well.
Because most of the construction happens in one main piece with an added top layer, this pattern stays approachable while still producing a detailed, textured finish.
Skill Level
Beginner to Intermediate. The rounded base and top layer are manageable for most skill levels, though achieving the bumpy, textured surface takes a bit of practice with stitch placement.
Materials You’ll Need
- Light tan or cream yarn for the base
- Golden-brown or orange yarn for the textured top layer
- A small crochet hook suited to your yarn weight
- Polyester fiberfill for stuffing
- Small black safety eyes or beads for the face
- A yarn needle for assembly and finishing
- Scissors
- A keychain ring or clasp
- Clear fabric glue, if adding a glossy syrup-style detail on top
Techniques Used in This Pattern
- Starting loop or magic ring: Begins each piece cleanly without a gap at the center.
- Continuous round crocheting: Builds the rounded base shape smoothly.
- Textured surface stitching: Creates the bumpy, toasted look on the top layer using raised or bobble-style stitches.
- Layered piece assembly: Joins the base and top sections into one stacked shape.
- Topper and face detailing: Adds a small decorative piece along with simple facial features to finish the character.
Why the Textured Top Layer Is Worth the Extra Care
A flat, smooth surface wouldn’t capture that toasted pancake look, which is exactly why this pattern relies on raised stitching to build in texture. Working these bumpy stitches evenly across the top takes a little more attention than a standard round, but it’s this detail that makes the finished piece instantly recognizable as a pancake rather than just a plain circle.
Step-by-Step Instructions
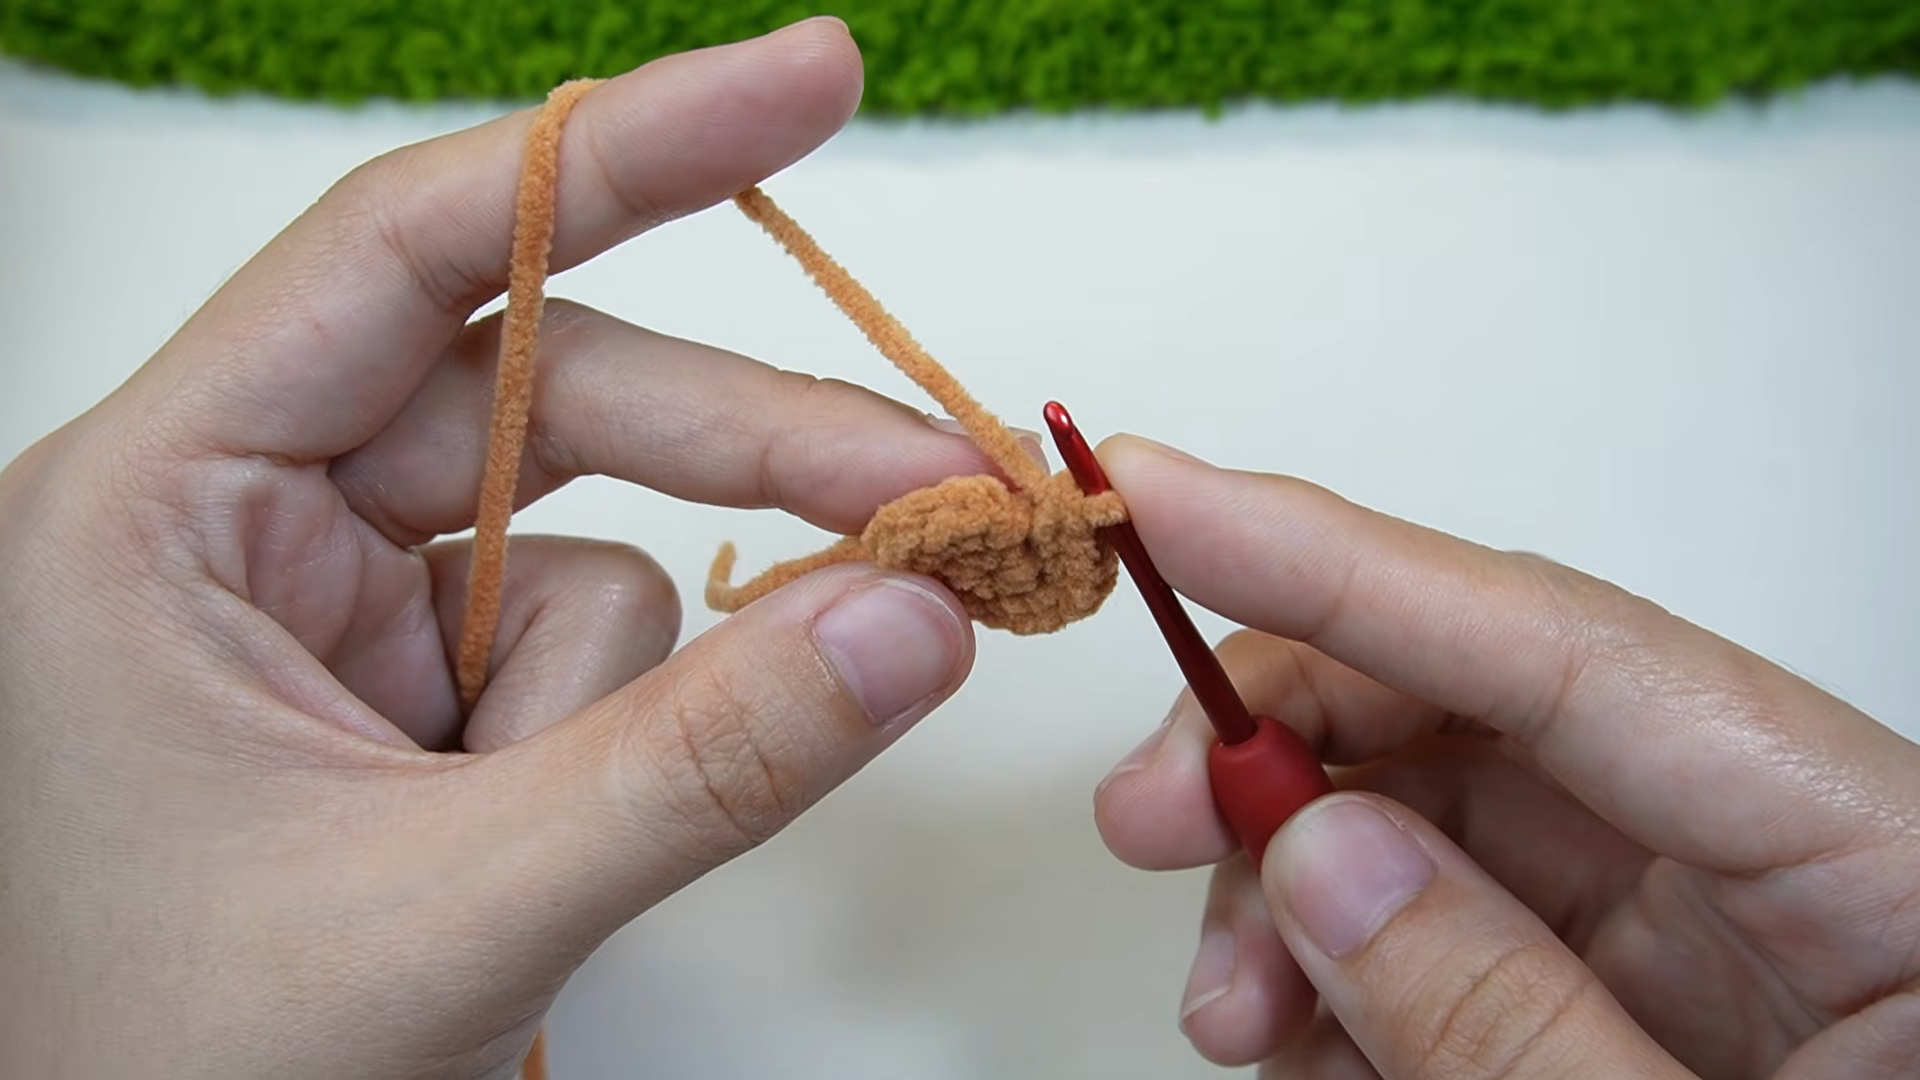
Step 1: Start With Your First Loop
Pull your first loop through with the hook using your golden-brown yarn, keeping it snug enough to hold steady as you begin stitching. This loop becomes the starting point for the textured top layer of your pancake.
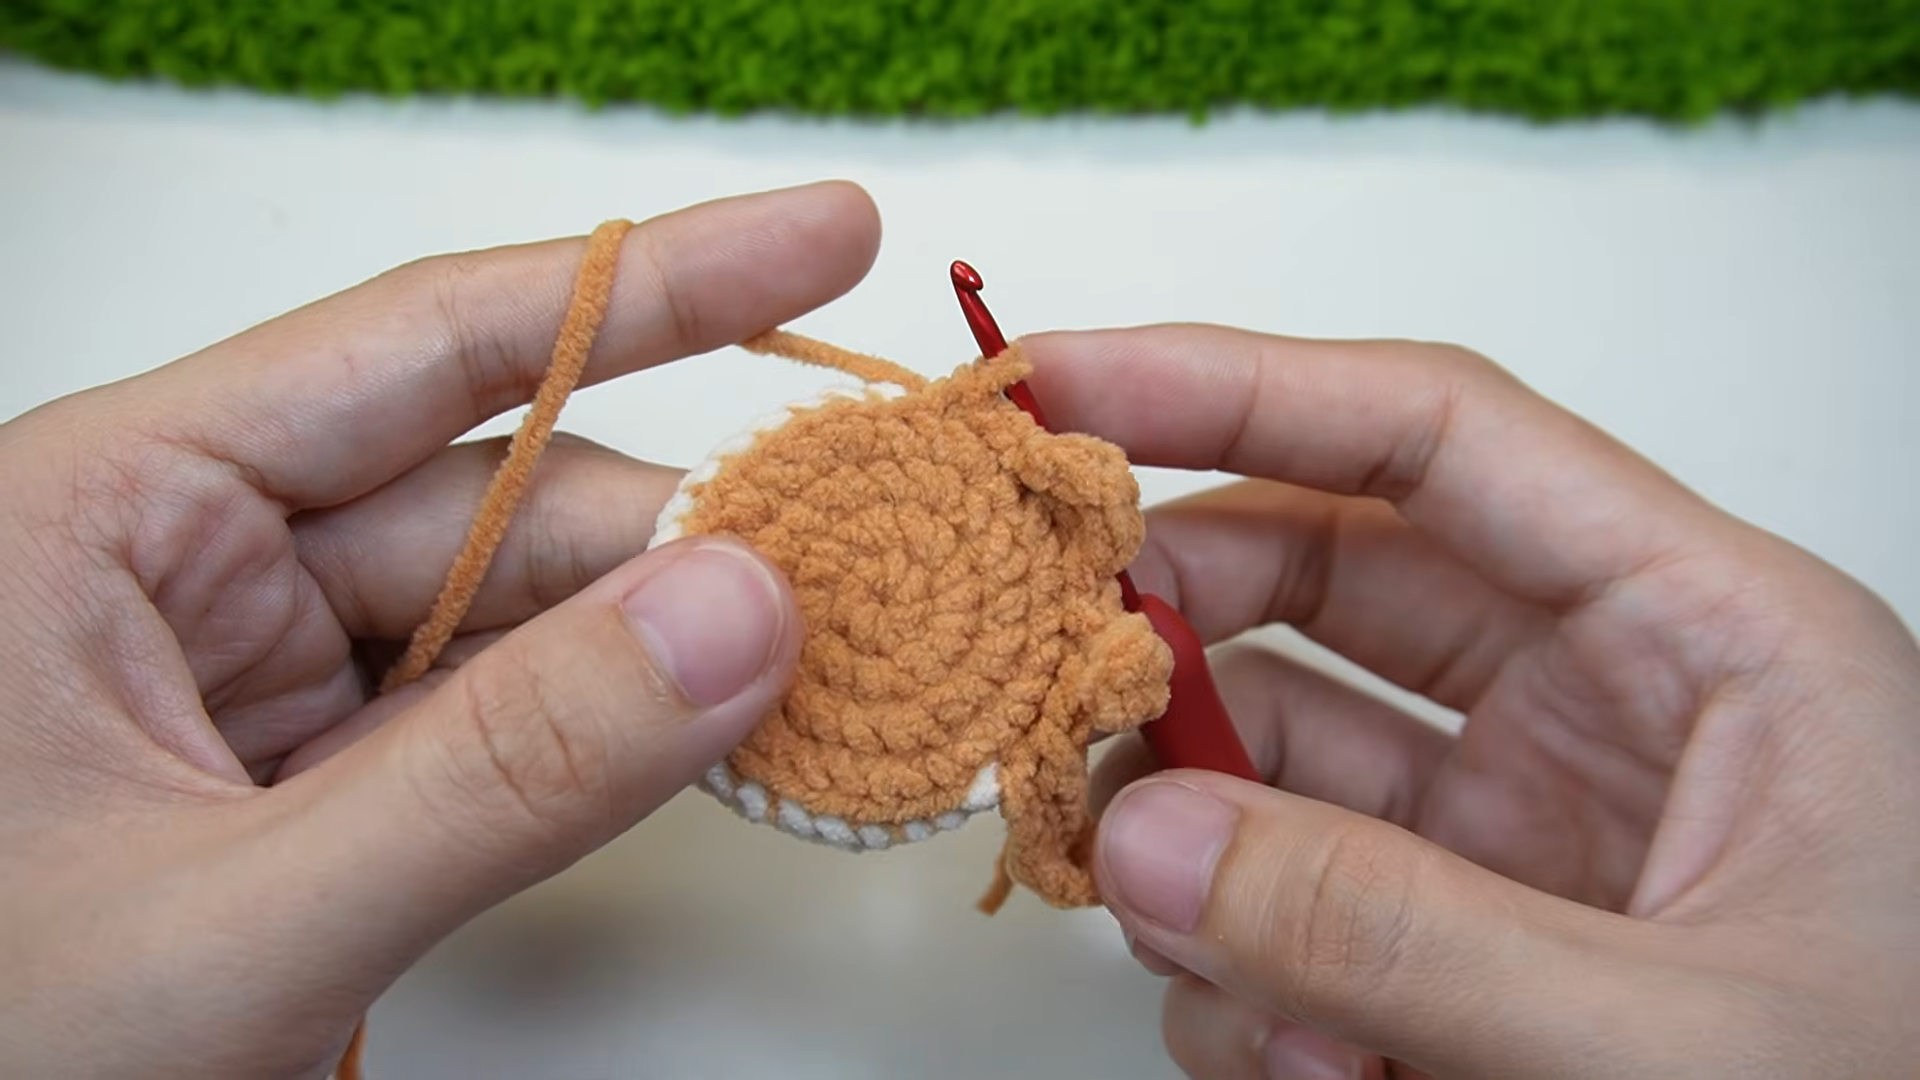
Step 2: Build the Textured Top Layer
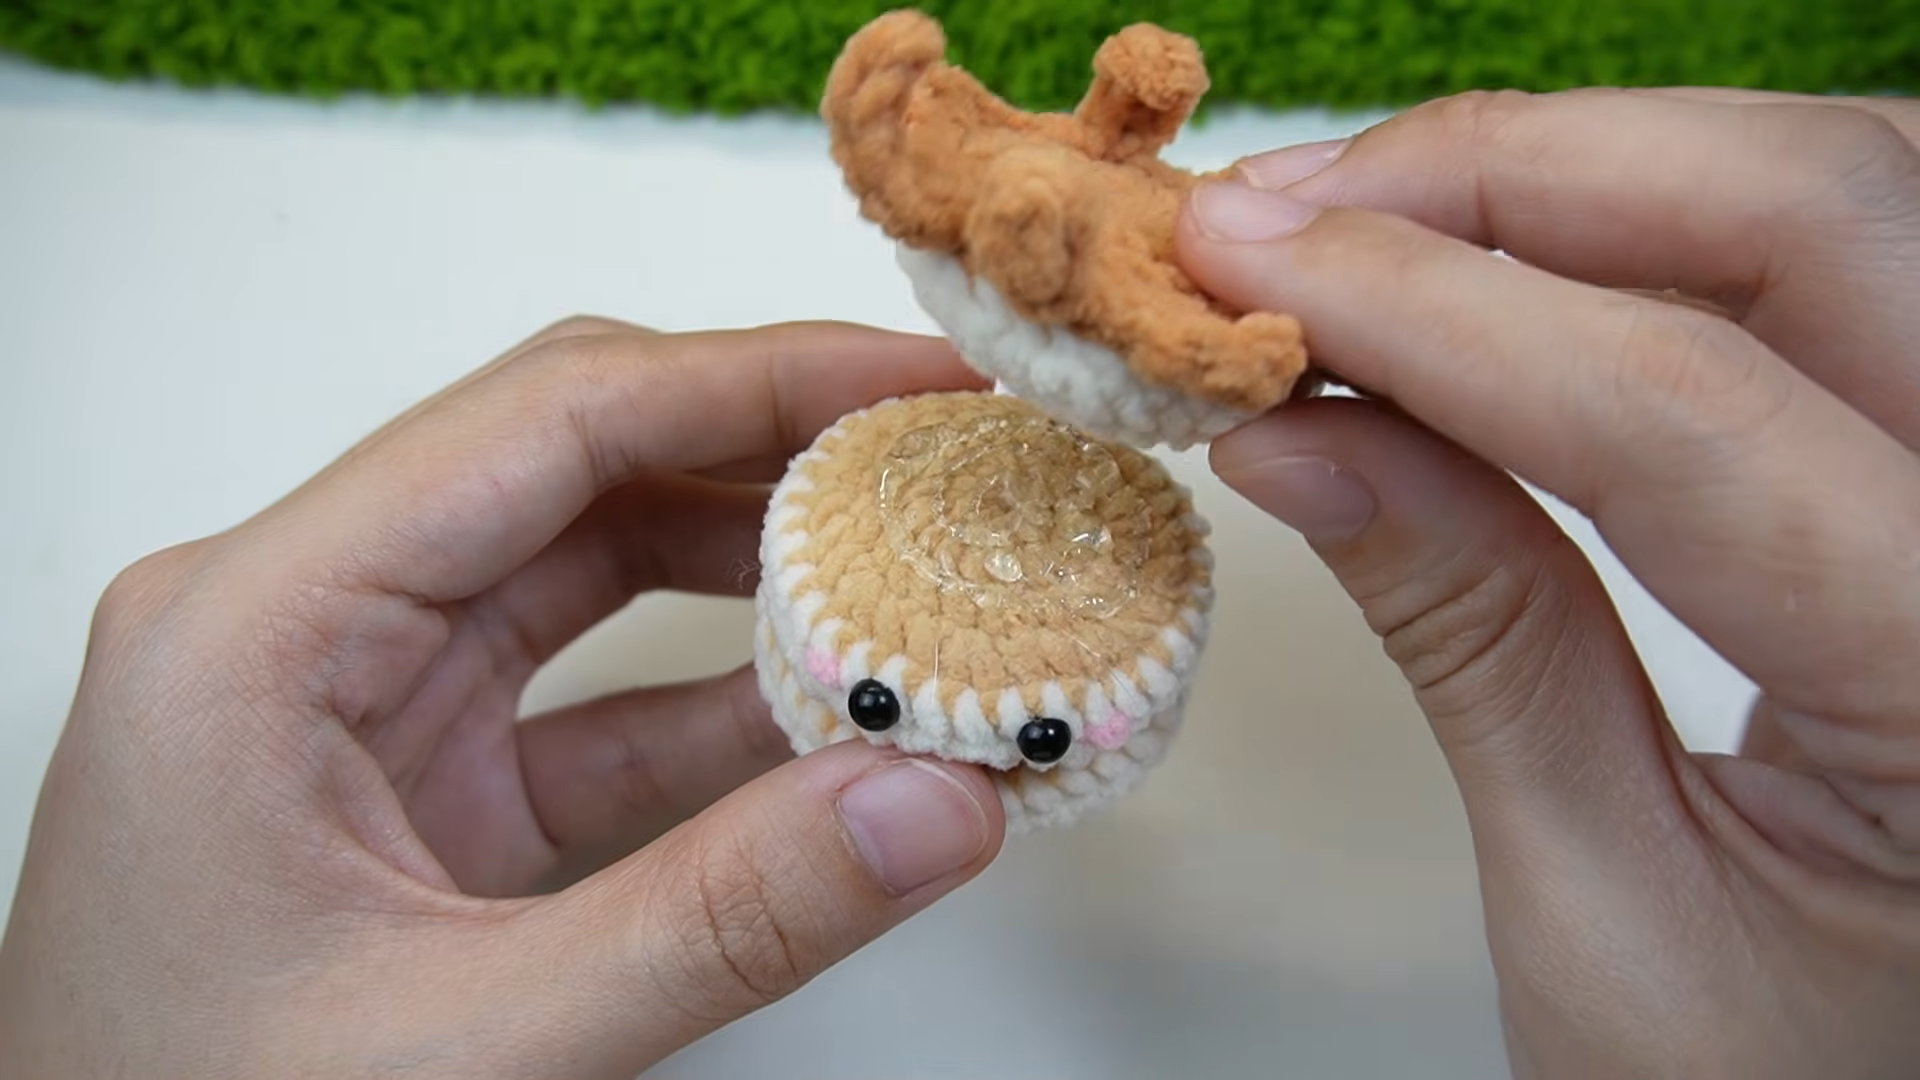
Work your rounds using a raised or bobble-style stitch over the white base piece, letting the bumps build up evenly across the surface. Keep your tension consistent so the texture looks uniform rather than clumped in certain spots.
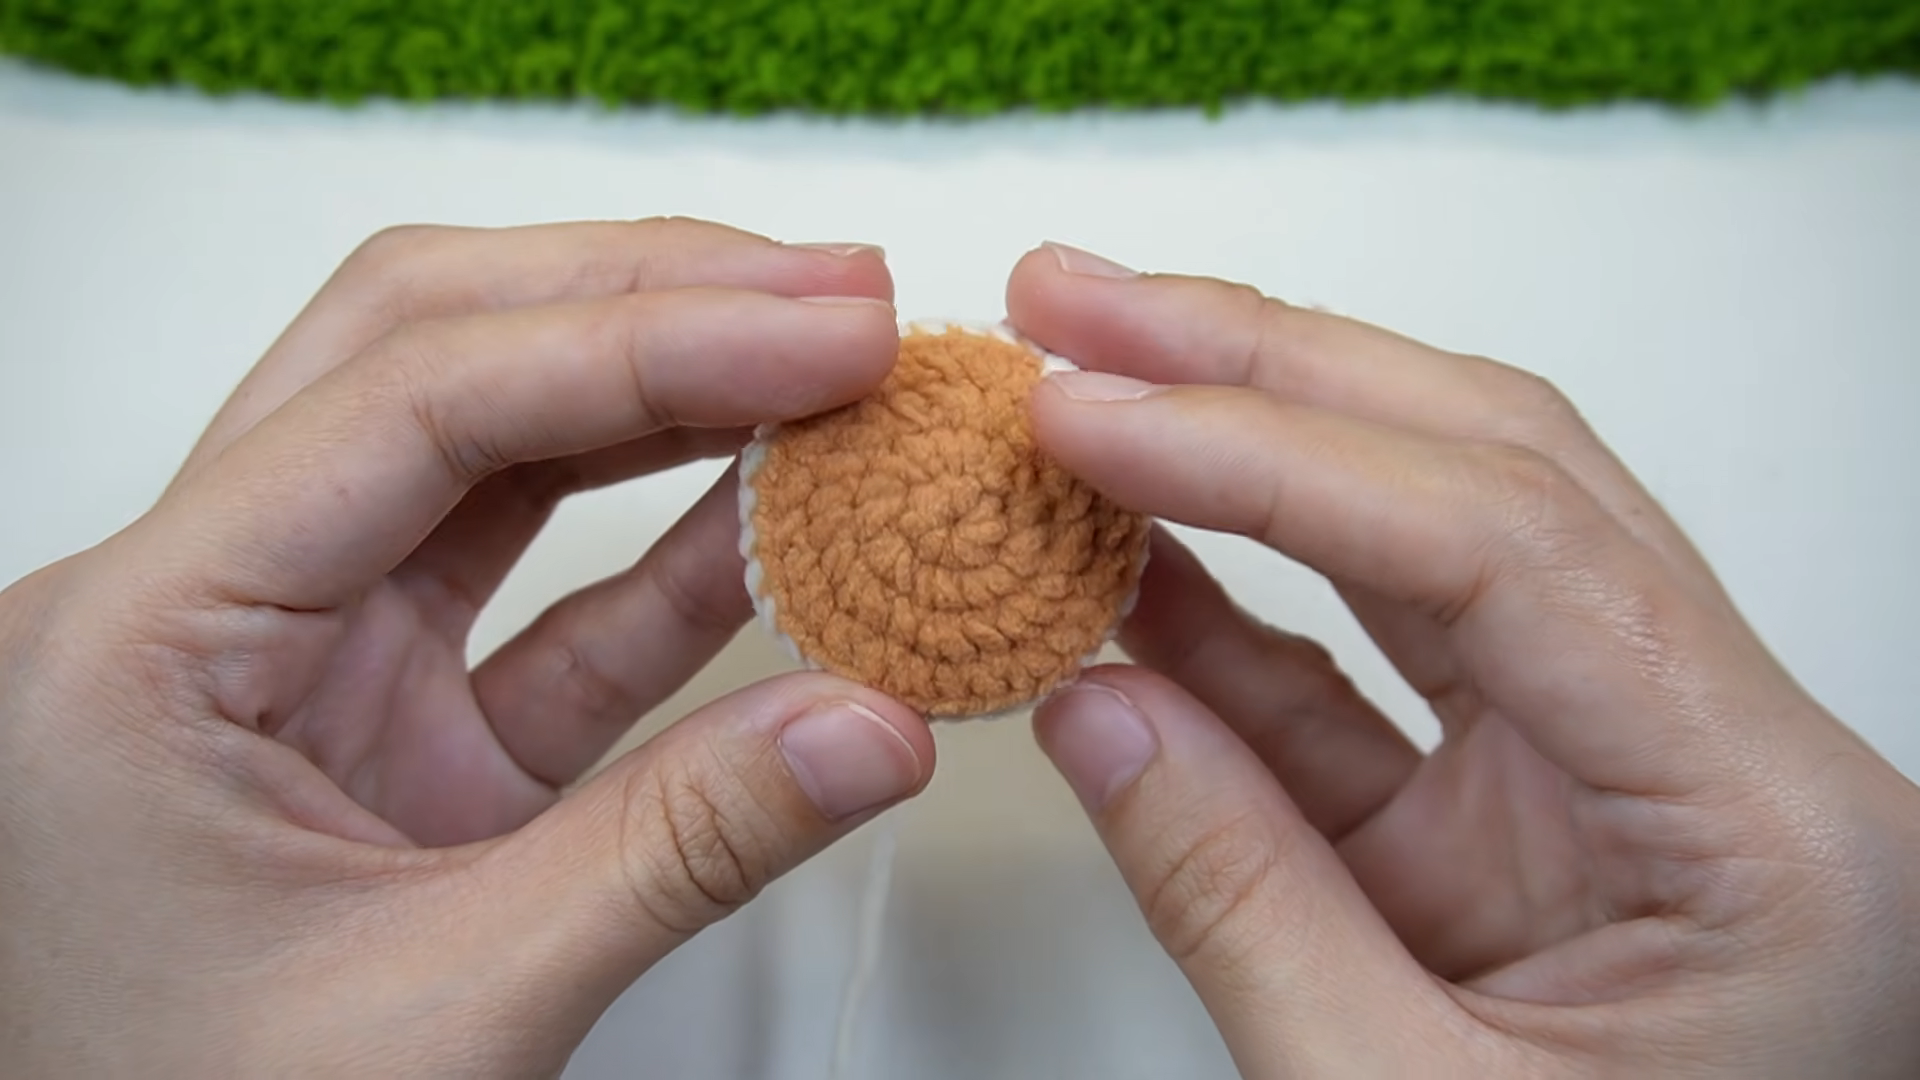
Step 3: Complete the Rounded Shape
Continue working until the top layer fully covers the base piece, then secure your final stitches and check that the rounded shape sits evenly on both sides. This completes the main pancake body before any additional details are added.
Step 4: Attach the Topper and Facial Details
Crochet a small decorative topper piece, such as a little character shape, and position it on top of the finished pancake body. Attach the safety eyes and any additional facial details, then add a touch of clear glue on top if you want a glossy, syrup-like finish before attaching your keychain ring.
Tips for a Cleaner Finish
- Practice the raised texture stitch on a small swatch before starting the full top layer.
- Keep your topper piece proportional so it doesn’t overwhelm the base shape.
- Secure safety eyes before final assembly, since it’s easier to adjust their placement early on.
- Use a small amount of glue sparingly if adding a glossy detail, so it doesn’t seep into the stitches.
- Stuff the base firmly so the finished pancake holds its round shape well.
Common Mistakes to Avoid
- Rushing the textured stitches, which can leave the top layer looking uneven or patchy.
- Making the topper piece too large, throwing off the proportions of the finished design.
- Skipping a placement check before attaching the eyes, leading to an off-center expression.
- Using too much glue for the glossy detail, which can make the surface stiff or shiny in the wrong places.
- Understuffing the base, resulting in a flat or lopsided finished shape.
Ways to Customize This Keychain
- Swap the golden-brown top for a different shade to represent a different pancake style.
- Add a tiny bow or hat on the topper piece for extra personality.
- Make a mini stack version by joining two or three rounded pieces together.
- Use pastel colors for a softer, dessert-inspired variation.
- Skip the keychain ring and turn it into a small desk or shelf decoration instead.
Frequently Asked Questions
Q: How long does this pancake keychain usually take to make?
A: Most makers can finish it in under two hours, since the design relies on just a couple of main pieces.
Q: Can I skip the glossy glue detail on top?
A: Yes, the pattern looks charming with or without it, so feel free to leave the surface matte if you prefer.
Q: What stitch gives the best toasted texture on the pancake top?
A: A raised or bobble-style stitch worked consistently across the surface creates the most convincing bumpy, toasted look.
Q: Is this a good beginner project for practicing texture stitches?
A: It’s a great choice for that, since the design gives you a clear visual result to check your progress against as you go.
Q: Can this Crochet Pancake Buddy Keychain pattern be made without safety eyes?
A: Yes, embroidered eyes work just as well and are a safer choice if the keychain might end up in a young child’s hands.
Final Thoughts
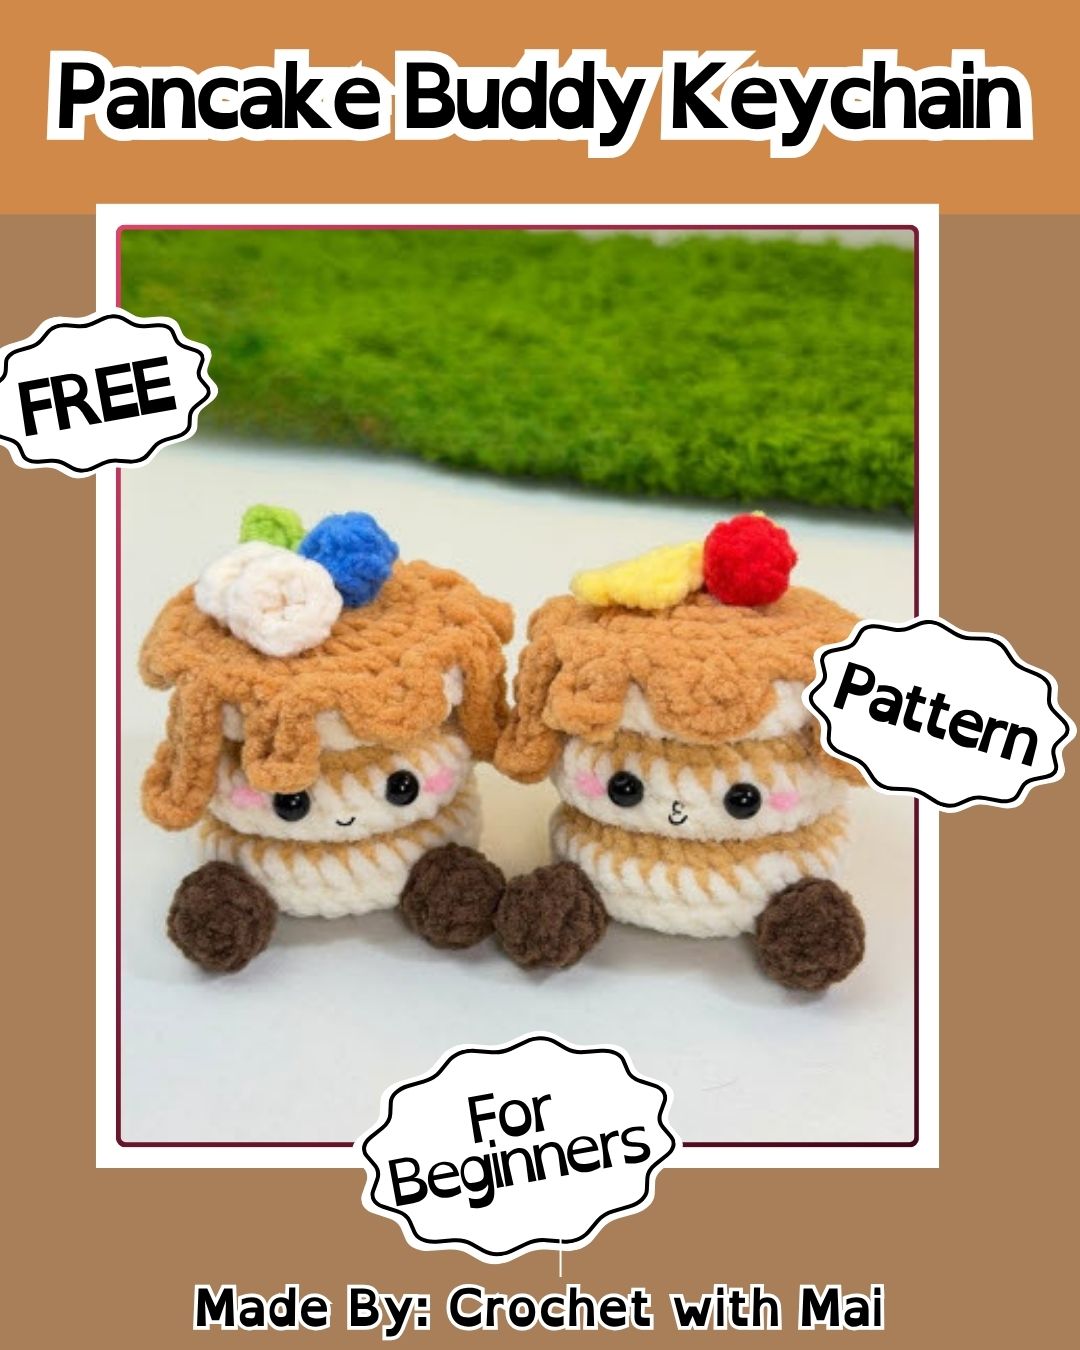
This Crochet Pancake Buddy Keychain pattern turns a simple breakfast favorite into a soft, detailed little character full of personality. From building the textured top layer to adding the finishing topper and face, every step contributes to a piece that feels genuinely well-crafted despite its small size. Whether you keep it classic with golden-brown tones or experiment with your own color twist, this keychain makes a fun, quick project and an even better handmade gift.