Small Crochet Owl keychain Pattern with round eyes and wings
Bright pink yarn coiled around a fingertip marks the very first stitch of a small crochet owl keychain pattern with round eyes and wings, a project compact enough to finish over a single evening yet charming enough to hang from a backpack zipper for years. Amigurumi fans chasing a quick color-change project, gift-makers hunting for a handmade keyring, and beginners ready to try their first picot round will each find a reason to pick up a hook here.
Pink and sunny yellow yarn team up to build a rounded little owl body topped with a feathered, scallop-edged crown that doubles as the ear tufts, a detail that sets the piece apart from a plain amigurumi ball. Round safety eyes give the face a bright, wide-awake expression, while two small wings sit close against the body so the whole shape stays sturdy enough for daily keychain use.
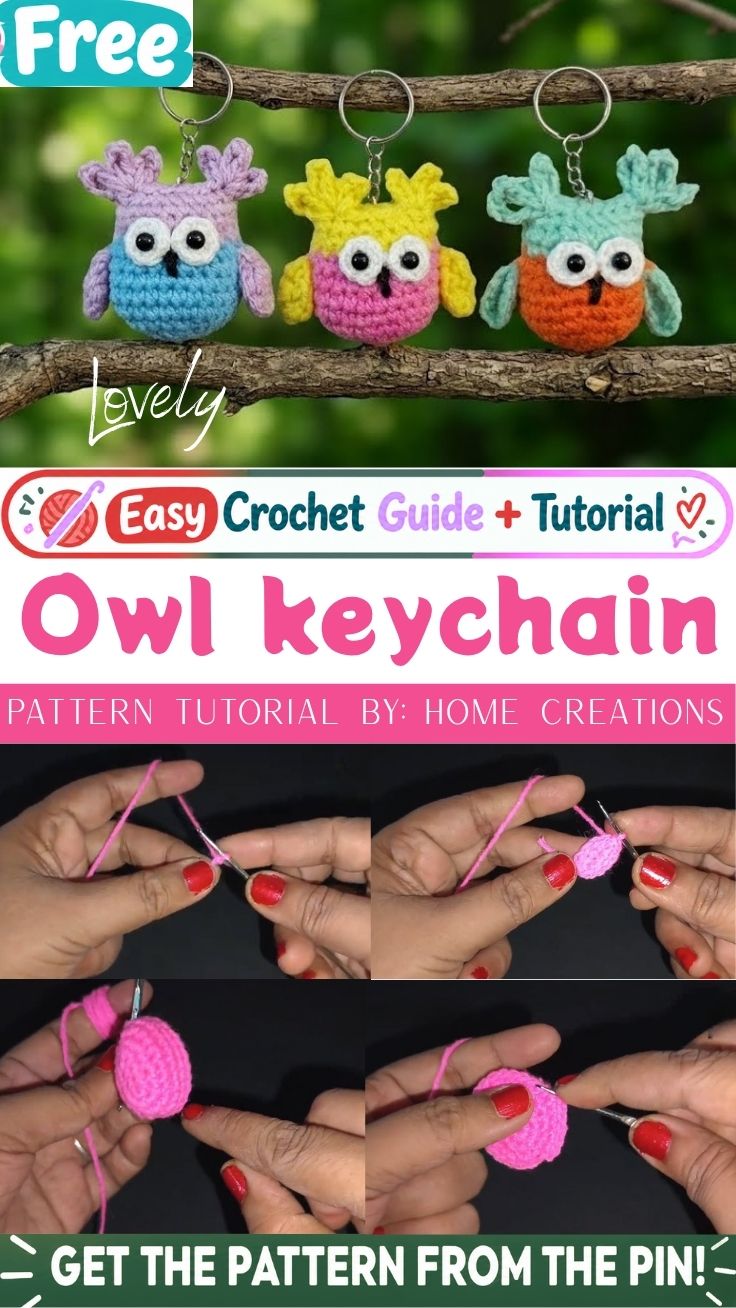
Confident beginners handle the shaping without trouble, since the body relies on ordinary increase and decrease rounds, and the only slightly fiddly section is the picot crown that forms the tufted top. Once that section clicks, repeating the pattern in fresh colors becomes second nature, and a finished owl takes up barely more space than a coin purse charm.
Project Details
- Skill Level: Beginner to Confident Beginner
- Finished Size: approximately 2 inches (5 cm) tall body, about 3.5 inches (9 cm) total including the feathered crown and clasp
- Estimated Time Required: 1 to 1.5 hours
- Recommended Yarn Weight: DK / light worsted weight
- Crochet Hook Size: 2.5mm–3mm (sized down slightly from the yarn label for a tight, stuffing-proof gauge)
Materials Needed
- DK weight yarn in pink (main body color) and yellow (feather crown/contrast color)
- Small scraps of white and black (or dark brown) yarn for the round eyes, plus a touch of mustard or orange for the beak
- 2.5mm–3mm crochet hook
- Pair of 6mm safety eyes (or embroidery floss, for a child-safe stitched version)
- Small amount of fiberfill stuffing
- Tapestry needle
- Locking stitch marker
- Sharp scissors
- Keyring, lobster clasp, or small chain with jump ring
- Optional: fabric glue for extra hold on the beak
Crochet Stitches & Techniques
- Magic Ring – an adjustable loop that starts the body with zero gap at the center
- Chain Stitch – used for the picot points and the hanging loop
- Slip Stitch – closes each picot and finishes small edges
- Single Crochet (sc) – the main stitch for every round of the body, wings, and eyes
- Increase (inc) – two single crochets worked into one stitch, used to widen each round
- Invisible Decrease – a nearly seamless way to shrink the stitch count without leaving holes
- Color Change – swapping pink for yellow mid-round without a visible jog
- Fastening Off – securing the final loop so the work never unravels
- Sewing Pieces Together – attaching wings, eyes, and the beak with a tapestry needle
Pattern Instructions
Creating the Main Piece: Starting the Magic Ring
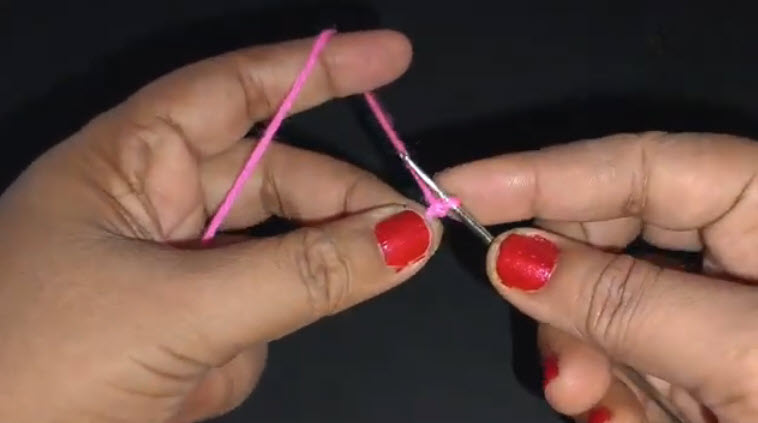
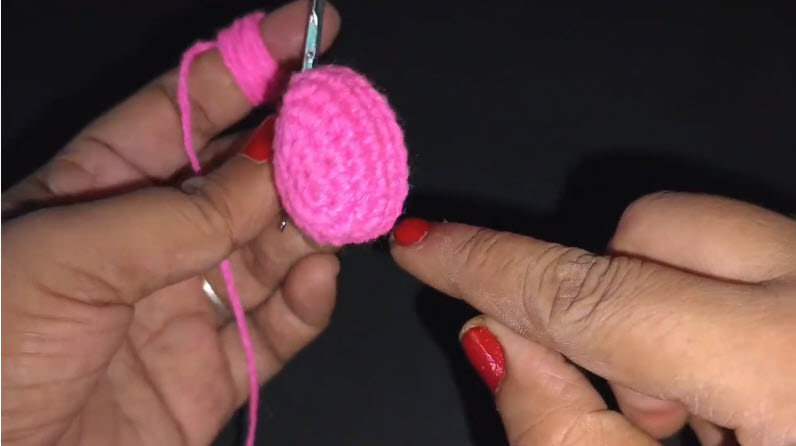
Wrap pink yarn around your left index finger, cross the tail over the working strand, and slide the hook underneath to catch the working yarn, exactly as shown in the opening step photo — the loop stays adjustable rather than tied off, so it can cinch shut once the first round is stitched.
- Chain 1 to lock the ring in place (this chain does not count as a stitch).
- Work 6 single crochets into the ring.
- Pull the tail firmly to close the center hole completely.
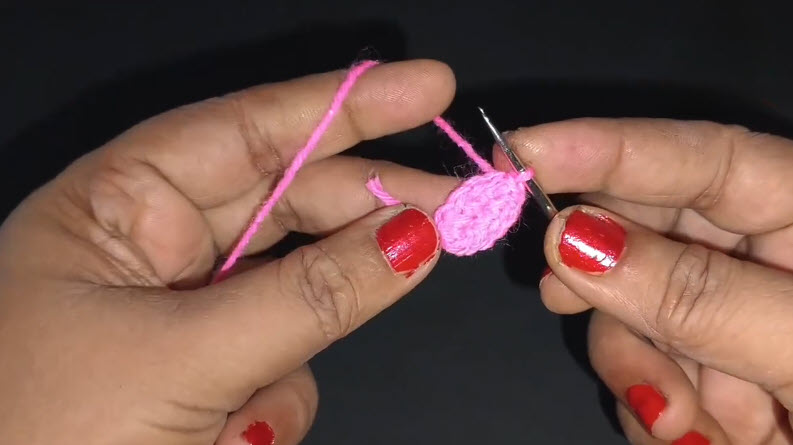
Making the Head-Body Base
Once Round 1 sits as a tight little pink disc the same snug circle pictured, with the hook poised at its edge stitch marker duty begins, since every round from here forward is worked continuously without joining.
- Round 2: inc in every stitch (12 sts)
- Round 3: [sc, inc] repeat 6 times (18 sts)
- Round 4: [sc 2, inc] repeat 6 times (24 sts)
Watch the flat disc widen with each round, the way it does moving from the small starter circle to the noticeably broader one photographed a few rounds later.
Building the Body Into a Ball
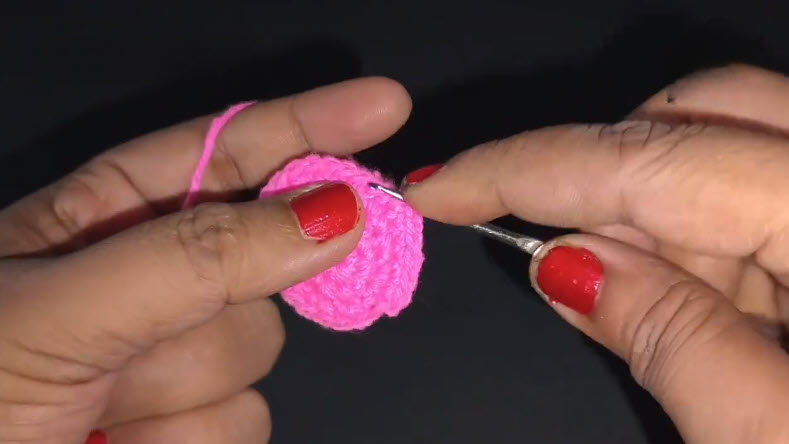
Growth stops being the goal for a stretch, and roundness takes over instead. Rounds 5 through 9 are worked even, sc in every stitch around (24 sts), which lets the disc curve upward on its own into the rounded, egg-like shape captured mid-project with a fresh ball of pink yarn still attached.
Stuffing goes in gradually rather than all at once a small handful now, then more as the shape closes near the top, so the fiberfill settles evenly instead of clumping at the base.
Adding the Feathered Crown in Yellow
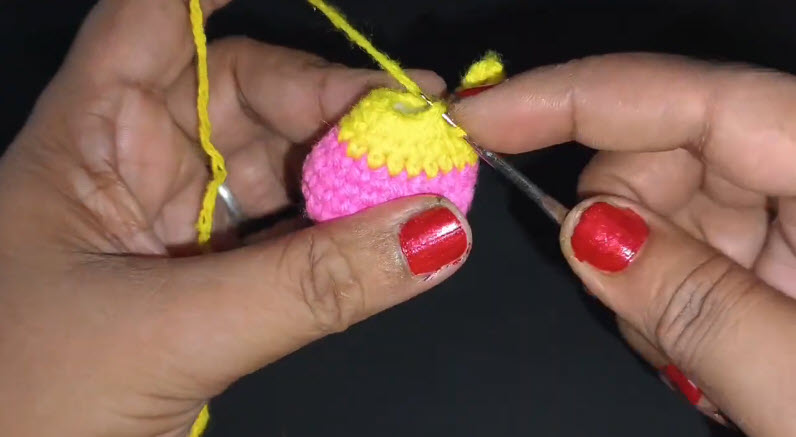
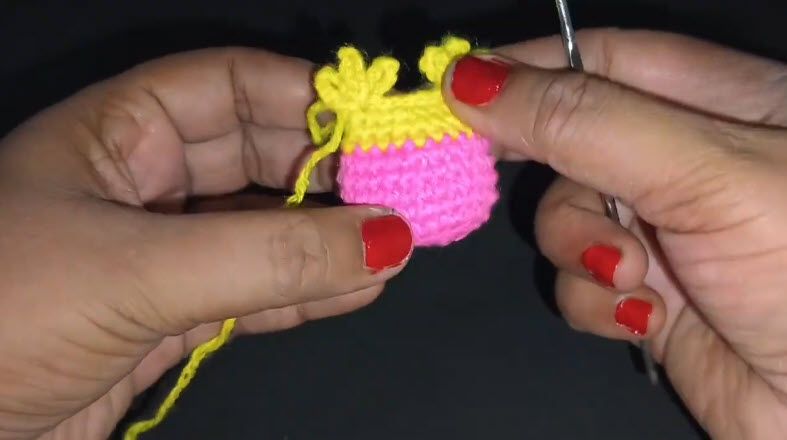
Color change happens at the start of the next round, right at the open top of the ball, matching the moment the yellow strand first appears against the pink stitches. Rather than decreasing the opening shut, the final round is worked as a ring of picot points that stand up around the rim like a crown of feathers, echoing an owl’s tufted head.
- Join yellow yarn in any stitch with a standard color change (draw yellow through the last two loops of the previous pink stitch).
- Picot Round: ch 3, sl st into the 3rd chain from hook (picot made), sl st into next stitch repeat around all 24 stitches.
- Fasten off, leaving a long yellow tail.
Pro Tip: Keep tension slightly looser on each picot chain than usual a tight chain pulls the points sideways instead of letting them stand upright, which flattens the feathered look.
Shaping the Round Eyes
Small white circles give the eyes their wide, round base.
- Magic ring, 6 sc into ring (6 sts)
- Inc around (12 sts), fasten off leaving a tail
Add a tiny black or brown French knot, or a small crocheted dot, at the center of each white circle before sewing both eyes side by side just below the feather crown.
Crocheting the Wings
Two matching wings keep the owl balanced on either side of the body.
- Chain 2, 4 sc into 2nd chain from hook (4 sts)
- Inc around (8 sts)
- Sc even for 2 rounds
- Fasten off, leaving a tail for sewing
Make a second wing identically so the pair sits as mirror images once attached.
Adding the Beak
A tiny triangle in mustard or orange yarn gives the face its focal point three or four short rows worked back and forth, decreasing a stitch on each side until only a point remains, then fastened off and tacked on centered beneath the eyes.
Joining All Pieces
Pin the eyes first, spacing them evenly under the yellow crown, then whipstitch each wing flush against the body sides about one-third of the way down from the top. A dab of fabric glue behind the beak keeps it from shifting while the final stitches go in.
Attaching the Keychain Hardware
Fold a short length of yarn or a narrow crochet chain into a loop, tuck the ends between two of the yellow picots at the very top, and stitch securely through the body. Clip a keyring or lobster clasp onto the loop once it holds firm under a light tug test.
Final Assembly
Trim every loose tail to about half an inch, weave each one back through several stitches with the tapestry needle, and gently squeeze the whole piece to settle the stuffing before it heads onto a keyring, bag strap, or gift box.
Tips for Success
- Count stitches at the end of every round a single missed increase throws off the whole shape by the time the crown round arrives.
- Keep a locking stitch marker on the first stitch of each round rather than relying on memory.
- Stuff a little at a time, checking firmness by pressing gently rather than squeezing hard.
- Weave in ends along a seam line so they stay hidden even after repeated handling on a keyring.
- Block the yellow picot points flat with a warm iron and damp cloth (yarn permitting) if they curl inward after stuffing.
Personalization Ideas
Try a Different Color Palette
Swap pink for gray, brown, or cream, and pair the crown with rust or cream instead of yellow for a more woodland-toned owl.
Seasonal Versions
Add a tiny red scarf for winter, a small flower behind one ear tuft for spring, or orange-and-black stripes for a Halloween edition.
Change the Facial Expression
Angle the eyes closer together for a curious look, or space them wider for a sleepy, rounder expression.
Mini and Jumbo Sizes
Drop to a lace or sock weight yarn with a 2mm hook for a charm small enough for a bracelet, or scale up to bulky yarn for a huggable 6-inch plush.
Beyond the Keychain
Skip the clasp and glue on a pin back for a brooch, add a loop at the top for a tree ornament, or sew several onto a garland for a nursery decoration.
Common Mistakes to Avoid
Losing count during the increase rounds ranks as the most frequent slip-up, since a single extra or missing stitch throws the whole shape lopsided by the time the crown round starts a stitch marker at the start of every round solves it almost entirely. Stuffing too densely too early causes another common problem, making the final rounds hard to close neatly, so smaller amounts added gradually work far better than one big handful at the end. Pulling the picot chains too tight flattens the feather crown into a plain zigzag rather than the standing tufted look, so tension stays deliberately relaxed on that round alone.
Frequently Asked Questions
What yarn weight works best for a mini owl keychain?
DK or light worsted weight gives the tightest, most durable stitches for a small piece that gets handled often.
Do I need safety eyes, or can I embroider them instead?
Safety eyes give a polished, secure finish for adult use, while embroidered eyes work better for a child-safe or gift-for-a-toddler version.
Why does my yellow crown lie flat instead of standing up?
Loose picot tension usually solves it; tight chains pull the points sideways rather than letting them stand upright.
Can the Crochet Owl keychain Pattern be made without a magic ring?
A chain-2 start with stitches worked into the second chain from the hook works as a substitute, though it leaves a small center hole.
How much yarn does the Crochet Owl keychain Pattern actually use?
A single small skein of each color covers several owls, since the finished piece uses well under 20 yards of pink and even less yellow.
Is the pattern realistic for a first amigurumi project?
Confident beginners who already know single crochet and basic increases handle it comfortably, especially with the picot crown as their first new technique.
How do I keep the keyring loop from pulling loose over time?
Stitching the loop through several layers of the body at the top, rather than just the outer round, keeps it anchored under regular tugging.
Conclusion
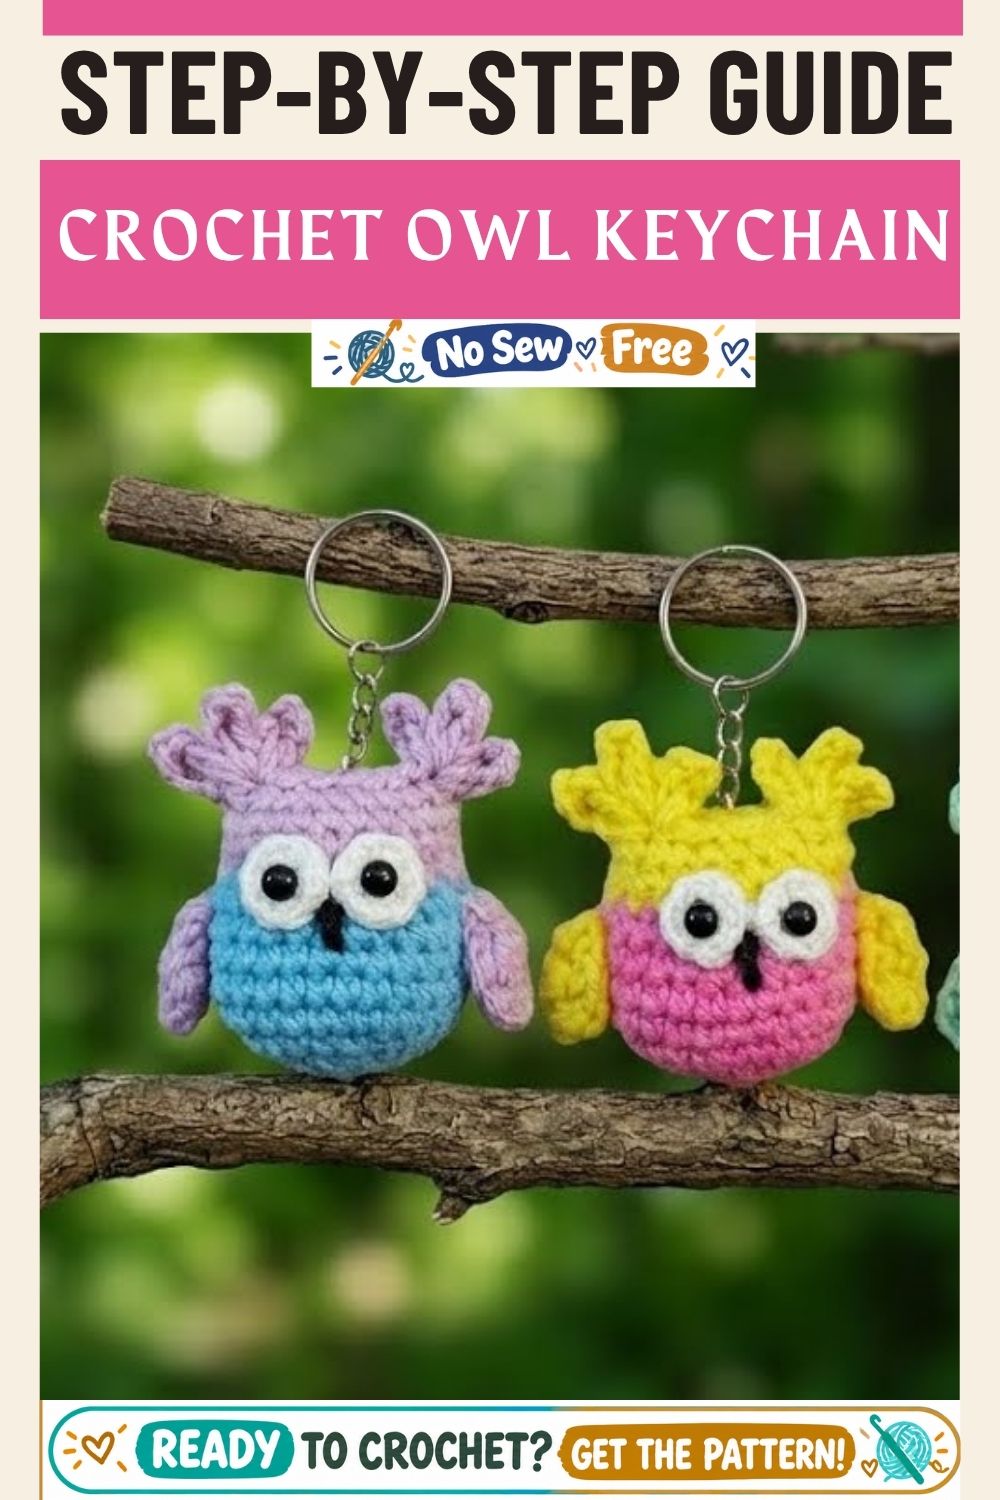
Few projects pack this much personality into two inches of yarn, and a finished owl keychain makes an easy gift, a fun stash-buster, or a satisfying way to practice a new picot technique. Grab a small ball of pink and yellow, work through the rounds at your own pace, and share a photo of the finished tuft crown once it’s off the hook.