Crochet Smiley Face Keychain Amigurumi Pattern for Modern Vibes
Small handmade accessories add personality to everyday items, and this Crochet Smiley Face Amigurumi Keychain is a lovely example of that. Colorful, lightweight, and easy to make, this little charm brings a cheerful handmade touch to a purse, lunch bag, pencil case, zipper pull, or travel bag, and comes together easily even with leftover scraps of yarn.
Crocheters everywhere are drawn to this project because it works up fast and looks adorable no matter your skill level. Whether you’re new to amigurumi or already comfortable with a hook, this smiley face keychain pattern gives you a satisfying, low-pressure project with a big payoff.
Grab your yarn, because this one’s about to become your new favorite quick make.
What Is This Crochet Project All About?
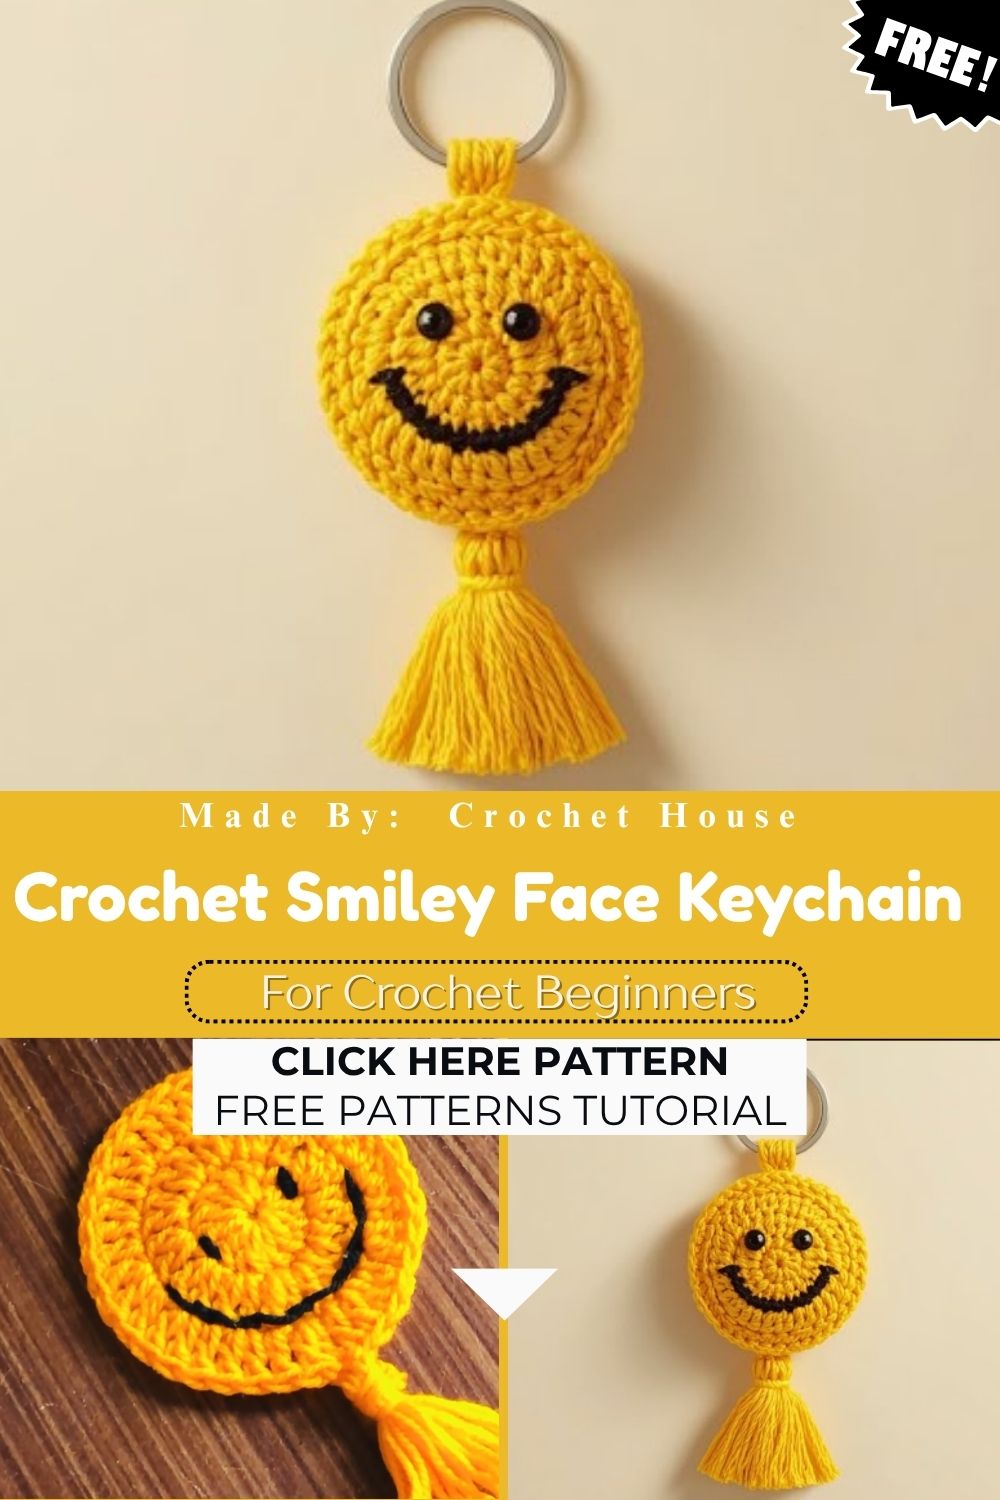
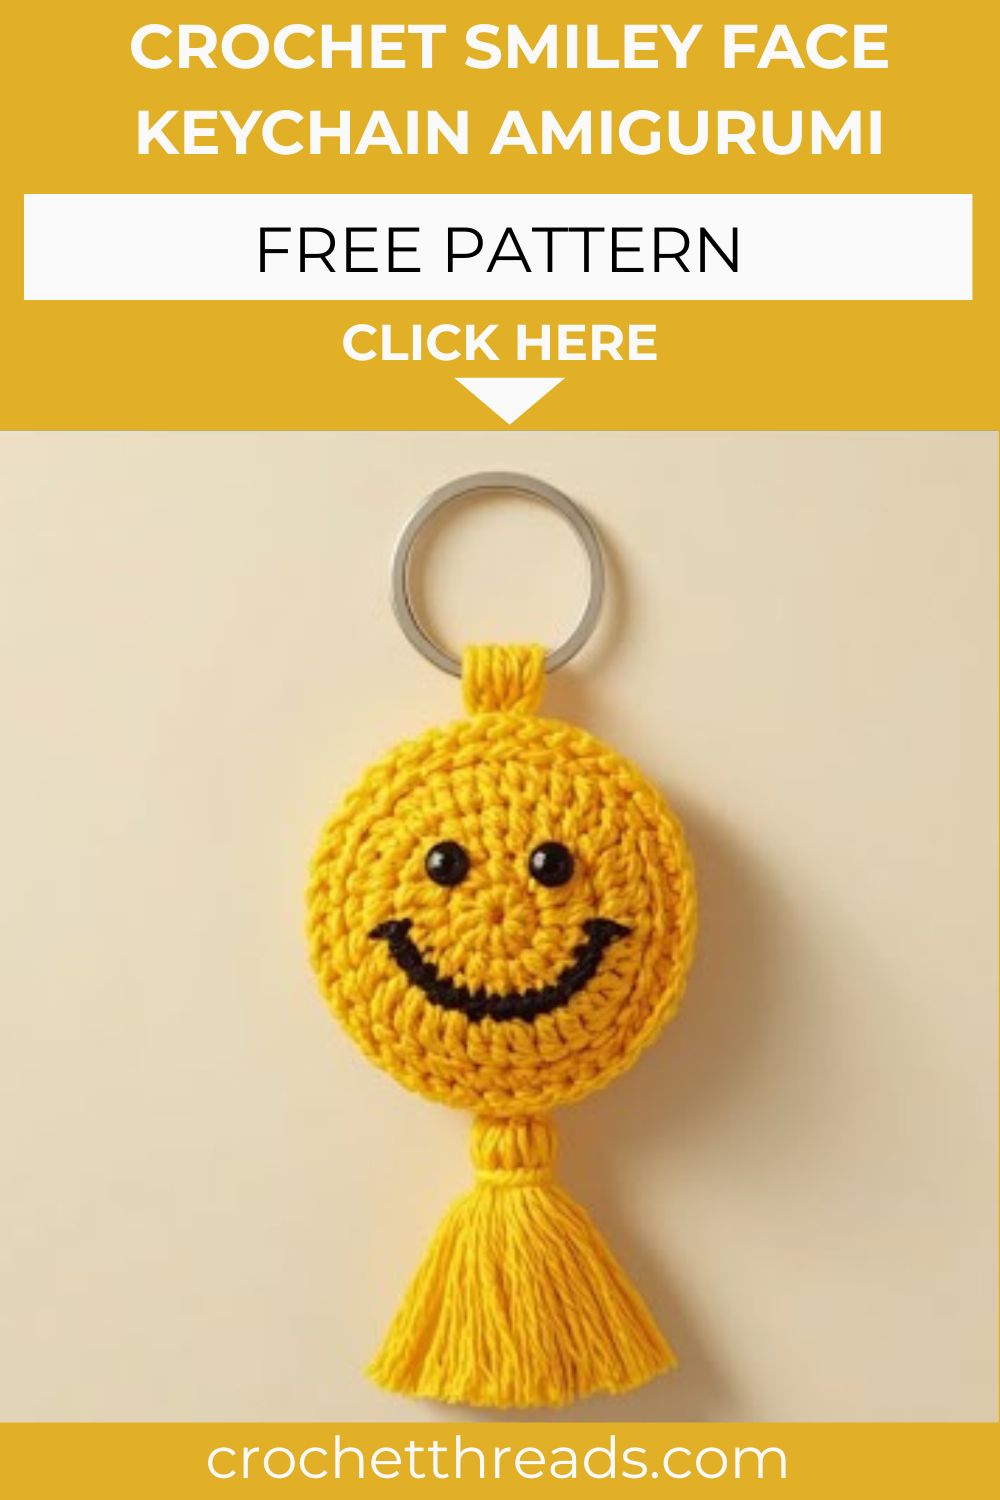
Crocheting a smiley face keychain means working a small flat circle in the round, adding cheerful embroidered features, and attaching it to a keyring or clasp. The result is a soft, huggable little face that instantly brightens up whatever it’s attached to.
Trending amigurumi styles right now lean into simple, expressive shapes think smiley faces, hearts, and mini fruits and this pattern fits perfectly into that “modern vibes” aesthetic. It’s minimal, playful, and endlessly customizable, which makes it a great handmade crochet idea for gifts, craft fairs, or your own everyday carry.
Best part? The whole project uses very little yarn, so it’s ideal for using up leftover scraps from bigger projects.
Skill Level
Beginner-friendly is the name of the game here. This pattern relies on just a handful of basic crochet stitches worked in simple increase rounds, so anyone comfortable holding a hook can follow along.
Total newbies might need a little patience with magic rings and stitch counting, but nothing here is tricky. Consider this your gentle, low-stakes entry point into amigurumi.
Required Materials and Supplies
Gathering your supplies ahead of time makes the whole process smoother. Here’s what you’ll need:
Yarn Type
- Worsted weight (medium, 4) cotton or acrylic yarn in yellow for a classic smiley face
- Small amount of black yarn for embroidering the eyes and mouth
- Optional contrast color for a keychain loop or tassel accent
Cotton yarn gives crisp stitch definition and holds its shape nicely, while acrylic offers a wider range of bright, punchy colors if you want to experiment beyond classic yellow.
Hook Size
- 3.0mm to 3.5mm crochet hook (go slightly smaller than the yarn label suggests for tight, firm stitches that keep stuffing from peeking through)
Extra Tools
- Yarn needle for weaving in ends and embroidering the face
- Polyester fiberfill stuffing (a small pinch goes a long way)
- Stitch marker for tracking your rounds
- Scissors
- Keyring, lobster clasp, or lanyard clip
- Optional: small jump ring for attaching the keyring hardware
Crochet Stitches and Abbreviations Used
Here are the stitches you’ll use throughout this pattern:
- MR – Magic ring
- Ch – Chain
- Sc – Single crochet
- Inc – Increase (2 sc in the same stitch)
- Sl st – Slip stitch
- St(s) – Stitch(es)
Nothing advanced here — just single crochet worked in careful increases to build a flat, round shape.
Step-by-Step Crochet Instructions
Round 1: Start With a Magic Ring
Make a magic ring and work 6 sc into it. Pull the ring tight. (6 sts)
Round 2: First Increase Round
Inc in every st around. (12 sts)
Round 3: Build the Circle
Sc 1, inc in next st repeat around. (18 sts)
Round 4: Keep Growing
Sc 2, inc in next st repeat around. (24 sts)
Round 5: Reaching Keychain Size
Sc 3, inc in next st repeat around. (30 sts)
Depending on how large you’d like your keychain, you can stop here for a smaller charm or add one more increase round for a slightly bigger face.
Round 6 (Optional, for a Bigger Face)
Sc 4, inc in next st repeat around. (36 sts)
Finishing the Front Piece
Sl st to join, fasten off, and leave a long tail for sewing.
Making the Back Piece
Repeat rounds 1 through 5 (or 6, matching your front piece) to create a second matching circle.
Joining Front and Back
Hold both circles wrong sides together. Sc around the edge, joining both layers, leaving a small gap open. Insert a light pinch of stuffing before closing the gap completely with sc stitches. Fasten off and weave in ends.
Adding the Face
Thread black yarn onto your yarn needle. Embroider two small curved or oval eyes and a wide smiling mouth using simple backstitch or straight stitches. Keep tension gentle so the fabric doesn’t pucker.
Attaching the Keychain Hardware
Fold a short length of chain or a keyring loop and sew it securely to the top edge of the smiley face. Reinforce with a few extra stitches for durability, then attach your keyring or clasp.
Helpful Beginner Tips
- Count stitches at the end of every round — amigurumi mistakes are much easier to fix early than three rounds later.
- Keep a stitch marker in the first stitch of each round so you never lose track of where you started.
- Pull your yarn tail tight after the magic ring to avoid a hole in the center.
- Work with a snug tension throughout; loose stitches let stuffing show through.
- Practice on a spare circle first if magic rings feel unfamiliar.
Common Mistakes and Solutions
Mistake: The circle starts to cup or curl instead of lying flat.
Solution: Add the correct number of increases per round; skipping increases causes cupping, while too many creates a ruffled edge.
Mistake: Visible gap or hole at the center of the magic ring.
Solution: Pull the starting tail firmly before beginning round 2, and weave it in securely at the end.
Mistake: Embroidered face looks uneven or lopsided.
Solution: Lightly mark eye and mouth placement with a fabric pen or pins before stitching, then embroider slowly and evenly.
Mistake: Stuffing pokes through the stitches.
Solution: Size down your hook slightly, or stuff a little less generously.
Pattern Customization Ideas
Personalizing this project is where the real fun begins. Try:
- Swapping yellow for pastel, neon, or rainbow shades
- Adding heart-shaped eyes, winking expressions, or sleepy lashes
- Attaching a small tassel or pom-pom underneath for extra movement
- Making a mini version as an earring or a slightly larger one as a bag charm
- Adding a tiny crocheted flower or bow accessory to the top
Seasonal themes work beautifully too — think orange for Halloween or red and green for a festive holiday twist.
Size and Color Suggestions
A standard smiley face keychain made with worsted weight yarn and a 3.0mm–3.5mm hook typically measures around 2 to 2.5 inches across, ideal for keys or bag charms without feeling bulky.
Classic yellow remains the go-to shade for a traditional smiley look, but pastel tones, neon brights, and even monochrome black-and-white versions are trending for a more modern, minimalist aesthetic. Multicolor faces with mismatched features also make for a fun, quirky twist.
FAQ Section
How long does this Crochet Smiley Face Keychain project take to make?
Most crocheters finish a smiley face keychain in about one to two hours, making it a great quick weekend project.
What yarn works best for beginners?
Worsted weight cotton or acrylic yarn is easiest to handle and gives clean, defined stitches for a beginner-friendly experience.
Can I make this without stuffing?
Yes, a flat, unstuffed version works too and looks great as a patch or applique, though a light stuffing gives it a softer, more huggable shape.
Do I need safety eyes?
No, embroidered features work well for this pattern and keep the design simple, though safety eyes can be added for a different look if preferred.
Is this Crochet Smiley Face Keychain pattern good for gifting?
Absolutely. Its small size, quick turnaround, and cheerful design make it a popular choice for stocking stuffers, party favors, and handmade gifts.
Conclusion
Crochet Smiley Face Keychain prove that small projects can carry a whole lot of happiness. With just a handful of materials, a few simple rounds, and a little embroidery, you’ll have a cheerful handmade accessory ready to brighten someone’s day.
Perfect for beginners exploring amigurumi and experienced crocheters looking for a fast, satisfying make, this pattern fits right into the current wave of playful, modern crochet designs. Once you’ve made one, don’t be surprised if you end up making a whole rainbow collection.