Crochet Triangle Character Amigurumi Pattern with Top Hat
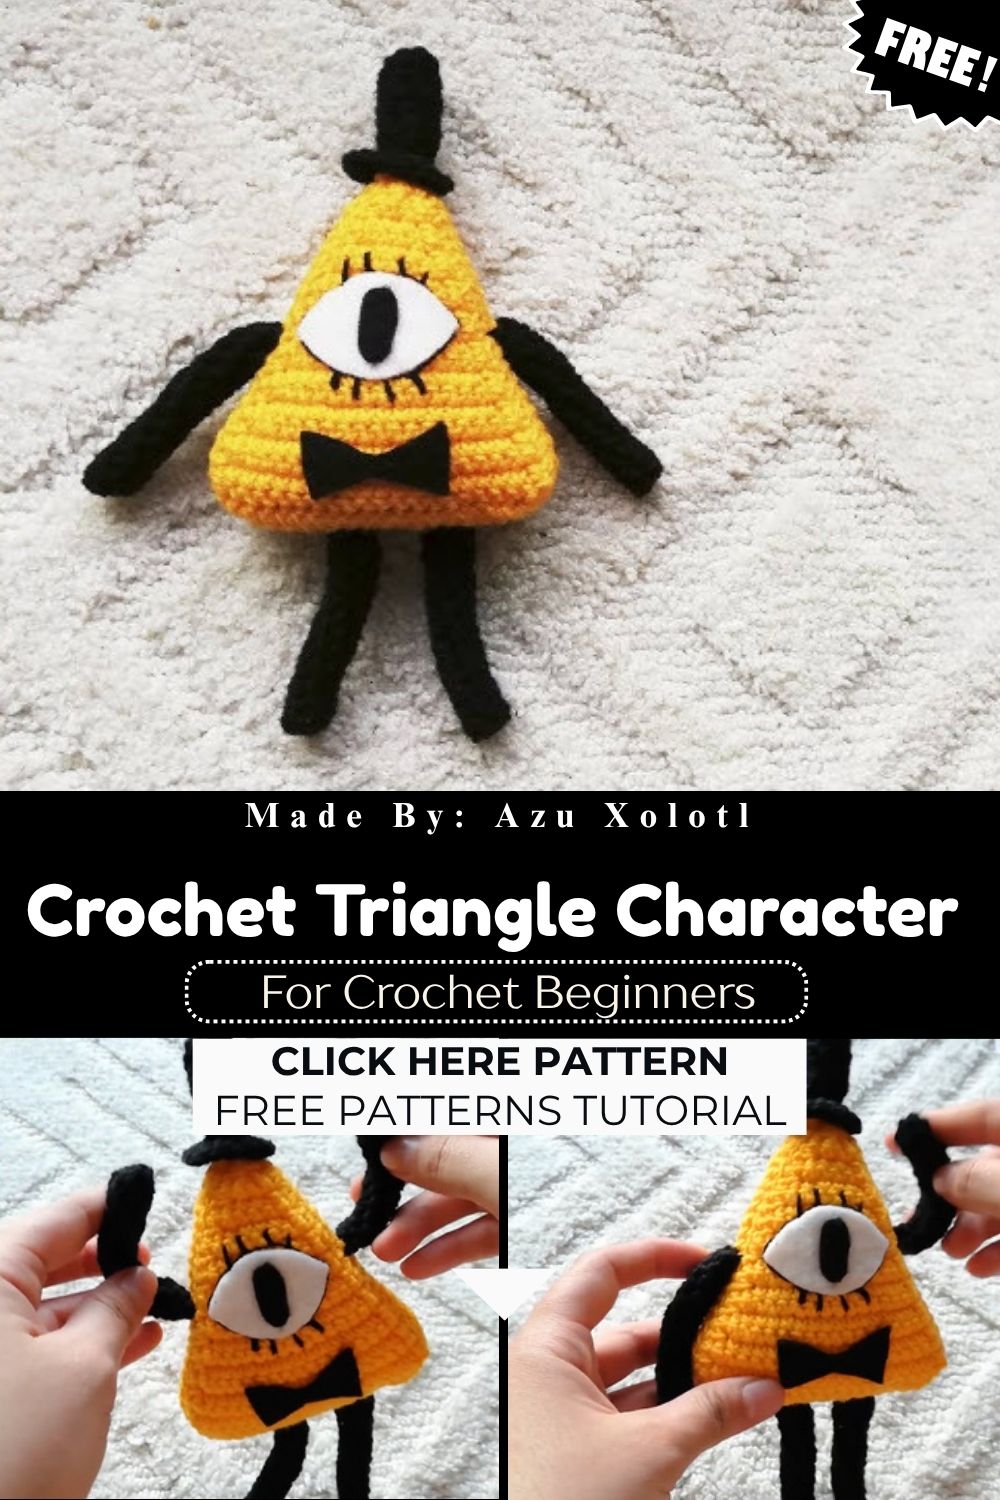
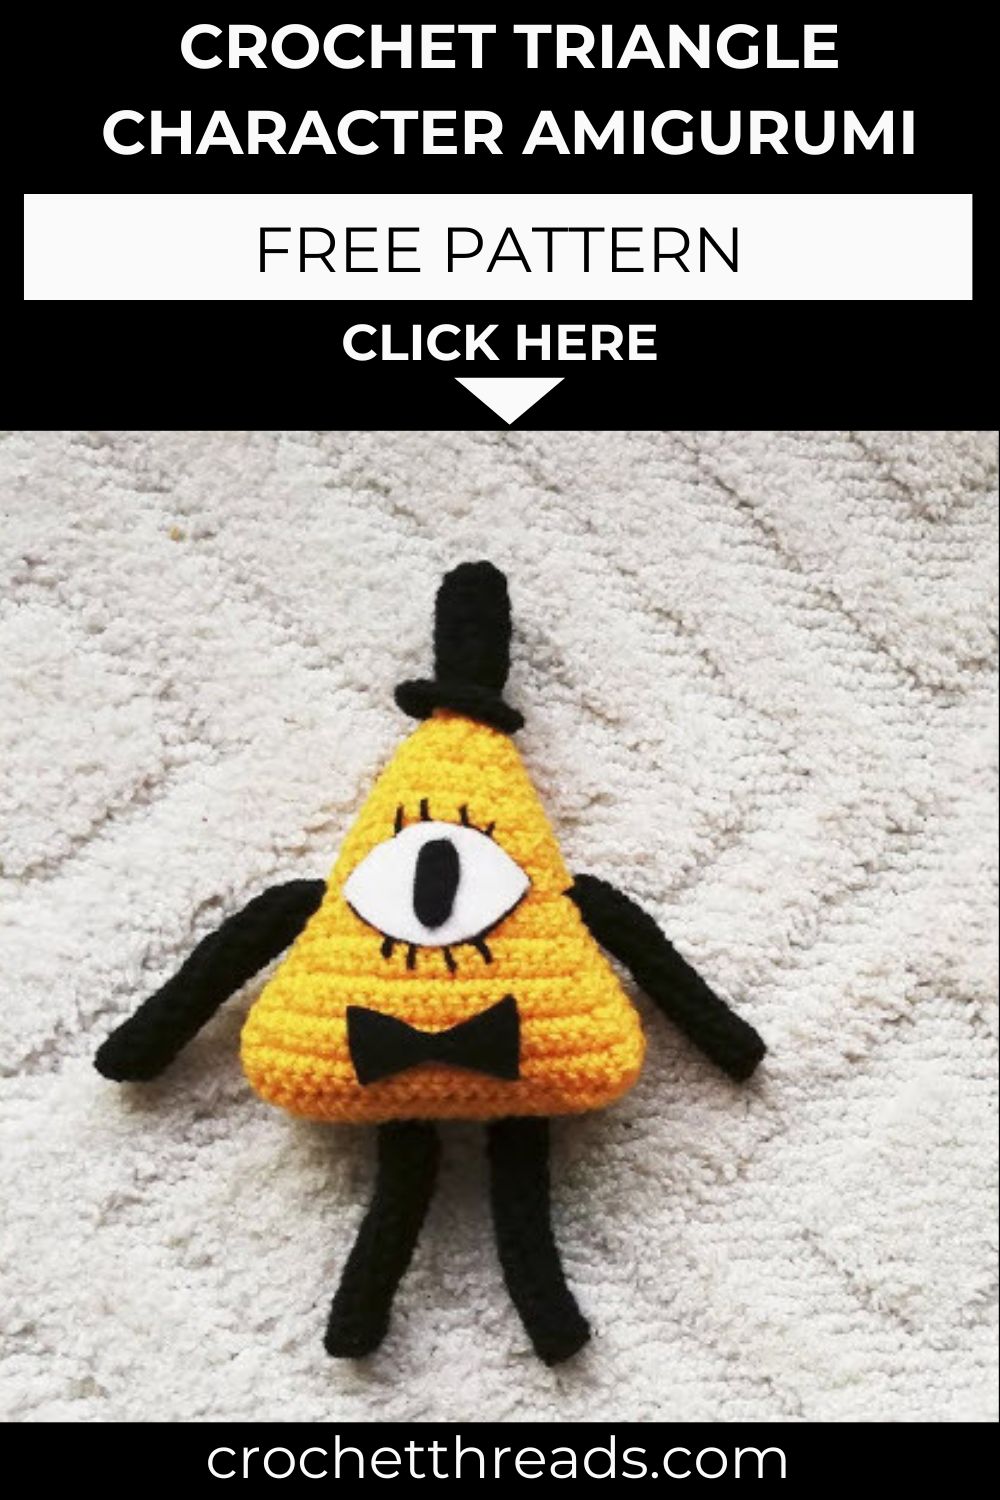
Simple geometric shapes take on plenty of personality in this Crochet Triangle Character Amigurumi. Its playful triangular body and tiny top hat give it a whimsical look that’s perfect for decorating a reading nook, brightening a coffee table, or adding a handmade touch to a display cabinet.
Geometric amigurumi shapes rarely feel this charming, yet this triangle character manages it effortlessly with its tilted top hat and sweet little face. Honestly, the appeal comes from how unexpected the silhouette feels next to typical round amigurumi designs. Crocheters looking for something fresh will enjoy practicing shaping techniques while building a genuinely quirky keepsake, whether displayed on a shelf or turned into a playful bag charm.
Project Overview
Crafting this triangle amigurumi combines simple shaping with classic amigurumi charm, giving beginners a fun way to practice increases, decreases, and assembly while creating a genuinely unique keepsake character anyone would love to display or gift.
Expect a compact, huggable little guy with a smart top hat. The whole project works up quickly using basic stitches.
Skill Level
Newer crocheters comfortable with magic rings and basic increases will manage this pattern fine. A little previous amigurumi experience helps with shaping the triangular body neatly, but nothing here is overly tricky.
Materials and Supplies List
Gather these before starting so your crochet session stays smooth and uninterrupted:
- Yarn: Worsted weight (4) cotton or acrylic yarn in your chosen body color, plus a contrast color for the top hat and a small amount of black for the hat band
- Crochet hook: 3.5mm or 3.75mm hook (check gauge against your yarn label)
- Safety eyes: 8mm or 9mm black safety eyes, one pair
- Stuffing: Polyester fiberfill, enough for a firm fill
- Needle: Yarn needle for sewing pieces together
- Scissors: Small, sharp pair for trimming yarn ends
- Stitch markers: At least two, for tracking rounds
- Keychain ring or clasp (optional): For turning your finished piece into a bag charm
Crochet Techniques Used
This pattern relies on foundational amigurumi skills:
- Magic ring (adjustable ring) to start rounds without a gap
- Single crochet (sc) throughout the body and hat
- Increase (inc) and decrease (dec) stitches for shaping
- Whip stitch or mattress stitch for sewing pieces together
- Embroidery for simple facial details
Nothing fancy is required beyond these basics, which makes this project genuinely approachable for newer crocheters.
Step-by-Step Crochet Pattern Instructions
Grab your hook and let’s build this little triangle friend from the ground up.
Making the Head
Round 1: Magic ring, 6 sc (6)
Round 2: Inc in each st around (12)
Round 3: Sc, inc repeat around (18)
Round 4: 2 sc, inc repeat around (24)
Round 5: 3 sc, inc repeat around (30)
Rounds 6–10: Sc around, no increases (30)
Round 11: 3 sc, dec repeat around (24)
Round 12: 2 sc, dec repeat around (18)
Insert safety eyes between rounds 8 and 9, spacing them about 6 stitches apart. Stuff the head firmly before closing.
Round 13: Sc, dec repeat around (12)
Round 14: Dec around (6)
Fasten off, leaving a long tail for sewing onto the body later.
Building the Triangle Body
Triangle shaping comes from working flat rows with increases at the corners only.
Row 1: Chain 4, sc in second chain from hook and across (3 sc)
Row 2: Ch 1, turn, 2 sc in first st, sc to last st, 2 sc in last st (5)
Row 3: Repeat row 2 pattern, increasing one stitch each side (7)
Rows 4–8: Continue increasing at both edges each row until the triangle reaches your desired width (roughly 15–17 sc across the base)
Fold the flat triangle in half and whip stitch the two side edges together, leaving the bottom open for stuffing. Stuff lightly to keep the shape soft but stable, then close the bottom seam.
Ears, Hat Brim and Tail
Small rounded ears add personality to this character.
Round 1: Magic ring, 6 sc (6)
Round 2: Inc around (12)
Round 3–4: Sc around, no shaping (12)
Make two ears and set aside without stuffing, flattening slightly before sewing.
For the top hat brim:
Round 1: Magic ring, 6 sc (6)
Round 2: Inc around (12)
Round 3: Sc, inc repeat (18)
Round 4: Sc around (18), then fasten off
For the hat crown, work rounds 1–2 above in your contrast color, then continue straight in sc for 5–6 rounds without increasing, closing the top with a small decrease round.
Facial Details
Embroider a simple smile using black yarn and a straight stitch or backstitch, placed just below the safety eyes. Small pink cheek blushes, added with a bit of pink yarn or fabric marker, give the face warmth. Keep the expression minimal since amigurumi faces read best when kept simple and clean.
Assembly Process
Follow these steps to bring every piece together:
- Sew the head onto the top point of the triangle body using the long yarn tail
- Attach both ears to the sides or top of the head, spacing them evenly
- Sew the hat brim onto the hat crown, then attach the finished hat slightly tilted for a jaunty look
- Wrap and sew the black hat band around the base of the crown
- Weave in every loose yarn end and trim neatly
Finishing Touches
Check the whole character for gaps, loose stitches, or visible stuffing before calling it done. Add a keychain ring through the top of the hat or between the ears if you’re making this as a bag charm.
Helpful Beginner Tips
A few small habits make a noticeable difference in your finished amigurumi.
- Keep stitches tight. Amigurumi needs dense fabric so stuffing never peeks through, so use a hook one size smaller than the yarn label suggests
- Use stitch markers. Working in continuous spiral rounds gets confusing fast without one marking round starts
- Stuff gradually. Add small amounts of fiberfill as you go rather than cramming it all in at the end, which keeps the shape smooth and even
Design Customization Ideas
Once you’ve mastered the base pattern, try making it your own.
- Swap the body color for pastel shades, bold brights, or even ombre yarn for a completely different mood
- Add a tiny bow tie, scarf, or monocle for extra personality
- Crochet a mini version using thread-weight yarn and a smaller hook for an adorable miniature keepsake
FAQ Section
What is the best yarn for amigurumi?
Cotton yarn is a popular choice since it holds stitch definition well and prevents stuffing from showing through gaps. Acrylic worsted weight also works nicely and tends to be more budget-friendly for beginners.
How do I make my Crochet Triangle Character Amigurumi plush firm?
Use a hook slightly smaller than recommended for your yarn weight, and stuff generously in small batches. Firm, even stuffing throughout every section keeps the final shape sturdy and huggable.
How long does this project take?
Most crocheters finish this triangle character in about 3 to 5 hours, depending on experience level. Beginners may want to split the project across a couple of sessions.
Conclusion
This Crochet Triangle Character Amigurumi with its dapper top hat makes a delightful addition to any amigurumi collection. Give this pattern a try, share your finished creation online, and tag fellow crochet lovers who might enjoy making one too.