Crochet Little Kitten Amigurumi Pattern Fun for All Ages
Amigurumi animals never go out of style, and this Crochet Little Kitten Amigurumi Pattern Fun for All Ages brings a soft, round little companion that’s easy to fall in love with. Its plush, calico-style colouring and tiny amigurumi kitten face make it a project that feels rewarding from the very first round. This pattern has become a favourite for crafters of every experience level who want a quick, adorable finished piece.
This crochet kitten amigurumi pattern is especially useful for gift-giving, nursery decor, and simple projects that both kids and adults can enjoy making together, thanks to its rounded, forgiving shape. With its soft chenille texture and calico colour patches, this amigurumi kitten pattern pairs nicely with any crochet animal collection, making it a fun, giftable project for makers of any skill level.
What Is a Crochet Kitten Amigurumi?
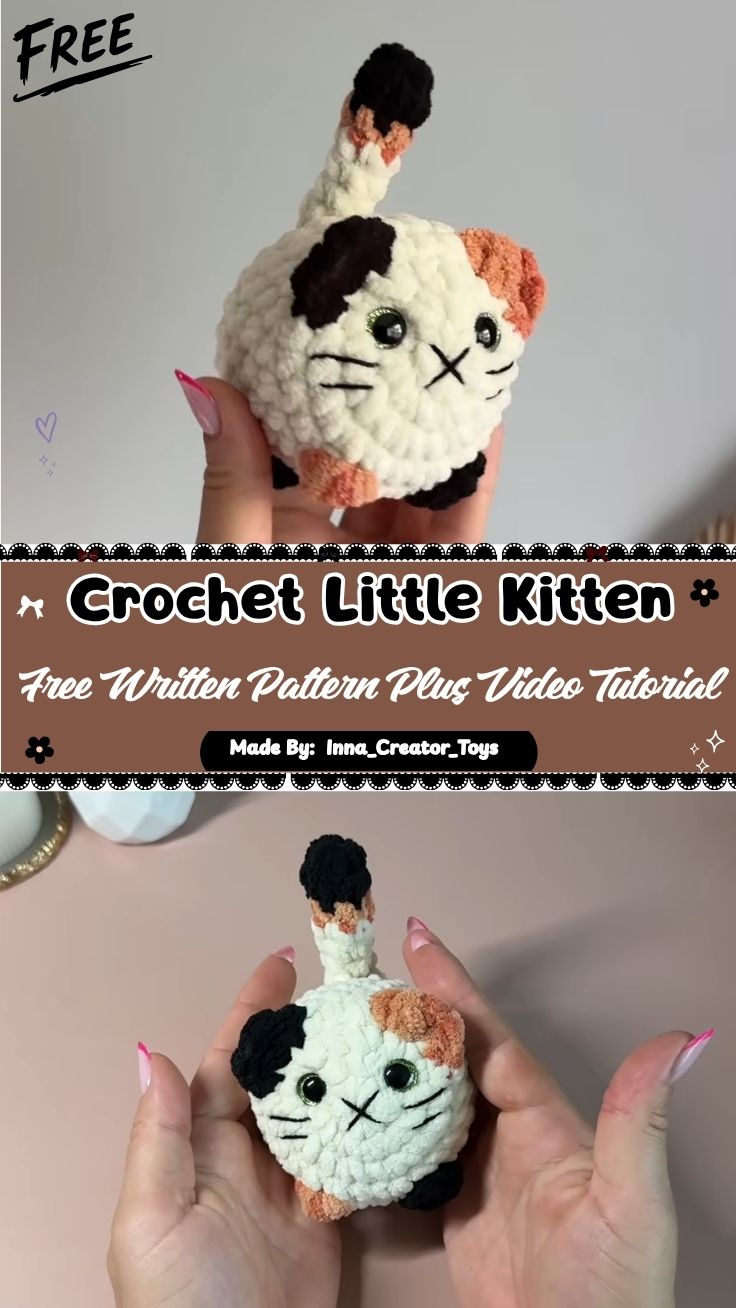
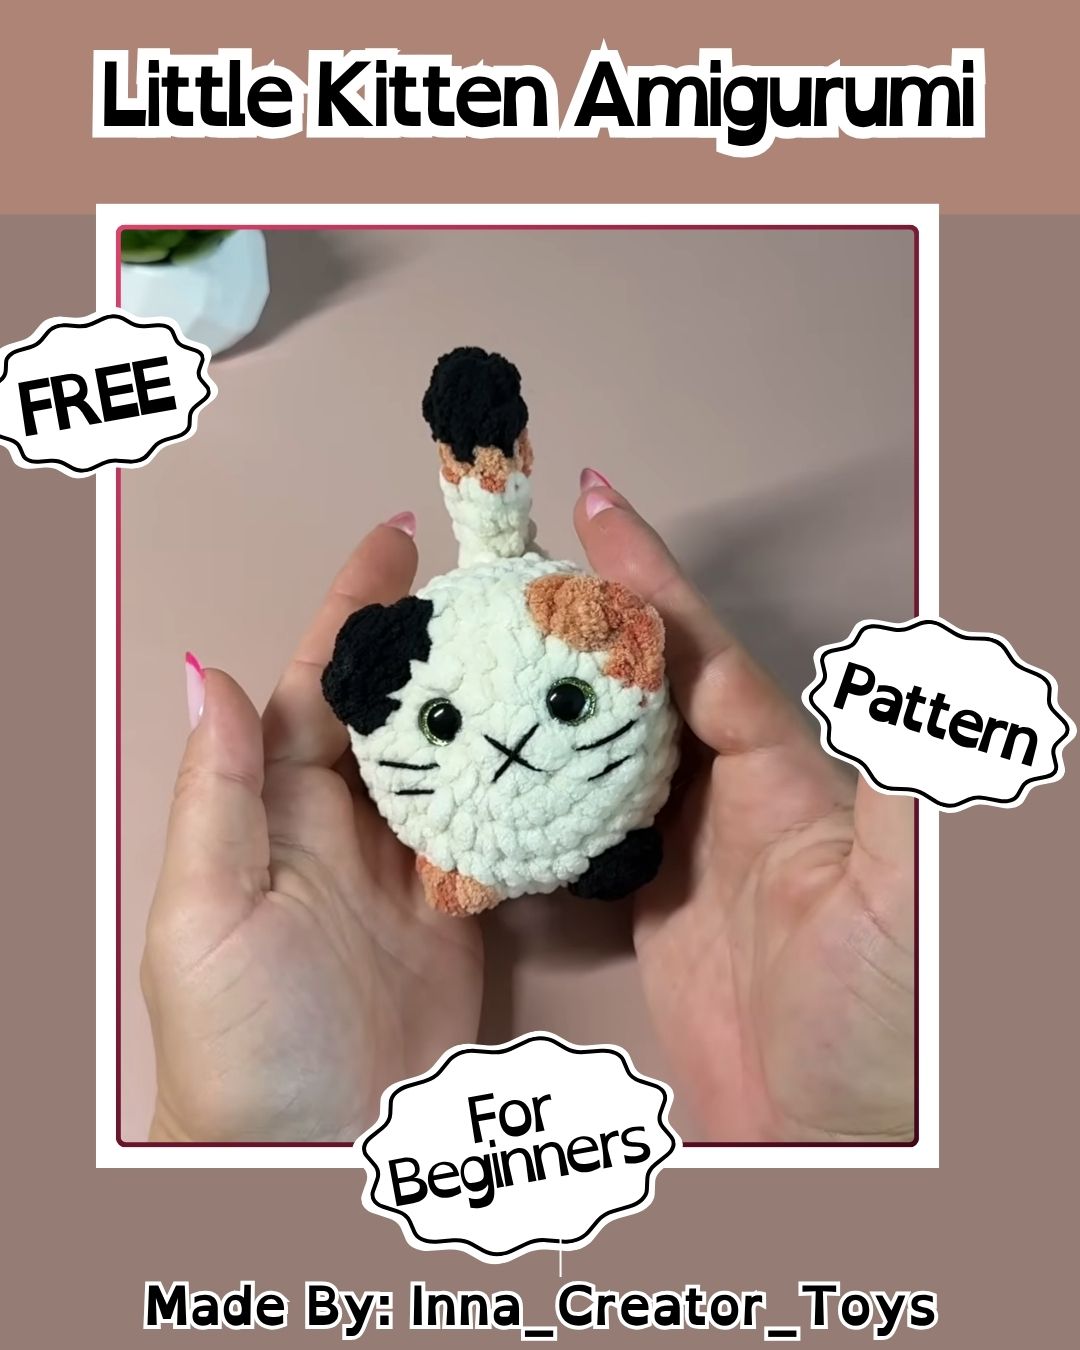
A crochet kitten amigurumi is a small, rounded stuffed animal made almost entirely from continuous single crochet rounds, shaped into a soft, plush head and body in one piece. Its calico-style coloring comes from switching yarn colors mid-round to build small patches, while safety eyes and simple embroidery bring the face to life.
A short tail is attached at the back, and small rounded ears finish off the shape, giving the finished kitten its playful, huggable look.
Skill Level: Beginner
This pattern is a great fit for beginners. Since it’s worked almost entirely in simple continuous rounds with only a few color changes, it’s approachable enough for crafters just starting, while still being satisfying for more experienced makers.
Materials and Tools Needed
Before starting, gather the following supplies:
- Chenille or velvet-style yarn in white or cream (for the main body)
- Small amounts of orange or tan yarn (for the calico patches)
- A small amount of black yarn (for the ear and patch details)
- A crochet hook sized to match your chenille yarn (commonly 5mm–6mm)
- Polyester fiberfill stuffing
- Safety eyes
- Yarn needle
- Stitch markers
- Black embroidery floss or thin yarn (for whiskers and nose)
- Fabric scissors
Chenille or velvet yarn gives this kitten its signature soft, plush texture, so it’s worth seeking out over a standard acrylic yarn for this particular pattern.
Key Features and Techniques of This Pattern
A few core techniques make this kitten pattern come together nicely:
- Magic ring start – the piece begins from a tight magic ring for a seamless center point.
- Continuous round single crochet – tight, even stitches worked in a spiral rather than joined rounds.
- Mid-round color changes – switching yarn colors partway through a round to build the calico-style patches.
- Safety eye placement – eyes are inserted and secured before the head is fully closed and stuffed.
- Tail and ear attachment – small separate pieces stitched on afterward to complete the shape.
Getting familiar with these five techniques makes the rest of the project quick and enjoyable to work through.
Step-by-Step Guide to Crocheting the Kitten
Step 1: Start With a Magic Ring and First Stitches
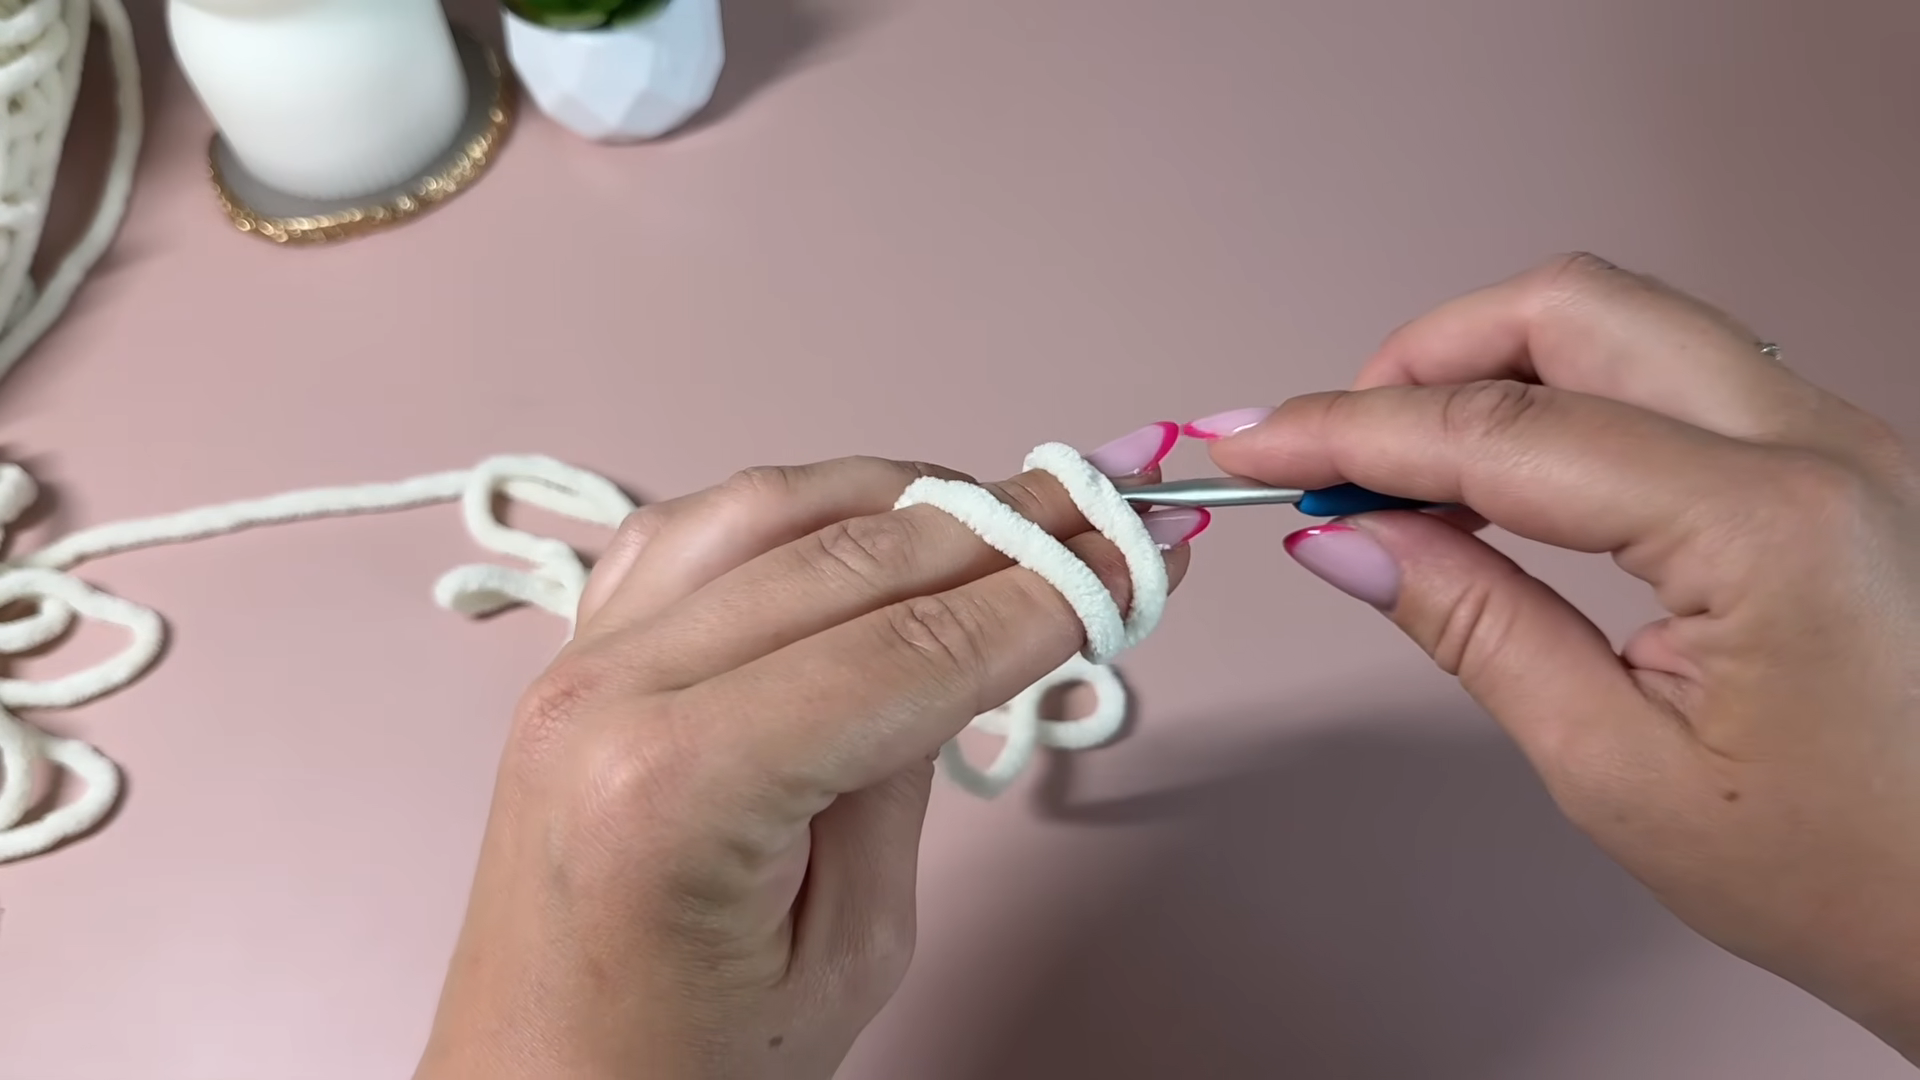
Begin by forming a magic ring with your main color yarn and working your first stitches into it. Keep your tension relaxed but even, since this ring becomes the tight, seamless starting point for the entire body.
Step 2: Build the Base Round
Continue working your first full round into the magic ring, pulling the center closed once your stitch count is complete. Use a stitch marker to mark the start of each round, since this pattern is worked in a continuous spiral rather than joined rounds.
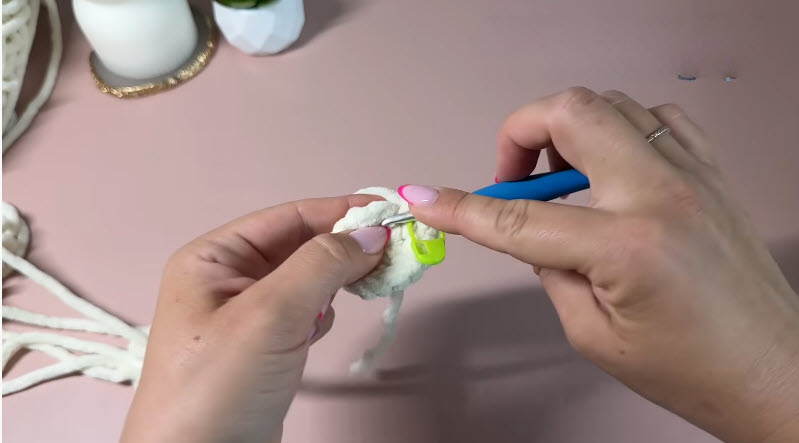
Step 3: Add Your Color Patches as You Round
As you continue building rounds, switch to your accent color partway through to start forming the calico-style patches. Keep your color changes neat and consistent so the patches sit evenly across the finished shape.
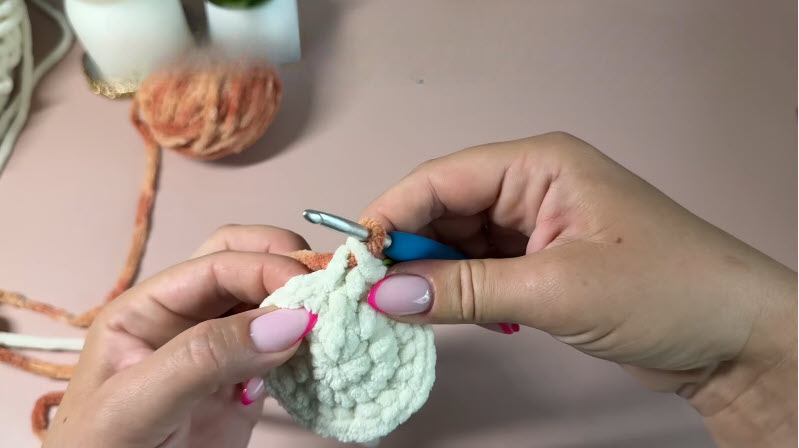
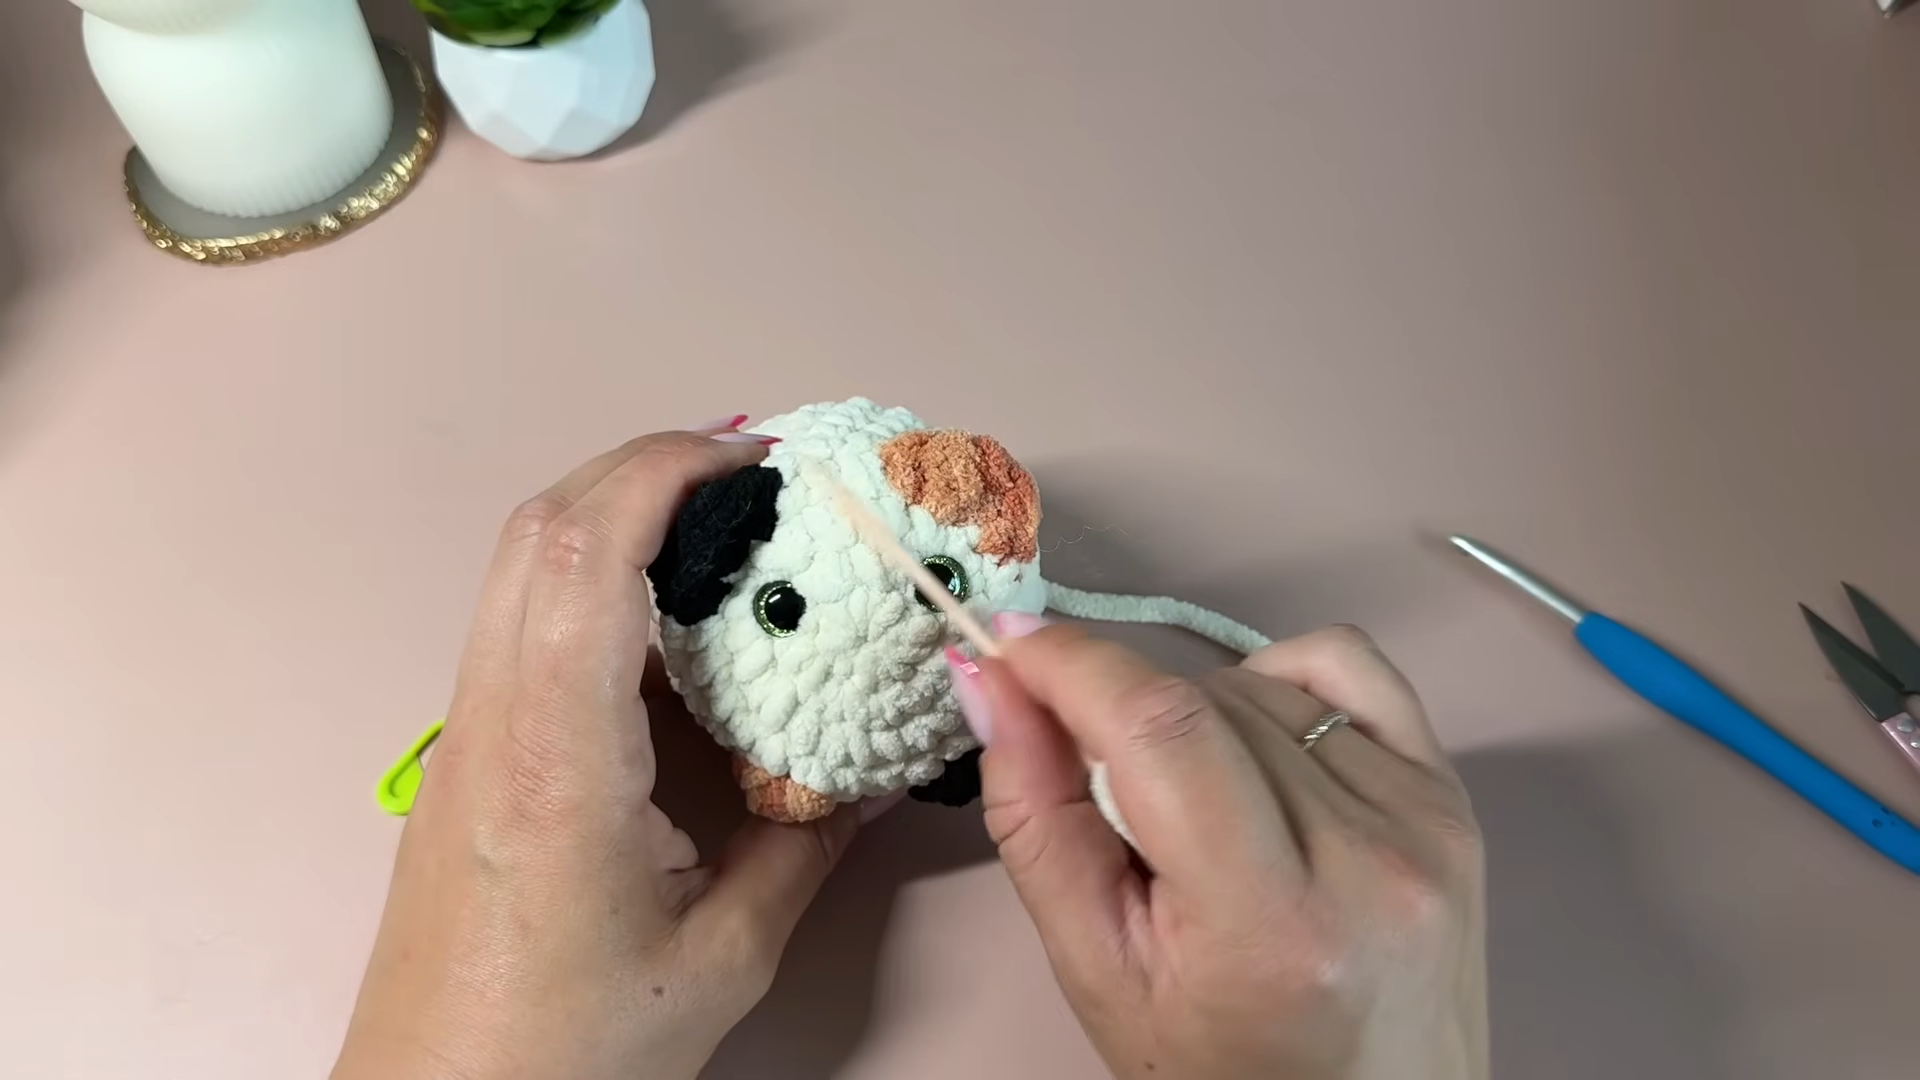
Step 4: Attach the Safety Eyes and Tail
Once your main head and body shape is complete, insert and secure your safety eyes at your desired spacing before stuffing the piece. Attach the tail piece at the back using your yarn needle, stitching it securely so it stays upright once finished.
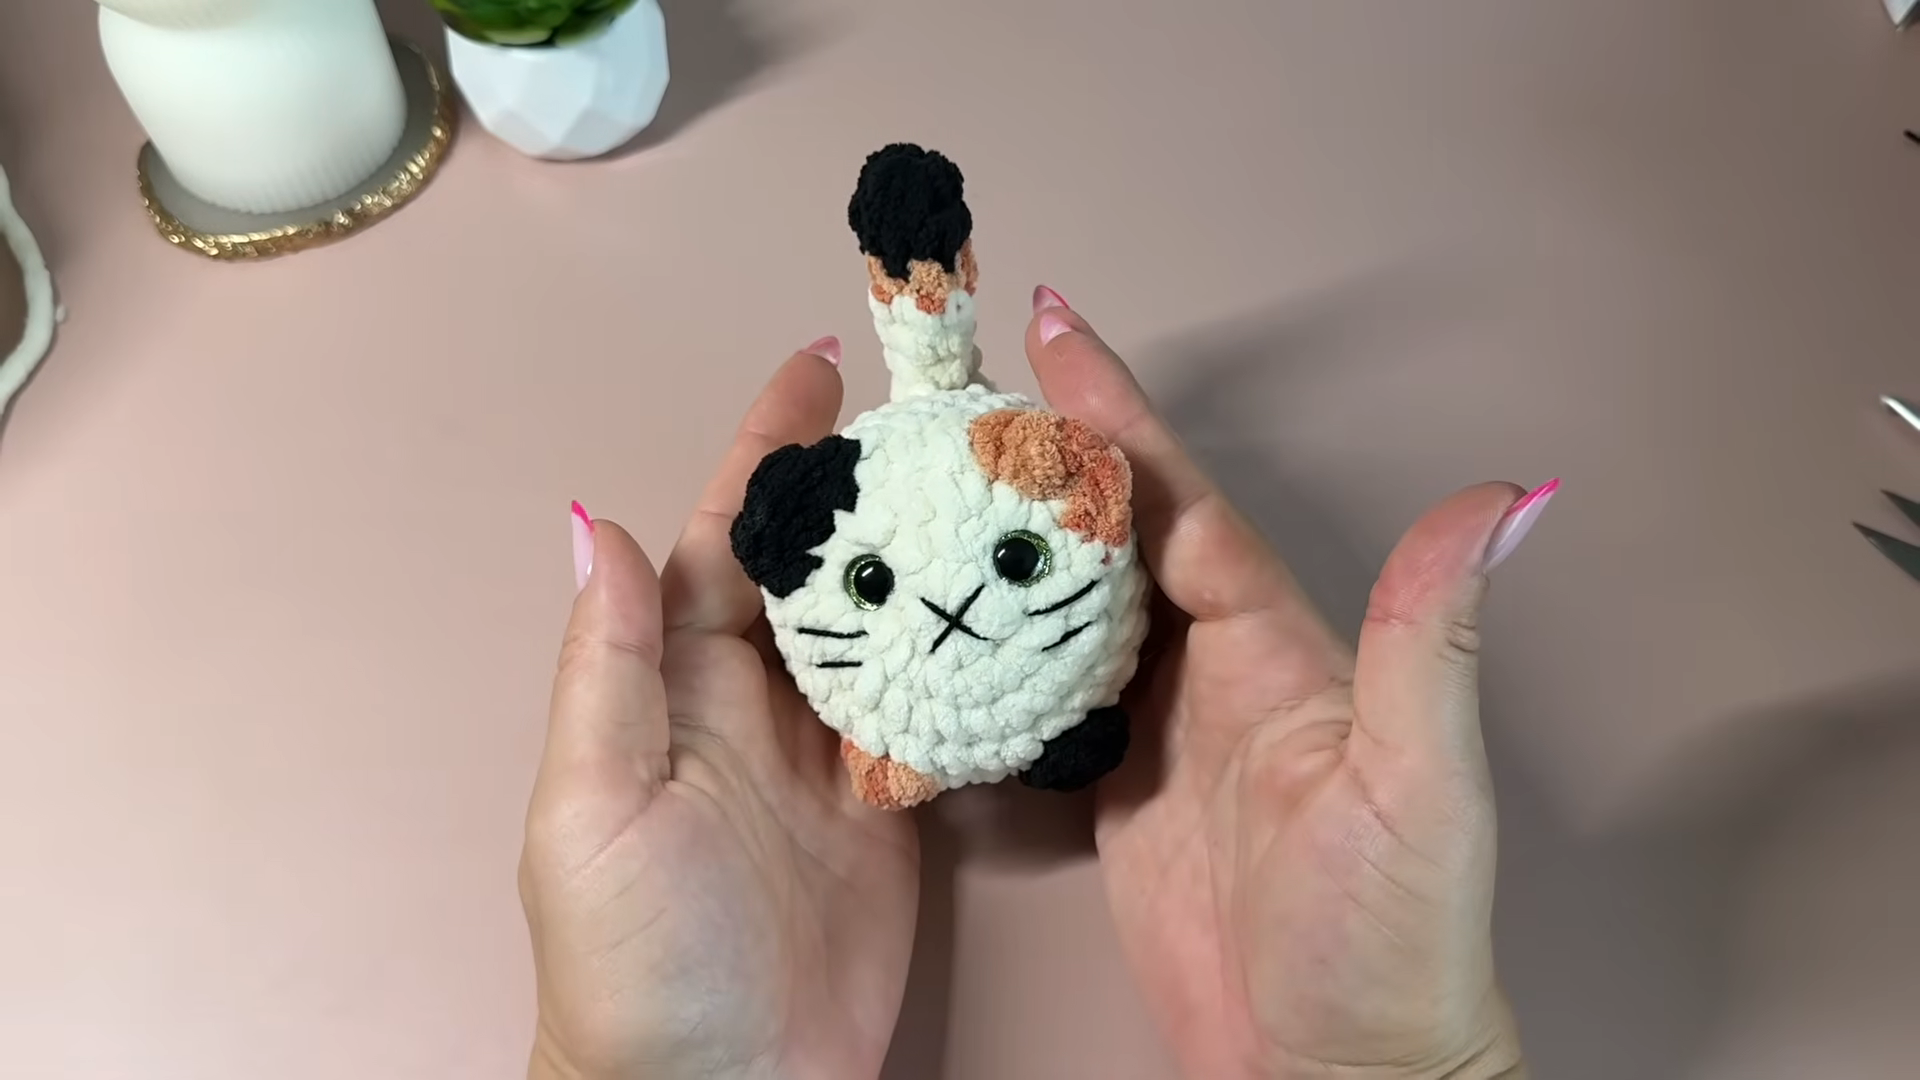
Step 5: Finish the Face and Final Details
Stuff the body firmly, then close up the opening and add your embroidered whiskers, nose, and mouth details to complete the face. Attach the ears if they haven’t been added yet, then give the finished kitten a final check to make sure everything sits neatly in place.
Helpful Tips for Beginners
- Keep your color changes tidy by carrying the unused yarn loosely inside the stitches as you work.
- Use stitch markers on every round, since it’s easy to lose track in continuous spiral rounds.
- Stuff firmly but not overly tight, so the kitten keeps its soft, huggable feel.
- Place safety eyes before fully closing the head, since it’s much harder to adjust them afterward.
- Take your time with the whisker embroidery, since a light touch usually looks the most natural.
Common Mistakes to Avoid
- Loose color-change stitches, which can leave gaps or uneven patches in the finished coat.
- Skipping stitch markers, making it easy to lose track of rounds and throw off the shaping.
- Overstuffing, which can distort the kitten’s rounded shape and put stress on the seams.
- Placing safety eyes too late, making it difficult to reposition them once the head is closed.
- Rushing the tail attachment, which can leave it sitting crooked instead of upright.
Customization Ideas and Variations
- Try an all-white or solid-color version instead of the calico patch pattern.
- Add a small bow or collar accent around the neck for extra personality.
- Use a fuzzy pastel yarn palette for a softer, more whimsical color scheme.
- Make a mini version using a smaller hook for a pocket-sized keychain kitten.
- Swap the sitting tail position for a curled tail resting against the body for variety.
Frequently Asked Questions
Is this kitten amigurumi pattern beginner-friendly?
Yes, it’s a great beginner project. The continuous rounds are simple to follow, with only a few color changes needed to build the calico pattern.
What yarn works best for this pattern?
Chenille or velvet-style yarn gives the best soft, plush texture, though a standard worsted weight yarn can also be used for a firmer finish.
Do I need safety eyes, or can I embroider the face instead?
Safety eyes give the classic doll-like expression shown in most versions, though embroidered eyes work as a softer, child-safe alternative if preferred.
How much stuffing should I use?
Stuff firmly enough that the kitten holds its round shape without feeling lumpy, adding small amounts gradually as you close the opening.
How long does this pattern take to finish?
Most crocheters finish this kitten in a single sitting or two, depending on experience level and how detailed the color patches are.
Can I make this pattern without the calico color patches?
Yes, a single solid color works just as well if you’d rather skip the mid-round color changes and keep the pattern simple.
Final Thoughts
This crochet kitten amigurumi pattern is a genuinely fun project that suits crafters of every experience level, from first-time amigurumi makers to seasoned crocheters. Between the soft, continuous rounds and the playful calico color patches, it comes together quickly while still feeling like a rewarding, detailed finished piece. Take your time with the color changes and face details, and you’ll end up with a soft, huggable little kitten that’s perfect for gifting or keeping on a shelf. It’s a sweet, satisfying project worth adding to any amigurumi collection.