Gorgeous Crochet Strawberry Keychain Amigurumi Pattern
Bags, backpacks, and keys look better with a little charm hanging on them, and this crochet strawberry keychain delivers exactly that.
Trust me, once you finish your first one, you’ll want to make five more in different shades of red and pink. This amigurumi pattern uses simple stitches, a small amount of yarn, and less than an hour of your time. It’s a fantastic pick for anyone who wants an easy crochet project with a big payoff. Whether you’re brand new to amigurumi or just love quick makes, this strawberry keychain pattern is a joy to work through.
What Is This Crochet Project About?
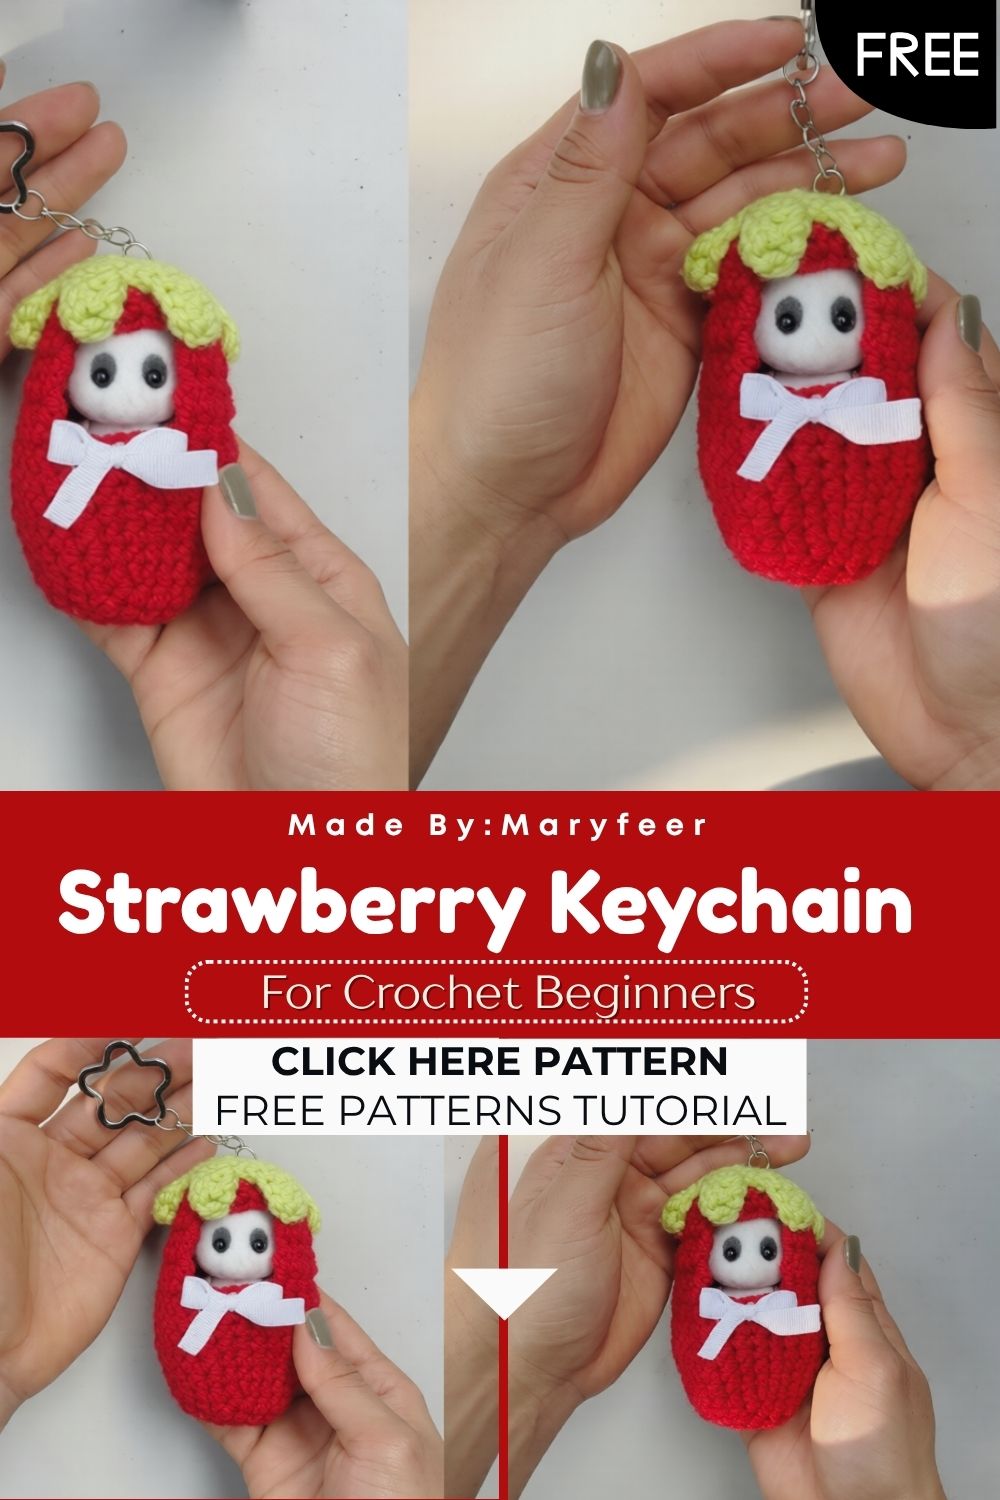
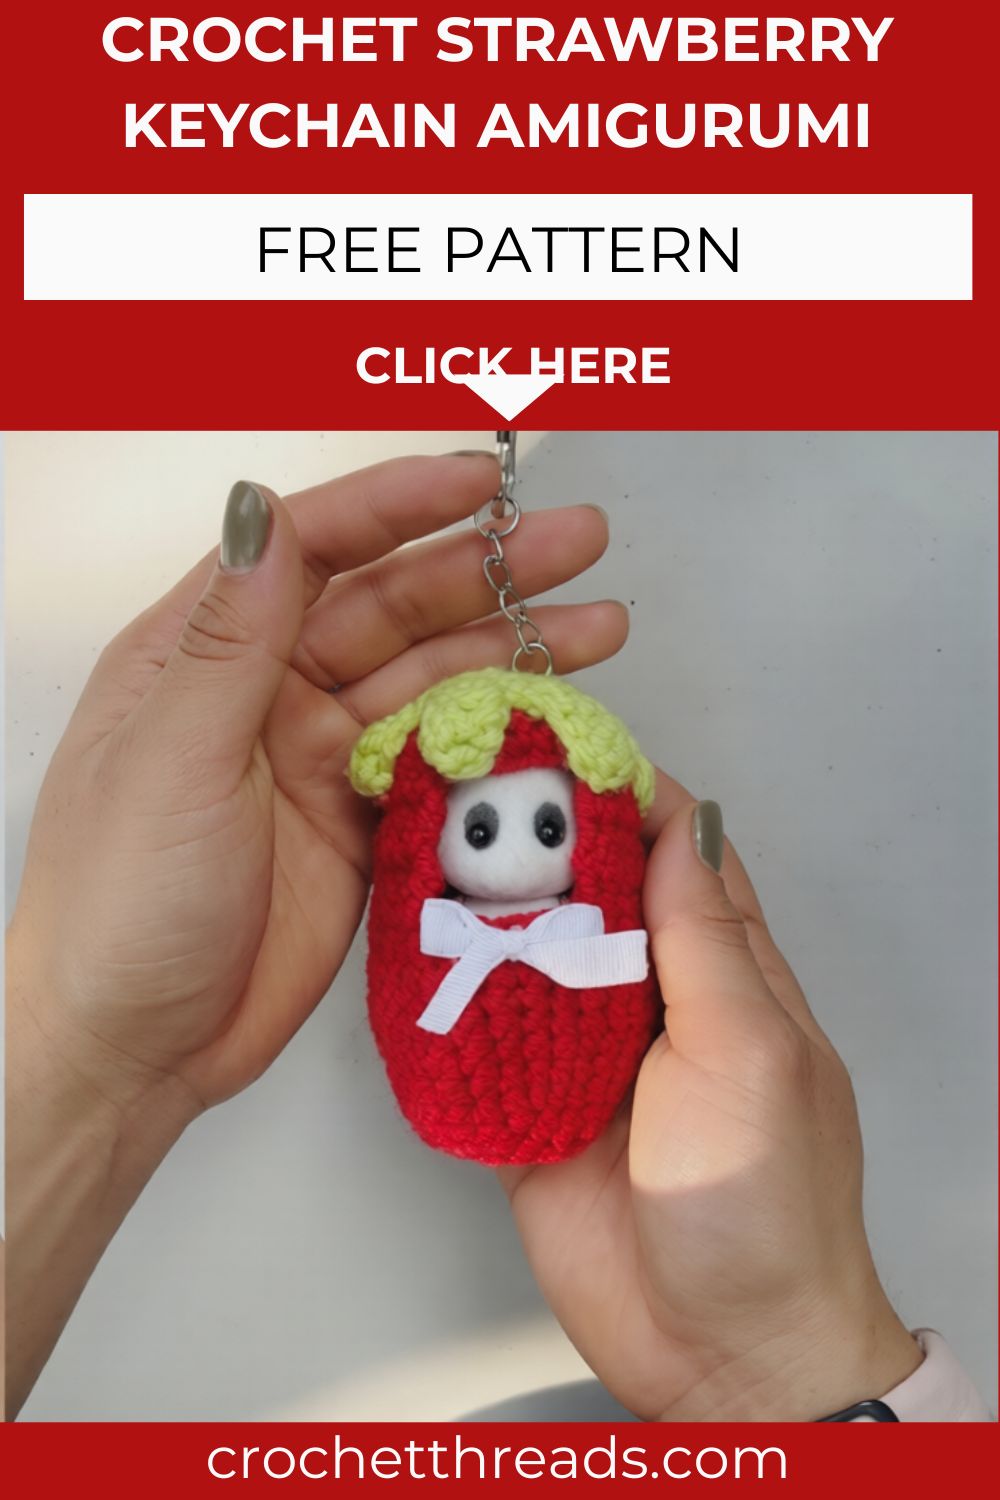
This project walks you through crocheting a tiny amigurumi strawberry, complete with a stuffed body, a leafy green top, and a keyring attachment. It’s worked entirely in the round using basic single crochet stitches, so you don’t need any fancy techniques. Once your strawberry body is done, you stitch on a few leaves, add optional seed details, and attach a keyring or clasp. The result is a soft, huggable little fruit that makes a sweet gift, a fun market item, or a personal accessory. Honestly, projects like this are why so many people fall in love with amigurumi in the first place.
Skill Level
This pattern is rated beginner-friendly. If you know how to single crochet, increase, and decrease, you already have everything you need to finish this strawberry. The project uses a magic ring start and basic shaping rounds, so even someone in their first month of crocheting can complete it. It’s also a great confidence booster before moving on to bigger amigurumi projects with more complex shaping and multiple pieces.
Materials and Supplies Needed
Yarn Type
- Worsted weight cotton or acrylic yarn in red, green, and white (small amounts of each)
- Cotton yarn gives cleaner stitch definition, while acrylic is softer on a budget
- Leftover scraps work perfectly since this project uses very little yarn
Hook Size
- 3.5mm to 4mm crochet hook, depending on your yarn weight and tension
- Go one size smaller than the yarn label suggests for tighter, stuffing-proof stitches
Extra Tools
- Stuffing (polyester fiberfill)
- Yarn needle for weaving in ends and sewing pieces together
- Stitch marker to track your rounds
- Scissors
- Keyring, lobster clasp, or lanyard clip
- Small jump ring (optional, for attaching the keyring smoothly)
Crochet Stitches and Abbreviations Used
- MR – Magic Ring
- Ch – Chain
- Sc – Single Crochet
- Inc – Increase (2 sc in one stitch)
- Dec – Decrease (invisible or regular single crochet decrease)
- St(s) – Stitch(es)
- Sl st – Slip Stitch
- ( ) – Stitch count at the end of the round
- [ ] – Repeat the instructions inside the brackets
Step-by-Step Crochet Instructions
Strawberry Body (Red Yarn)
- Round 1: MR, sc 6 into the ring (6)
- Round 2: Inc in each st around (12)
- Round 3: [Sc 1, inc] repeat 6 times (18)
- Round 4: [Sc 2, inc] repeat 6 times (24)
- Round 5: Sc in each st around (24)
- Round 6: Sc in each st around (24)
- Round 7: Sc in each st around (24)
- Round 8: [Sc 2, dec] repeat 6 times (18)
- Round 9: [Sc 1, dec] repeat 6 times (12)
Stuff the strawberry firmly at this point, adding more fiberfill as you close up the last few rounds.
- Round 10: [Dec] repeat 6 times (6)
Fasten off, leaving a long tail. Weave the tail through the front loops of the last 6 stitches, pull tight to close the gap, then weave in the end.
Leaves and Stem (Green Yarn)
- Make a MR and chain 3
- Round 1: Sc 8 into the ring, join with a sl st (8)
- Chain 4 into the same stitch to start the first leaf point, then sl st back down the chain
- Repeat this small chain-and-slip-stitch leaf shape in the next 4 stitches around, creating 5 pointed leaves total
- Fasten off, leaving a tail for sewing
Assembling Your Amigurumi Strawberry Keychain
- Sew the green leaf piece onto the top of the strawberry body, covering the closed gap
- With white yarn and your needle, embroider small V-shaped seed marks scattered across the red body for a realistic strawberry look
- Attach a jump ring through the center of the leaves, then clip on your keyring or lanyard hook
- Weave in any remaining loose ends and trim neatly
Helpful Beginner Tips
- Keep your tension tight throughout so stuffing doesn’t peek through the stitches
- Use a stitch marker on round 1 of every section; it saves you from losing count
- Stuff a little at a time rather than all at once for an evenly rounded shape
- Count your stitches after every round, especially during the increase and decrease sections
- Cotton yarn holds its shape better for small accessories like keychains
Common Mistakes and How to Fix Them
- Lopsided strawberry shape: This usually happens when increases or decreases are placed unevenly. Always spread them out as instructed instead of grouping them.
- Visible stuffing: Switch to a smaller hook size or tighten your stitches for denser fabric.
- Losing track of rounds: Place a stitch marker at the start of every round and move it up as you go.
- Wobbly keyring attachment: Reinforce the leaf-to-body seam with a few extra stitches before adding the keyring hardware.
- Uneven leaves: Keep your chain lengths consistent for each leaf point so they all match in size.
Pattern Customization Ideas
- Swap red for pink, yellow, or even purple yarn for a fun “fantasy fruit” twist
- Add a tiny embroidered smiley face for a cuter, more amigurumi-style character look
- Make a mini and a jumbo version using different hooks and yarn sizes
- String several strawberries together on one ring for a fruity keychain bundle
- Use chenille yarn for an extra plush, velvety finish
Size and Color Suggestions
A standard worsted-weight version of this strawberry measures roughly 4 to 5 cm tall, ideal for keychains, bag charms, or zipper pulls. Using chenille or bulky yarn instead will give you a bigger, squishier plushie perfect as a small stuffed toy. For color choices, classic red with green leaves feels the most true to life, but pastel pink, coral, or even white “vanilla strawberry” versions look adorable too. Mixing several color variations makes a lovely themed set for gifting or selling at craft markets.
FAQ Section
How long does this project take to finish? Most makers finish this crochet strawberry keychain in 30 to 60 minutes, depending on speed and experience.
Can I use any yarn weight? Yes. Worsted weight gives a classic keychain size, while bulky or chenille yarn produces a larger, softer plushie version.
Do I need to know advanced amigurumi techniques? No. This is a beginner crochet pattern that only needs basic single crochet, increases, and decreases.
What’s the best way to attach the keyring? A small jump ring threaded through the leaf stitches gives the cleanest, sturdiest connection point.
Can I sell items made from this pattern? Many designers allow personal-use patterns to be sold as finished items in small batches, but always check the specific pattern’s terms before selling.
Conclusion
This crochet strawberry keychain pattern proves that small projects can bring big joy. With just a bit of yarn, a hook, and some stuffing, you get a charming handmade accessory that’s perfect for gifting, selling, or keeping for yourself. It’s an easy crochet project that beginners can finish quickly while still learning valuable amigurumi skills like shaping and assembly. Grab your hook, pick your favourite colours, and start stitching up a batch of these sweet little strawberries today.