Crochet Caterpillar Keychain Amigurumi Pattern You Do Can Today
Small amigurumi projects are perfect for using up leftover yarn, and this Crochet Caterpillar Keychain Amigurumi Pattern You Can Do Today turns a handful of scraps into an adorable little accessory. Its rounded body segments and tiny amigurumi keychain design make it quick enough to finish in a single sitting. This pattern has become a favourite for anyone wanting a cute, portable project with fast, satisfying results.
This crochet caterpillar keychain pattern is especially useful for quick gifts, bag charms, and small leftover-yarn projects that come together in just one sitting, thanks to its simple segmented body design. With its rounded body balls and tiny antennae, this amigurumi keychain pattern works well alongside any crochet keychain collection, making it a fun, beginner-friendly project for makers of any skill level.
What Is a Crochet Caterpillar Keychain?
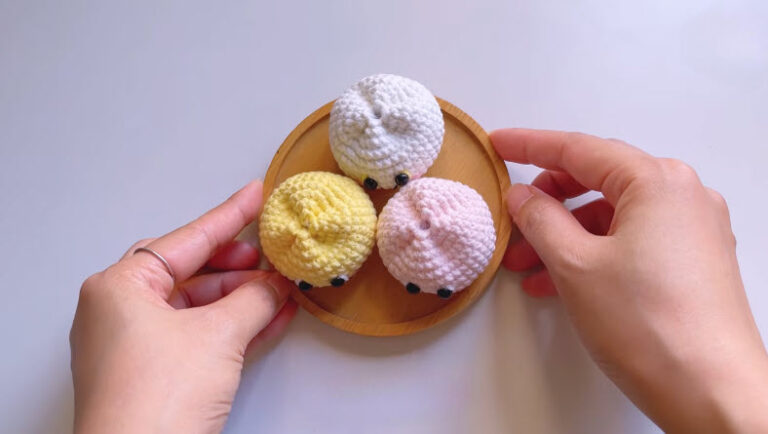
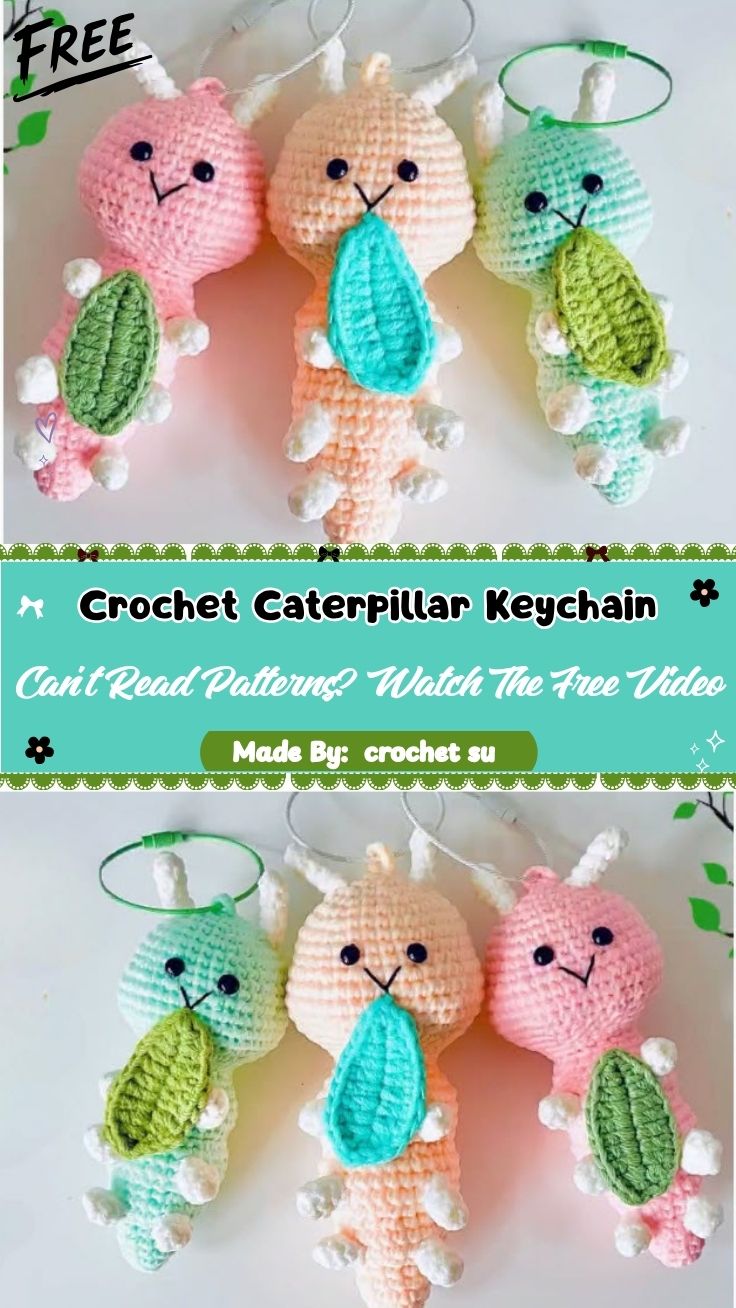
A crochet caterpillar keychain is a small amigurumi accessory made from a series of round body segments joined together, topped with a face, antennae, and tiny leg tufts along the sides. A finished loop or chain is attached to the top, allowing the caterpillar to hang from a bag, keyring, or zipper pull.
Each segment is worked separately in continuous rounds, then stuffed lightly and stitched together, giving the caterpillar its signature bumpy, rounded body shape.
Skill Level: Beginner
This pattern is a great fit for beginners. The individual pieces are small and simple, made up mostly of basic rounds and tiny tufted details, so it’s an easy project even for those newer to amigurumi.
Materials and Tools Needed
Before starting, gather the following supplies:
- Worsted weight or DK yarn in your main body color (pink works well)
- Small amounts of cream yarn for the antennae and leg tufts
- A small amount of yellow yarn for the leaf-shaped accent piece
- A crochet hook sized to match your yarn weight (commonly 2mm–3.5mm)
- Small amount of polyester fiberfill stuffing
- Safety eyes or black embroidery floss for the face
- Yarn needle
- Stitch markers
- A small keyring or chain
- Fabric scissors
Since this project uses small amounts of yarn per segment, it’s a great way to use up scraps left over from bigger projects.
Key Features and Techniques of This Pattern
A few core techniques make this keychain pattern come together smoothly:
- Magic ring starts – each body segment begins with a tight magic ring for a seamless center.
- Continuous round single crochet – tight, even stitches worked in a spiral rather than joined rounds.
- Tiny tufted leg and antennae pieces – small chained or looped stitches attached along the body for texture.
- Segment joining – multiple small rounded pieces stitched together to form the caterpillar’s bumpy body shape.
- Keychain loop attachment – a finished chain and keyring added at the top for hanging.
Getting comfortable with these five techniques makes the rest of the project quick and easy to follow.
Step-by-Step Guide to Crocheting the Caterpillar Keychain
Step 1: Start With a Slip Knot and First Stitch
Begin by making your slip knot and placing it onto the hook, then work your first stitch to anchor the starting loop. Keep the tension relaxed but even, since this loop becomes the base for your first magic ring.

Step 2: Work the Small Leg and Foot Tufts
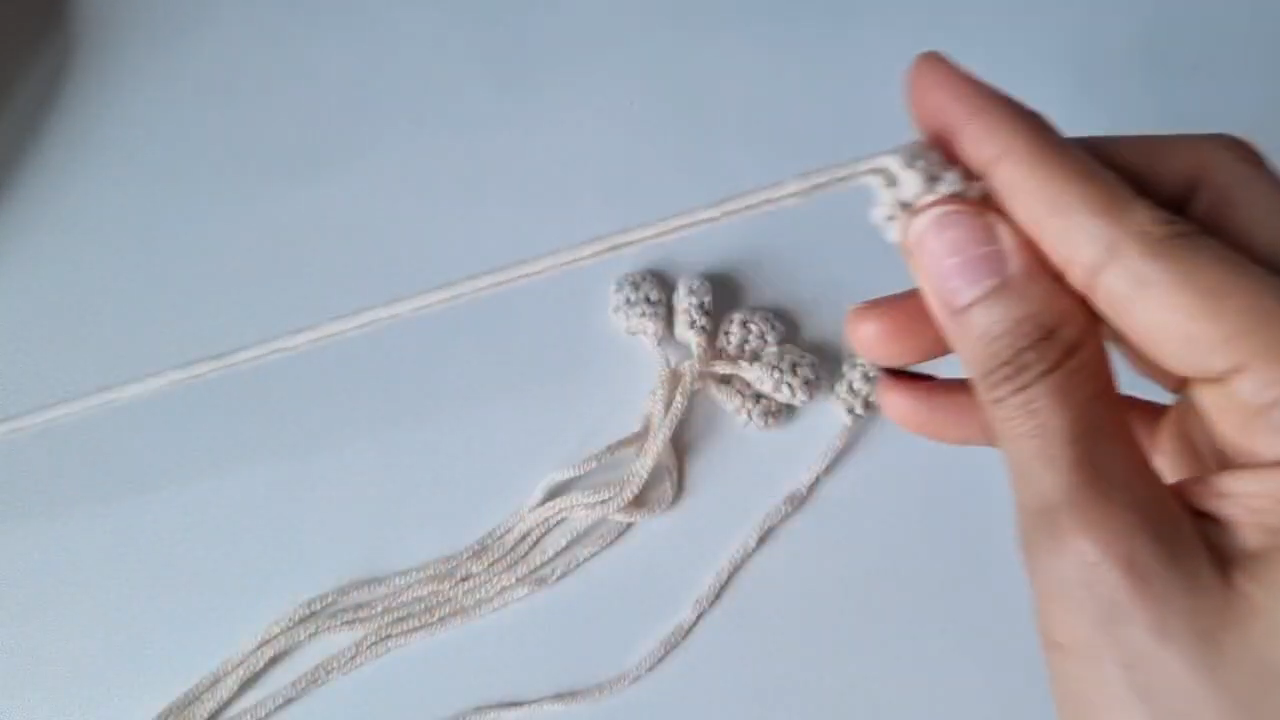
Using your accent yarn color, work a series of small tufted clusters along a chain to create the tiny leg or foot pieces. These small bobbles will later be attached along the sides of the caterpillar’s body, so keep each one similar in size for a neat, even look.
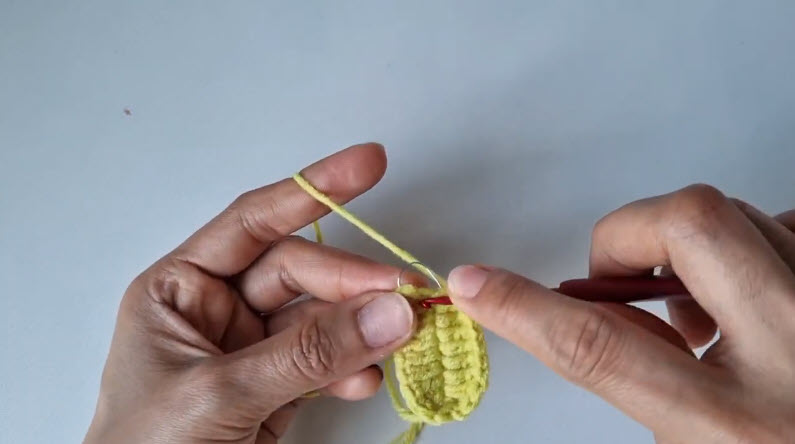
Step 3: Crochet a Small Round Body Segment
Switch to your next yarn color and work a small round segment in continuous rounds, building it up into a neat little ball shape. Keep your stitch count steady through each round so the segment stays round rather than lopsided.
Step 4: Shape an Additional Body or Head Piece
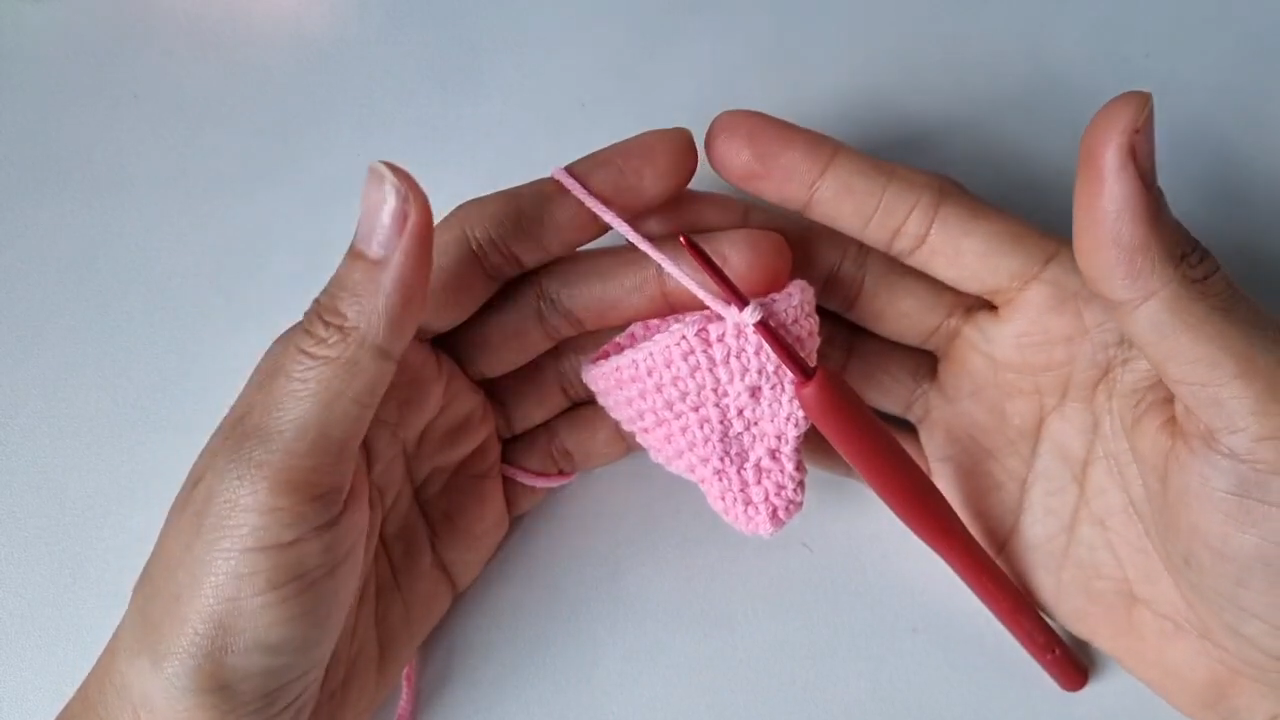
Continue building another segment, shaping it slightly as you go to give it a rounded, slightly pointed form. This piece will connect with the others to help form the caterpillar’s overall bumpy body outline.
Step 5: Assemble the Caterpillar and Attach the Keychain
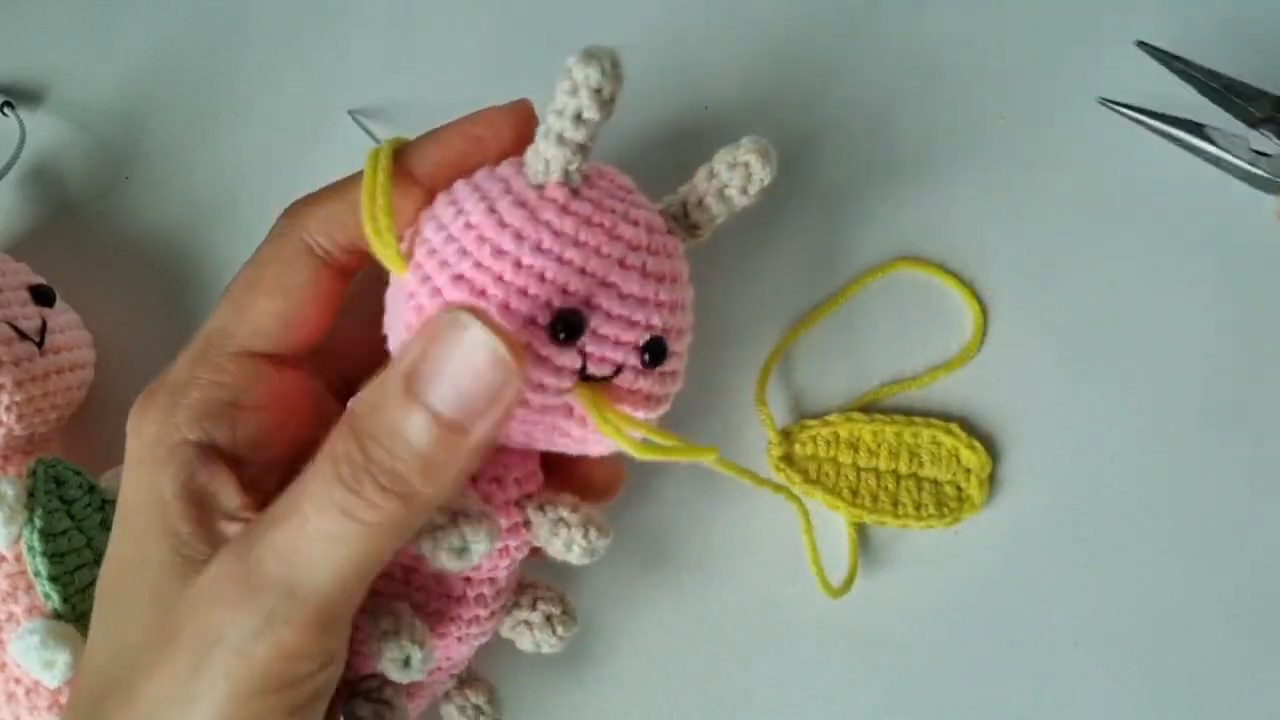
Stuff each finished segment lightly, then stitch them together in a row to form the full caterpillar body. Attach the antennae, leg tufts, and face details with safety eyes or embroidery, then finish by attaching your chain and keyring loop to the top segment for hanging.
Helpful Tips for Beginners
- Keep each body segment similar in size so the finished caterpillar looks even and balanced.
- Stuff lightly rather than tightly, so the segments stay soft and slightly squishy.
- Use stitch markers on every round, since it’s easy to lose track in small continuous pieces.
- Attach the keyring loop securely, since this small accessory will see regular handling.
- Sew segments together while they’re still slightly stuffed for a neater, rounder finished shape.
Common Mistakes to Avoid
- Overstuffing small segments, which can distort their round shape and make joining harder.
- Uneven segment sizes, leading to a lopsided, uneven caterpillar body once assembled.
- Skipping stitch markers, which makes it easy to lose track of rounds in such small pieces.
- Attaching the keyring loosely, risking it coming undone with regular use.
- Rushing the face placement, which can leave the eyes looking uneven or off-center.
Customization Ideas and Variations
- Use a rainbow of colors for each body segment instead of one solid shade.
- Add a small bow or flower accent to one of the top segments for extra charm.
- Make a mini version with fewer segments for a smaller, more compact keychain.
- Swap the leaf-shaped accent piece for a different small charm, like a tiny flower or star.
- Try a fuzzy or textured yarn for the body to give the caterpillar a soft, fluffy look.
Frequently Asked Questions
Is this caterpillar keychain pattern beginner-friendly?
Yes, it’s a great beginner project. The individual pieces are small and simple, making it an easy first amigurumi accessory to try.
What yarn works best for this pattern?
A worsted weight or DK cotton or acrylic yarn works well, since it holds its shape nicely in such small, tightly stitched pieces.
Do I need safety eyes, or can I embroider the face instead?
Either option works well. Embroidered eyes give a softer look, while safety eyes create a more defined, doll-like expression.
How much yarn do I need for this project?
Very little. This is a great scrap-yarn project, since each segment only uses a small amount of yarn to complete.
How long does this pattern take to finish?
Most crocheters can finish this keychain in a single sitting, usually within an hour or two depending on experience level.
Can I turn this into a bag charm instead of a keychain?
Yes, simply swap the keyring for a bag clip or lobster clasp to attach it to a bag or backpack instead.
Final Thoughts
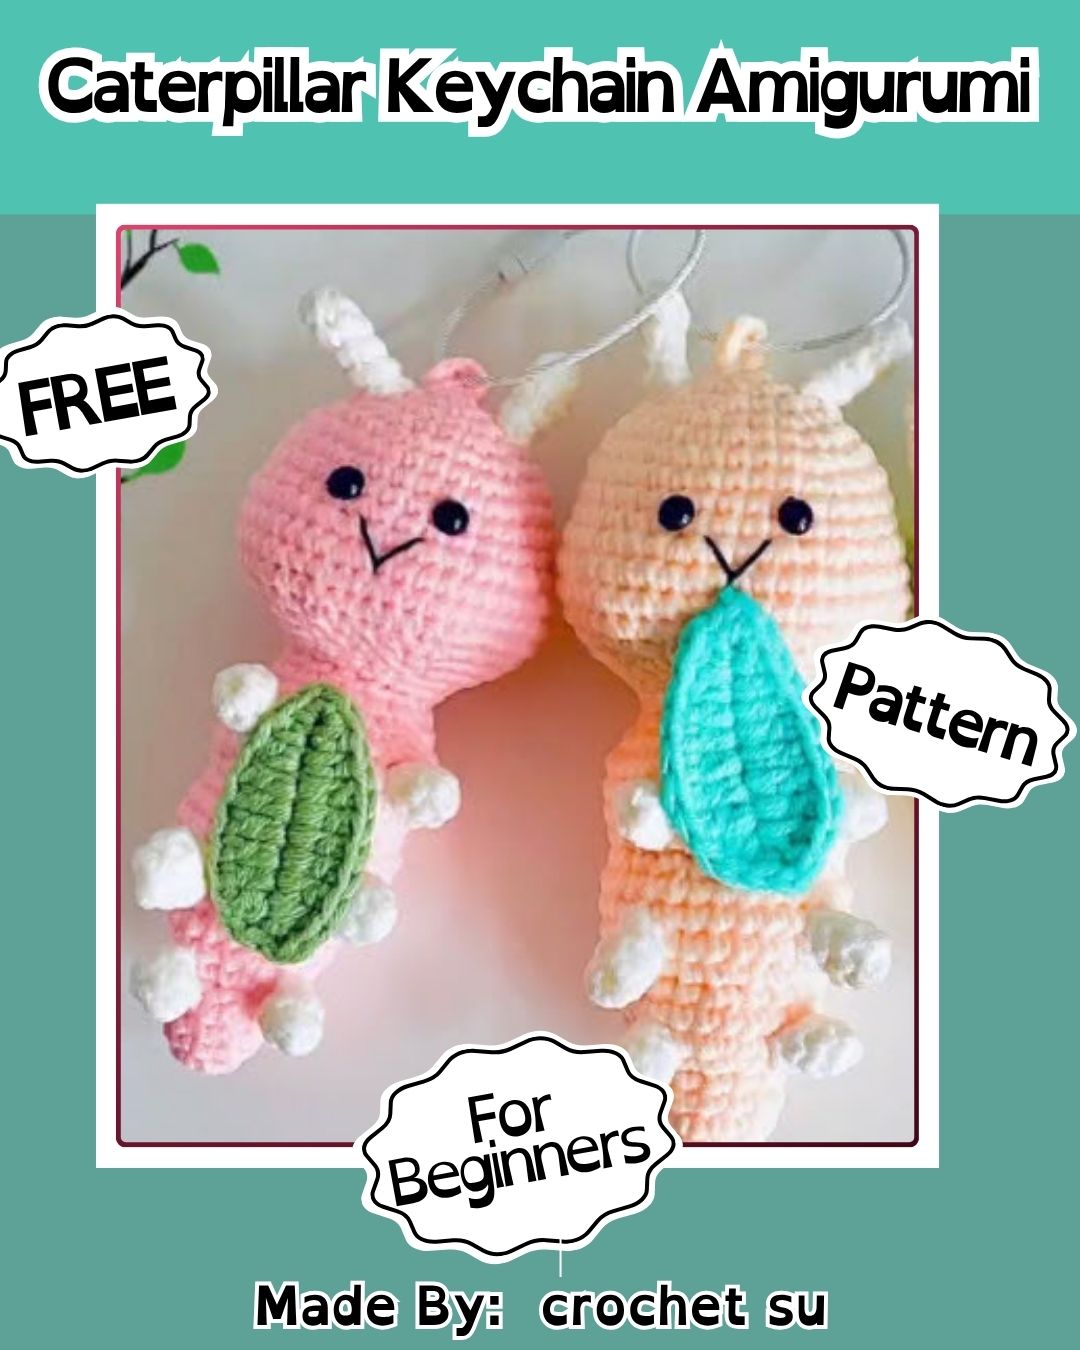
This crochet caterpillar keychain pattern is a fun, fast way to create an adorable little accessory using just a small amount of yarn. Between the simple rounded segments and the playful antennae and leg details, it’s an approachable project that beginners can finish in one sitting while still ending up with something genuinely cute. Take your time joining the segments neatly, attach the keyring securely, and you’ll have a sweet little handmade piece ready to hang from a bag or keyring. It also makes a lovely small gift for fellow yarn lovers or amigurumi fans.