Free Crochet Sonny Angel Holder Keychain Pattern
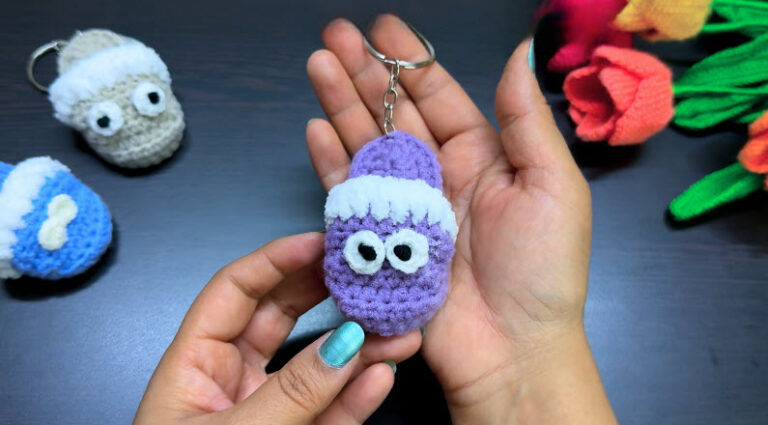
Sonny Angel figures have taken over desks, bags, and bookshelves, and it is easy to see why, since those tiny cuties are hard to resist. This crochet Sonny Angel holder keychain pattern makes a frog-hooded pouch, so your favourite mini figure stays safe and clipped to your bag.
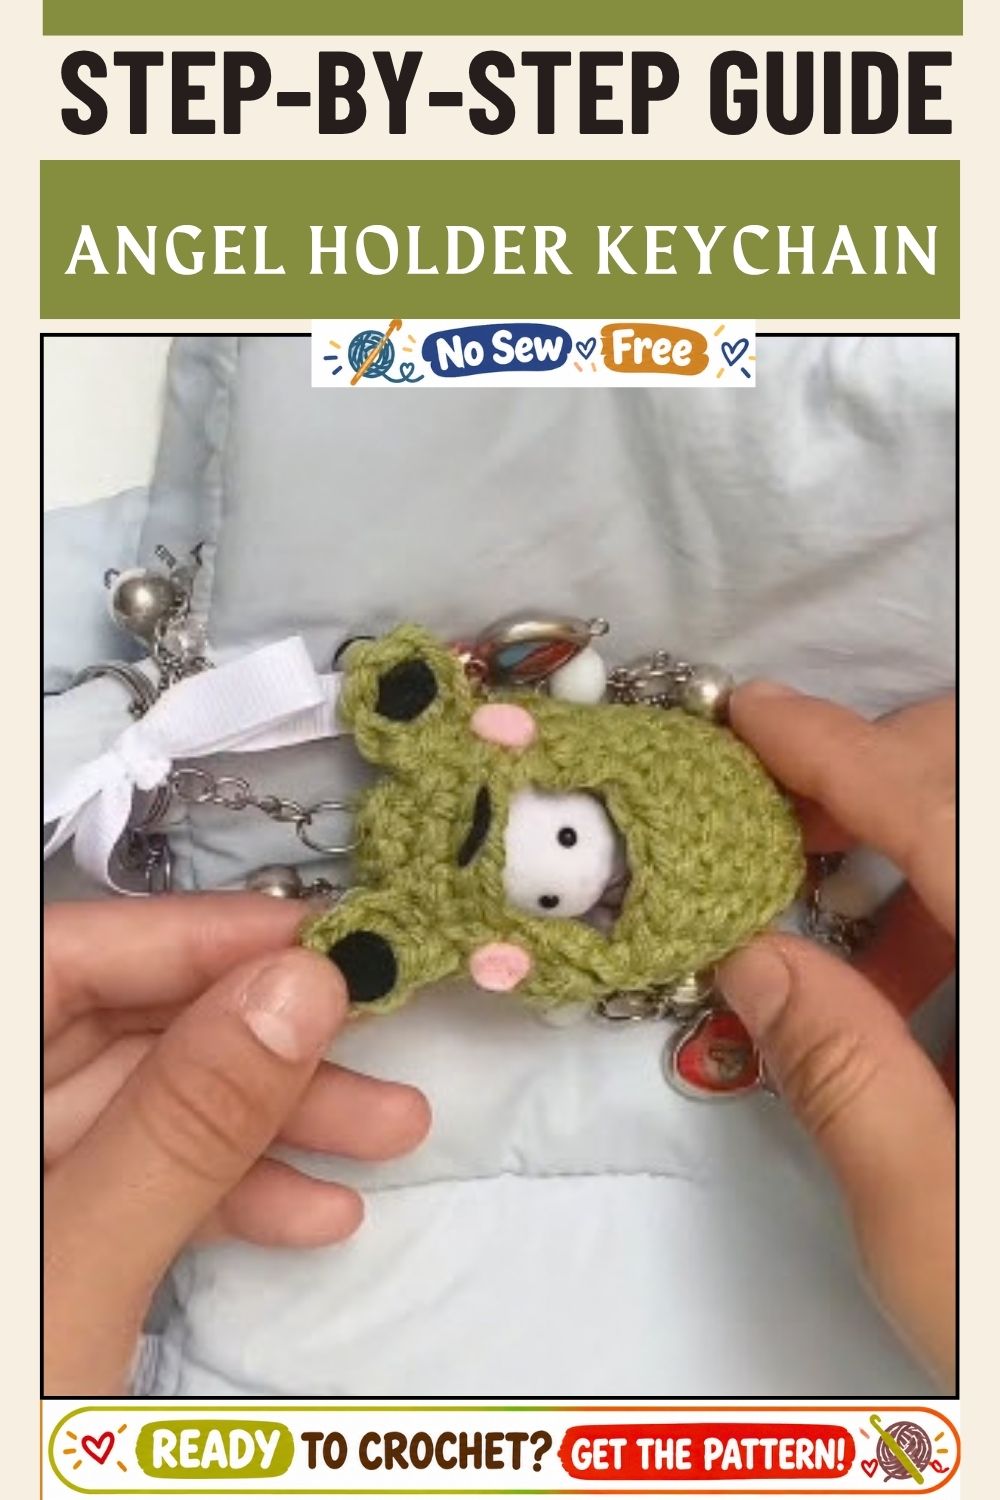
The holder is a small crochet pouch worked in rounds from a magic ring and then shaped like a cozy hood. A pair of bumpy frog eyes sits on top, while a keychain ring lets you carry it anywhere. It works up fast, and since it uses hardly any yarn, it suits leftover scraps well. So even if you only know the basics, you can finish it in an evening. The stitches are simple and the shaping is gentle, but the final result is seriously cute.
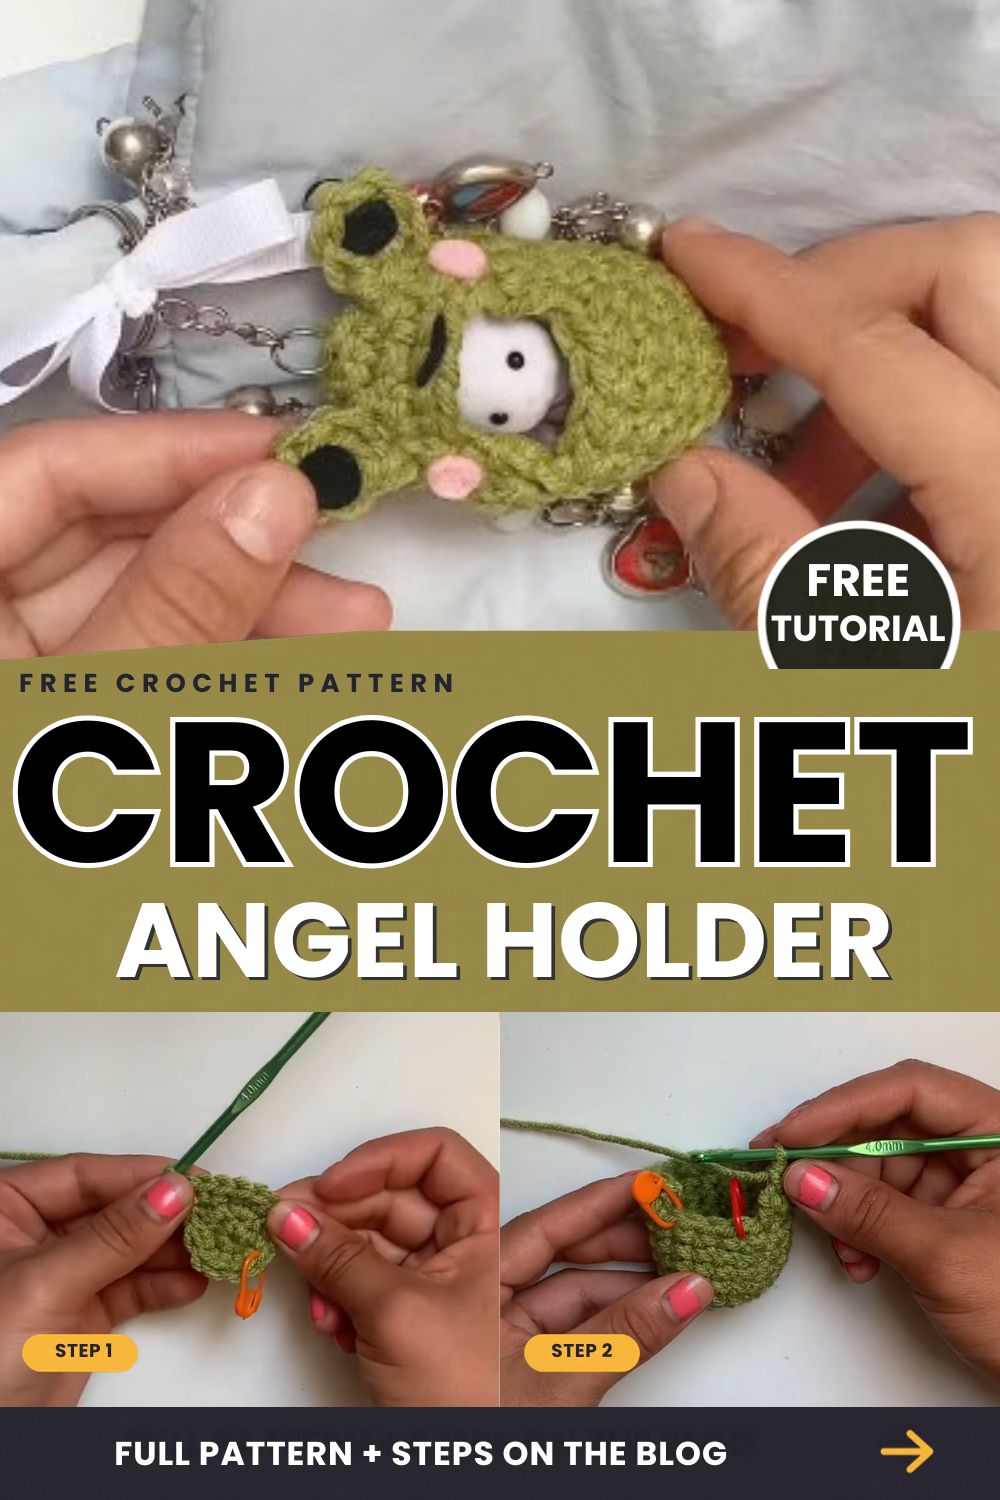
Skill level: Beginner-friendly, so if you can make a magic ring and a single crochet, you are ready.
This is also an easy way to use up scrap yarn, and it makes a sweet gift for anyone who collects blind-box figures.
Materials for the Crochet Sonny Angel Holder Keychain Pattern
- Yarn: Worsted weight (4) cotton or acrylic, with light green as the main color and small leftovers of dark green for the eye bumps (optional).
- Crochet hook: 4.0 mm, which is a bit small for worsted yarn but keeps the fabric tight and the holder snug.
- Eyes: Small black felt ovals (about 1 cm), because felt keeps the holder flat and light, although safety eyes also work.
- Cheeks: Two tiny pink felt circles
- Face details: Black embroidery thread or yarn for the smile
- Stuffing: A pinch of fiberfill for the eye bumps (the pouch itself stays hollow)
- Tools: Yarn needle, sharp scissors, fabric glue, two stitch markers
- Accessories: One keychain ring or lobster clasp
- Extra: A Sonny Angel figure to test the fit as you go
Worsted weight is category 4 on the Craft Yarn Council yarn weight chart, so it works as a guide when you swap in a different yarn.
Crochet Techniques Used
Besides the magic ring and single crochet (sc), this pattern uses increases (2 sc in the same stitch), decreases (sc two stitches together), slip stitches, and basic sewing to join the parts.
Abbreviations (US Terms)
- MR: magic ring
- sc: single crochet
- inc: 2 sc in one stitch
- dec: single crochet two together
- BLO: back loop only
- sl st: slip stitch
- ch: chain
A quick note: stitch counts depend on your tension, so slide your figure into the pouch as you work and adjust the number of rounds if you need to.
Step-by-Step Crochet Sonny Angel Holder Keychain Pattern
Step 1: The Base of the Pouch
Work in a continuous spiral and mark the first stitch of every round.
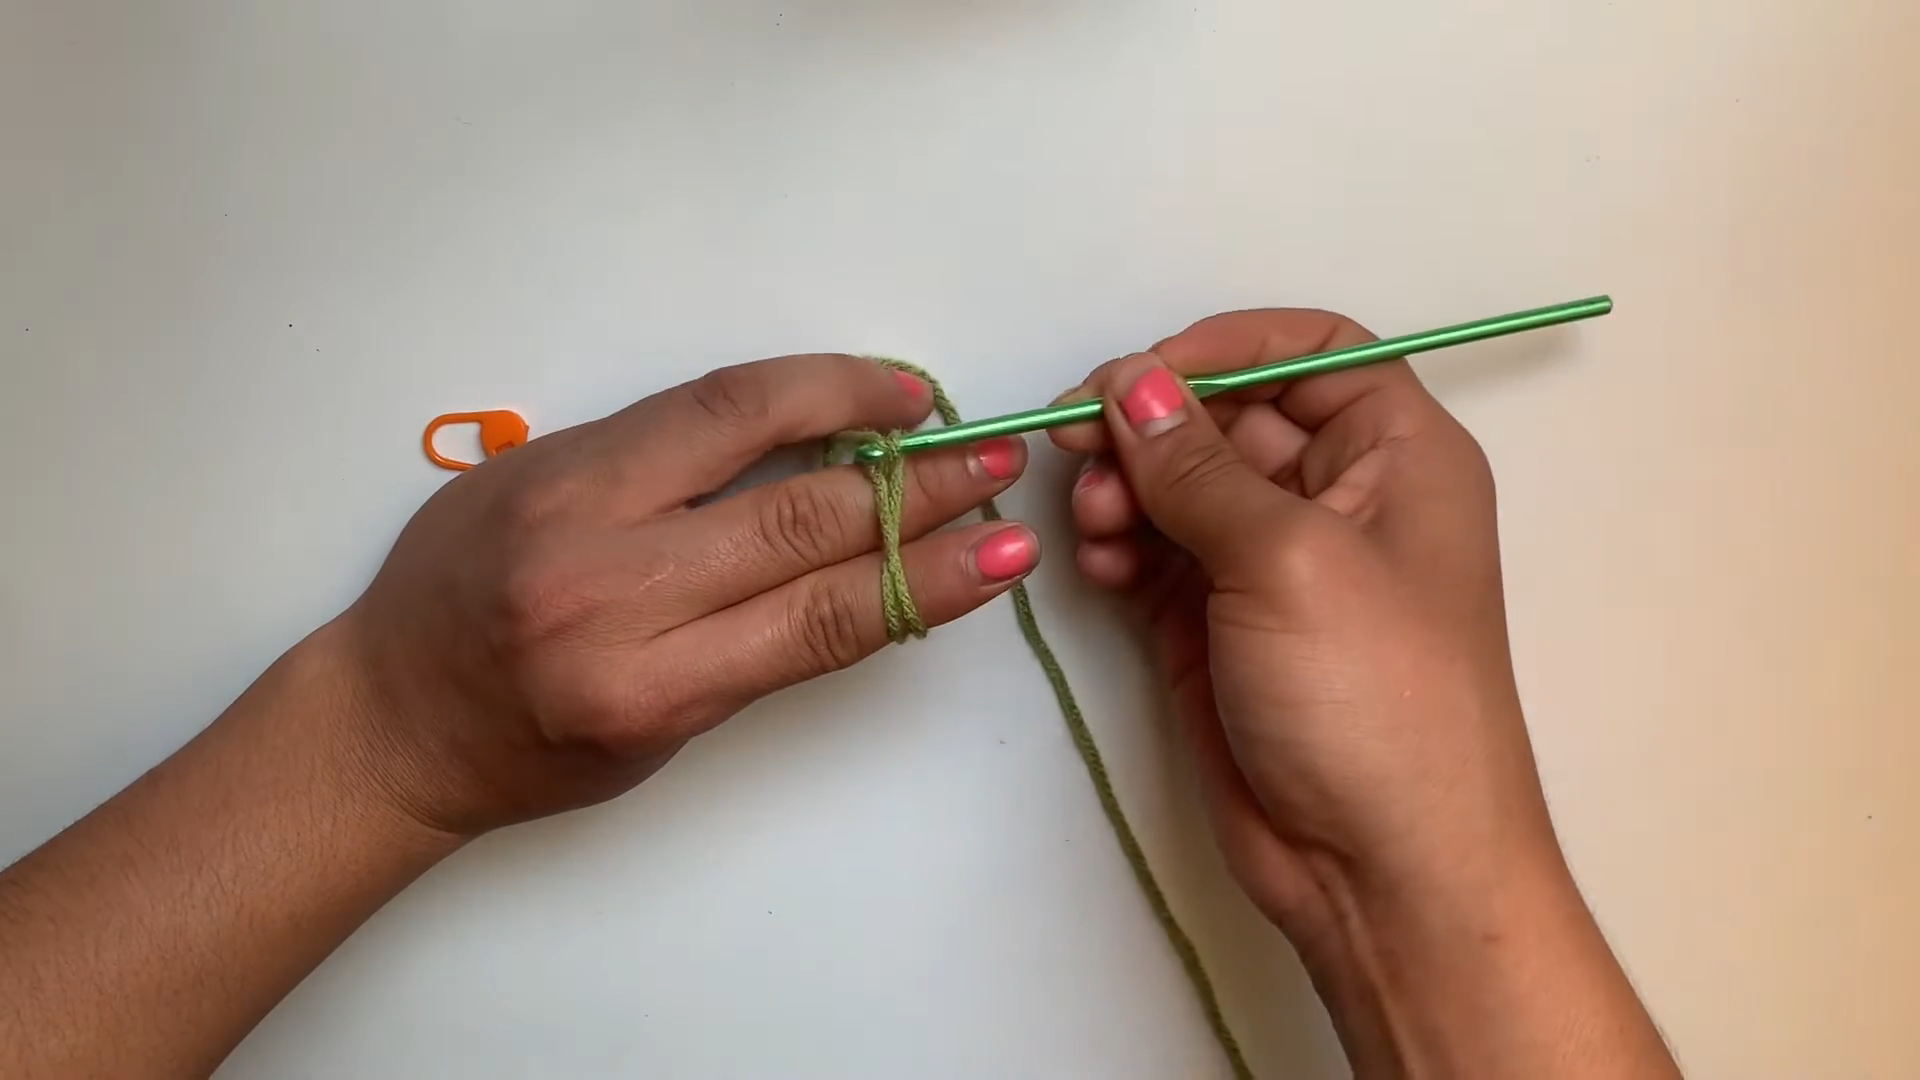
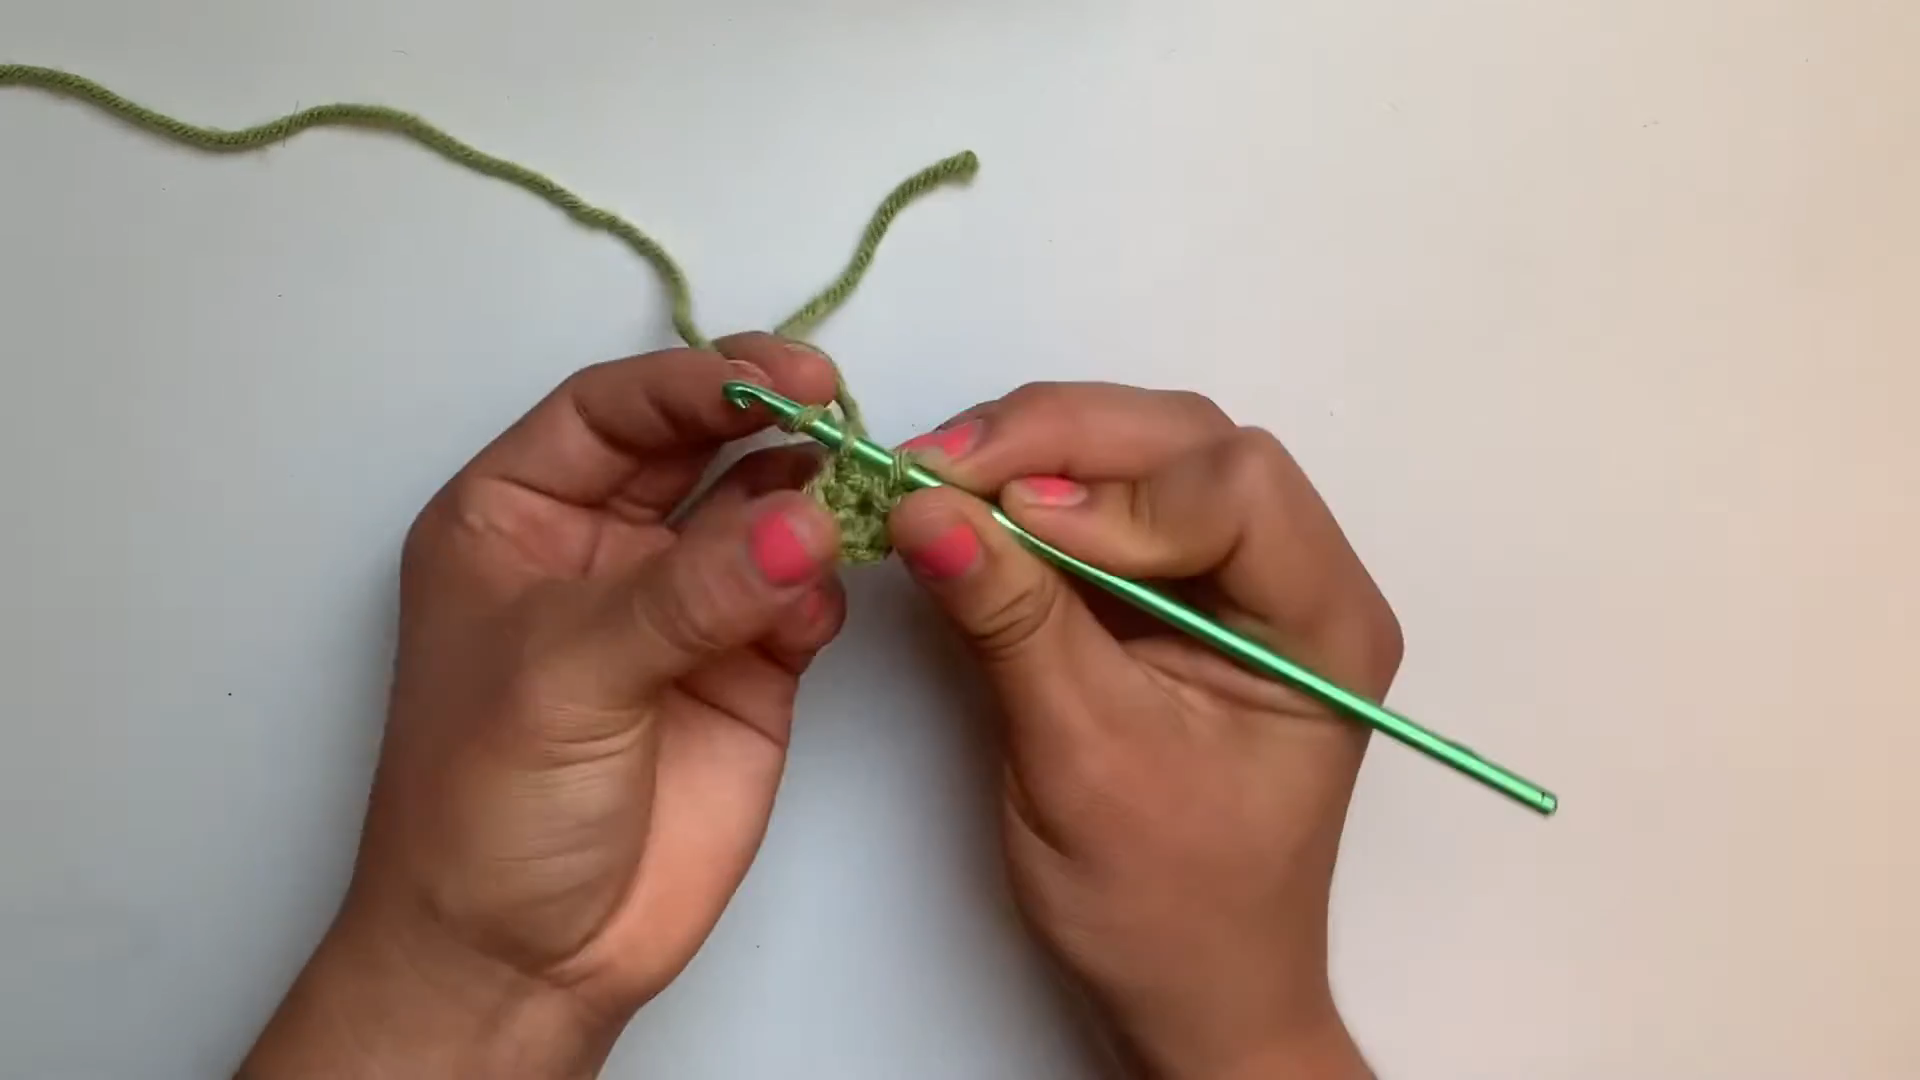
- Round 1: MR, 6 sc, then pull tight. (6)
- Round 2: inc in each stitch around. (12)
- Round 3: (sc, inc) x 6. (18)
- Round 4: (2 sc, inc) x 6. (24)
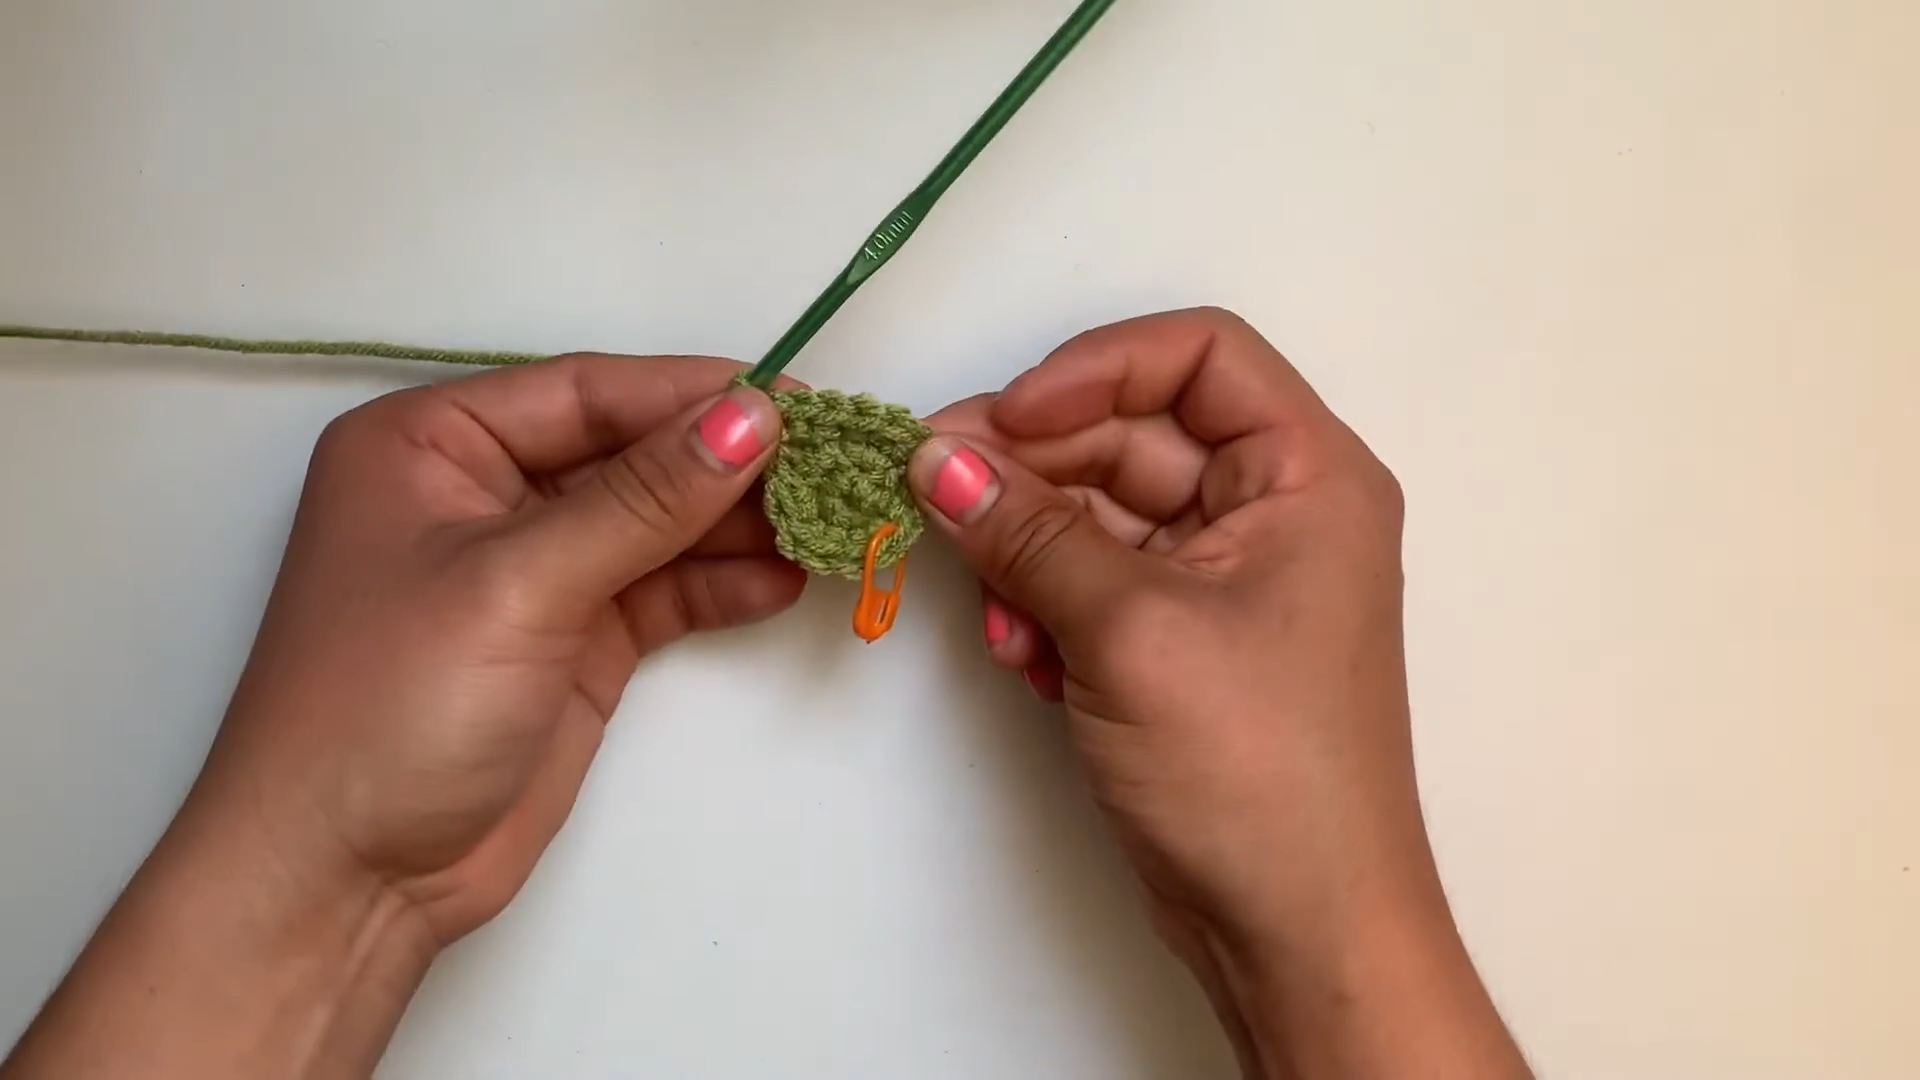
- Round 5: (3 sc, inc) x 6. (30)
- Round 6: sc in the back loop only around. (30)
That back-loop round makes a neat little edge, so the base stands up on its own instead of curling.
Step 2: The Body of the Pouch
- Rounds 7 to 18: sc in each stitch around. (30)
Next, place a stitch marker at the front of your work. This is where the face opening will go, and it is much easier to find later if you mark it now.
Then slip your Sonny Angel inside. If it feels tight, add a round, but if it is loose, take one away.
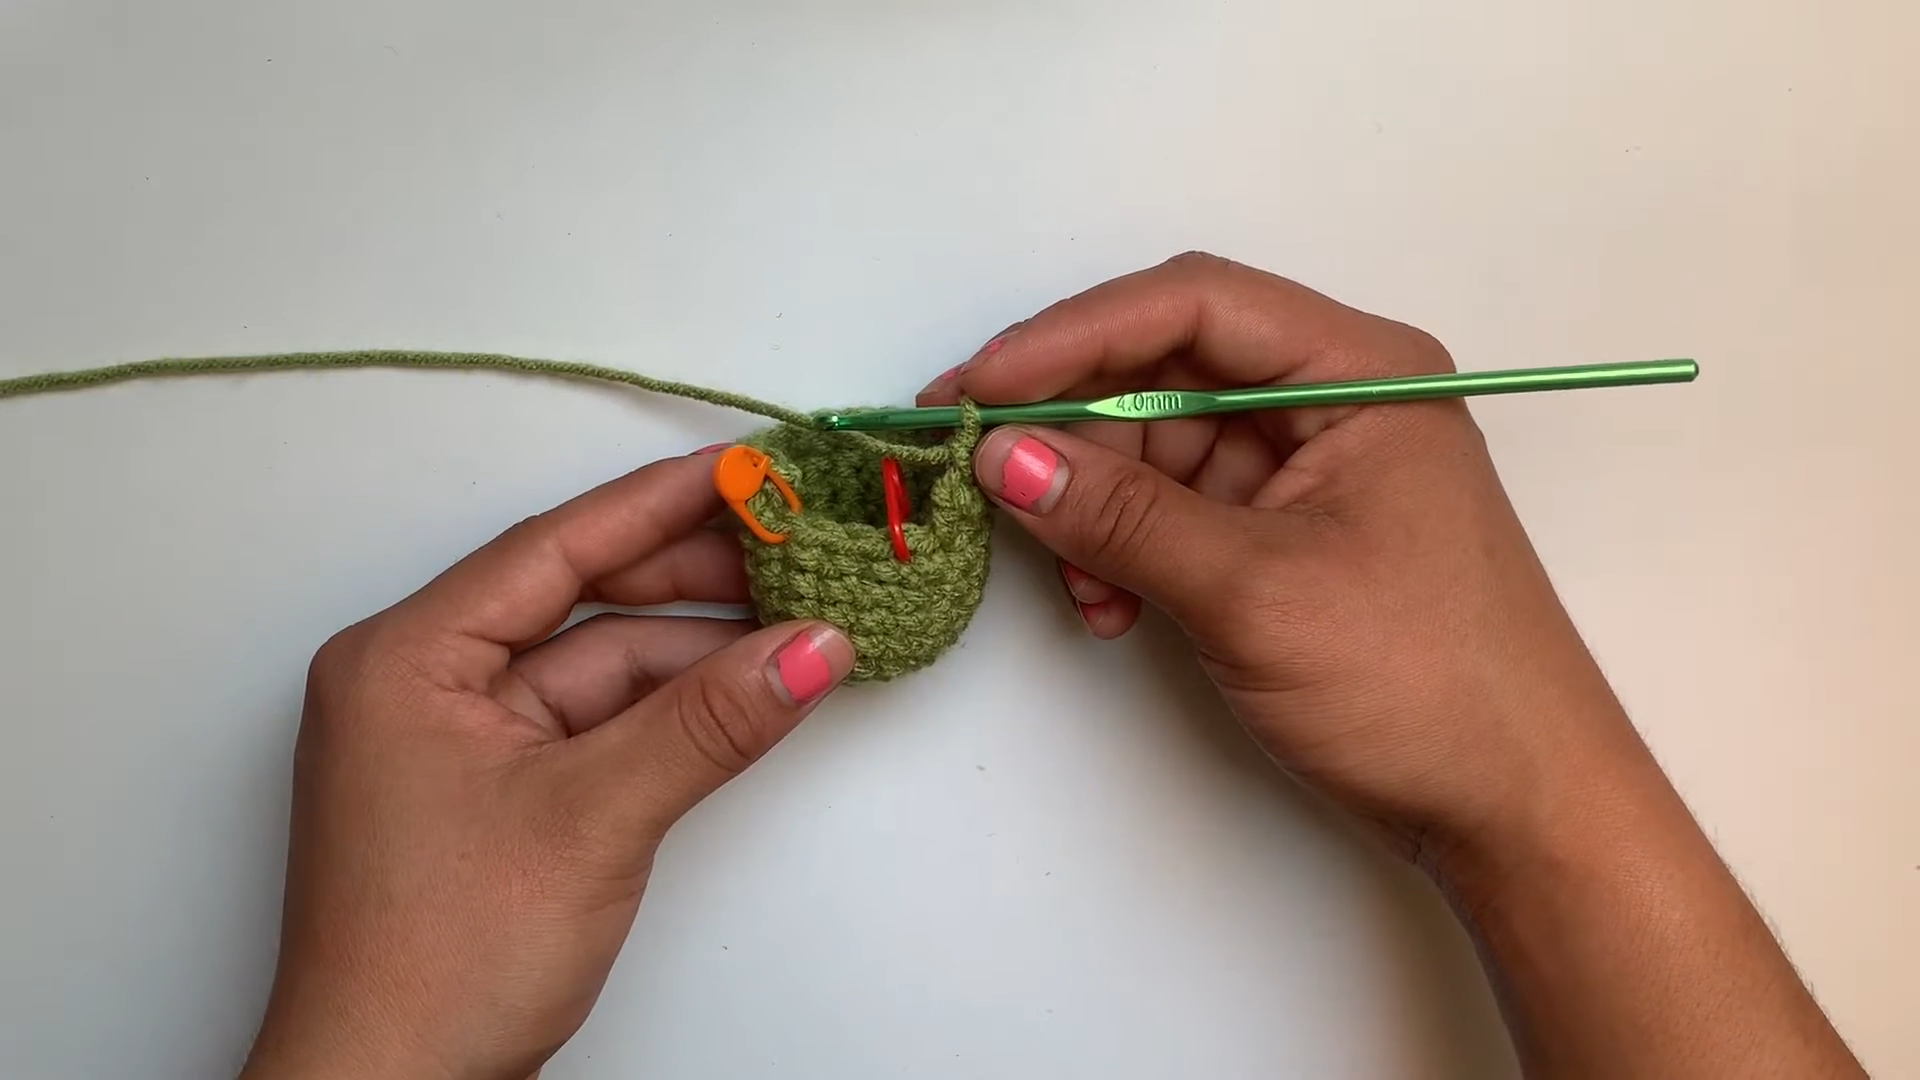
3: The Front Opening and Hood Band
Now the pouch becomes a hood, so you start working back and forth.
- Row 19: sc in the next 18 stitches, then turn, leaving the remaining 12 stitches unworked (18).
- Rows 20 to 24: ch 1, sc across, turn (18).
The bumpy texture you see in the video comes from this flat band, so keep the stitches snug and even for a hood that holds its shape.
- Final row: ch 1, sc across, then sl st down the side to join the band to the pouch edge, and finally fasten off and weave in the end.
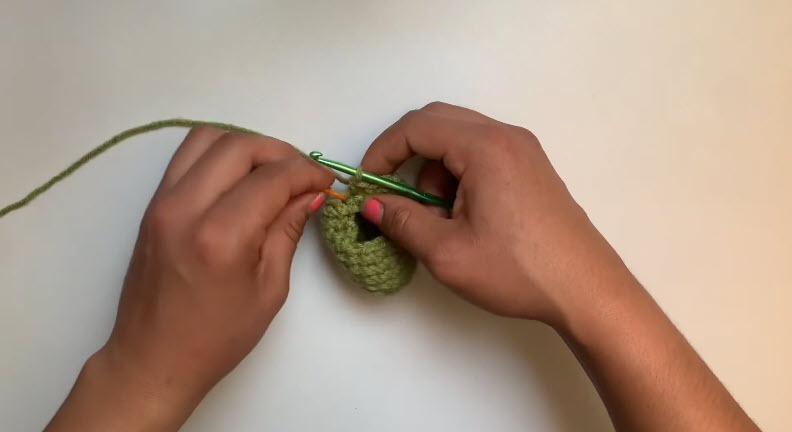
4: The Frog Eyes (Make 2)
- Round 1: MR, 6 sc (6).
- Round 2: inc in each stitch around. (12)
- Rounds 3 and 4: sc in each stitch around (12).
Stuff lightly with a tiny bit of fiberfill, then fasten off and leave a long tail for sewing.
5: The Keychain Loop
Ch 10 and sl st into the first chain to make a loop, then fasten off and leave a tail. Before you sew it down, slip your keychain ring through the loop.
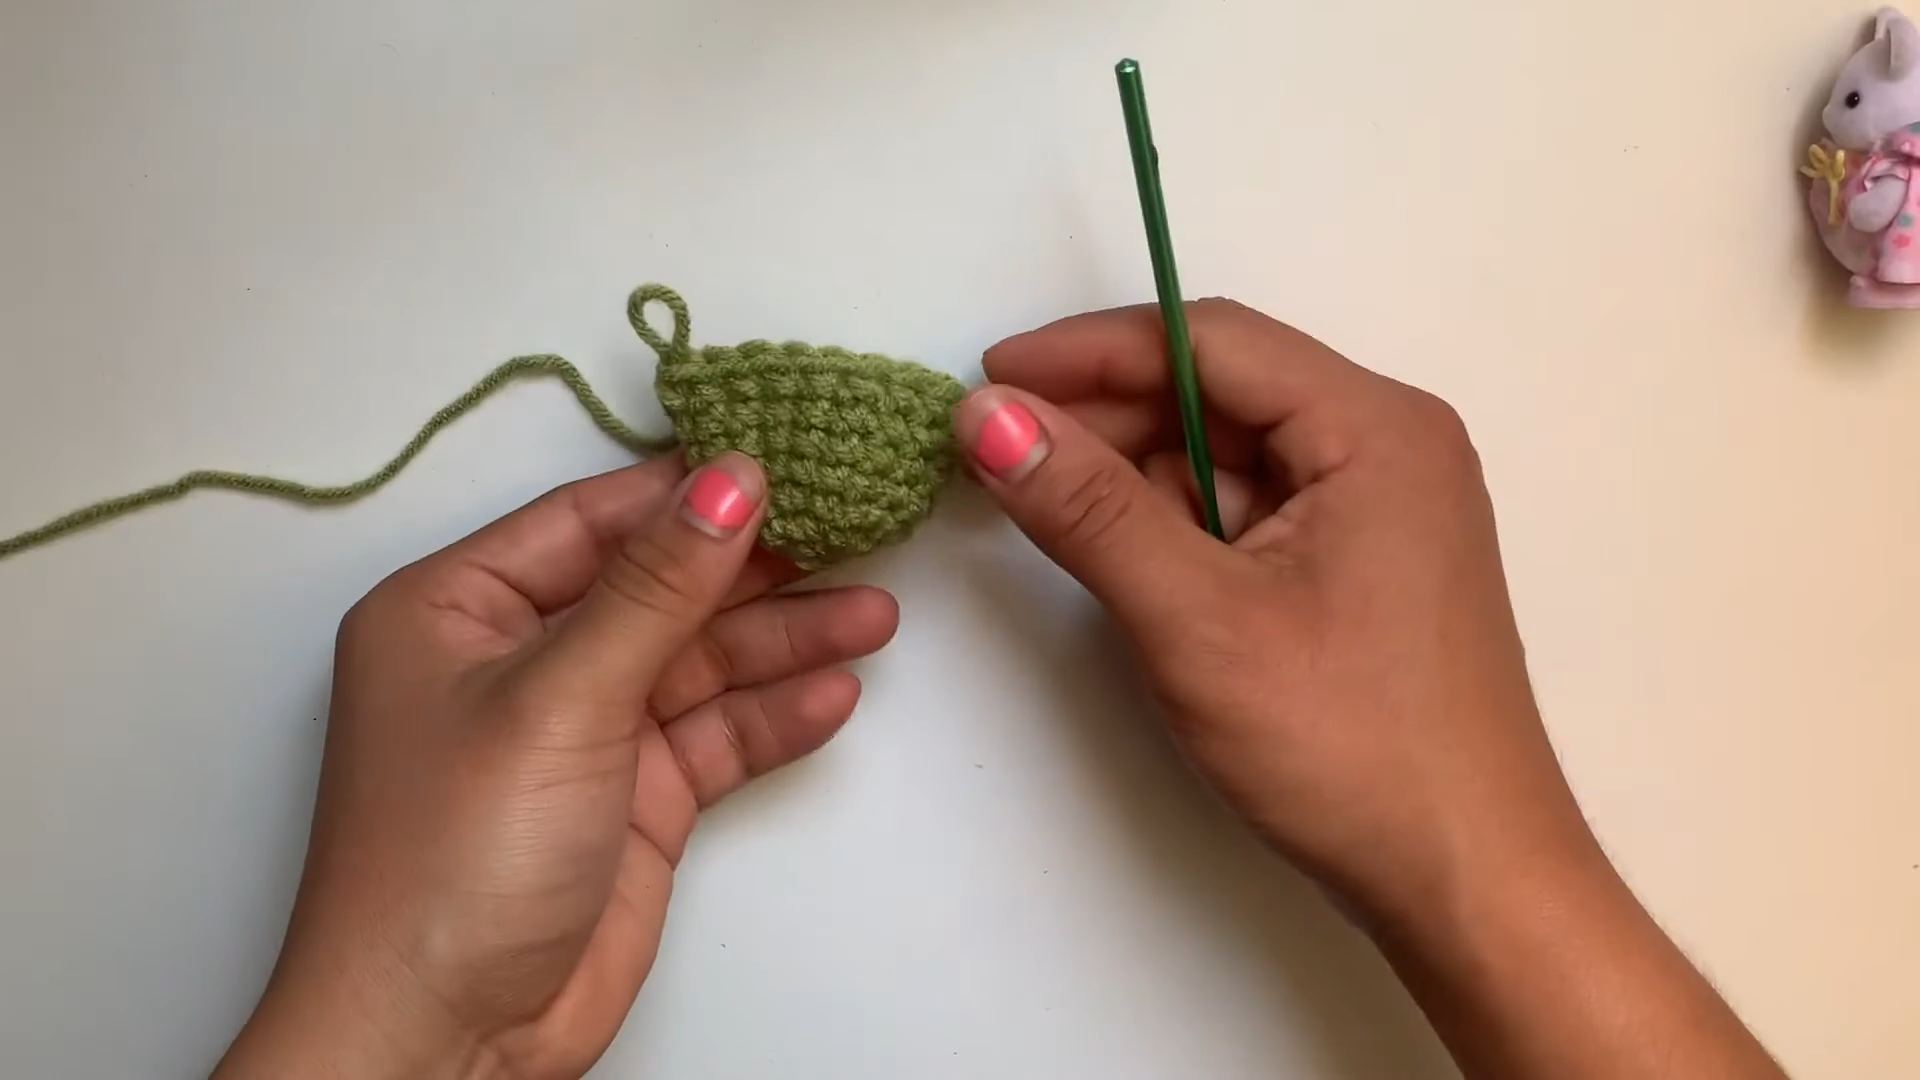
6: Facial Details
- First, cut two small black ovals from felt, then glue or stitch them onto the front of each eye bump.
- Next, embroider a small smile on the center of the hood band with black thread, keeping it short and slightly curved.
- Finally, glue two tiny pink felt circles just under the eyes for cheeks.
7: Assembly
- Pin the eye bumps to the top corners of the hood band, checking that they are even before you sew.
- Then sew them on with the long tails, using small, tight stitches.
- Next, sew the keychain loop to the center top of the pouch at the back.
- Weave in every loose end, then trim.
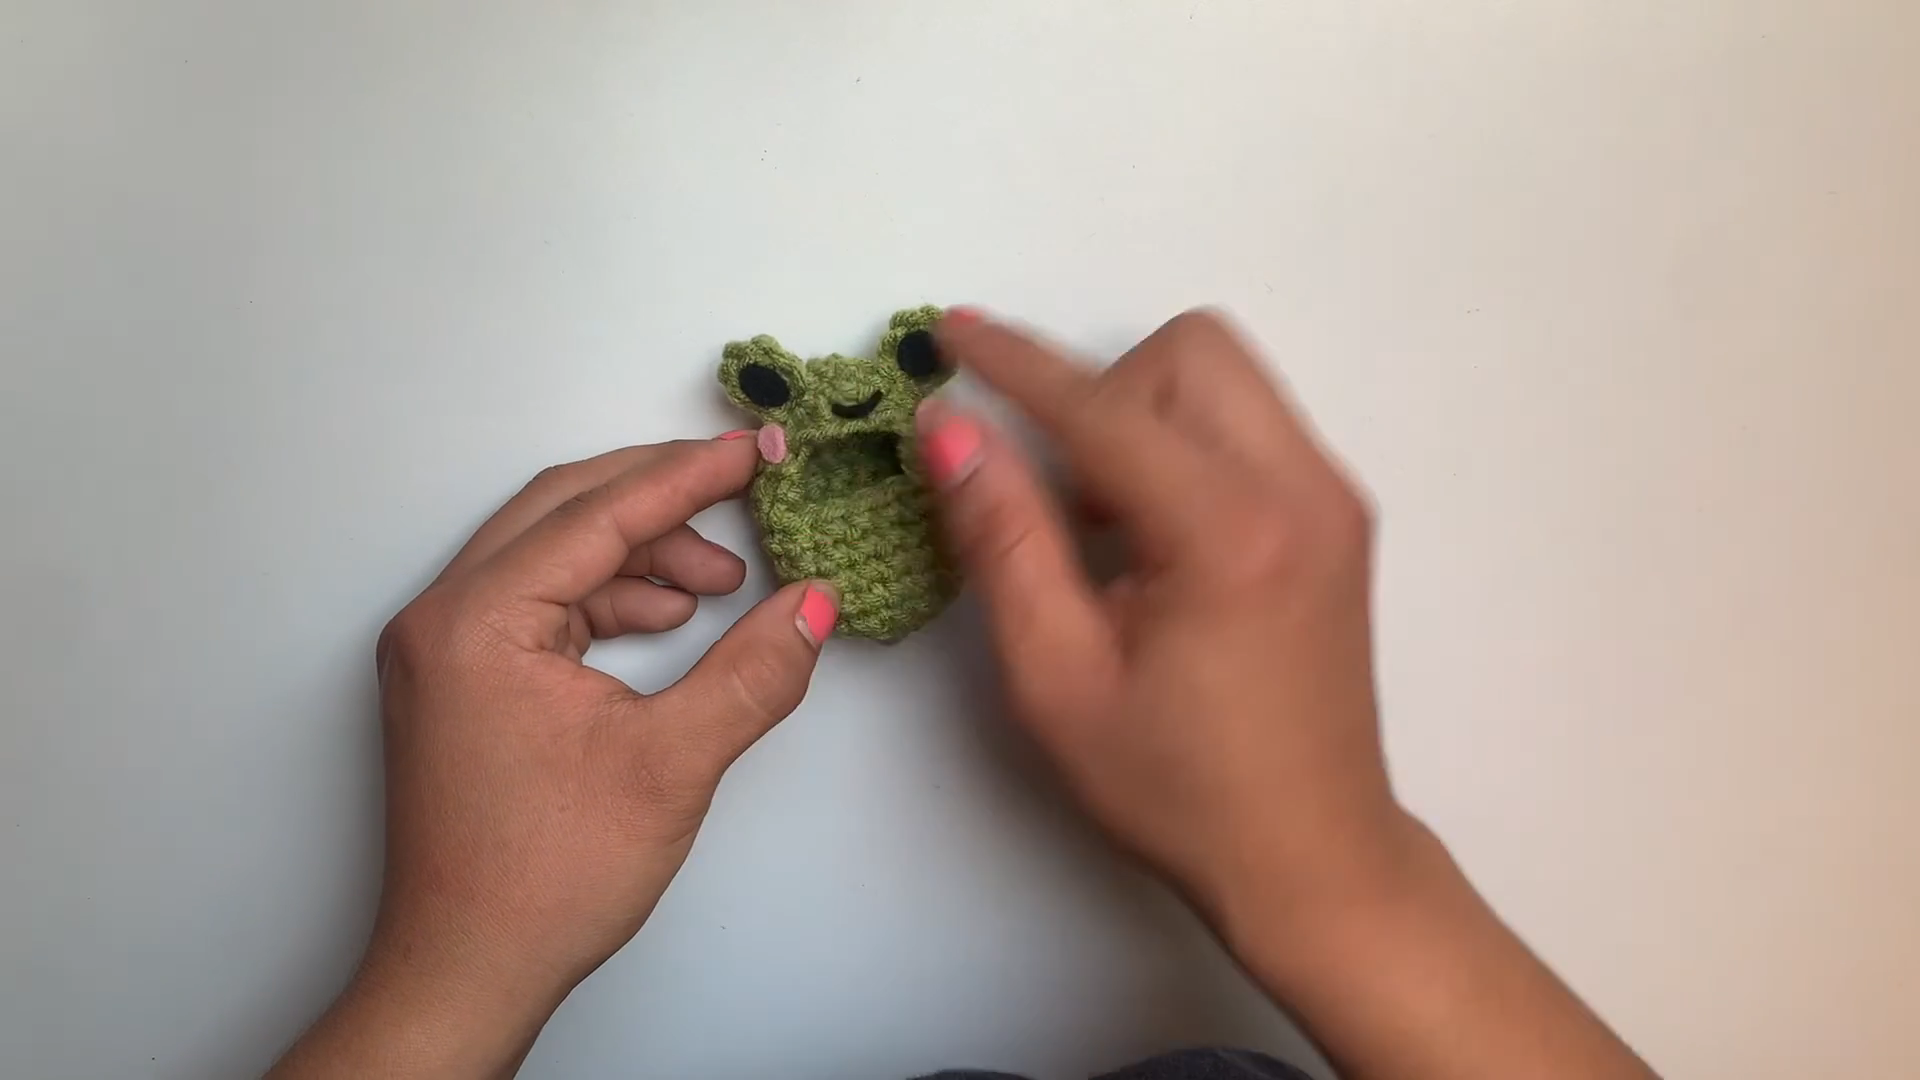
8: Finishing Touches
First, smooth the pouch with your fingers and tuck the edges neatly. Then slip your Sonny Angel inside so its face peeks out of the hood. Finally, clip the holder to a bag, backpack, or keys, and you are done.
Tips for Your Crochet Sonny Angel Holder
Keep Your Stitches Tight
A small hook with worsted yarn is the secret, because tight stitches stop the pouch from stretching and keep your figure from slipping out.
Use Stitch Markers
Mark the first stitch of each round and the front of the pouch. With a continuous spiral, it is easy to lose your place, so a marker saves you from counting again.
Stuff Smart
Only the eye bumps need stuffing, so use small pieces of fiberfill and push them in with the end of your hook, because too much stuffing makes the eyes look lumpy.
Check the Fit Early
Try your figure inside before you add the face, since it is far easier to add or remove a round at this stage.
Hide Your Ends Well
Weave tails in at least three directions, because a keychain gets handled a lot and loose ends need to be secure.
Design Customization Ideas
Try Different Colors
For a bunny version, try soft pink with white ears, while warm brown suits a bear hood, yellow makes a little chick, and pastel mint gives a calm, spring look.
Add Cute Accessories
You can also add a tiny crochet flower on one eye, a small bow near the smile, a mini felt leaf on top of the head, or a charm or bead on the keychain ring.
Make Mini Size Variations
Use fingering yarn with a 2.5 mm hook when you want a tiny version for smaller figures. Alternatively, add two or three extra rounds to the body for larger blind-box toys.
Bonus: Quick Fit Checklist
Before you sew on the eyes, run through this short checklist with your figure inside the pouch. First, check that the figure slides in without forcing or stretching the stitches. Next, make sure its face peeks out of the hood opening. Then tip the pouch upside down to confirm it stays snug, and finally check that the keychain ring moves freely on the loop.
If one of these checks fails, adjust a round now, because it is much easier before the details are attached.
Bonus: Care Tips for Your Crochet Sonny Angel Holder
Your holder will travel with you, so a little care goes a long way.
- First, spot clean with a damp cloth and mild soap.
- Then let it air dry flat.
- Also keep it away from rough zippers that can snag the yarn.
- Finally, use cotton yarn if you want something that holds up to everyday wear.
Crochet Sonny Angel Holder FAQs
What is the best yarn for amigurumi?
Cotton yarn is a favorite because it is sturdy and the stitches stay defined. Acrylic works well too and comes in lots of colors, but either way, choose a smooth yarn so your stitches are easy to see.
How do I make my crochet plush firm?
First, use a hook smaller than the yarn label suggests, and keep your tension tight. For stuffed parts, add the fiberfill in small pieces, but remember that firm stitches matter even more than extra stuffing.
How long does this project take?
Most crocheters finish it in two to three hours, although a beginner may take a bit longer, and that is perfectly fine. Splitting it into the body one day and the details the next also works well.
Can I wash this holder?
Yes, you can wash it gently by hand, but if you used glue, remove the felt details first or stick to spot cleaning.
Can I use this crochet Sonny Angel holder pattern for other figures?
Yes, because you only need to add or remove rounds until the pouch fits your toy.
Clip It On and Show It Off
You now have a charming little keeper for your favourite figure. Small projects like this are a great way to build confidence, since every one teaches you something new.
So give this crochet Sonny Angel holder keychain pattern a try, and make a few in different colours. They are fast and fun, and they also make perfect handmade gifts. If you make one leave a comment and share your version.