Mini Crochet Nutcracker Amigurumi Pattern Your Holiday Decor
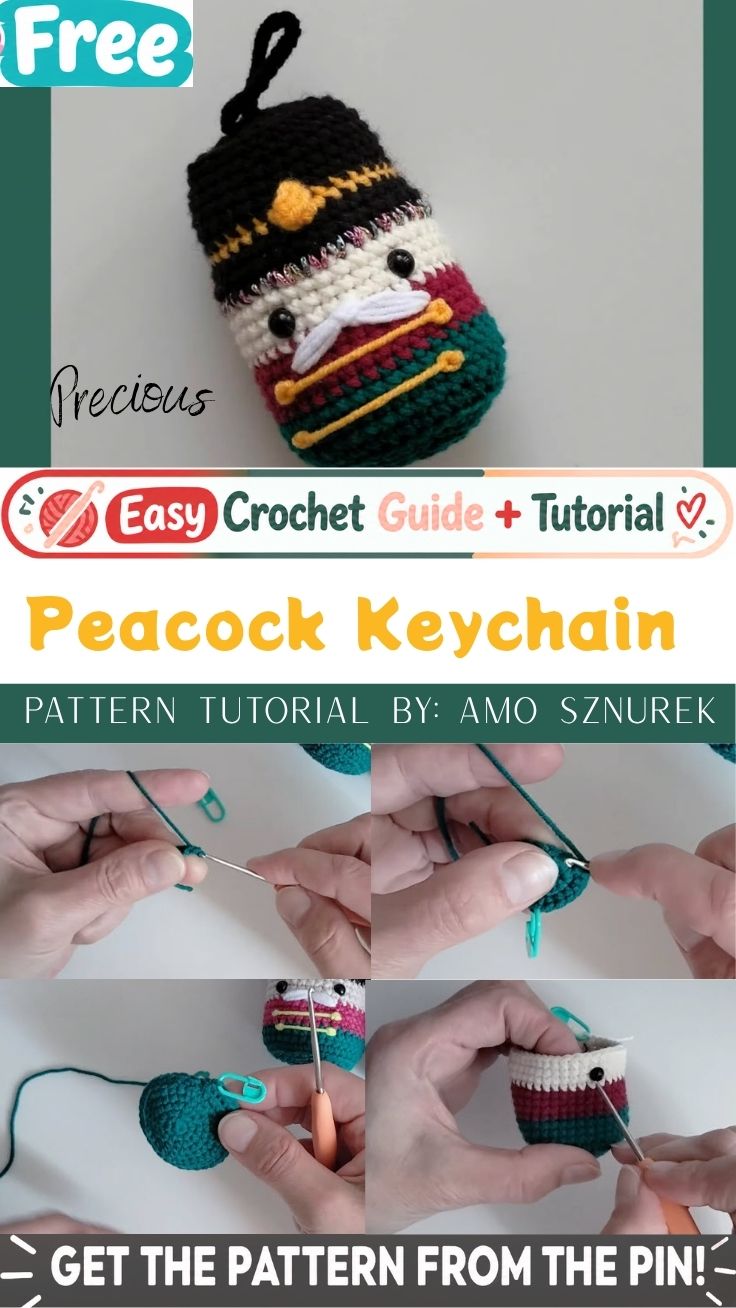
Rows of bright stitches stack into a cheerful soldier face in this Mini Crochet Nutcracker Amigurumi Pattern for Your Holiday Decor, a pocket-sized figure built for a stocking, a tree branch, or a bag charm. Striped color blocks, a felted-look hat, and a stitched mustache give this tiny amigurumi keychain its holiday personality.
Small-batch amigurumi works well for crafters short on time, since the body stacks up in just a handful of color changes instead of separate limbs. Because the whole figure is crocheted as one continuous tube topped with a hat, assembly stays simple even for a first holiday project. Many makers finish theirs as an amigurumi nutcracker ornament for the tree, while others prefer it as a holiday nutcracker keychain clipped to a bag or backpack. Either way, the piece works as a quick, giftable stitch-up for the season.
What You’ll Need
- Worsted weight (US 4) cotton or acrylic yarn in teal, white, maroon or red, black, and a peach or skin tone
- A 3.25mm or 3.5mm crochet hook, matched to yarn weight
- One pair of 6mm safety eyes
- Polyester fiberfill stuffing
- A yarn or tapestry needle for embroidery and weaving in ends
- Locking stitch markers
- Sharp scissors
- Optional keyring, ornament hook, or bell for finishing
Materials Substitution Ideas
Swapping worsted yarn for a lighter DK weight with a 3mm hook shrinks the finished nutcracker slightly and tightens the stitch definition, which suits keychain-sized pieces. Cotton yarn holds crisper stripes than acrylic, though acrylic stays cheaper for high-volume batches. A 4mm safety eye reads as more subtle on a smaller head, while embroidered eyes work as a child-safe substitute when safety eyes aren’t appropriate.
Skills You’ll Use
The pattern leans on single crochet worked in continuous spiral rounds, along with invisible decreases to shape the top of the head and hat. Clean color changes carry the stripe pattern from row to row, and a short embroidery pass adds the mustache once stuffing goes in. This crochet nutcracker amigurumi style relies on tight, even tension throughout, since gaps show more easily on a small-scale piece.
What You’ll Learn
- How to switch yarn colors mid-round without leaving visible jog lines
- How to seat safety eyes securely before a piece gets stuffed
- How to embroider a simple facial feature onto finished amigurumi fabric
Time Needed
Prep work, including yarn selection and marking eye placement, takes roughly 10 minutes. The stitching itself, covering the body, head, and hat, runs about 45 to 60 minutes depending on hook comfort. Finishing touches, such as embroidery, weaving in ends, and final assembly, add another 15 minutes, bringing the whole project to just over an hour.
Step-by-Step Process
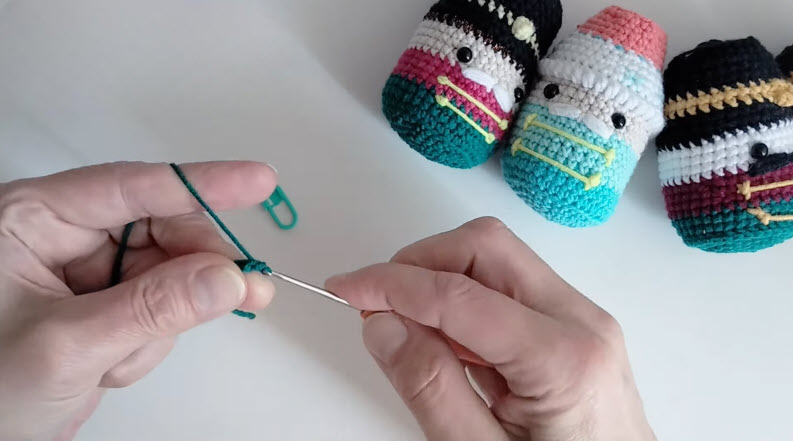
Step 1: Thread the tail. Once the last round is complete, thread the loose yarn tail onto a tapestry needle while a stitch marker holds the working stitch in place. Threading the tail before starting the next stage keeps the working yarn from twisting mid-round.
Step 2: Shape the top of the head. Insert the hook into the marked stitch and continue the decrease round, drawing the top of the head closed as the stitch count drops.
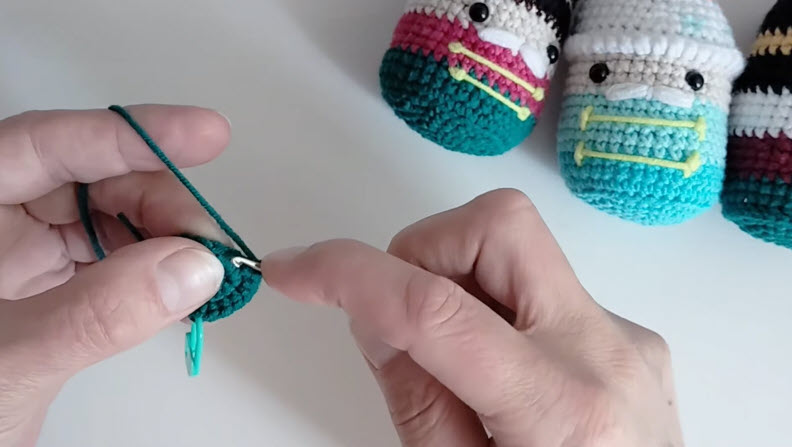
Step 3: Check the stitch count. Before switching to a fresh color or hook, pause to count the remaining stitches around the opening.
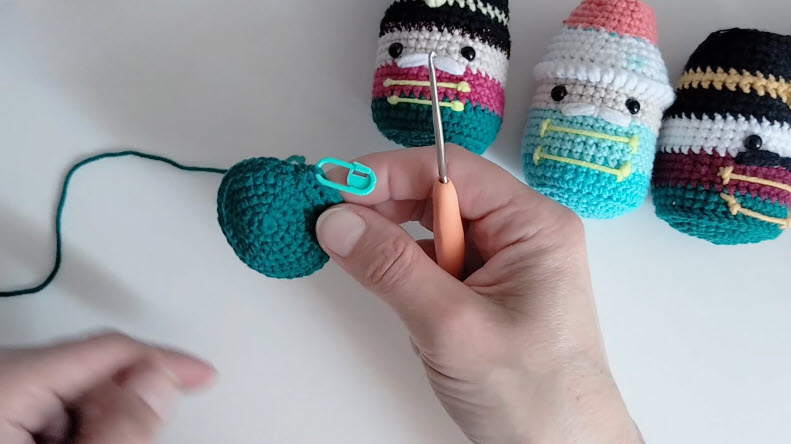
Stitch check: the top ring should sit at roughly six stitches before the final closure.
Step 4: Close and secure the head. Work the last few stitches together and fasten off, tucking the tail through the center so the top sits smooth and rounded.
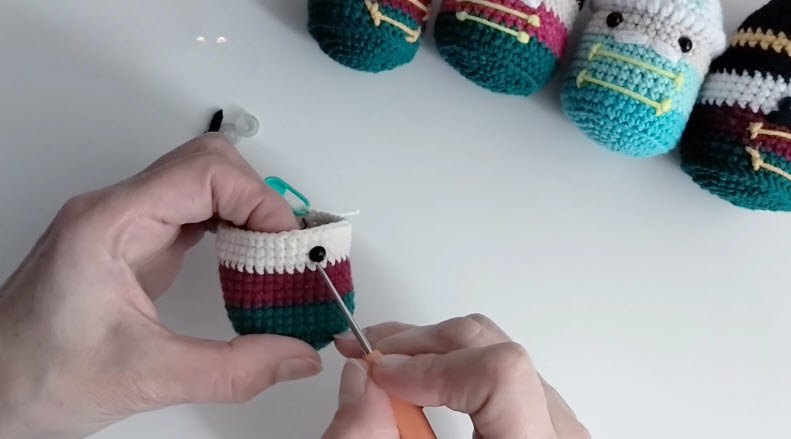
Step 5: Attach the eyes to the body. With the striped body piece in hand, insert the safety eye posts through the marked stitches near the top edge, then secure the backing from inside. Placing the eyes before the head closes fully keeps them centered once stuffing is added.
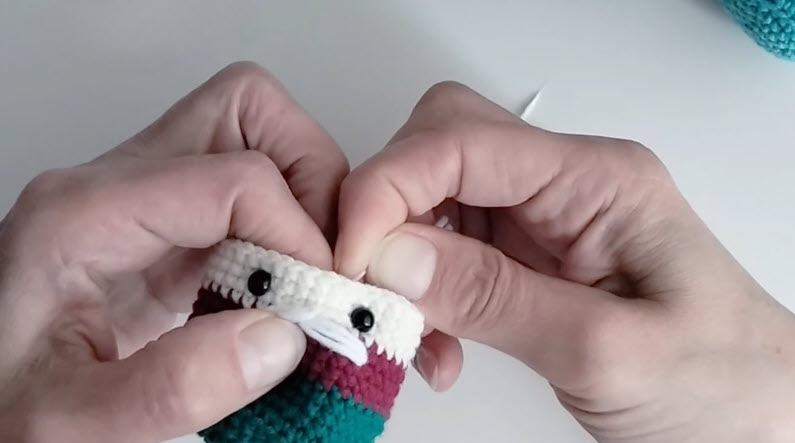
Step 6: Embroider the mustache. Using a needle and contrasting yarn, stitch the curved mustache detail just beneath the eyes, anchoring each end on the wrong side.
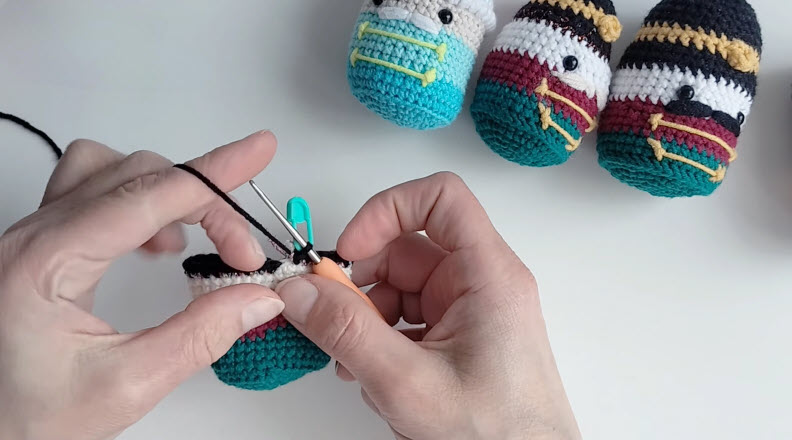
Count now: both mustache halves should match in length and curve before the ends get tucked away.
Step 7: Crochet the hat rounds. Attach black yarn at the hat’s base and work each round in the same continuous spiral used for the head, keeping tension consistent as the piece narrows.
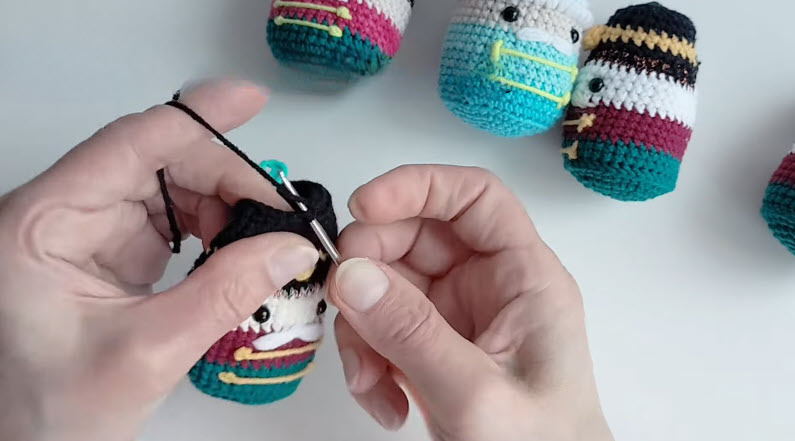
Step 8: Weave in the final tail. Once the hat is fastened off, thread the last tail through several stitches at the back, hiding the end inside the fiberfill.
Signs You Did It Right
- The stripes line up evenly around the body without a visible jog at the color change
- The head sits centered and round, without a lopsided lean toward one side
- Both eyes sit level and at the same height on the face
- The finished piece holds its shape firmly when squeezed, rather than collapsing
Common Mistakes and Their Fixes
Loose tension between color changes often leaves small gaps at the stripe seams.
Fix: tighten the first stitch of each new color slightly and keep the yarn tail pulled snug before continuing.
Eyes placed too high or too low throw off the whole face.
Fix: count stitches from the center front before inserting the posts, rather than guessing by eye.
Under-stuffing leaves the body soft and prone to bending.
Fix: pack fiberfill in small pieces, pressing firmly as the head and body take shape.
Troubleshooting Guide
- Head looks slightly tilted after stuffing: redistribute fiberfill evenly, pushing extra into the side that dips
- Stripes appear to spiral instead of stacking flat: carry the join point consistently at the same spot each round
- Mustache looks flat or uneven: add a second embroidery pass along the same line for extra dimension
- Colors clash rather than complement: hold candidate yarns side by side in natural light before committing to the full body
Finishing and Assembly Tips
Once the head, body, and hat are each complete, secure the head to the body first, since this anchors the proportions before the hat gets added. Pin the hat in place with a stitch marker and check the angle from several sides before stitching it down permanently. A whip stitch along the seam blends colors more smoothly than a simple slip stitch join.
Care & Cleaning Tips
Store the finished nutcracker away from direct sunlight to prevent the darker stripes from fading over time. A soft brush or dry cloth lifts dust from the yarn surface without disturbing the stitches. Spot-clean any marks with a barely damp cloth and mild soap, then let the piece air dry fully before storage. Full washing isn’t recommended, since the fiberfill can shift or clump once wet.
Creative Projects You Can Make With This Pattern
The same stacked-cylinder body technique adapts easily into a broader set of holiday figures, from a matching snowman to a tiny gnome. Crafters looking to expand a crochet nutcracker amigurumi collection often pair this pattern with a companion soldier in a different uniform color, or shrink the scale further for a set of ornament garlands. The embroidery and eye-placement steps also transfer directly into other amigurumi face patterns on the same site.
Ways to Style or Display It
A small hook or loop at the top of the hat turns the piece into a hanging ornament, while a jump ring at the base of the body converts it into a keychain. Grouped in threes along a mantel or shelf, the figures read as a mini nutcracker parade rather than a single ornament.
Who This Pattern Is Great For
Crafters newer to amigurumi benefit from the single-piece body, since there’s no limb assembly to manage. Gift-makers preparing multiple stocking stuffers appreciate the roughly hour-long stitch time, and collectors of holiday-themed crochet find the small scale easy to display alongside other seasonal pieces.
Why It’s Popular Right Now
Mini holiday amigurumi has surged alongside a broader interest in handmade stocking stuffers and low-waste gifting.
- Compact size keeps yarn costs low per finished piece
- Quick stitch time suits last-minute holiday batches
- Keychain and ornament versatility appeals to gift-givers and collectors alike
FAQ
How much yarn does one nutcracker use?
A single figure typically uses less than 20 grams total across all colors combined, making it easy to stitch from scraps.
Can safety eyes be replaced with embroidered ones?
Embroidered eyes work as a safe substitute for pieces intended for young children, though they take a bit more time to stitch neatly.
What size hook gives the tightest stitches?
A hook one size smaller than the yarn label suggests usually produces denser fabric, which keeps stuffing from showing through.
Can this pattern be scaled up for a larger display piece?
Switching to a bulkier yarn with a larger hook scales the same stitch pattern up, though stitch counts may need slight adjustment for proportion.
The Bottom Line
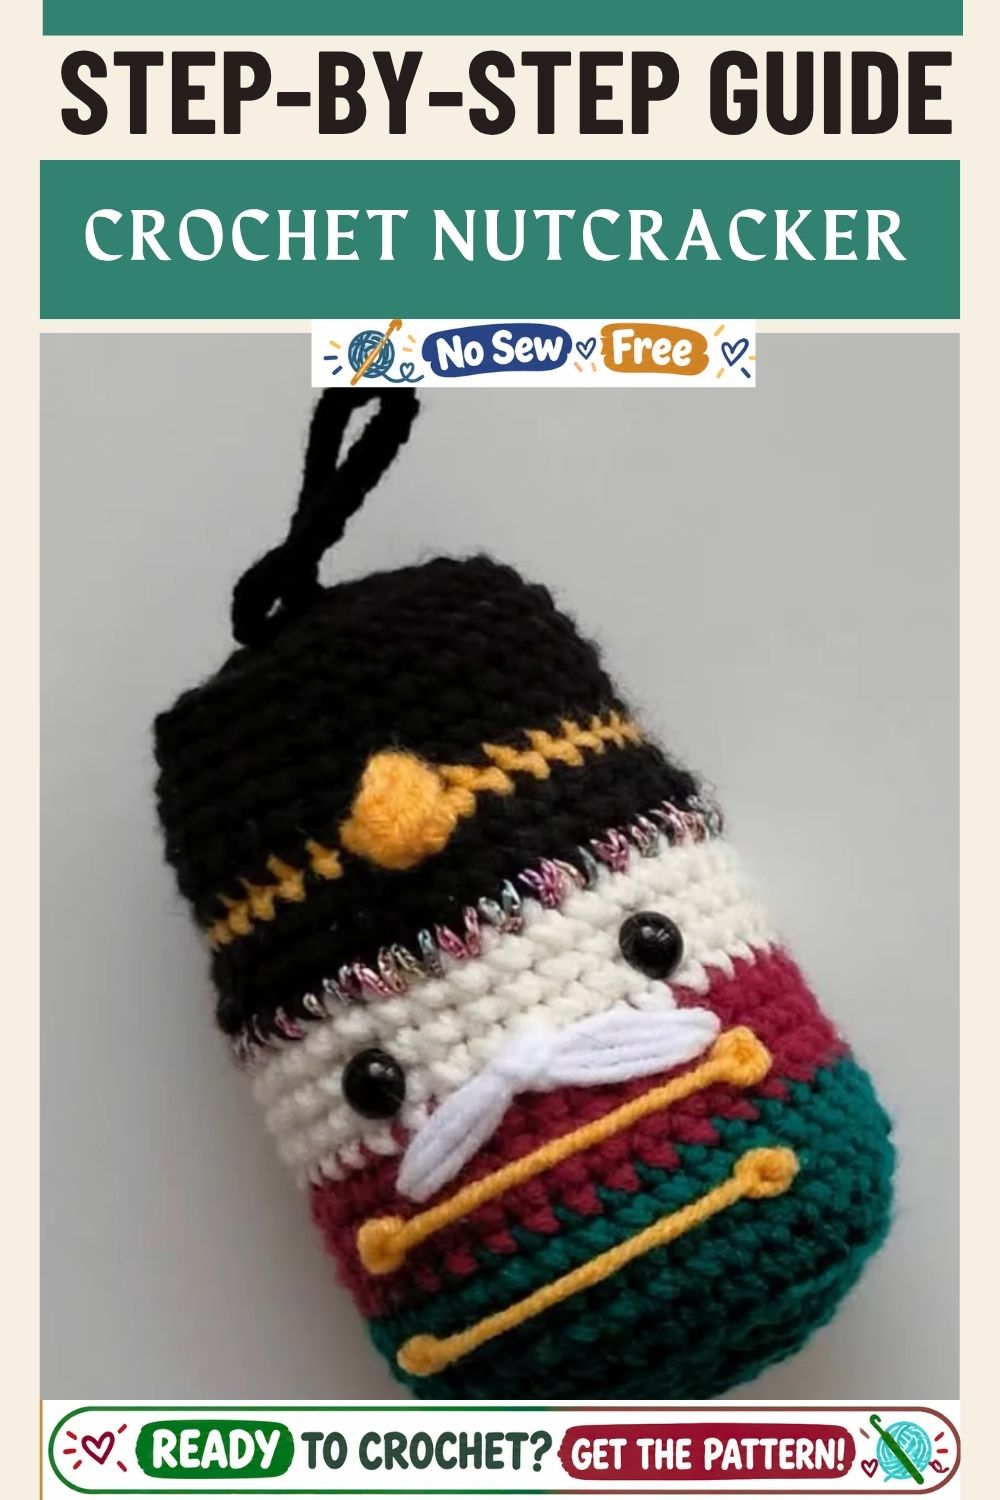
A few color changes and one embroidery pass turn simple stitches into a full holiday character. Beginners gain confidence from the straightforward shaping, while experienced crafters can batch several at once for gifting season. As a crochet nutcracker amigurumi, the pattern rewards a little patience at the color-change points with a polished, giftable result.