Free Crochet Jellyfish Keychain Amigurumi Pattern
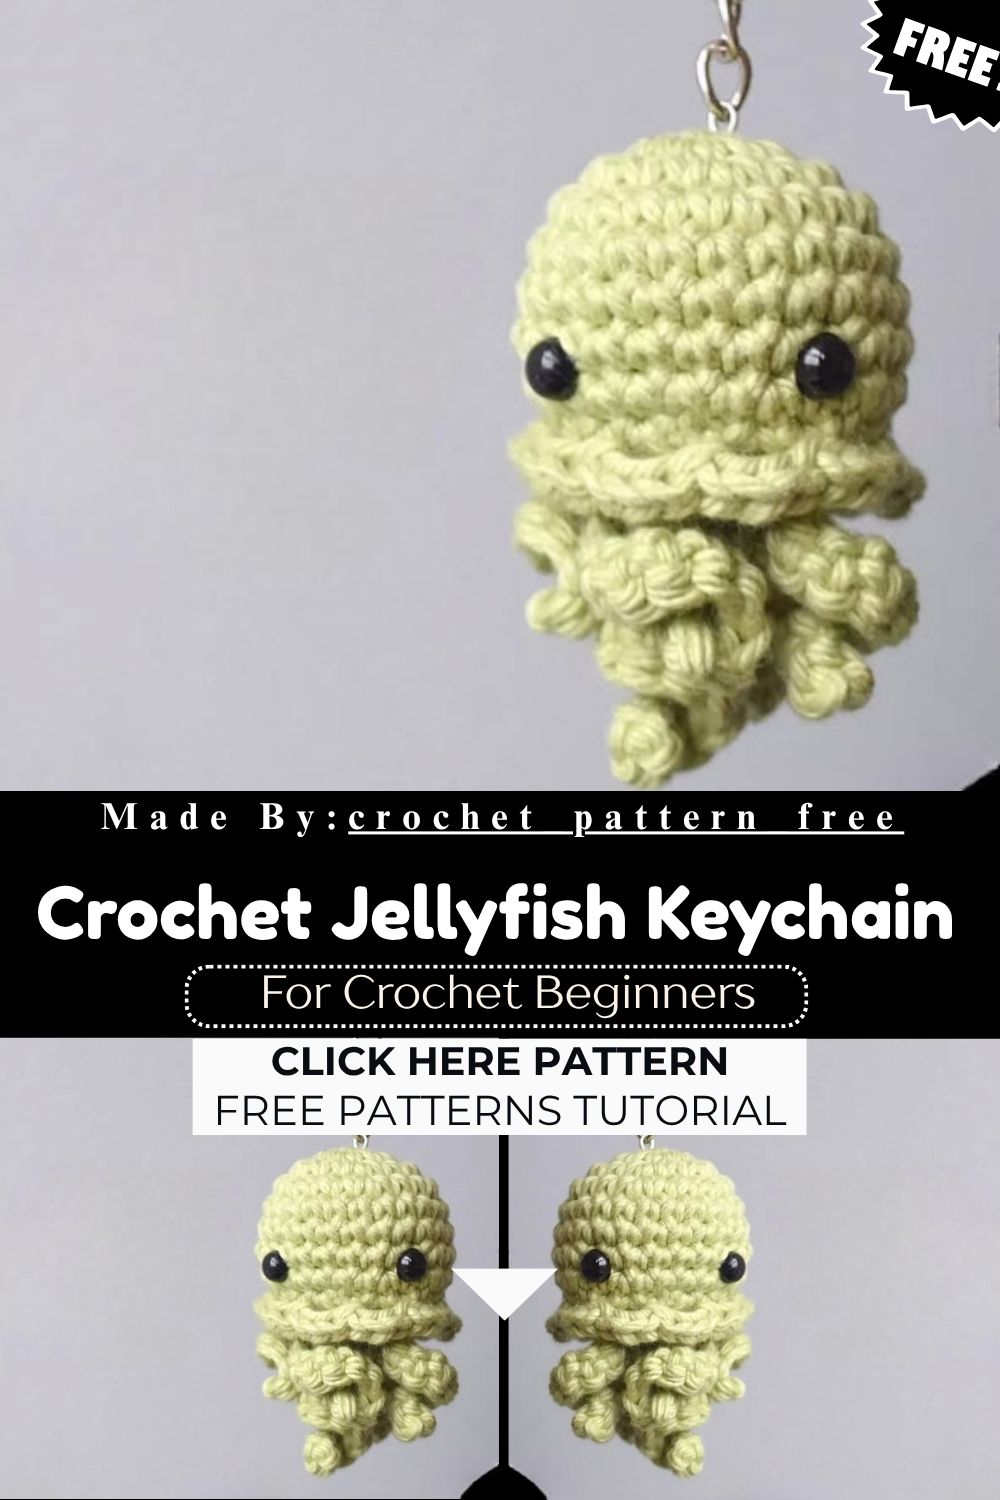
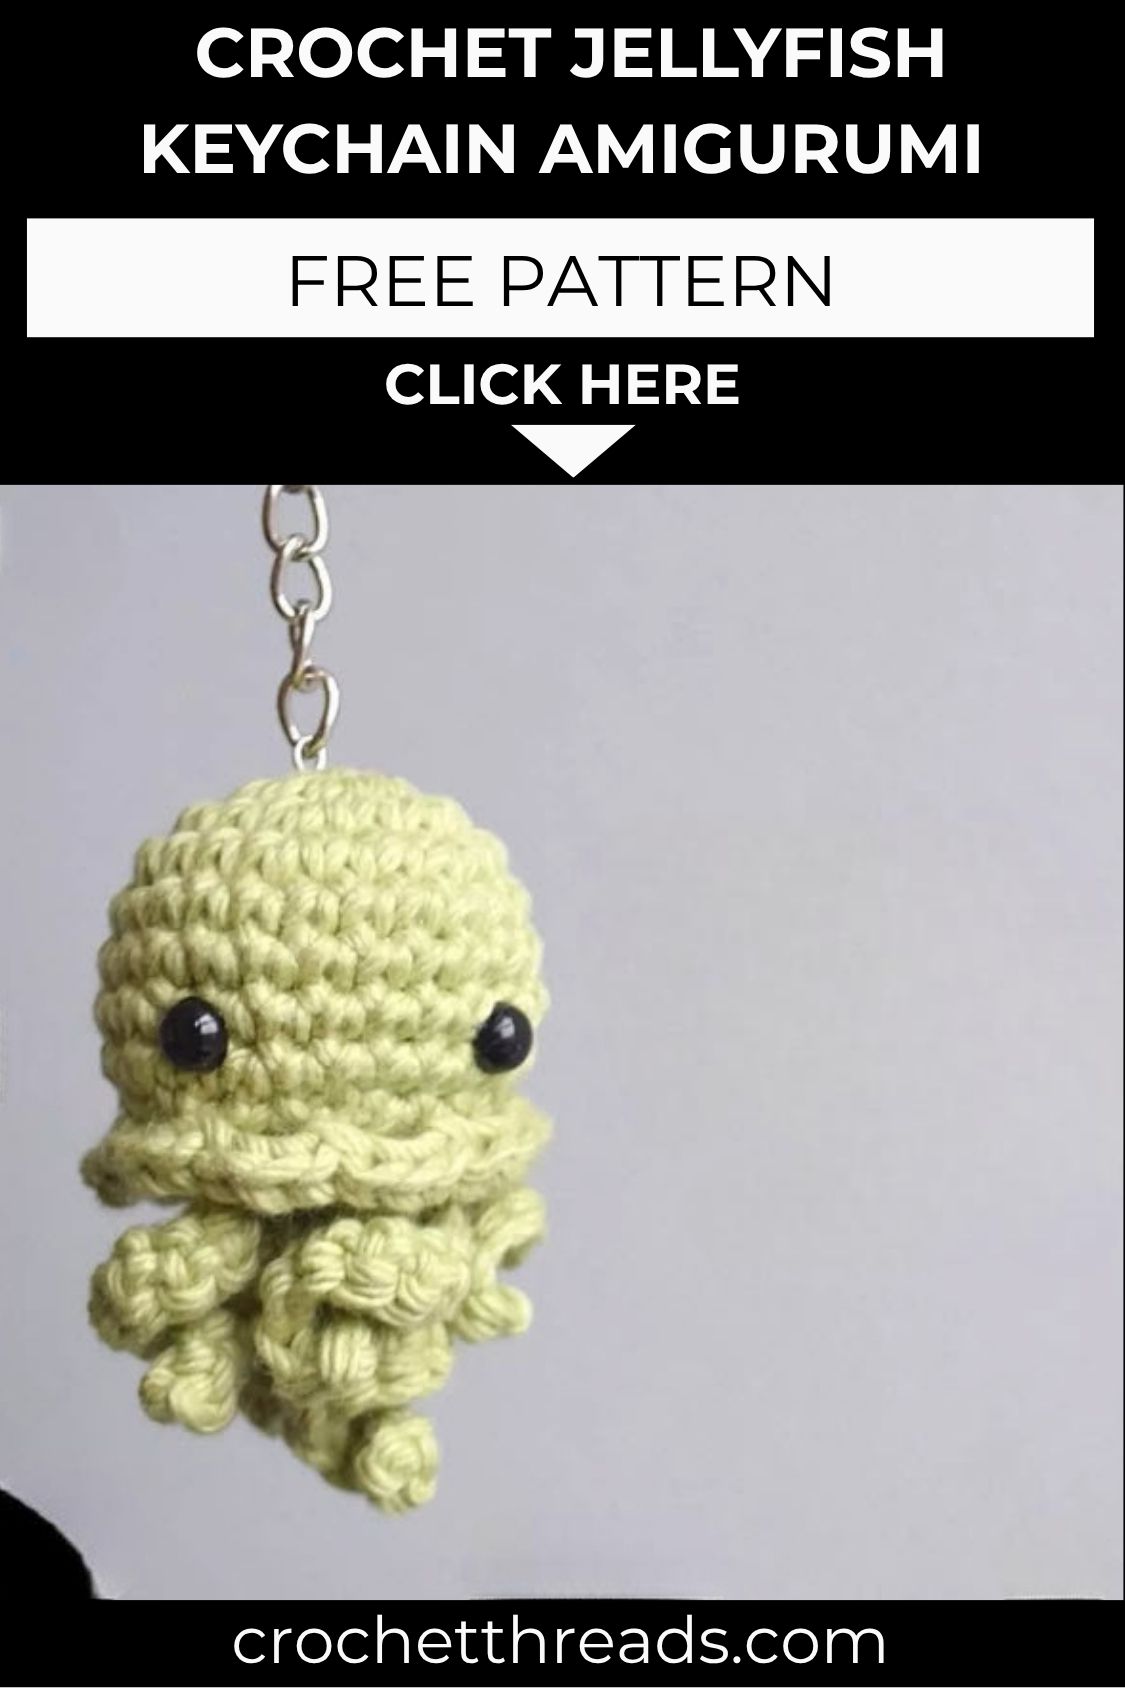
Carrying their own special charm, small sea-life characters find that beauty beautifully captured in the Crochet Jellyfish design. The Squish-Free Crochet Jellyfish Keychain Pattern is a collectible, adorable, quick-to-complete project that easily earns its place in any amigurumi enthusiast’s collection.
Skill Level
Beginner-friendly. Requires single crochet, half double crochet, increases, decreases, and basic slip stitches. No color changes, no complex shaping, just simple repeats, safety eye placement, and light assembly at the end.
Materials
- Cotton medium worsted weight yarn
- Size C/2.75mm hook
- 6mm safety eyes
- Keychain hardware
- Polyester fiberfill
- Scissors
- Yarn needle
- Paper clip (optional, for stuffing small tentacles)
Abbreviations
- Rnd – Round
- Sc – Single crochet
- Hdc – Half double crochet
- Sl st – Slip stitch
- Inc – Increase
- Dec – Decrease
- BLO – Back loop only
- Ch – Chain
Pattern Overview
- A rounded head worked in continuous single crochet rounds, shaped with increases and decreases
- A ruffled skirt made from repeated hdc shell clusters worked into the base of the head
- Three short tentacles and two longer tentacles worked flat and curled into shape
- Safety eyes placed before the head closes for a secure, professional finish
- Keychain hardware attached at the top of the head once stuffing is complete
Special Techniques
- Magic ring start keeps the top of the head gap-free
- Shell-style hdc clusters create the wavy skirt edge without extra rounds
- BLO can be used on the final skirt round for a more defined ruffle line
- Safety eyes are inserted mid-round, before the head narrows, so spacing stays even
- Tentacles are worked as flat strips, then curled and tacked in place while sewing
HEAD
Rnd 1: 6 sc in magic ring (6) Rnd 2: Inc in each st around (12) Rnd 3: (Sc, inc) around (18) Rnd 4: (2 sc, inc) around (24) Rnd 5: (3 sc, inc) around (30) Rnd 6–11: Sc around, 6 rounds even (30)
Insert safety eyes between rounds 8 and 9, spacing them 10–12 stitches apart. Begin stuffing firmly as the rounds progress.
Rnd 12: (3 sc, dec) around (24) Rnd 13: (2 sc, dec) around (18) Rnd 14: (Sc, dec) around (12)
Add remaining stuffing at this stage.
Attach the keychain jump ring by looping it through 2–3 stitches at the very top of the head before closing, or set it aside to sew on after the final round.
Rnd 15: Dec around (6)
Fasten off, leaving a long tail. Weave through the front loops of the last 6 stitches and pull closed.
Secure the tail through the top of the head to finish.
SKIRT
- Insert the hook under a loop from the outside going in.
- Pull up a new loop with working yarn to start and ch 1.
- Make 3 hdc in the next st, then sl st in the st after. Repeat 9x around.
- After the final sl st, cut a yarn tail and weave it into the body.
SMALL TENTACLES
- Make a slip knot and ch 11.
- Sc in 2nd ch from hook, 8 sc across, 2 sc in final st. Cut a tail for sewing. Make 3 small tentacles.
LARGE TENTACLES
- Make a slip knot and ch 14.
- Sc in 2nd ch from hook, 11 sc across, 2 sc in final st. Cut a tail for sewing. Make 2 large tentacles.
SEWING TENTACLES
Refer to the underside diagram of the jellyfish for placement. Red marks show where the small tentacles go, and green marks show where the large tentacles go. The arrows on the diagram indicate the direction each tentacle should curl and face once sewn to the underside of the skirt, so the finished jellyfish drapes naturally when it hangs from a bag or keyring.
Common Mistakes
- Skipping the safety eye placement before stuffing, which makes them impossible to secure evenly afterward
- Under-stuffing the head, leaving a soft or lopsided keychain instead of a firm rounded shape
- Missing the shell-cluster count on the skirt, which throws off the ruffled, wavy look
- Attaching tentacles in random order instead of following the small-large-small layout from the diagram
- Pulling the magic ring too loosely, leaving a small hole at the top of the head
Uses & Benefits
Beyond being a cute accessory, this jellyfish keychain doubles as a practical little project for using up leftover cotton scraps. Its small size means it finishes in a single sitting, making it perfect for practicing safety eye placement, shell stitches, and simple amigurumi shaping without committing to a large project. It also makes a quick, budget-friendly handmade gift, craft fair item, or party favor that still feels personal and thoughtfully made.
Helpful Beginner Tips
- Count stitches after every round during the head shaping to avoid drifting off pattern
- Use stitch markers on rnd 1 and the start of each new round for easy tracking
- Stuff a little at a time rather than all at once for even firmness
- Keep tentacle tension consistent so all five pieces curl at a similar tightness
- Test the safety eye backing before final placement, since it cannot be removed once snapped in
Assembly
- Weave in all loose ends from the head, skirt, and tentacles before sewing anything together
- Attach the skirt around the base of the head, matching the shell repeats evenly
- Sew the 3 small tentacles and 2 large tentacles to the underside, following the diagram’s color-coded placement
- Curl each tentacle gently before tacking the tip in place for a natural, flowing look
- Attach the keychain hardware securely at the top of the head, reinforcing the loop with a few extra stitches
Where Can You Use This Case?
- Clipped onto a backpack, tote bag, or diaper bag for a playful pop of color
- Attached to a keyring for everyday keys, car keys, or lanyards
- Used as a zipper pull on pencil cases, purses, or jackets
- Given as a party favor or small gift alongside a beach or ocean theme
- Displayed as a mini shelf decoration when not clipped to anything
Why Beginners Will Enjoy This Pattern
This Free Crochet Jellyfish Keychain keeps every technique simple while still delivering a finished piece that looks intentional and polished. There is no color changing, no complicated shaping charts, and no advanced stitch combinations to memorize. Each section- the head, skirt, and tentacles- is worked separately in small, manageable pieces, so beginners can pause and pick the project back up without losing track of where they left off. It is an ideal confidence-building project before moving on to larger amigurumi designs.
Tips and Tricks for Success
- Work with a slightly smaller hook than usual to keep stitches tight and hide stuffing
- Pin tentacles in place with removable stitch markers before sewing for accurate spacing
- Use a contrasting scrap yarn as a stitch counter aid on longer head rounds
- Keep the yarn tail long on the skirt for easier weaving into the ruffled texture
- Store extra stuffing nearby so the head can be topped off before final closure
Why This Crochet Pattern Is Trending
Ocean-themed amigurumi has grown steadily popular thanks to its bright colors, expressive shapes, and easy adaptability into keychains and bag charms. Jellyfish designs in particular stand out for pairing a simple round head with playful trailing tentacles, giving makers a project that feels both achievable and visually striking.
- Small, portable projects fit busy schedules and quick gift-making
- Ocean and sea-creature themes remain a strong seasonal favorite
- Keychain-sized amigurumi photograph well for social sharing and shop listings
Conclusion
This Free Crochet Jellyfish Keychain amigurumi packs a lot of charm into a small, beginner-friendly project. From the rounded stuffed head to the ruffled skirt and playful tentacles, every part comes together quickly without demanding advanced skills. Whether it ends up clipped to a bag, dangling from a keyring, or gifted to a friend, it is a satisfying make that proves small projects can still leave a big impression.