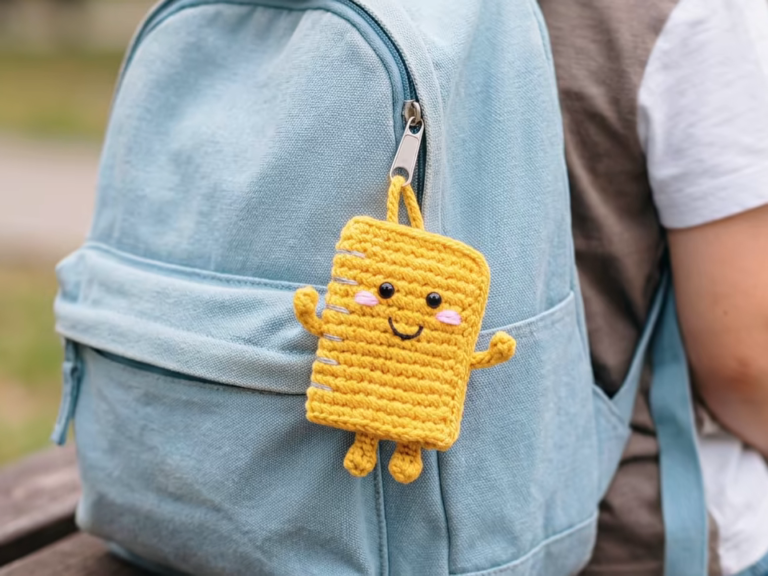
Free Crochet Cat Keychain Amigurumi Step-by-Step Pattern
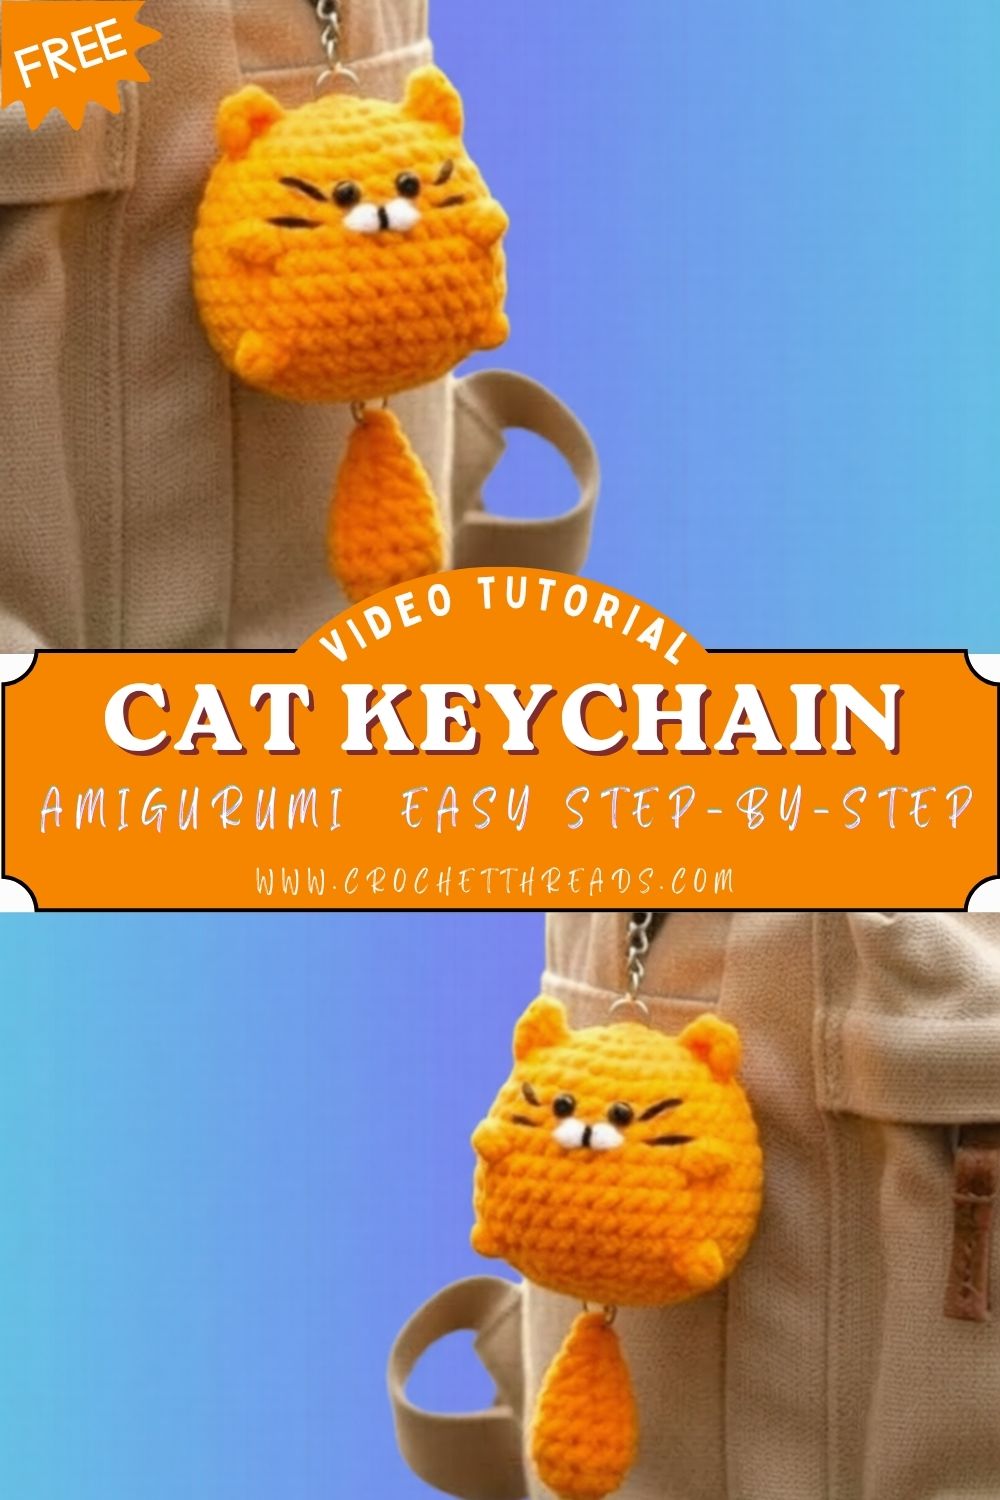
Skill Level
This is a beginner-friendly crochet project, though confident beginners and intermediate crocheters will both enjoy the process. If you already know how to single crochet and work in a spiral, you have everything you need to succeed. The pattern also works well as practice for anyone still building confidence with amigurumi shaping and increases or decreases.
Materials and Supplies List
Gather these supplies before you begin so your crochet session flows smoothly:
- Yarn: Worsted weight or DK cotton/acrylic yarn in your chosen cat color (gray, orange, white, or black are classic choices), plus small amounts of contrast yarn for paw pads and inner ears
- Crochet hook: 2.5 mm to 3.5 mm, sized to match your yarn weight for tight, even stitches
- Safety eyes: 6 mm to 8 mm black safety eyes (or embroidered eyes for a child-safe option)
- Stuffing: Polyester fiberfill for a soft, huggable shape
- Needle and scissors: A yarn needle for sewing pieces together and sharp scissors for trimming
- Keychain ring or accessories: A metal keychain ring with a jump ring, plus optional bows, bells, or beads for decoration
- Stitch marker: To keep track of your rounds while working in a continuous spiral
Crochet Techniques Used
This pattern relies on a handful of essential amigurumi skills:
- Magic ring – to start each piece with a tight, hole-free center
- Single crochet (sc) – the main stitch used throughout the pattern
- Increase and decrease – to shape the round head and tapered body
- Sewing parts together – to attach the ears, tail, and limbs neatly and securely
Step-by-Step Crochet Pattern Instructions
Step 1: Creating the Head
Start with a magic ring and work 6 single crochet stitches into it. Increase every stitch in the next round to reach 12 stitches, then continue increasing evenly every other round until the head reaches about 24 to 30 stitches, depending on your desired size. Work several rounds even (without increasing) to build roundness, then begin decreasing gradually to close the top of the head, leaving a small opening for stuffing and eye placement.
Step 2: Making the Body
Using the same color yarn, start a new magic ring with 6 single crochet stitches. Increase steadily over two or three rounds until the body reaches your desired width, then work several rounds even to create the body’s height. Decrease gently at the top so the body narrows enough to attach smoothly to the head.
Step 3: Ears, Accessories, and Tail
- Ears: Make two small triangular or rounded pieces using a magic ring, increasing only a few times before finishing. Flatten each piece and stitch to the top of the head.
- Tail: Crochet a small tube shape, working even rounds without much increasing, then stuff lightly and curl it into a gentle “C” shape before attaching to the back of the body.
- Optional accessories: Add a tiny bow, collar, or bell for extra personality.
Step 4: Facial Details
Insert the safety eyes into the head before stuffing, spacing them evenly for a sweet, symmetrical expression. Embroider a small nose using a few straight stitches in pink or black yarn, then add a simple mouth with a “Y” shaped stitch beneath the nose. Optional whiskers can be embroidered using thin thread for extra realism.
Step 5: Assembly Process
Stuff the head and body firmly but not overly tight, keeping the shape smooth and rounded. Sew the head to the body using a whip stitch, tucking in any loose ends. Attach the ears, tail, and any paw details securely, weaving in all yarn tails so nothing unravels with regular use.
Step 6: Finishing Touches
Once everything is assembled, attach a metal keychain ring to the top of the head or back of the body using a jump ring or a folded loop of yarn reinforced with a few stitches. Give your finished kitty a gentle fluff and check that all pieces are secure before it heads out into the world.
Helpful Beginner Tips
- Use tight stitches: Amigurumi needs firm, close stitches so stuffing doesn’t peek through. Choose a hook slightly smaller than recommended for your yarn weight.
- Use stitch markers: Since amigurumi is worked in a continuous spiral, a stitch marker helps you track where each round begins and ends.
- Stuff gradually: Add small amounts of stuffing as you go rather than all at once, pushing it into the corners with a blunt tool to keep it even and lump-free.
Design Customization Ideas
- Different colors: Try orange and white for a tabby look, solid gray for a classic kitty, or pastel shades for a whimsical twist.
- Cute accessories: Add a tiny scarf, flower crown, or striped sweater for seasonal charm.
- Mini size variations: Switch to fingering weight yarn and a smaller hook to create a pocket-sized version, perfect for bag charms or party favors.
Frequently Asked Questions
What is the best yarn for amigurumi?
Cotton yarn is a popular choice because it holds stitch definition well and gives a smooth, polished finish. Acrylic yarn is also a great budget-friendly option that comes in a wide range of colors.
How do you make a crochet plush firm?
Firmness comes from a combination of tight stitches, a smaller hook size, and generous, even stuffing. Adding stuffing little by little and shaping as you go helps avoid soft spots or lumps.
How long does this project take?
Most crocheters can finish this Crochet Cat Keychain amigurumi in one to two relaxed evenings, making it a satisfying quick project even for busy schedules.
Conclusion
This crochet cat keychain amigurumi proves that small projects can bring big smiles. You only need a little yarn, a few basic stitches, and some patience. Before long, you’ll have a cute keepsake to carry every day. Grab your hook and choose your favorite yarn colors. Start stitching your tiny feline friend today. Your keys will look even cuter with a handmade companion.