Crochet Fingerless Gloves Pattern With Embroidery
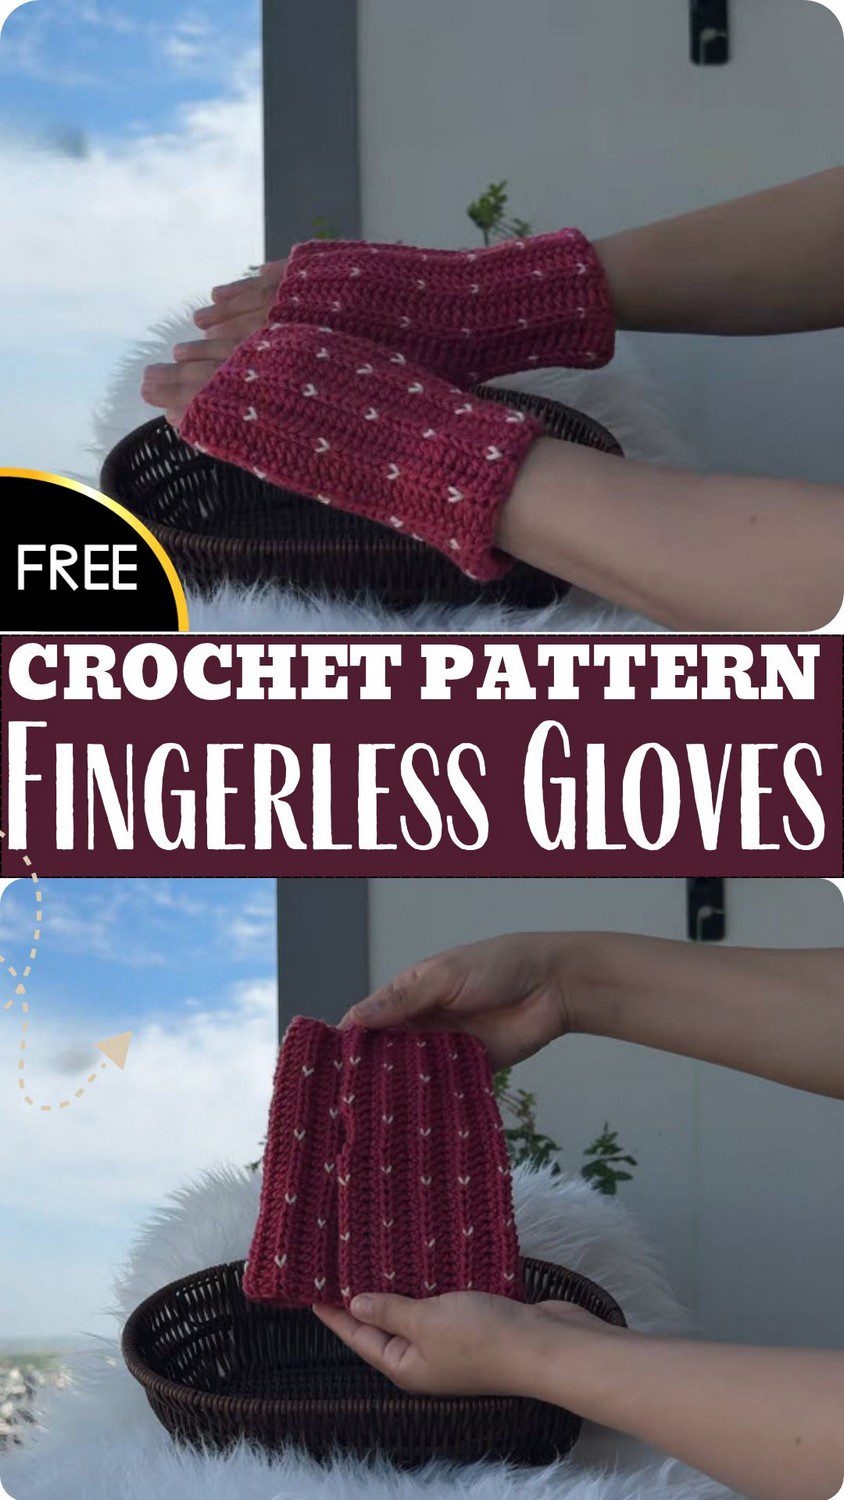
Cold wrists need a little love! These raspberry fingerless gloves have tiny cream heart stitches and a soft ribbed look. This crochet fingerless gloves pattern is free and simple, so you can make a cozy, warm pair for chilly days.
This crochet fingerless gloves pattern is a simple way to keep your hands warm. The red gloves have tiny cream hearts on them, and the thumb has its own little hole so the gloves stay in place. You can still type and use your phone, so they work well as a winter accessory. Because the steps are free and easy to read, beginners can follow along, and the finished pair also makes a lovely handmade gift. Save the pin and give it a try.
Crochet Fingerless Gloves Pattern Overview
Project: Fingerless gloves with a side thumbhole and embroidered hearts, worked flat in rows (back loop only for ribbing) and then seamed along the side edge.
Skill level: Beginner-friendly
Finished size: Standard adult medium (31-chain foundation). Estimated size is about 6 to 7 inches long and close to 7 inches in circumference before stretching.
Fit: The ribbed texture stretches sideways, so the gloves stay snug on the wrist and hand.
Materials for the Crochet Fingerless Gloves Pattern
- Main yarn: red, smooth ply, worsted or DK weight (acrylic or cotton blend)
- Cream yarn: a little extra, for the hearts
- Hook: the size is not fixed, but a 4.0 mm to 5.0 mm hook is a fair estimate, so pick the one that matches your yarn
- Tapestry needle (seaming and embroidery)
- Scissors
No buttons, elastic or stitch markers are needed, since the ribbing alone gives the fit.
Abbreviations (US Terms)
- Ch: chain
- St(s): stitch(es)
- Hdc: half double crochet
- BLO: back loop only
- Sl st: slip stitch
Choose Your Size
First, measure around your wrist at its thinnest part. Next, measure across the widest part of the palm, above the knuckles and without the thumb. Finally, measure from the base of the wrist to the knuckles, or wherever the glove should end. Then pick a foundation chain from the guide below, and keep in mind that the numbers are estimates.
- Child: 21 to 25 ch
- Small adult: 27 to 29 ch
- Medium adult (the pattern baseline): 31 ch
- Large adult: 33 to 37 ch
Stitches and Techniques for the Crochet Fingerless Gloves Pattern
- Foundation chain: Make a slip knot, then chain the number from your size guide (31 ch for the medium adult baseline). Keep it flat and untwisted.
- Half double crochet: Yarn over, insert the hook, and pull up a loop to get 3 loops on the hook. Then yarn over and pull through all 3.
- Back loop only: Insert the hook only into the back loop of the stitch. As a result, a horizontal rib appears.
- Thumbhole with chain and skip: Ch 4, skip 4 stitches, and then keep working hdc in BLO.
- Seaming: Use mattress stitch or whipstitch with a tapestry needle.
- Heart embroidery: Pass yarn in and out around specific stitch posts to form small hearts.
Time Needed
- Prep: about 10 to 15 minutes.
- Stitching: roughly 1.5 to 3 hours.
- Finishing: around 30 to 45 minutes.
Complete Crochet Fingerless Gloves Pattern
Step 1: Foundation Chain
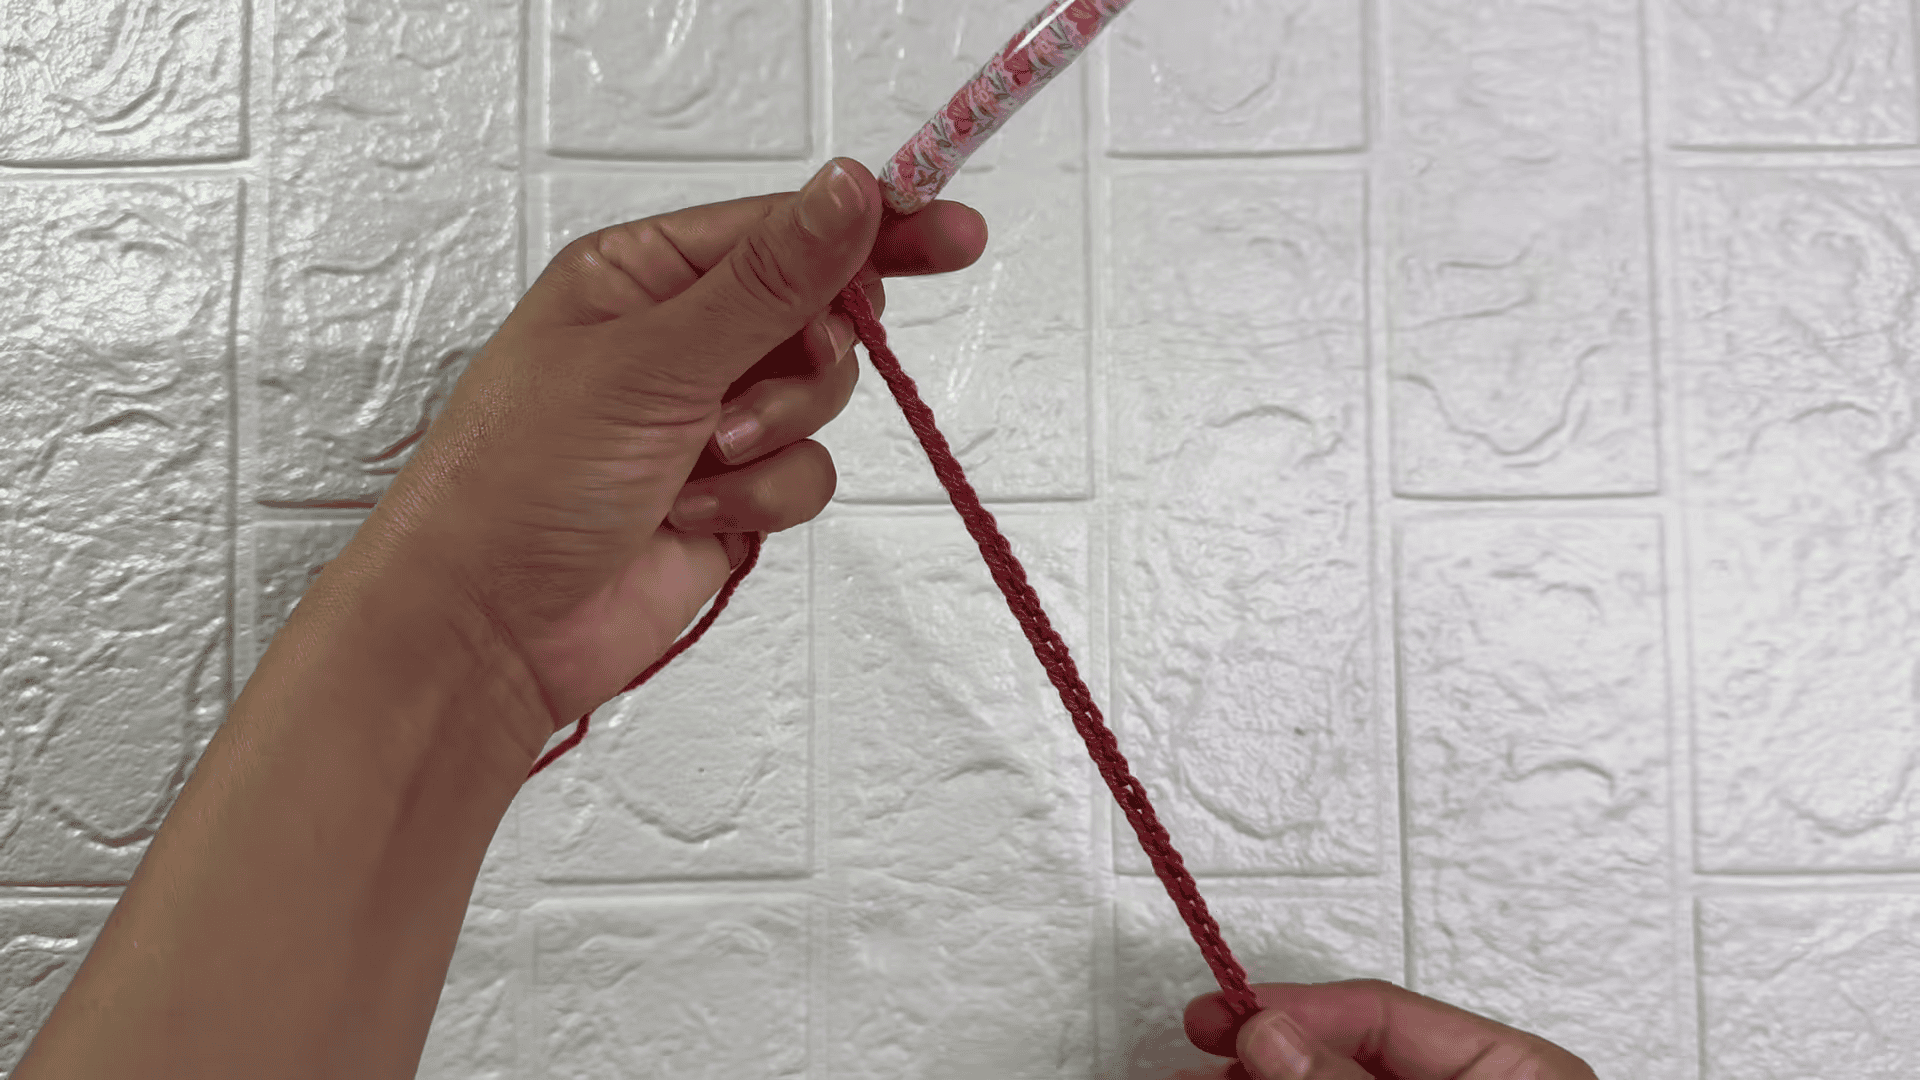
Start with a slip knot on your hook. Next, make 31 ch, pulling the yarn through each loop with an even tension. After that, begin Row 1: working in the 2nd chain from the hook, make 1 hdc in each chain across, and then turn. [30 hdc]
Step 2: Back Loop Rows (Rows 2 to 16)
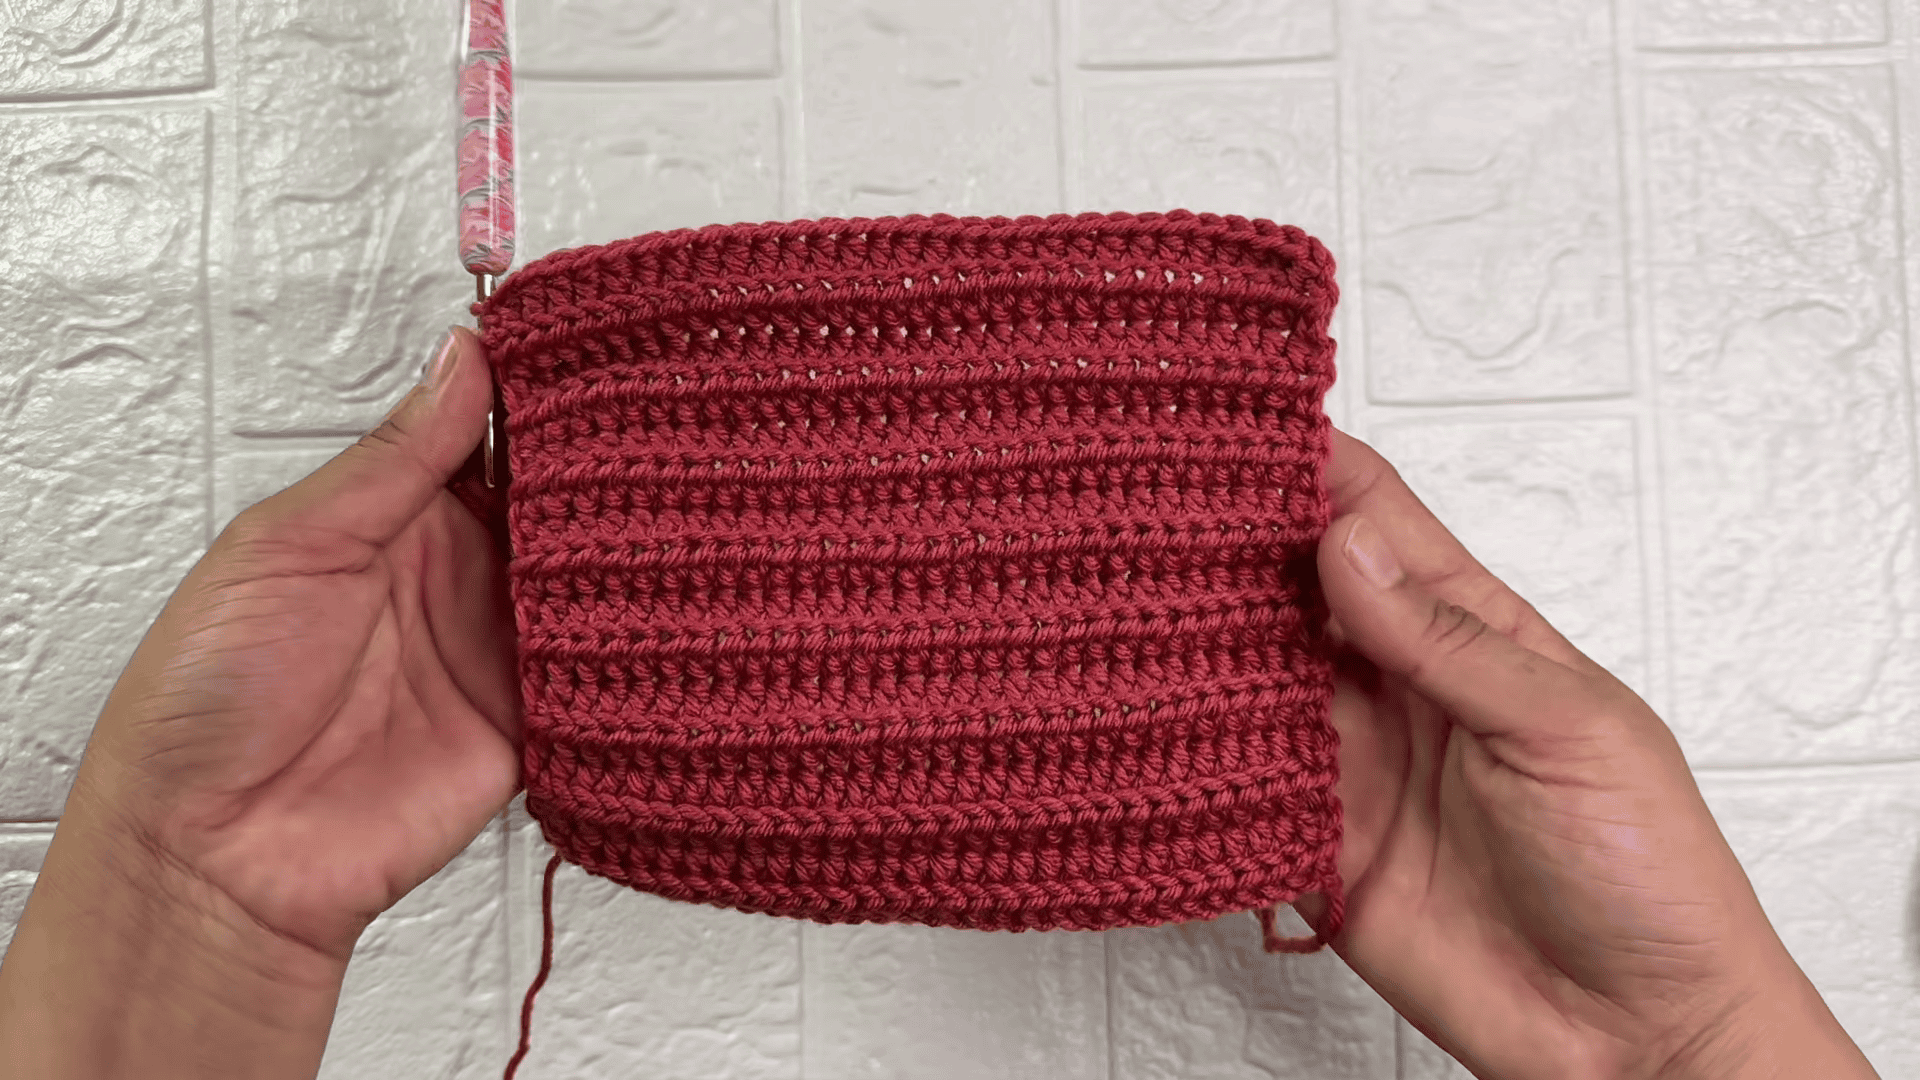
Start each row with ch 1, then turn your work. Work 1 hdc in the first stitch (through both loops). Next, work 28 hdc in BLO, inserting the hook only into the back loop of each stitch. Finally, work 1 hdc in the last stitch (through both loops). [30 hdc in every row]
Repeat the same row until Row 16 is done.
Stitch check: Every one of the 15 rows should end with 30 hdc. The BLO stitches build the ribs, while the edge stitches keep both sides straight.
Step 3: Thumbhole Opening (Rows 17 and 18)
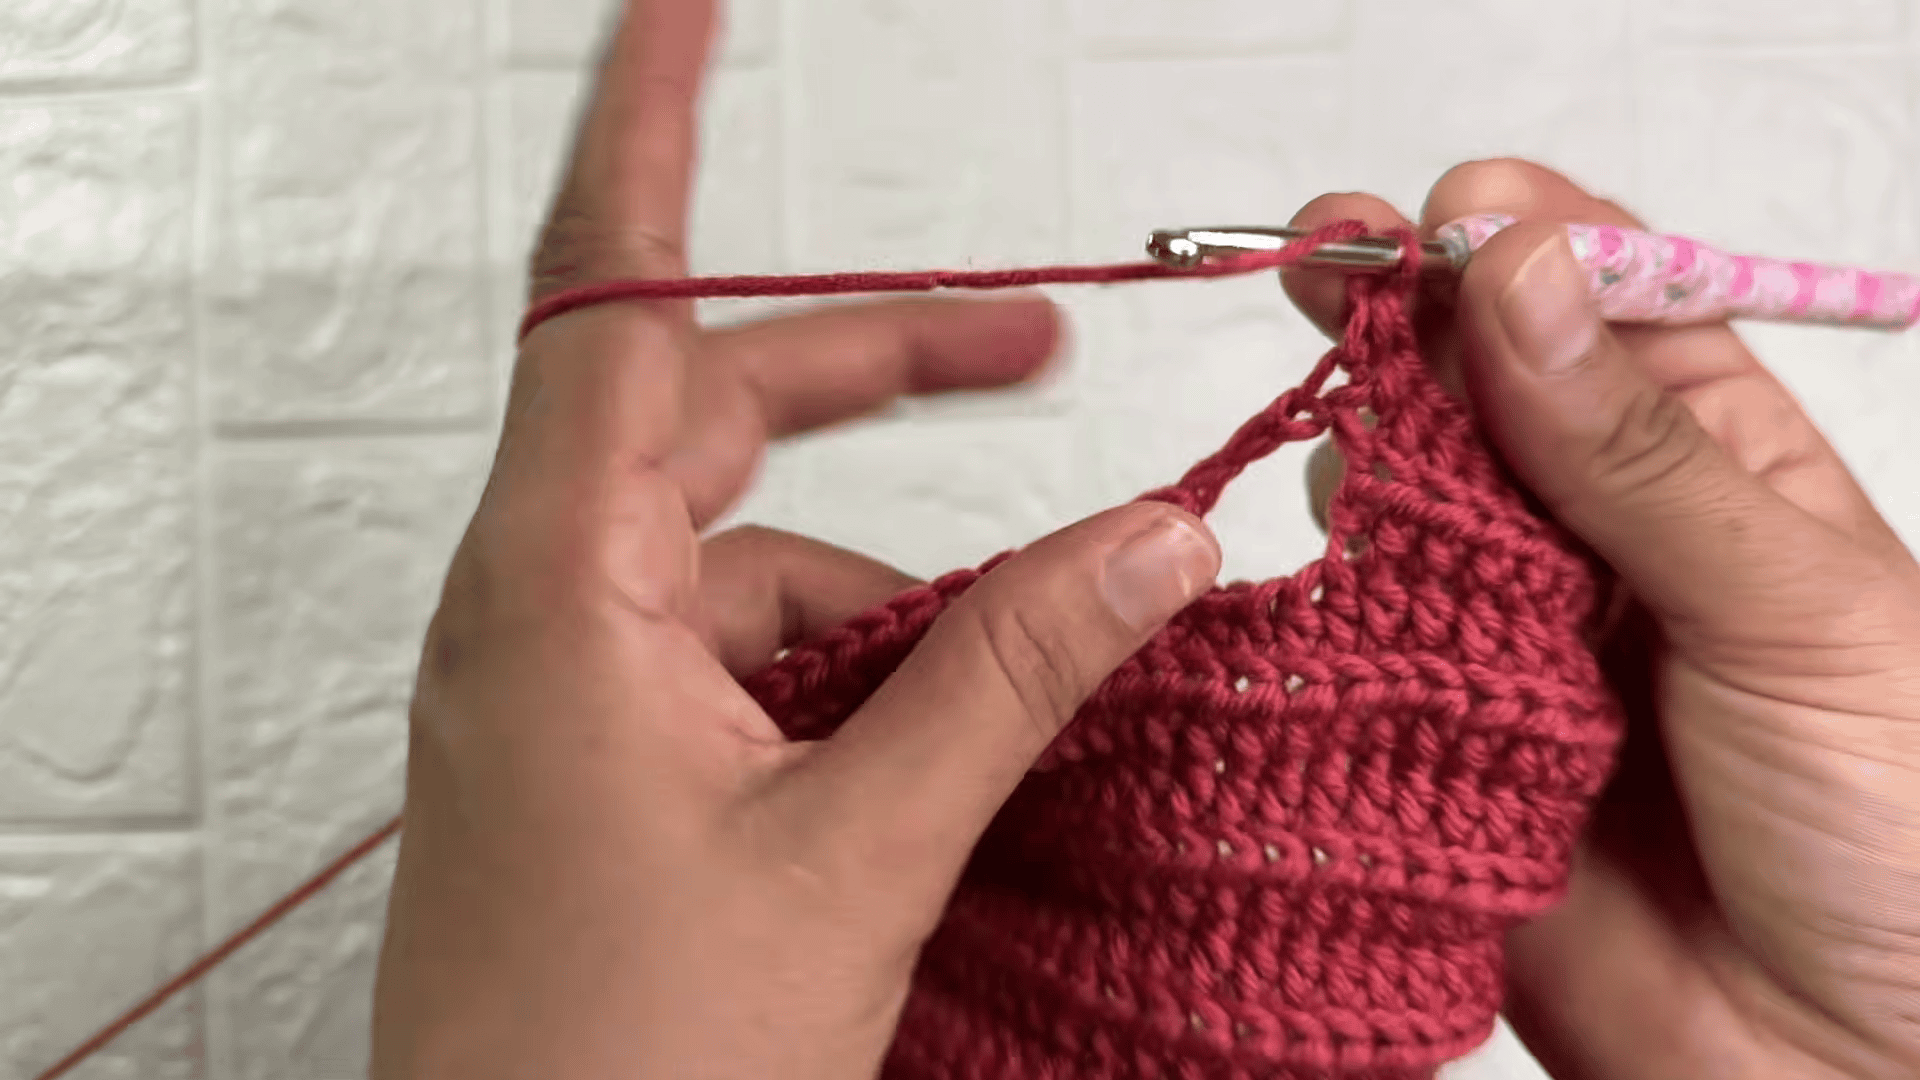
Row 17: Ch 1 and turn, and then work the row in this order.
- Work 1 hdc in the first stitch.
- Next, work BLO hdc in the next 14 stitches.
- Then ch 4 and skip 4 stitches, so a small gap forms.
- After that, work BLO hdc in the next 10 stitches.
- Finally, finish with 1 hdc in the last stitch. [26 hdc + 4 ch]
Count now: 1 + 14 + 10 + 1 gives 26 hdc, plus the 4 ch.
Pro tip: Count the 14 stitches before you chain 4, and then skip exactly 4 stitches so the thumbhole lands in the right spot.
Row 18: Ch 1 and turn, and then work the row in this order.
- Work 1 hdc in the first stitch.
- Next, work BLO hdc up to the 4-chain space.
- Then make 1 hdc in each of the 4 chains (4 hdc in total).
- After that, continue BLO hdc up to the last stitch.
- Finally, work 1 hdc in the last stitch. [30 hdc]
Quick check: the 4 new hdc replace the 4 skipped stitches, so the count returns to 30.
Pro tip: Place each hdc into a chain, not into the space between them. As a result, the edge of the thumbhole stays firm.
When Row 18 is done, fasten off and leave a 10 to 12 inch tail for seaming.
Step 4: Decorative Heart Embroidery
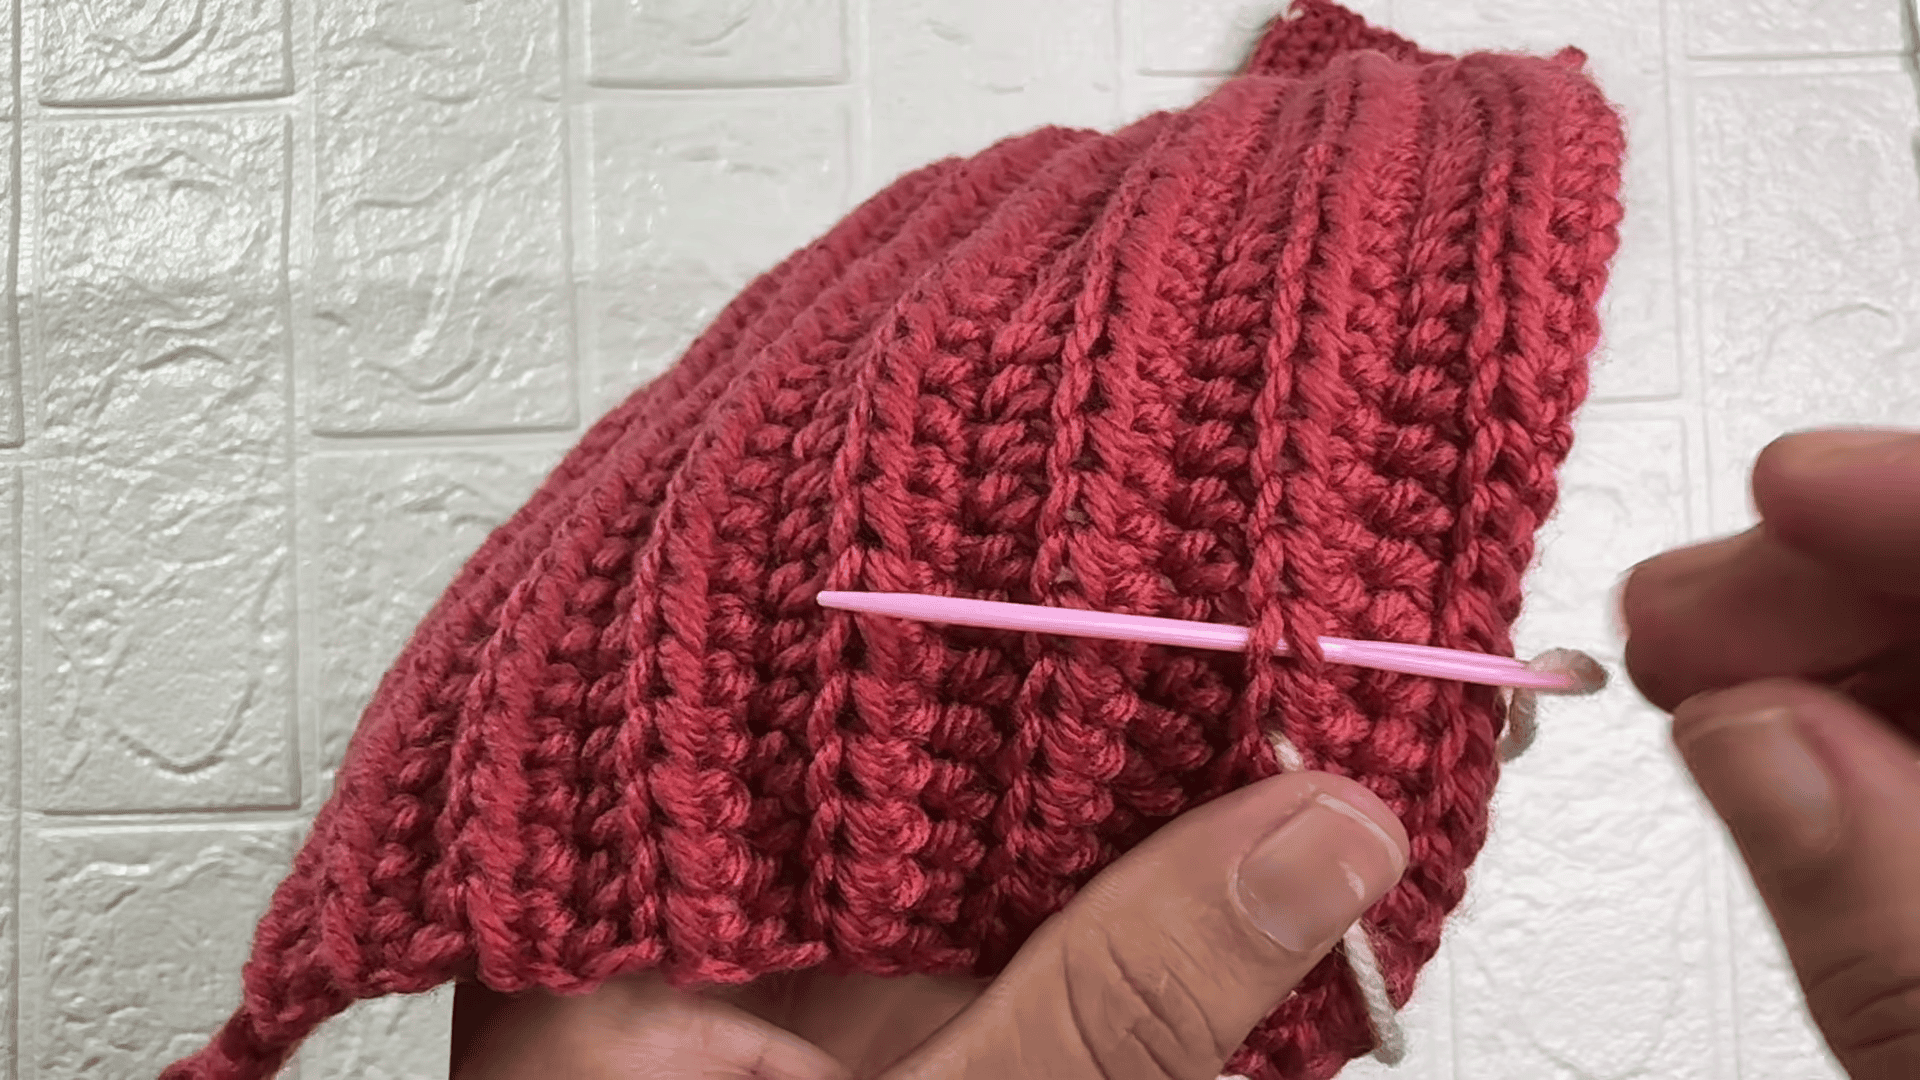
First, thread a length of cream yarn onto a tapestry needle. Next, hold the ribbed fabric flat and find the raised rib posts. After that, pass the needle in and out around specific stitch posts, pulling the yarn gently. Repeat until a small heart forms, and then secure the yarn on the inside.
Step 5: Sewing the Seams
First, fold the rectangle lengthwise, so the starting edge meets the final edge. Next, thread the long tail onto a tapestry needle. After that, sew the side seam with mattress stitch or whipstitch, using even stitches, and leave the thumbhole open as you go. Once the seam is closed, weave all tails inside. The top edge stays open, because the gloves are fingerless.
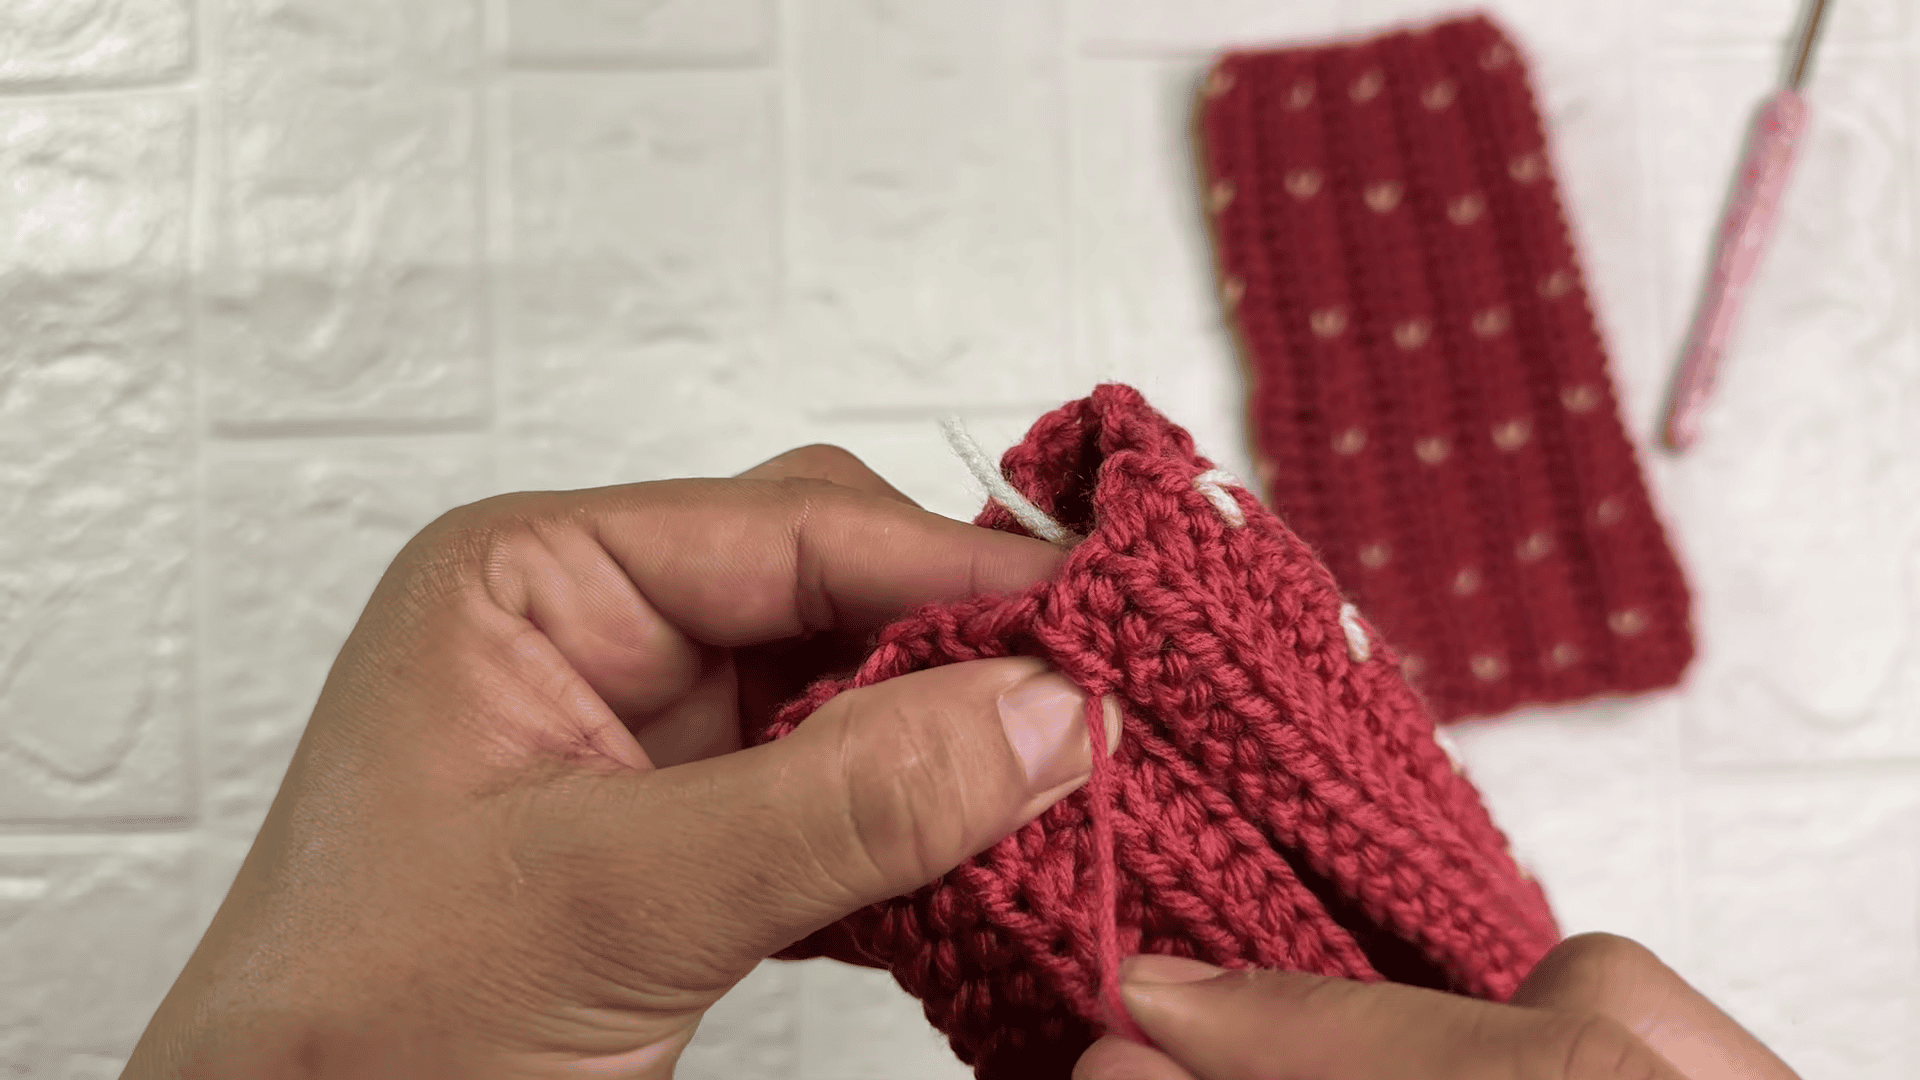
Stitch count check:
- Row 1 = 30
- Rows 2 to 16 = 30
- Row 17 = 26 st + 4 ch
- Row 18 = 30
Fit Check
Before seaming, check the fit twice. After Row 16, wrap the flat piece around your wrist and hand, and if the width feels right, keep going. Then, after Row 18, wrap it around your hand without seaming and slide your thumb into the thumbhole to check the position.
Making the Second Glove
Rows 1 to 16 are exactly the same. Since the piece is worked flat, both gloves match once seamed. For a mirrored thumbhole, work Row 17 from the other side. Otherwise, turn the glove inside out after seaming.
Common Mistakes in the Crochet Fingerless Gloves Pattern
- Twisted foundation chain: Keep the chain flat before Row 1.
- Skipping edge stitches: Work the first and last hdc of every row through both loops, because otherwise the sides look uneven.
- Wrong count in Row 18: Make exactly 4 hdc in the 4 chains, and then the count returns to 30.
Uses and Benefits of the Crochet Fingerless Gloves Pattern
Slip on the gloves to keep your wrists warm on cold winter mornings. You can also tuck them neatly under a sleeve when the wind picks up, or pair them with a coat for a matching look. Because the fingers stay free, typing and phone use feel quite easy. Moreover, the ribbed texture holds a snug fit without slipping. Finally, a pair makes a lovely, useful handmade gift, and the tiny hearts add a personal touch for friends, teachers, coworkers, or family members alike.
Beginner Tips for the Crochet Fingerless Gloves Pattern
- First, read each row twice before you start it.
- Also, count stitches at the end of every row.
- Next, keep the tail long enough for seaming.
Personalization Ideas
- Embroidery colors: Try soft pink, deep red or a contrast shade on cream. A single color keeps the look calm.
- Heart placement and spacing: Space the hearts evenly along the ribs. However, a loose cluster also looks sweet.
- Yarn choice: A cotton blend feels light, while acrylic is soft and easy to wash.
- Length changes: For a different length, you could adjust the chain count with the size guide. Treat it only as a suggestion, since the pattern stays as written.
Bonus: Make a Gift-Ready Pair
Once both gloves are seamed, fold them together as a pair and tie them with a strip of leftover yarn. Then copy the steps from the care note below onto a small tag, so the person knows how to wash them. Because the hearts add a personal touch, the pair suits friends, teachers, coworkers and family alike.
FAQs About the Crochet Fingerless Gloves Pattern
Why work in the back loop only?
It creates the horizontal ribbing. As a result, the fabric stretches sideways.
How do I get a snug fit?
Use the size guide, and then wrap the piece around your hand after Row 16 and Row 18. The ribbing does the rest.
Can beginners make the crochet fingerless gloves pattern?
Yes, because the pattern uses only chains and half double crochet.
How do I make the second glove?
Repeat the same rows. Once seamed, both gloves match, or you can mirror the thumbhole.
How do I size the crochet fingerless gloves pattern up or down?
Pick a different foundation chain from the size guide, and then follow the same steps.
Care Note for Your Finished Gloves
First, check the yarn label for washing advice. Next, hand wash the gloves gently in lukewarm water. After that, press out the water with a towel instead of wringing. Finally, dry them flat and shape the ribs by hand, so the hearts stay neat.
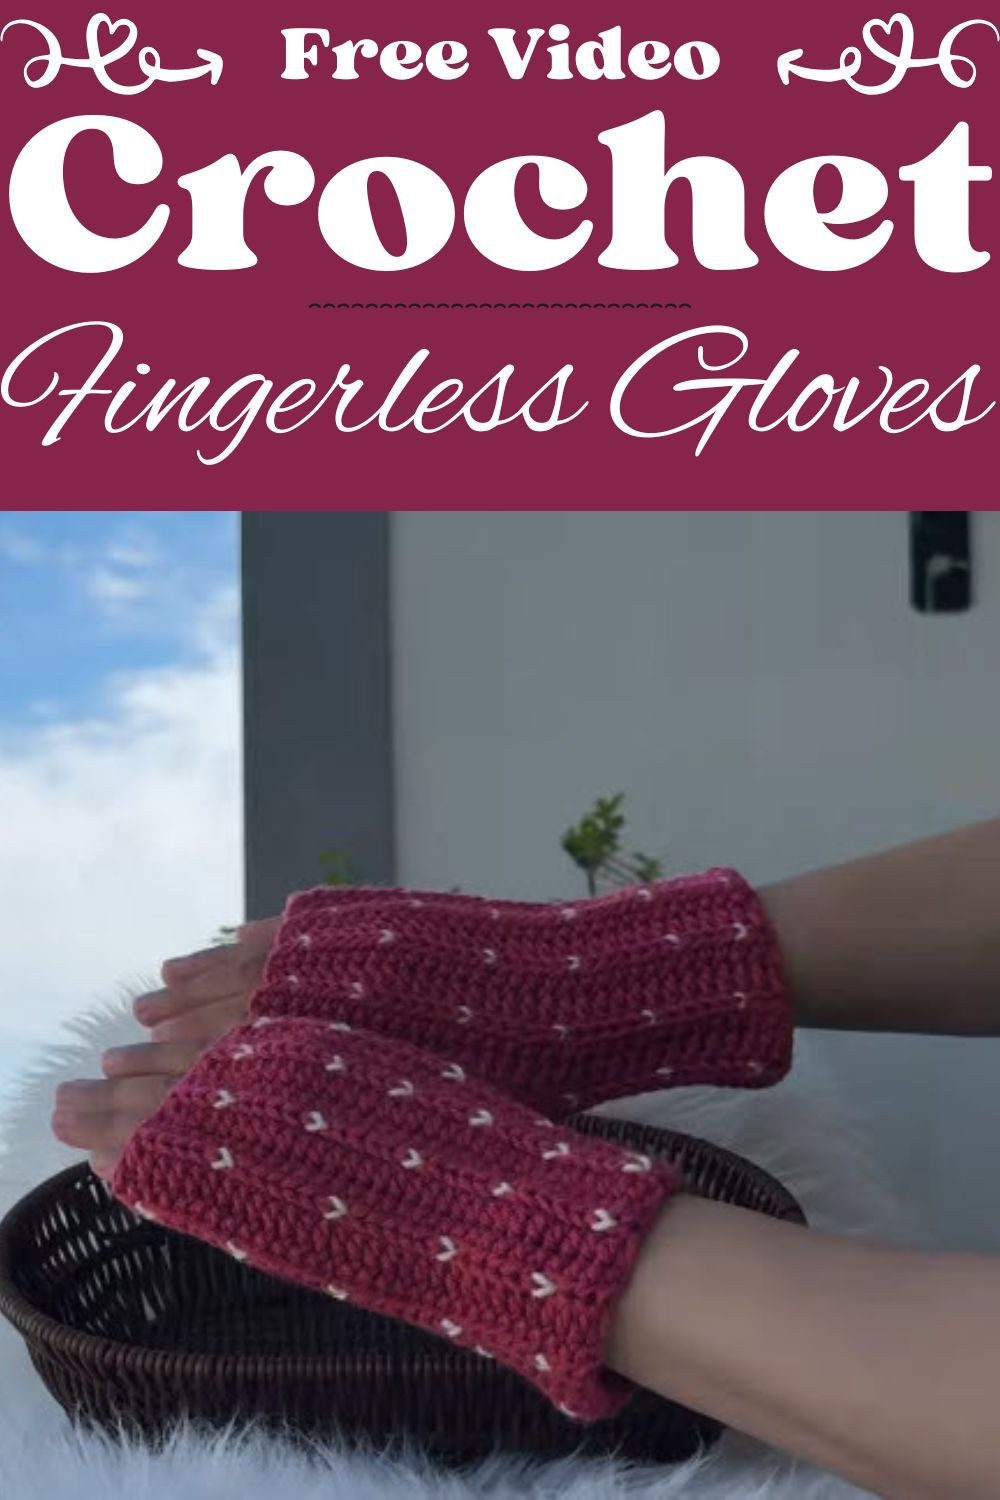
Easy Gloves, Sweet Little Hearts
Look, these gloves are easy. You make a flat rectangle, sew one seam and add little hearts. That’s it. The second glove goes faster, too.
Wear them to the shop, or wrap a pair up for someone you like. The hearts are the fun part, so don’t rush them. Now grab your yarn and get started.