Free Crochet Melted Snowman Coaster Pattern for Winter
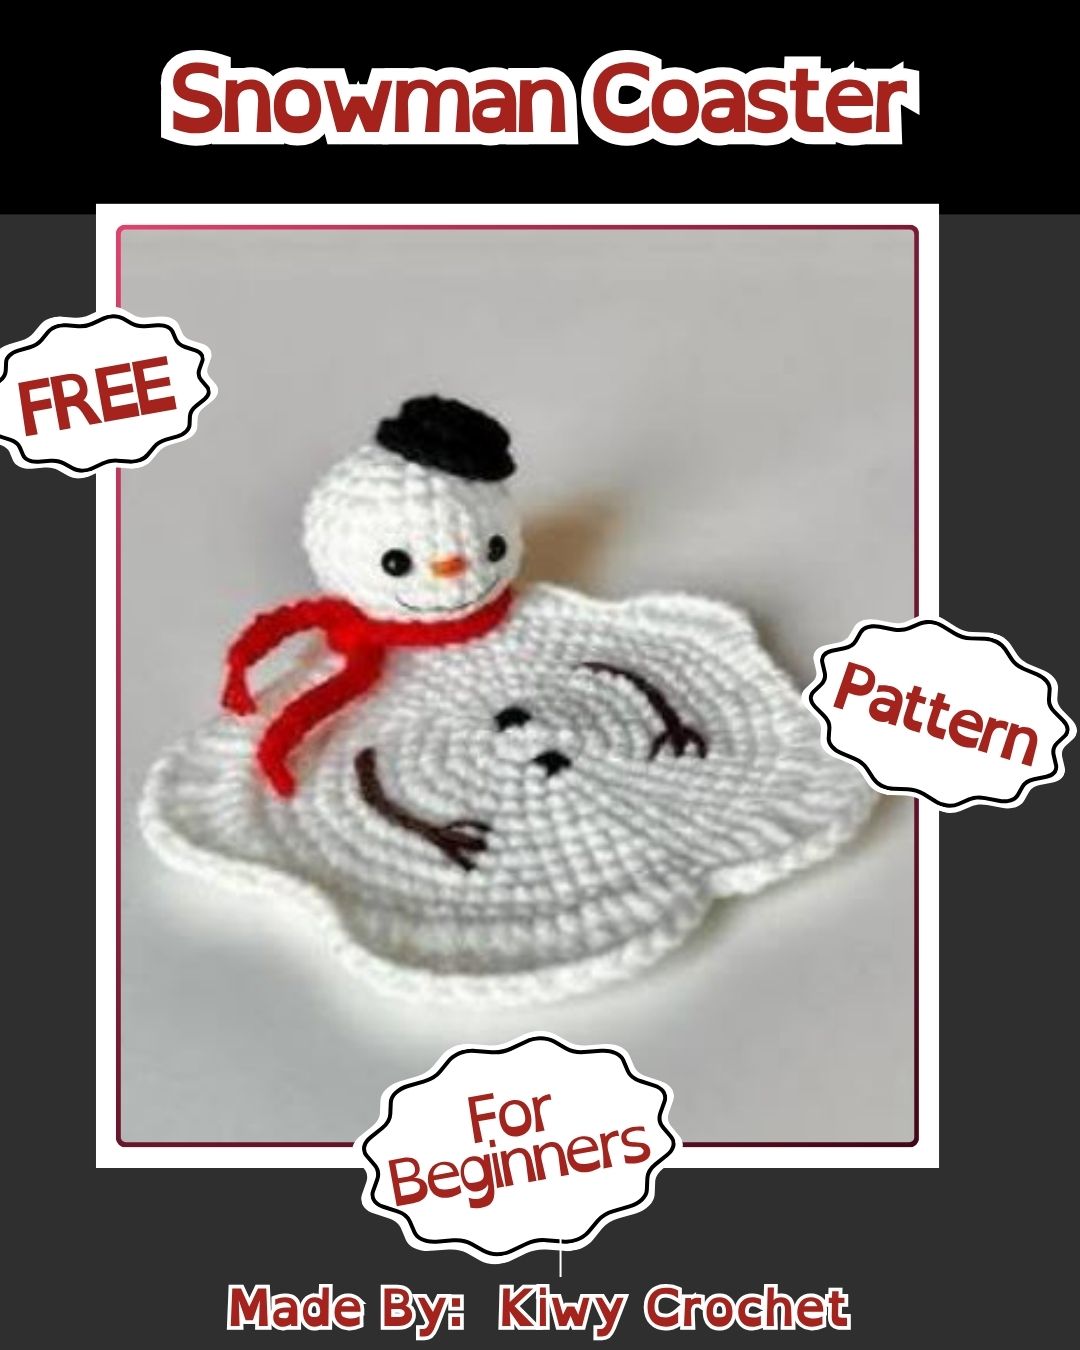
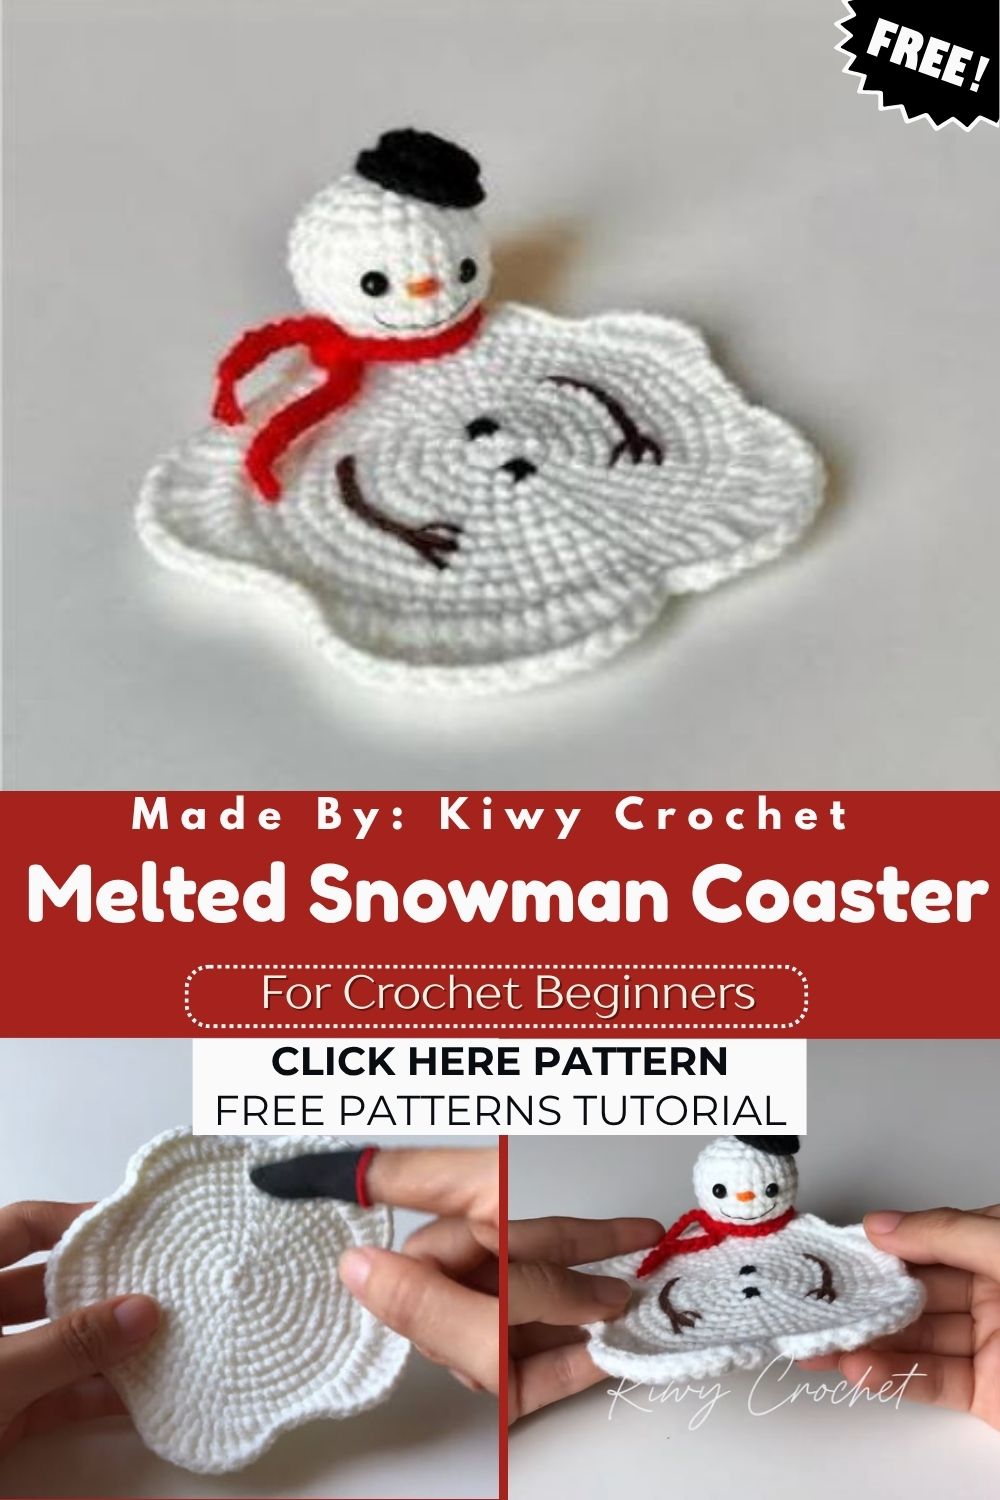
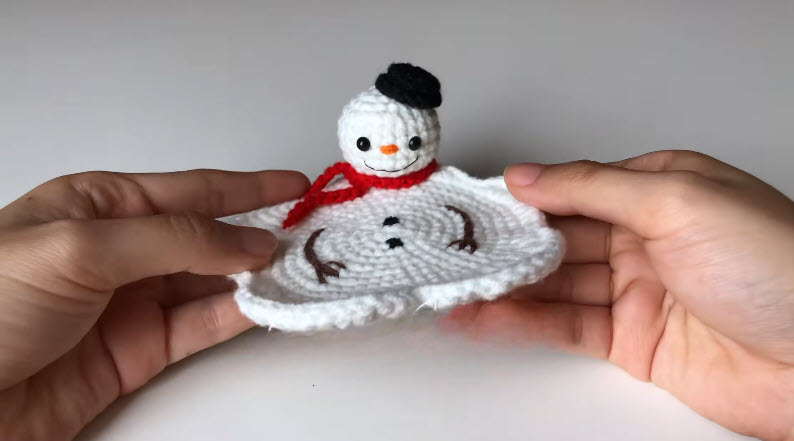
A cheerful little face peeking out from a puddle of “melted” white stitches gives this Free Crochet Melted Snowman Coaster Pattern for Winter its playful, storybook charm. Flattened arms, a tiny black hat, and a red scarf rest across a wide flat base, turning a familiar holiday character into a genuinely useful melted snowman coaster for the coldest months of the year.
A round, flattened body spreads outward like snow beginning to thaw, while embroidered stick arms and buttons add just enough detail to keep the snowman instantly recognizable despite his puddled shape. A small round head sits perched at the top, complete with a cheerful carrot nose, dot eyes, and a jaunty little hat that gives this crochet snowman coaster its finishing touch. Anyone hunting for a fun winter coaster pattern that doubles as a seasonal decoration will enjoy how quickly this playful design comes together.
About This Crochet Melted Snowman Coaster Pattern
A wide, flat spiral forms the melted body of the snowman, worked in continuous rounds until it reaches a coaster-sized diameter. A separate small round head attaches at the top edge, with embroidered facial features and a tiny stitched hat completing the character above the puddled base.
Skill level stays approachable throughout, since the flat body relies entirely on basic single crochet worked in an expanding spiral. Embroidering the details afterward takes a light touch, but nothing about this pattern demands advanced technique, making it a fun weekend project even for newer crocheters.
Project Details
- Skill Level: Beginner
- Finished Size: Approximately 5 to 6 inches wide
- Estimated Time Required: 2 to 3 hours
- Recommended Yarn Weight: DK or worsted weight cotton yarn
- Crochet Hook Size: 3.0mm to 3.5mm
Materials Needed
- White yarn (main body and head color)
- Black yarn (hat and eye details)
- Orange yarn or embroidery thread (carrot nose)
- Red yarn (scarf detail)
- Brown embroidery thread (stick arm details)
- Crochet hook (3.0mm–3.5mm)
- Tapestry needle
- Stitch markers
- Scissors
- Light stuffing (small amount, for the head only)
Crochet Stitches & Techniques
- Magic Ring (MR): Starts the tight center point of the flat spiral body.
- Single Crochet (sc): Builds both the flat body and the small rounded head.
- Increase (inc): Widens the spiral body outward into its coaster-sized shape.
- Fastening Off: Secures the yarn once each piece is complete.
- Embroidery/Surface Stitching: Adds the arms, buttons, and facial features after the base pieces are finished.
- Sewing Pieces Together: Attaches the head, hat, and scarf to the flattened body.
Only these techniques appear throughout the pattern, keeping the project simple despite its charming layered details.
Pattern Instructions
Starting the Flat Body
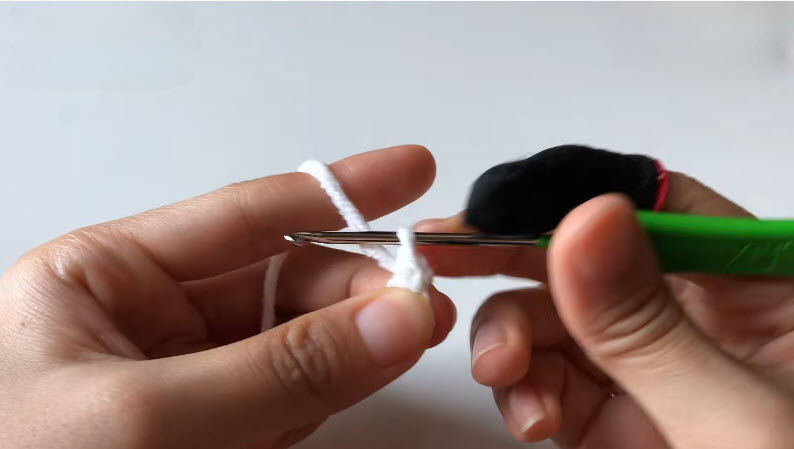
Form a magic ring with white yarn and work six single crochets into it, pulling the loop closed and marking the first stitch of the round. Increase steadily in every round from this point forward, since keeping the piece flat rather than cupped requires consistent, evenly spaced increases throughout.
Growing the Spiral Base
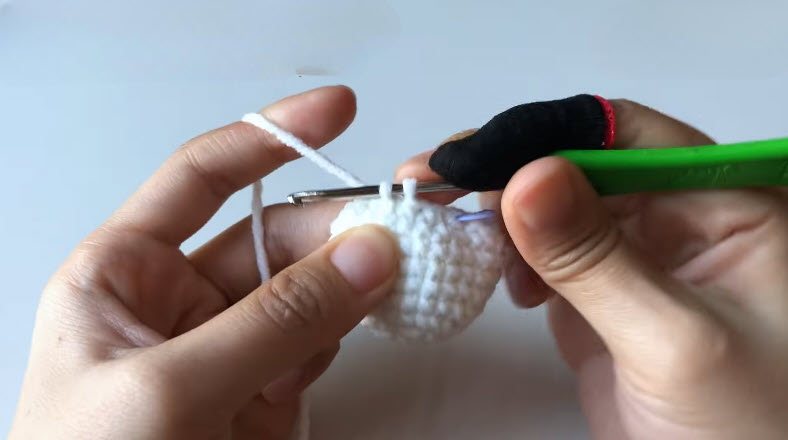
Continue increasing in a regular pattern as the spiral widens, checking periodically that the piece lies flat against a table rather than curling upward or rippling at the edges. Stop increasing once the body reaches your desired coaster size, then fasten off and set the piece aside.
Making the Head
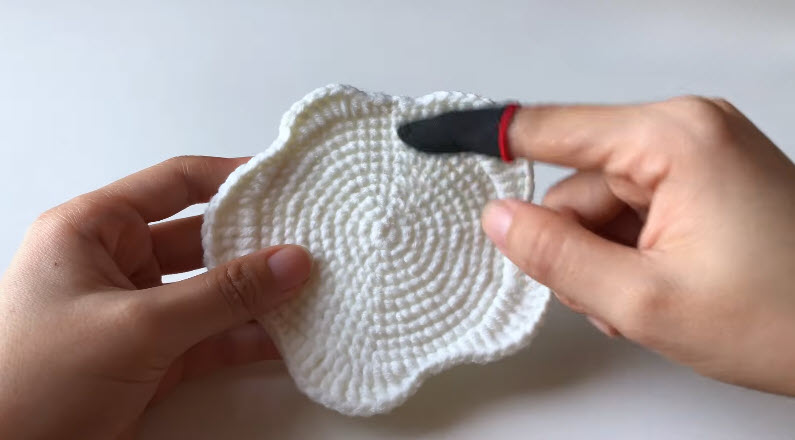
Form a second, smaller magic ring using white yarn and work several rounds of gradual increases to build a small rounded head shape. Add a light amount of stuffing before closing the final rounds, giving the head just enough dimension to stand apart from the flat body below.
Adding the Hat
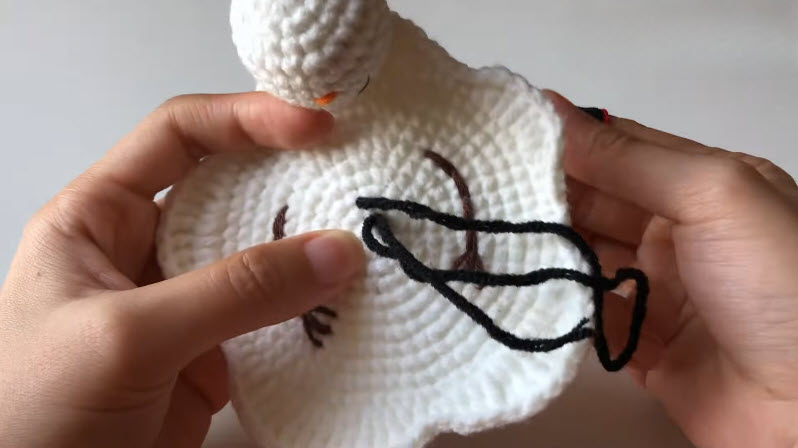
Crochet a short black cylinder with a small flat top to form the hat, sizing it to fit snugly over the crown of the snowman’s head. Set this piece aside with a tail left for attaching once the head joins the body.
Embroidering the Face and Details
Stitch two small black dot eyes and a tiny orange carrot nose near the center of the head, keeping the features simple and evenly spaced. Add a small curved mouth line beneath the nose using black thread to complete the cheerful expression.
Adding Arms and Buttons
Embroider two stick-like arms extending outward from the sides of the flattened body using brown yarn or thread, angling them slightly downward to suggest a melting, drooping pose. Stitch a small row of black buttons down the center front of the body for a classic snowman touch.
Attaching the Head and Scarf
Sew the finished head onto the top edge of the flattened body, positioning it so the snowman appears to be peeking up from his own puddle. Wrap a short length of red yarn around the neck area and tie it into a simple scarf knot, then secure the hat firmly on top of the head.
Final Assembly
Weave in every remaining loose end using a tapestry needle, checking the embroidered details closely since surface stitches tend to loosen more easily than worked stitches. Lay the finished piece flat and gently shape the body edges if any part looks uneven after all the assembly work.
Tips for Success
- Increase consistently every round to keep the spiral body lying flat rather than cupping.
- Check the piece against a flat surface periodically while working the base.
- Embroider facial features before attaching the head, since access gets trickier afterward.
- Keep arm embroidery loose and slightly drooping for that classic “melting” look.
- Secure the hat with a few extra stitches so it doesn’t shift during regular use.
Personalization Ideas
Color Variations
Swapping the red scarf for green or plaid-style stitching adapts this coaster for different holiday color schemes.
Size Adjustments
Adding a few extra increase rounds before stopping easily creates a larger coaster or even a small mat-sized piece.
Expression Changes
Embroidering a wink or a wider grin gives each finished snowman its own individual personality.
Set Options
Making several coasters in a matching set turns this single pattern into a full holiday table setting.
Common Mistakes to Avoid
Skipping an increase round or increasing unevenly often causes the flat body to ripple or cup instead of lying smoothly, so checking the piece against a table every few rounds helps catch this early. Embroidering the face after attaching the head can make small details harder to place accurately, so working facial features beforehand produces cleaner, more centered results. Overstuffing the head can make it look too large compared to the flat body, so keeping the fill light preserves the snowman’s playful, proportional charm.
Frequently Asked Questions
What yarn works best for a coaster like this?
Cotton or cotton-blend yarn holds its shape well and resists absorbing moisture, making it a practical choice for an actual functional coaster.
Can I skip the stuffing in the head?
Yes, a lightly stuffed or even unstuffed head still looks charming, though a small amount of fill helps it hold a rounder shape.
How do I keep my flat spiral from curling?
Increasing consistently and checking the piece against a flat surface every few rounds prevents the common curling or cupping issue.
Is this Crochet Melted Snowman Coaster pattern suitable for beginners?
Yes, the flat spiral technique and simple embroidered details make this an approachable project even for newer crocheters.
Can I use this as a decoration instead of a coaster?
Certainly. Many makers display this piece on a shelf or hang it as a seasonal ornament rather than using it functionally.
How much yarn do I need for one snowman coaster?
A moderate amount of white yarn covers the main body, with only small amounts needed for the hat, scarf, and detail colors.
Can I make a whole set of these for gifting?
Absolutely. Batching several coasters together makes a lovely handmade holiday gift set for friends or family.