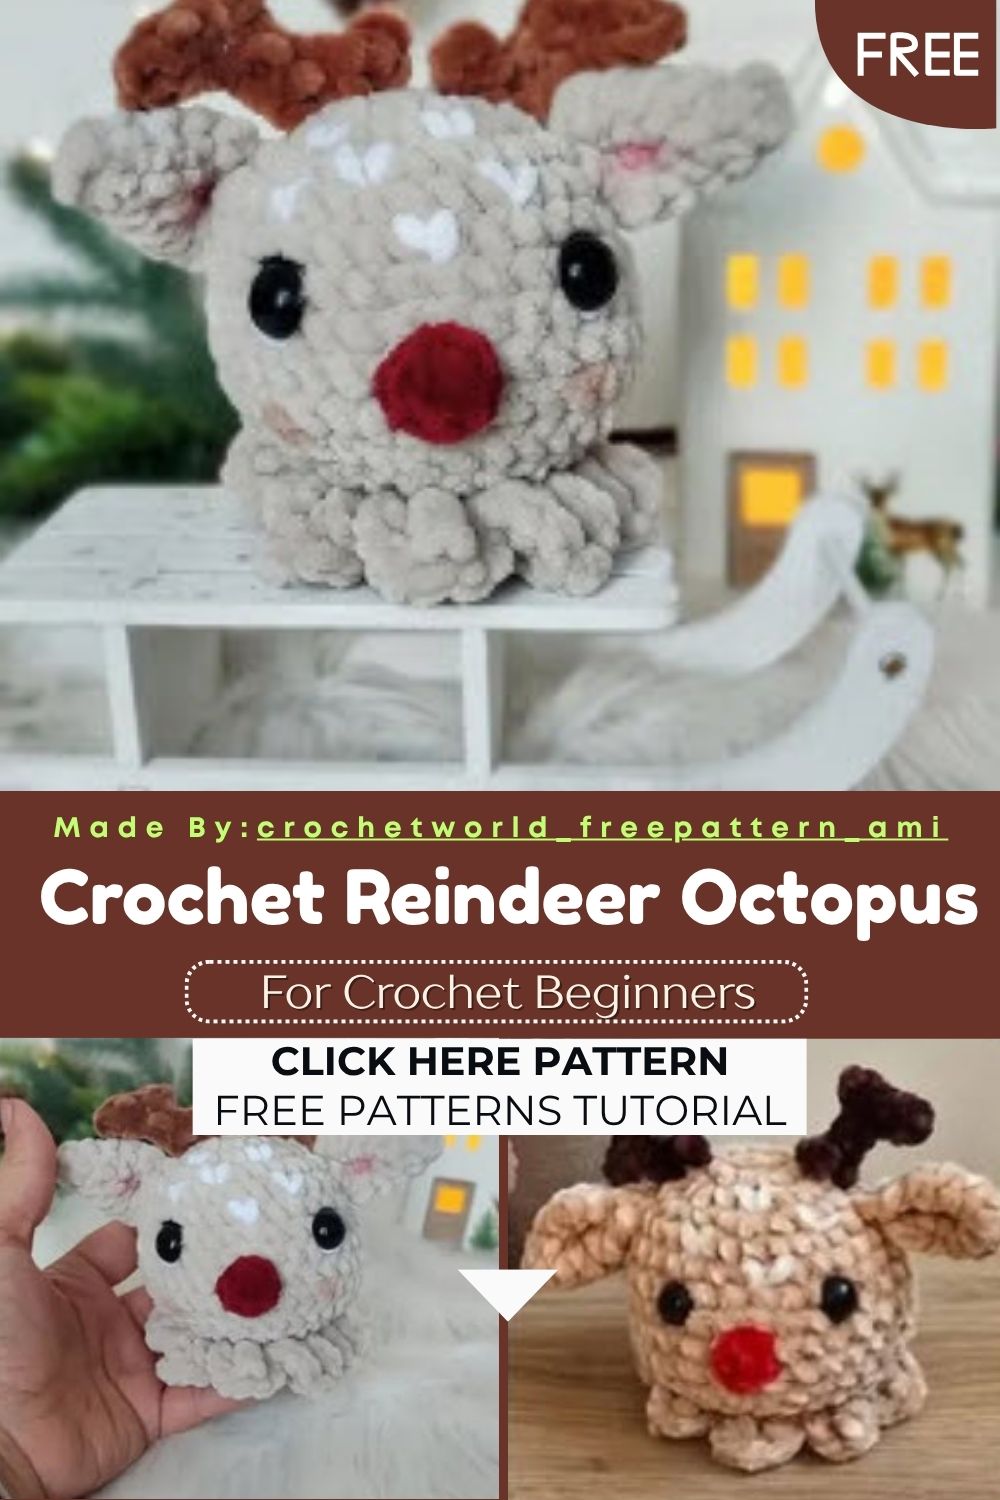
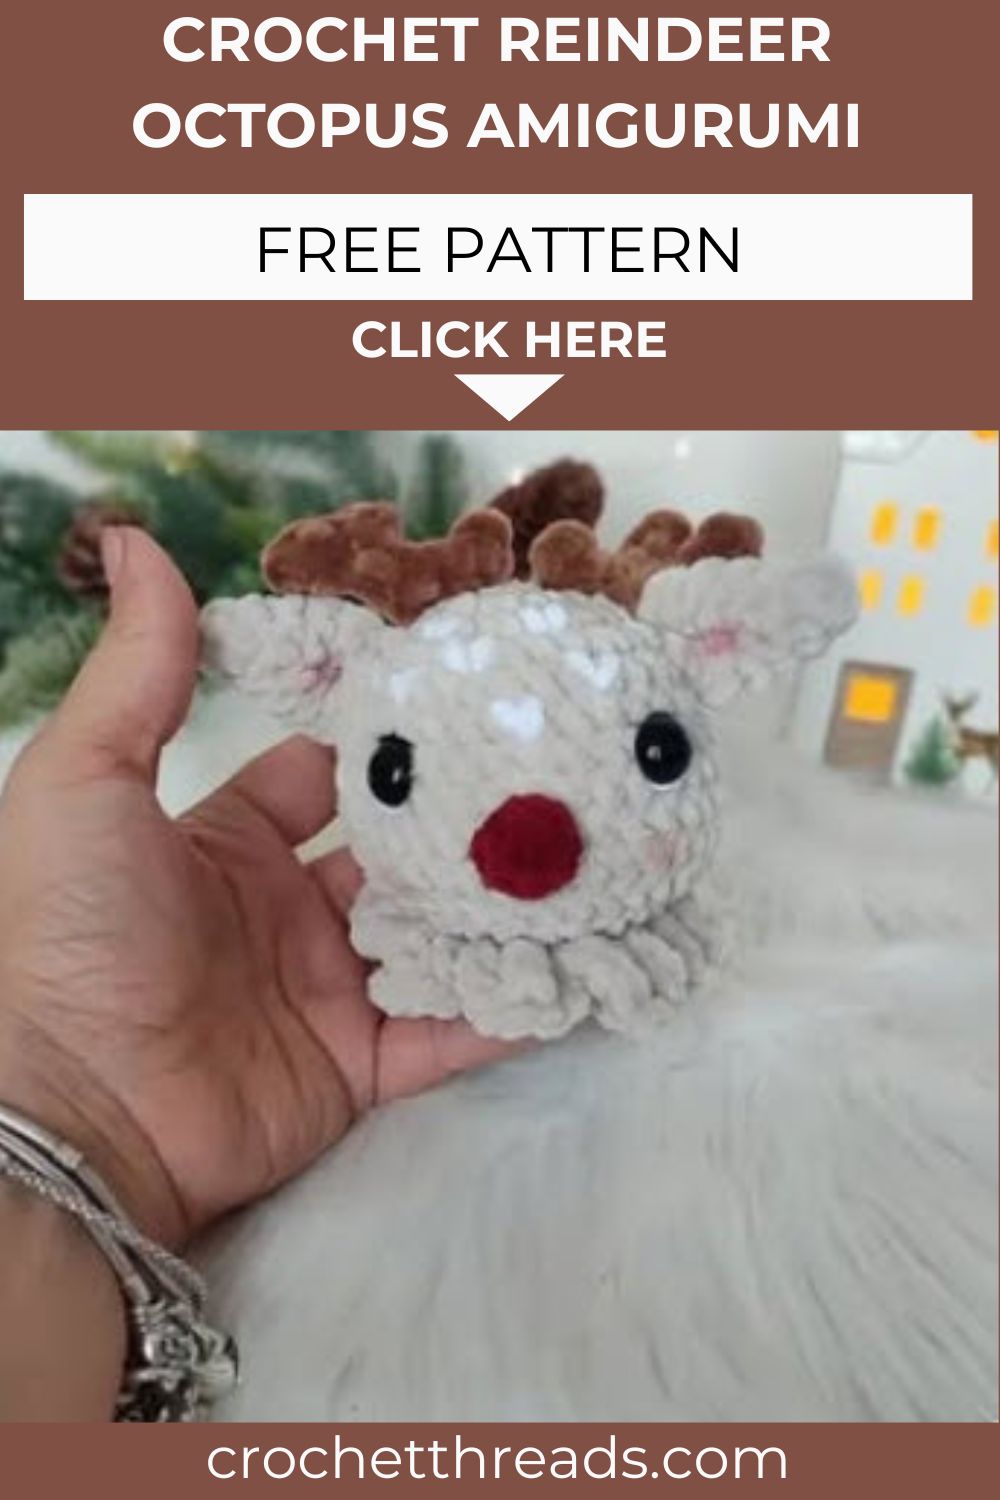
Plush Crochet Reindeer Octopus Amigurumi Pattern for Holidays
Add a unique, charming touch to your holiday decor with the Crochet Reindeer Octopus Amigurumi. This sweet handmade design blends two adorable amigurumi shapes, reindeer and octopus, into one festive friend.
Whether you want to complete your Christmas decor or make a handmade gift for someone special, this project is a perfect pick. Easy and quick to finish, this amigurumi grabs attention everywhere with its charming look and adds even more color to the holiday cheer.
Reindeer and octopus plushies have ruled the amigurumi world for a while now. Combining them feels like the perfect holiday move. You get the curly tentacle base of an octopus paired with the antlers and red nose of a reindeer. The result reads festive without trying too hard. Honestly, the pattern stays simple enough for newer crocheters, yet the finished plush looks just like a sweet store-bought holiday gift.
Skill Level
This Crochet Reindeer Octopus Amigurumi pattern suits confident beginners and up. You need to know magic rings, increases, and decreases. The bobble nose and ruffle edge add a fun, manageable challenge right here.
Pattern Overview
Here is a quick look at how this plush comes together before you dive in.
- The body works up in continuous rounds, starting from a single magic ring.
- Both ears get made separately, then join straight into the body rounds.
- A red bobble stitch forms the cheerful reindeer nose mid body.
- Safety eyes sit between two specific rounds for clean, even spacing.
- A ruffle round near the base creates that signature octopus tentacle look.
- Stuffing goes in right before the final rounds close everything up.
Special Techniques You’ll Use
A few stitches do the heavy lifting in this design. Learn these and the rest feels easy.
- Bobble stitch (BOB): builds the puffy red nose that gives this plush its charm.
- Front Loop Only (FLO): shapes the curly ruffle that mimics octopus tentacles.
- Back Loop Only (BLO): keeps the round below crisp and well defined.
- Joining ears mid round: crochets each ear directly into the body as you go.
- Treble and double crochet combo: gives the ruffle real height and movement.
- Hand embroidery: adds the eyebrows and sparkle details at the very end.
Materials and Abbreviations
Gather your supplies first so nothing slows you down mid project.
Abbreviations (US Terms)
- MR – Magic Ring
- ch – Chain
- sc – Single Crochet
- inc – Increase (2 sc in the same stitch)
- dec – Decrease (single crochet 2 stitches together)
- sl st – Slip Stitch
- hdc – Half Double Crochet
- dc – Double Crochet
- tr – Treble Crochet
- FLO – Front Loop Only
- BLO – Back Loop Only
- FO – Fasten Off
- st – Stitch
- rep – Repeat
- BOB – Bobble Stitch
- DC – Right Side
Yarn and Tools
- Yarn: Color of your choice (main + red + white + black)
- Other materials: Safety eyes, stuffing
- Hook: Match to your yarn
The Pattern
Work through each section in order, and check your stitch count at the end of every round.
Ears (Make 2)
- R1. 4 sc in MR (4)
- R2. (1 sc, inc) * 2 (6)
- R3. (2 sc, inc) * 2 (8)
- R4. (3 sc, inc) * 2 (10)
- R5. (4 sc, inc) * 2 (12)
- R6. Ch 1, fold the ear in half and work 6 sc through both sides. Then fold again and make 3 sc through both sides to close the base.
Body
- R1. 8 sc in MR (8)
- R2. 8 inc (16)
- R3. (1 sc, inc) x 8 (24)
- R4. (2 sc, inc) x 8 (32)
- R5. 7 sc, crochet 3 sc together with the first ear, 13 sc, crochet 3 sc together with the second ear, 6 sc
- R6–8. 32 sc (3 rows)
- R9. 16 sc, 1 bobble (red yarn, 5 dc on hook and then pull through all 5) for the nose, 15 sc
- R10–12. 32 sc (3 rows)
If you are using blanket yarn, skip one round here. It will keep the shape nice and balanced. Add the safety eyes between rounds 7 and 8, placed 6 stitches apart.
- R13. (2 sc, dec) x 8 (24)
- R14. (1 sc, dec) x 8 (16)
- R15. (FLO) [(1 sc, 1 hdc, 1 dc, 1 tr) in first stitch, (1 tr, 1 dc, 1 hdc, 1 sc) in next stitch] × 8
- R16. (BLO) 16 sc → Start stuffing the body now.
- R17. 8 dec (8). FO and leave a long tail to close the hole.
Finishing Touches
Embroider the eyebrows with black yarn for a sweet, expressive face. Add small white “V” stitches above the nose for a hint of sparkle. If the ears droop too much, secure them with a few extra stitches.
Common Mistakes to Avoid
These small slips trip up plenty of makers, so watch for them as you stitch.
- Skipping the stitch count after each round throws off the whole shape. Count as you go, every single round.
- Pulling the bobble nose too tight makes it sink into the body. Keep that tension loose and let it pop.
- Setting safety eyes before the body is shaped often lands them crooked. Place them between rounds 7 and 8, six stitches apart.
- Rushing the FLO ruffle round leaves the tentacles flat. Work each stitch slowly so the curl forms properly.
- Overstuffing distorts the cute round shape. Add stuffing in small handfuls and check the look often.
- Forgetting a long tail at the end turns closing the hole into a real headache.
Assembly Guide
Putting the plush together stays simple once the pieces are done.
- Attach both ears during round 5 by crocheting three stitches together with each ear.
- Fix the safety eyes firmly between rounds 7 and 8 before you start stuffing.
- Add the red bobble nose during round 9, right in the center front.
- Stuff the body after round 16, working in small amounts for a smooth finish.
- Close the final hole using the long tail and a tapestry needle.
- Weave in all loose ends so nothing peeks through the surface.
Important Remarks
Keep these notes in mind to make your plush look polished and personal.
- Embroider the eyebrows with black yarn above the eyes for a friendly expression.
- Add small white “V” stitches above the nose to give it a little sparkle.
- Secure floppy ears with a few extra stitches if they refuse to stand.
- Swap the main color to match your tree, your mantel, or your gift theme.
- When using blanket yarn, skip one body round so the shape stays balanced.
- Match your hook size to your yarn weight for tidy, even stitches throughout.
Make It Your Own
The base pattern leaves plenty of room for your own creative spin. Try these ideas to give each plush its own personality.
- Switch the nose color to brown for a classic reindeer look instead of the red Rudolph style.
- Add a tiny crochet scarf or a felt bow for an extra festive touch.
- Use sparkly or velvet yarn to make the plush feel more luxurious and gift ready.
- Stitch a small bell onto one ear so it jingles softly when held.
- Make a whole family in different sizes by adjusting your hook and yarn weight.
These little changes keep your batch interesting, especially if you plan to gift several at once.
Tips for the Best Results
A few habits go a long way toward a clean, professional finish.
- Use stitch markers to track the start of each continuous round.
- Keep your tension even so the body holds a smooth, rounded shape.
- Block the ruffle edge lightly with steam if it curls unevenly.
- Test your safety eye placement before locking the backs in for good.
Take your time with these steps, and the plush rewards you with a tidy, huggable result.
Final Thoughts
And that wraps up your festive little friend. This Crochet Reindeer Octopus Amigurumi makes a heartfelt handmade gift or a cozy shelf decoration for the season. Trust me, the first one rarely stays the only one, since friends and family always ask for theirs too. Keep your stitch counts tight, take your time on the ruffle, and enjoy the process. Share your finished plush with your crochet circle and spread some holiday cheer, one stitch at a time.