Harmonious Crochet Tiny Flamingo Keyring Amigurumi Pattern Toy
Harmonious Crochet Tiny Flamingo Keyring Amigurumi Pattern Toy is a fun, creative mini-project perfect for all skill levels. This cute crochet flamingo keychain pattern uses simple stitches and soft yarn, making it ideal for beginners who love crafting small, handmade accessories.
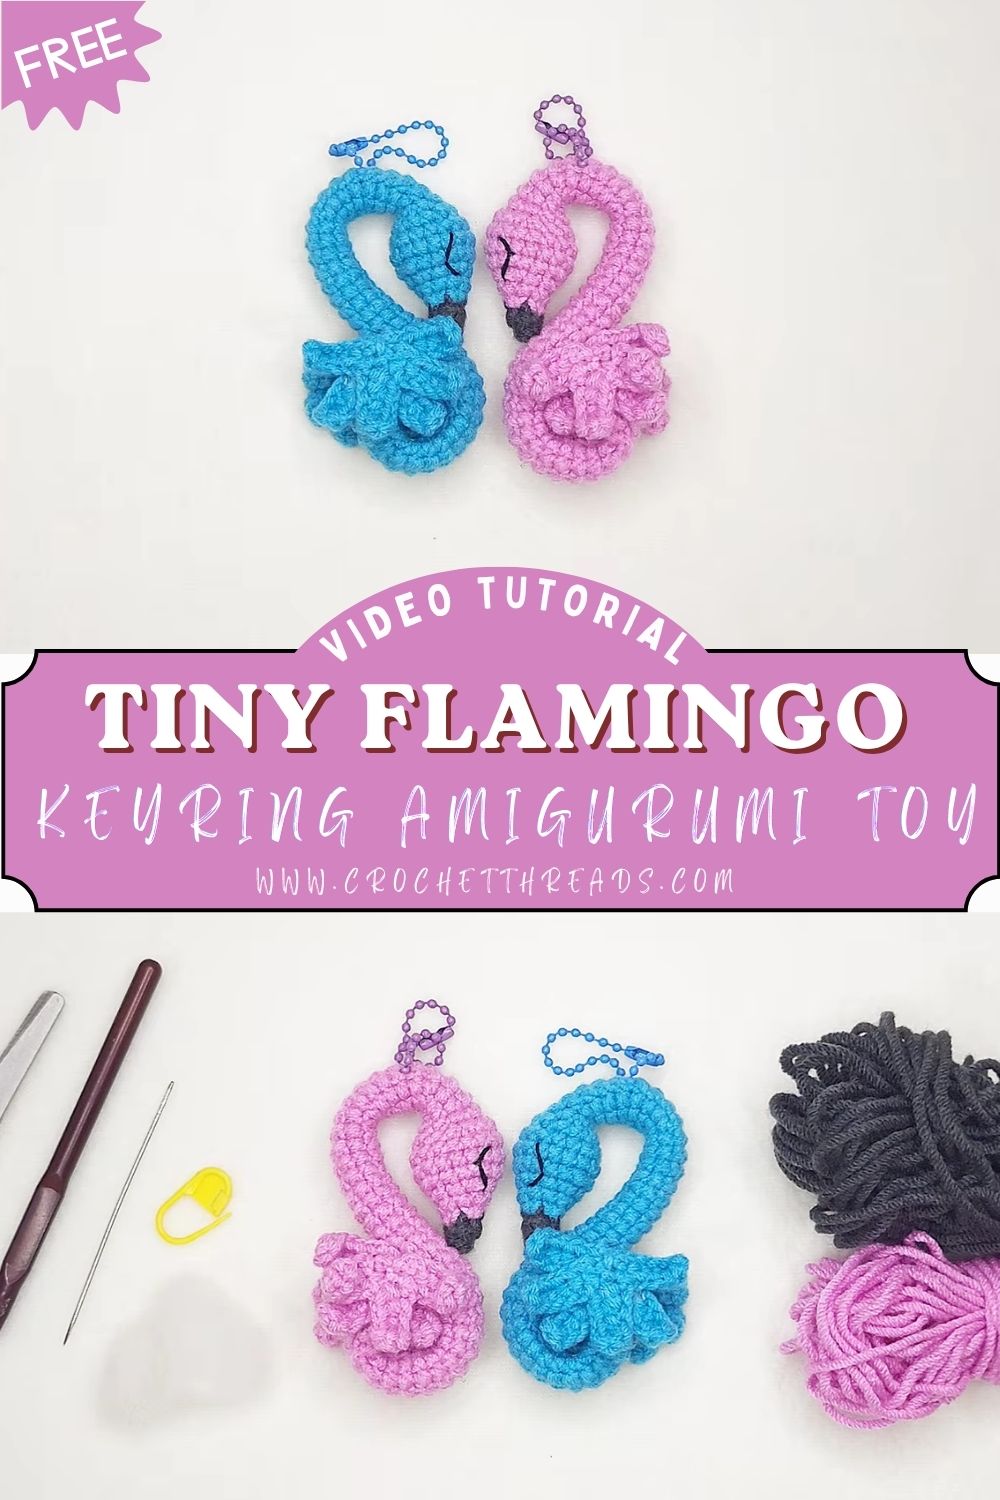
This adorable crochet flamingo amigurumi pattern is designed for beginners and experienced crafters alike, using simple stitches to create a soft, colorful mini keychain. Perfect for gifts, accessories, or selling, this tiny crochet flamingo is quick to make and requires minimal materials. With its playful design and compact size, it adds a unique handmade touch to everyday items.
Amigurumi is a crochet style that creates small stuffed shapes, usually worked in tight rounds to form sturdy little figures. First, the stitches build a smooth base; then, simple shaping turns yarn into a character. Because amigurumi relies on basic increases and decreases, it can be surprisingly beginner-friendly. Therefore, a Crochet Tiny Flamingo Keyring Amigurumi is a great first project for anyone who wants a cute result without complicated techniques.
Meanwhile, mini keychains are trending because they are fast to make, easy to gift, and fun to collect. Additionally, a small charm uses very little yarn, so experimenting with vibrant colors feels low-pressure. Flamingos are especially attractive because their curved necks instantly create an elegant silhouette, even in tiny sizes. Most importantly, this mini flamingo crochet stays simple: minimal facial details (closed eyes), a compact body, and lightweight stuffing make it an ideal keychain amigurumi for beginners.
Materials Needed
- Main yarn (body): Soft cotton or acrylic yarn in bright pink
- Accent yarn (optional): Soft cotton or acrylic yarn in sky blue (for wings or trim)
- Yarn weight: DK (3) or Worsted (4) (DK makes a smaller charm)
- Hook size: 2.75 mm (for DK) or 3.25 mm (for worsted)
- Small amount of black yarn: 1–2 meters (for embroidered closed eyes)
- Beak yarn: 1–2 meters in white plus a tiny amount of black (or dark gray) for the beak tip
- Stuffing: 5–8 g polyester fiberfill (light filling only)
- Stitch marker: 1 locking marker (or scrap yarn)
- Tapestry needle: 1 blunt needle for sewing and weaving ends
- Keychain ring with chain: 25–30 mm ring with a short chain
- Optional: Small jump ring, strong sewing thread, or a dab of fabric glue for extra security (use carefully)
Skill Level
Beginner / Easy.
First, this pattern uses mostly single crochet with basic shaping. Next, the parts are tiny and forgiving, so learning happens quickly without long rounds.
Making Time (Overview)
Total time: 1.5–3 hours, depending on comfort level.
Additionally, beginners can go slowly and still finish in a single cozy session because the keyring remains small.
Step-by-Step Instructions
Abbreviations: MR (magic ring), sc (single crochet), inc (increase), dec (decrease), sl st (slip stitch), ch (chain)
Notes: Work in continuous rounds unless stated. Count stitches carefully, and move the stitch marker at the start of each round.
Body (3 Clear Steps)
1) Create circular base and body shaping~20–30 minutes
- Round 1: MR, 6 sc (6)
- Round 2: inc around (12)
- Round 3: (sc, inc) around (18)
- Round 4: (2 sc, inc) around (24)
- Round 5: sc around (24)
- Round 6: (3 sc, dec) around (18)
Next, this gentle decrease begins the rounded “egg-like” body shape that stays compact for a keychain.
2) Form curved neck structure ~20–35 minutes
After that, continue from the body without fastening off, building the neck and head area as one piece.
- Round 7: (2 sc, dec) around (12)
- Round 8: sc around (12)
- Round 9: (sc, dec) around (8)
Now the neck begins.
10. Rounds 10–13: sc around (8)
Next, create a slight curve by adding a few increases on one side only.
11. Round 14: sc 3, inc, sc 4 (9)
- Round 15: sc around (9)
- Round 16: sc 4, inc, sc 4 (10)
- Round 17: sc around (10)
Then, form a tiny head bump.
15. Round 18: (4 sc, inc) around (12)
- Round 19: sc around (12)
- Round 20: (4 sc, dec) around (10)
- Round 21: sc around (10)
Meanwhile, pinch the neck gently and bend it into a graceful “S” curve to test the look.
3) Close and lightly stuff the body — ~15–25 minutes
Next, add stuffing carefully.
- Stuff the body first, using small pieces so it stays round but lightweight.
- After that, add a tiny bit into the lower neck only, leaving the upper neck softer for a natural curve.
- Then, finish closing the top:
- Round 22: (3 sc, dec) around (8)
- Round 23: dec around (4)
Finally, close the opening with a needle, weave in the end, and shape the neck again with gentle fingers.
Additional Parts
Wings (textured small loops or layered stitches) — ~15–25 minutes total (make 2)
These wings use simple loop texture to mimic feathery layers without complexity.
- Row 1: Ch 6, sc in 2nd ch from hook and across (5)
- Row 2: Ch 1, turn, sc across (5)
- Row 3 (texture): Ch 1, turn, (sl st in next st, ch 3, sl st in same st) repeat across for small loops (5 loop clusters)
- Fasten off, leave a long tail for sewing.
Next, for a two-tone look, use blue for the texture row while keeping the base in pink.
Beak (small contrast color detail) — ~8–12 minutes
- With white, ch 4.
- Next, sc in 2nd ch from hook, sc, then 3 sc in last ch.
- After that, work on the other side of the chain: sc, sc (7 total stitches around).
- Then, sl st to close and fasten off, leaving a tail.
- Finally, add a tiny black stitch at the tip, either a small embroidered dot or a hort line)
Legs/feet shaping (minimal or stylized base) — ~10–15 minutes
For a tiny keyring, legs can be simplified into a small base detail so the charm stays sturdy and snag-free.
Option A (minimal feet):
- With pink, attach yarn at the bottom of the body.
- Next, ch 3, sl st back into the same point to form a small “V” toe.
- After that, skip 2 stitches and repeat once more for the second foot.
- Finally, weave in ends securely.
Option B (no legs):
Skip legs completely for the cleanest, most durable keychain finish.
Details / Accessories
Embroidered closed eyes — ~5–10 minutes
First, thread black yarn onto a tapestry needle. Next, stitch two tiny curved lines on the head area, slightly angled upward like a calm, sleepy smile. After that, add one short eyelash stitch on each side if desired. Finally, hide the ends inside the head.
Keyring attachment loop — ~5–10 minutes
- At the top/back of the head, insert yarn and ch 10–12 (adjust to fit the chain).
- Next, sl st back into the same stitch to form a loop.
- After that, reinforce the loop by single crocheting around it (about 10–12 sc) for strength.
- Finally, weave in ends and tug gently to test durability.
Face & Assembly — ~20–35 minutes
- Attach wings evenly
First, pin the wings to the sides of the body, slightly toward the back, so they look tucked and neat. Next, sew with small stitches around the edges. After that, check symmetry from the front before tightening the final stitches. - Positionthe beak neatly
Then, place the beak at the front of the head, a little below the eye line. Next, stitch it down firmly, shaping it into a small triangle profile. After that, add the black tip detail if it has not been stitched yet. - Fix the keychain ring securely.
Finally, connect the crocheted loop to the keychain chain using the ring. Next, close the ring completely. After that, pull gently on the loop again to confirm it can handle daily use.
Beginner-Friendly Tips
- Use tight stitches for durability: First, choose a hook slightly smaller than the yarn label suggests so the keychain amigurumi stays firm.
- Keep stuffing minimal: Next, use just enough filling to round the body, because overstuffing makes the charm bulky and heavy.
- Maintain even tension: After that, crochet slowly around the neck to keep the curve smooth rather than lumpy.
Special Features
- Compact and lightweight: This tiny charm is designed to stay small, so it will not weigh down keys.
- Elegant curved flamingo neck: The gentle curve makes the flamingo recognizable instantly, even with minimal details.
- Soft-textured wings: Loop texture adds a feathery look while remaining beginner-friendly.
- Perfect for keychains: A reinforced attachment loop helps the flamingo handle everyday movement.
Sizing Tips
- Thinner yarn = smaller keychain: First, switch to DK or even sport weight for a more miniature look.
- Bigger hook = softer look: Next, size up slightly for a squishier feel, although gaps may appear if stitches loosen.
- Adjust size easily: After that, add one extra increase round for a fuller body, or add 1–2 neck rounds for a taller silhouette.
Finishing Tips
First, secure knots tightly and weave ends through multiple stitches so nothing wiggles loose. Next, shape the neck carefully by bending it into a soft curve and pressing lightly where the curve should hold. After that, smooth the body by rolling it between palms to distribute stuffing evenly. Finally, trim any fuzzy ends and check that the keyring loop feels thick and sturdy.
Common Mistakes to Avoid
- Loose stitches causing gaps: First, increase the tension and use a smaller hook so that the stuffing does not show.
- Overstuffing the small body: Next, stop stuffing as soon as the body becomes round, because extra filling can stretch stitches.
- Uneven neck shaping: After that, count rounds carefully and place the “one-sided increases” in the same area to keep a graceful curve.
- Weak keychain attachment: Finally, reinforce the loop with extra stitches and test-pull before attaching to keys.
Variations & Customization Ideas
- Different colors: First, try pastel flamingos for a soft look, or neon pink for a bold summer vibe.
- Gradient yarn: Next, use ombré yarn so the body shifts from pink to peach to coral.
- Add accessories: After that, stitch on a tiny bow, a mini flower, or a little hat for extra personality.
- Turn into a bag charm: Finally, attach a lobster clasp instead of a ring for an easy clip-on option.
- Experiment with expressions: Keep the closed eyes, or add tiny eyebrows for a playful,l sleepy face.
Tutor Suggestions
First, patience matters most during the neck shaping, because tiny rounds can feel fiddly at the start. Next, focus on neat, even stitches rather than speed, since clean tension makes a small charm look professional. Meanwhile, if a round count goes off, gently undo a few stitches and correct it right away, because small fixes are quick on mini projects. Finally, keep going even if perfection is not immediate, because each little flamingo builds confidence for the next one.
Conclusion
A Crochet Tiny Flamingo Keyring Amigurumi is a cheerful little project that combines bright color, soft texture, and a stylish curved neck in a truly portable size. First, the round body keeps it plush; next, the textured wings add charm without difficulty. After that, the closed eyes give a calm, minimalist face that suits a tiny keychain amigurumi perfectly. Finally, once the attachment loop is reinforced and secure, this mini flamingo crochet becomes a lightweight companion for keys, backpacks, and gift tags year-round.