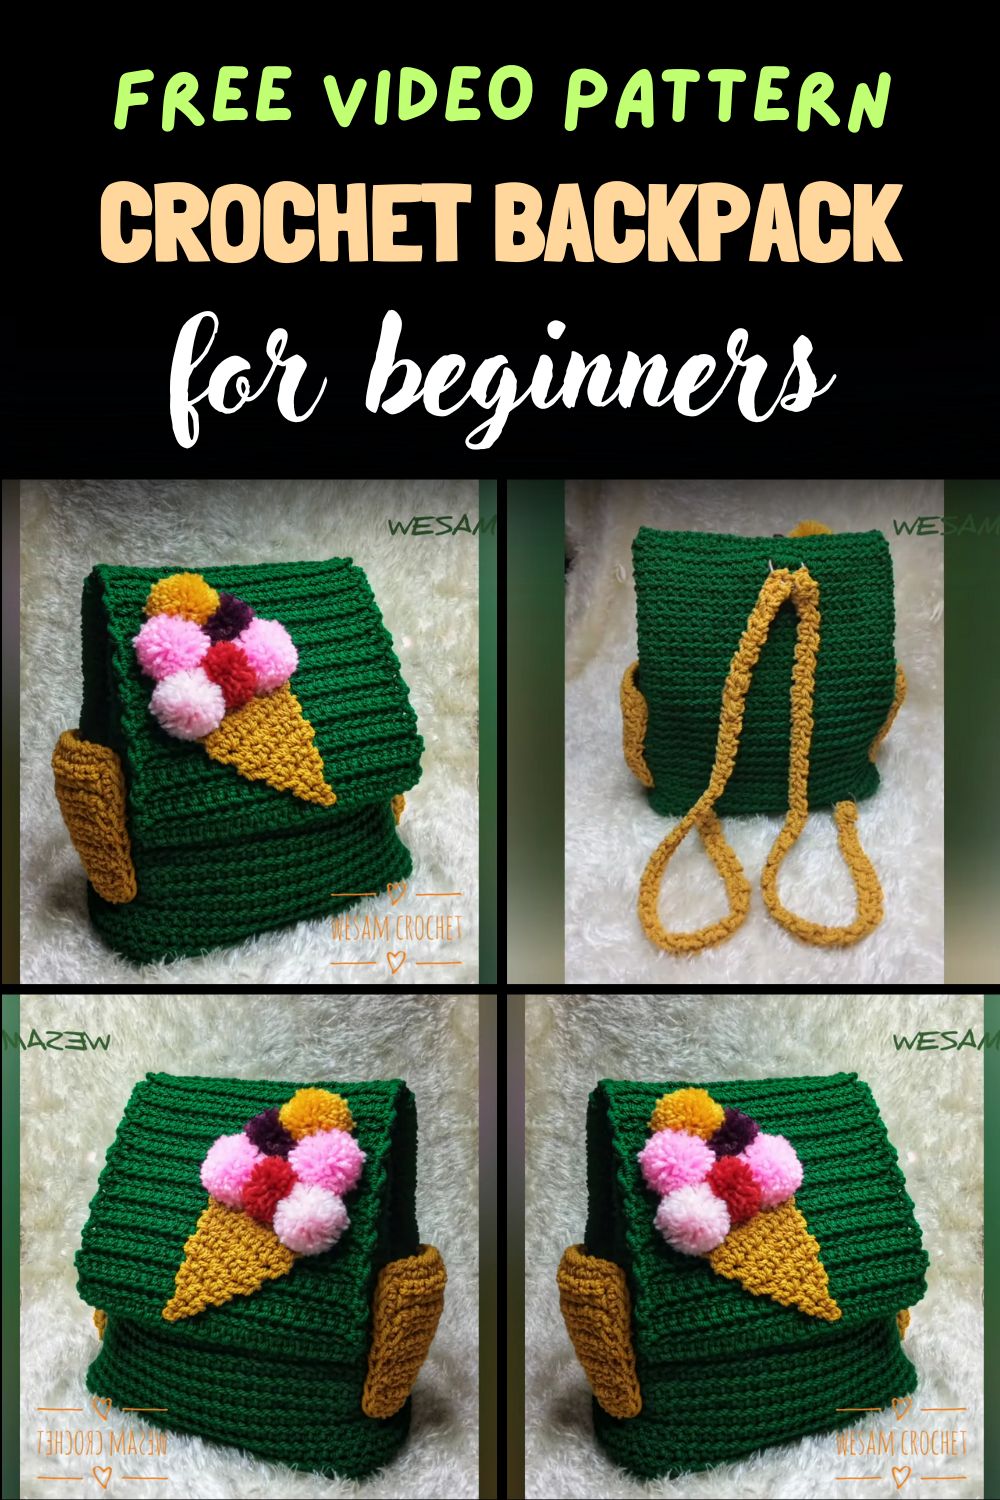
Easy and Cute Free Crochet Backpack Pattern for beginners
Crocheting is an art form that combines creativity and functionality, bringing joy to many enthusiasts. For those just starting their crochet journey, creating a backpack offers a rewarding project that is both practical and stylish. A crochet backpack is not only a trendy accessory but also a personal statement of creativity and skill. This step-by-step guide provides beginners with an easy-to-follow pattern that results in a cute and functional backpack. It’s designed to help newcomers hone their skills while producing a delightful finished product.
Meta Description
Discover an easy and adorable free crochet backpack pattern perfect for beginners. Follow our step-by-step guide to create a stylish and functional backpack that showcases your creativity and crochet skills. Perfect for those new to crocheting!
Essential Materials
To get started on this crochet backpack project, gather the following materials:
Yarn: Opt for a durable and medium-weight yarn in a color of choice. Cotton yarn is often recommended for its sturdiness and ease of care.
Crochet Hook: Use a size H/8 (5 mm) hook or the size specified on the yarn label.
Tapestry Needle: Useful for weaving in ends and sewing pieces together.
Scissors: Essential for cutting yarn.
Stitch Markers: Helpful for keeping track of your place in the pattern.
Measuring Tape: To ensure the correct dimensions of the backpack components.
Making the Crochet Backpack
Creating a crochet backpack involves several key steps, each adding to the final charming design. The process begins with making a sturdy base, then crafting the main body of the backpack, followed by adding finishing touches like straps and closures.
Step 1: Crafting the Base
The foundation of the backpack starts with creating a robust base. This ensures the backpack maintains its shape and can support items inside. Begin with a series of chain stitches to form a rectangle, which will be the bottom of the backpack. Utilize single crochet stitches around the base to provide structure and stability. Pay attention to maintaining consistent tension to avoid any irregularities in shape.
Step 2: Building the Main Body
Once the base is complete, it’s time to build up the main body of the backpack. Using double crochet stitches, work in the round to create the sides. This technique allows for a seamless and smooth finish. Continue this process until the desired height is reached. Consider incorporating a simple yet elegant pattern or color changes for added visual interest.
Step 3: Adding the Closure
A functional backpack requires a reliable closure. A drawstring or flap with a button can serve as practical solutions. To create a drawstring, crochet a long chain and weave it through the top row of the backpack. For a flap, crochet a separate rectangle and attach it to the back of the backpack, adding a button for secure closure.
Step 4: Attaching the Straps
Straps are an essential component for any backpack. Crochet two long strips using double crochet stitches for durability.
Step 5: Finishing Touches
The final step involves weaving in any loose ends and adding embellishments if desired. Consider sewing on patches, adding tassels, or incorporating beads for a personalized touch. The backpack is now ready to use or gift, showcasing the skills and creativity of its maker.