Crochet Baby Spinosaurus Pattern with Red Sail and Tiny Feet
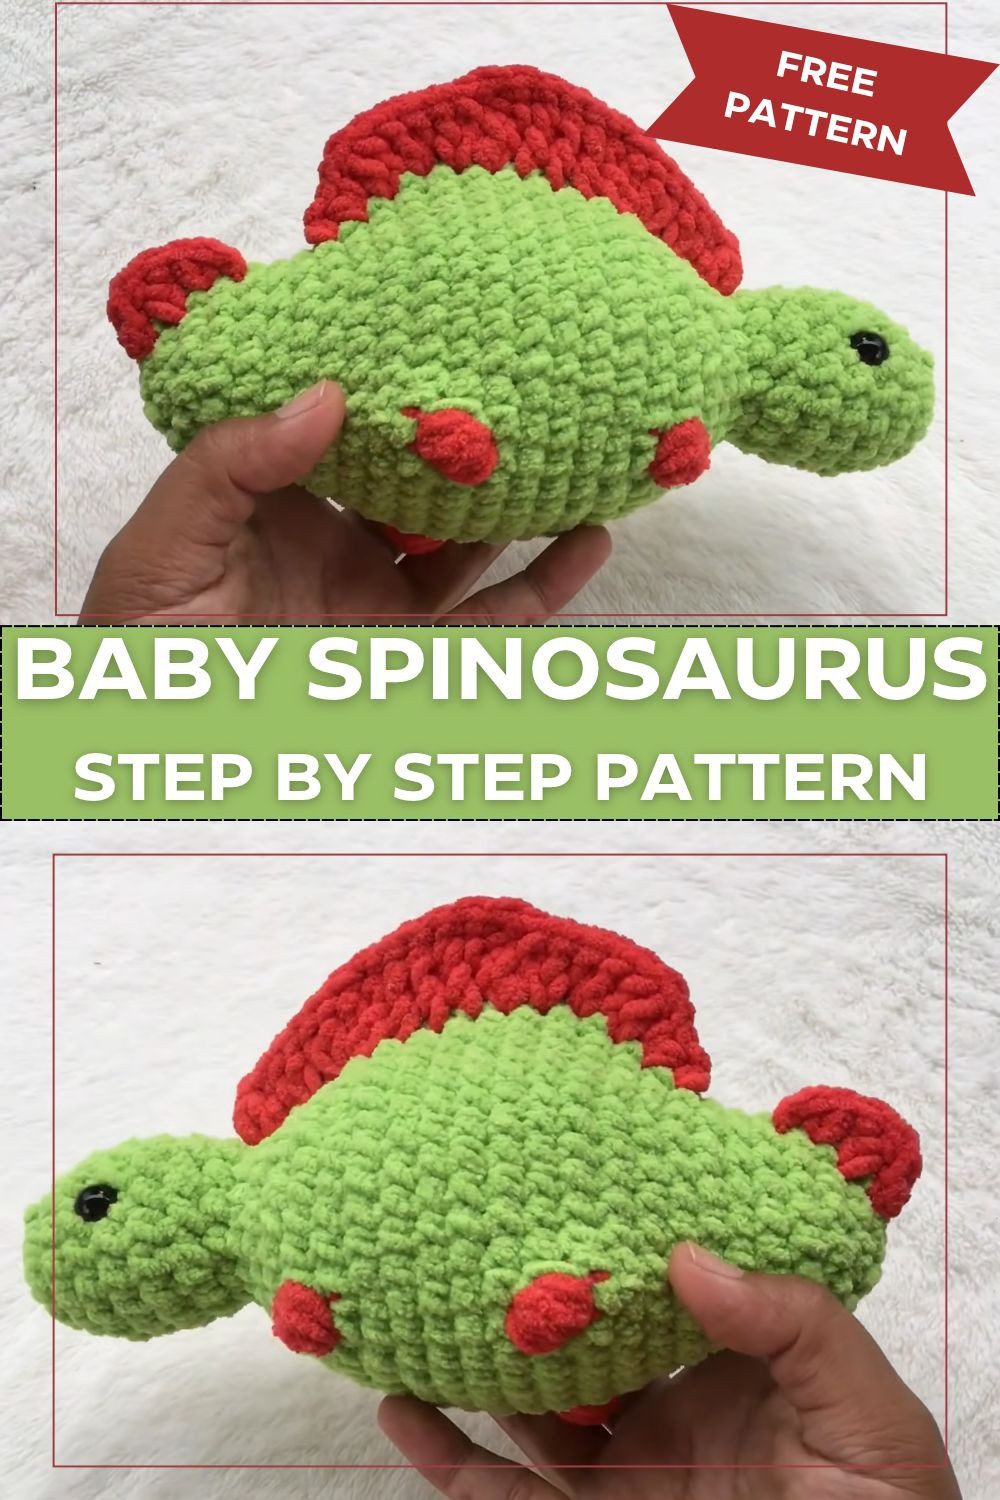
Do you love baby dinosaurs? If so, grab some chunky yarn first. Then follow this crochet baby Spinosaurus pattern to make a soft green dino with a red sail and small red feet. Because the steps are easy to follow, the finished toy makes a lovely handmade gift for kids.
Here is a cute little dinosaur you can make at home. First, pick soft chunky yarn in green and red. Next, follow the written rounds from the head down to the tail. Also, add safety eyes and stuffing to finish your amigurumi dinosaur. Since it is small and cuddly, it works as a sweet toy or a thoughtful present. Finally, save the pin so you can stitch it later.
Crochet Baby Spinosaurus Pattern Overview
Skill level: Advanced beginner
Finished size: About 8 inches (20 cm) long, estimated
Yarn: Chunky Yarn from Rainbow Yarn in yellow-green and light red
Hook: 5mm
Safety eyes: 10mm
Materials for the Crochet Baby Spinosaurus Pattern
Before the first stitch, gather everything in one place. Then the work stays smooth from the head down to the tail. Because chunky yarn grows quickly, the dino takes shape faster than you might expect. Also, keep the yarn needle and scissors close, since hiding the yarn tails is the very last job.
- Yarn: Chunky Yarn from Rainbow Yarn (yellow-green and light red)
- Hook: 5mm
- Safety Eyes: 10mm
- Stuffing
- Yarn needle
- Scissors
Stitch Abbreviations
- MR: Magic Ring
- SC: Single Crochet
- Inc: Increase (two stitches in one)
- Dec: Decrease (two stitches together)
- Puff Stitch: Four double crochets worked into one stitch
Special Techniques for This Crochet Baby Spinosaurus Pattern
Magic Ring
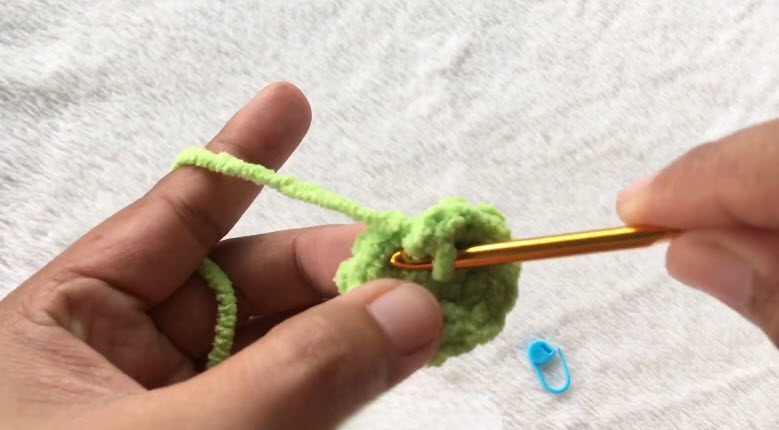
The magic ring starts the head. First, make an adjustable loop and work the first 6 SC into it. After that, pull the yarn tail to close the center tightly. Since a chunky toy needs a snug center, this step keeps the stuffing safely inside.
Puff Stitch for the Arms and Legs
A puff stitch is four double crochets worked into one stitch. Here, the puffs form both the arms and the legs. Because each puff pops out from the fabric, every limb looks neat and round.
Closing the Hole with Slip Stitches
The last round of the tail leaves a small opening. Therefore, close it with slip stitches. As a result, the tail ends tidily.
Time Box for the Crochet Baby Spinosaurus Pattern
- Prep: about 15 minutes to gather the yarn, hook, eyes and stuffing
- Stitching: about 3 to 4 hours for all the parts
- Finishing: about 30 minutes for stuffing, hiding yarn tails and final checks
Of course, times differ from person to person. So settle in and enjoy your own pace.
Crochet Baby Spinosaurus Pattern Instructions
First, work each step in order. Besides that, check the stitch total at the end of every round, because a quick count catches mistakes early. Moreover, every part builds on the one before it. Therefore, steady counting pays off all the way to the tail.
Step 1: Head of the Crochet Baby Spinosaurus Pattern
First, start with the magic ring. Then work the rounds below, and attach the eyes once R9 is done.
- R1: 6 SC in MR
- R2: 6 Inc (Total: 12)
- R3: (1 Inc, 1 SC) x 6 (Total: 18)
- R4-7: 18 SC
- R8: (1 Dec, 1 SC) x 6 (Total: 12)
- R9: 12 SC. Attach eyes between R5 and R6.
- R10: (1 Inc, 1 SC) x 6 (Total: 18)
Step 2: Body
Next, keep going in the same green yarn. Then work the body rounds below.
- R11: (1 Inc, 2 SC) x 6 (Total: 24)
- R12: (1 Inc, 3 SC) x 6 (Total: 30)
- R13: 10 SC, 1 Puff (arm), 8 SC, 1 Puff (arm), 10 SC (Total: 30)
Pro-Tip: After each arm puff, tug the stitch gently outward so it stands tall. As a result, you get a clear little arm.
- R14: (1 Inc, 4 SC) x 6 (Total: 36)
- R15: 1 Inc, 34 SC, 1 Inc (Total: 38)
- R16-19: 38 SC
- R20: 14 SC, 1 Puff (leg), 8 SC, 1 Puff (leg), 14 SC (Total: 38)
Pro-Tip: Count the stitches on both sides of the two leg puffs before you move on. That way, the tiny feet sit evenly.
- R21: 1 Dec, 34 SC, 1 Dec (Total: 36)
- R22: (1 Dec, 4 SC) x 6 (Total: 30)
- R23: (1 Dec, 3 SC) x 6 (Total: 24)
- R24: 24 SC
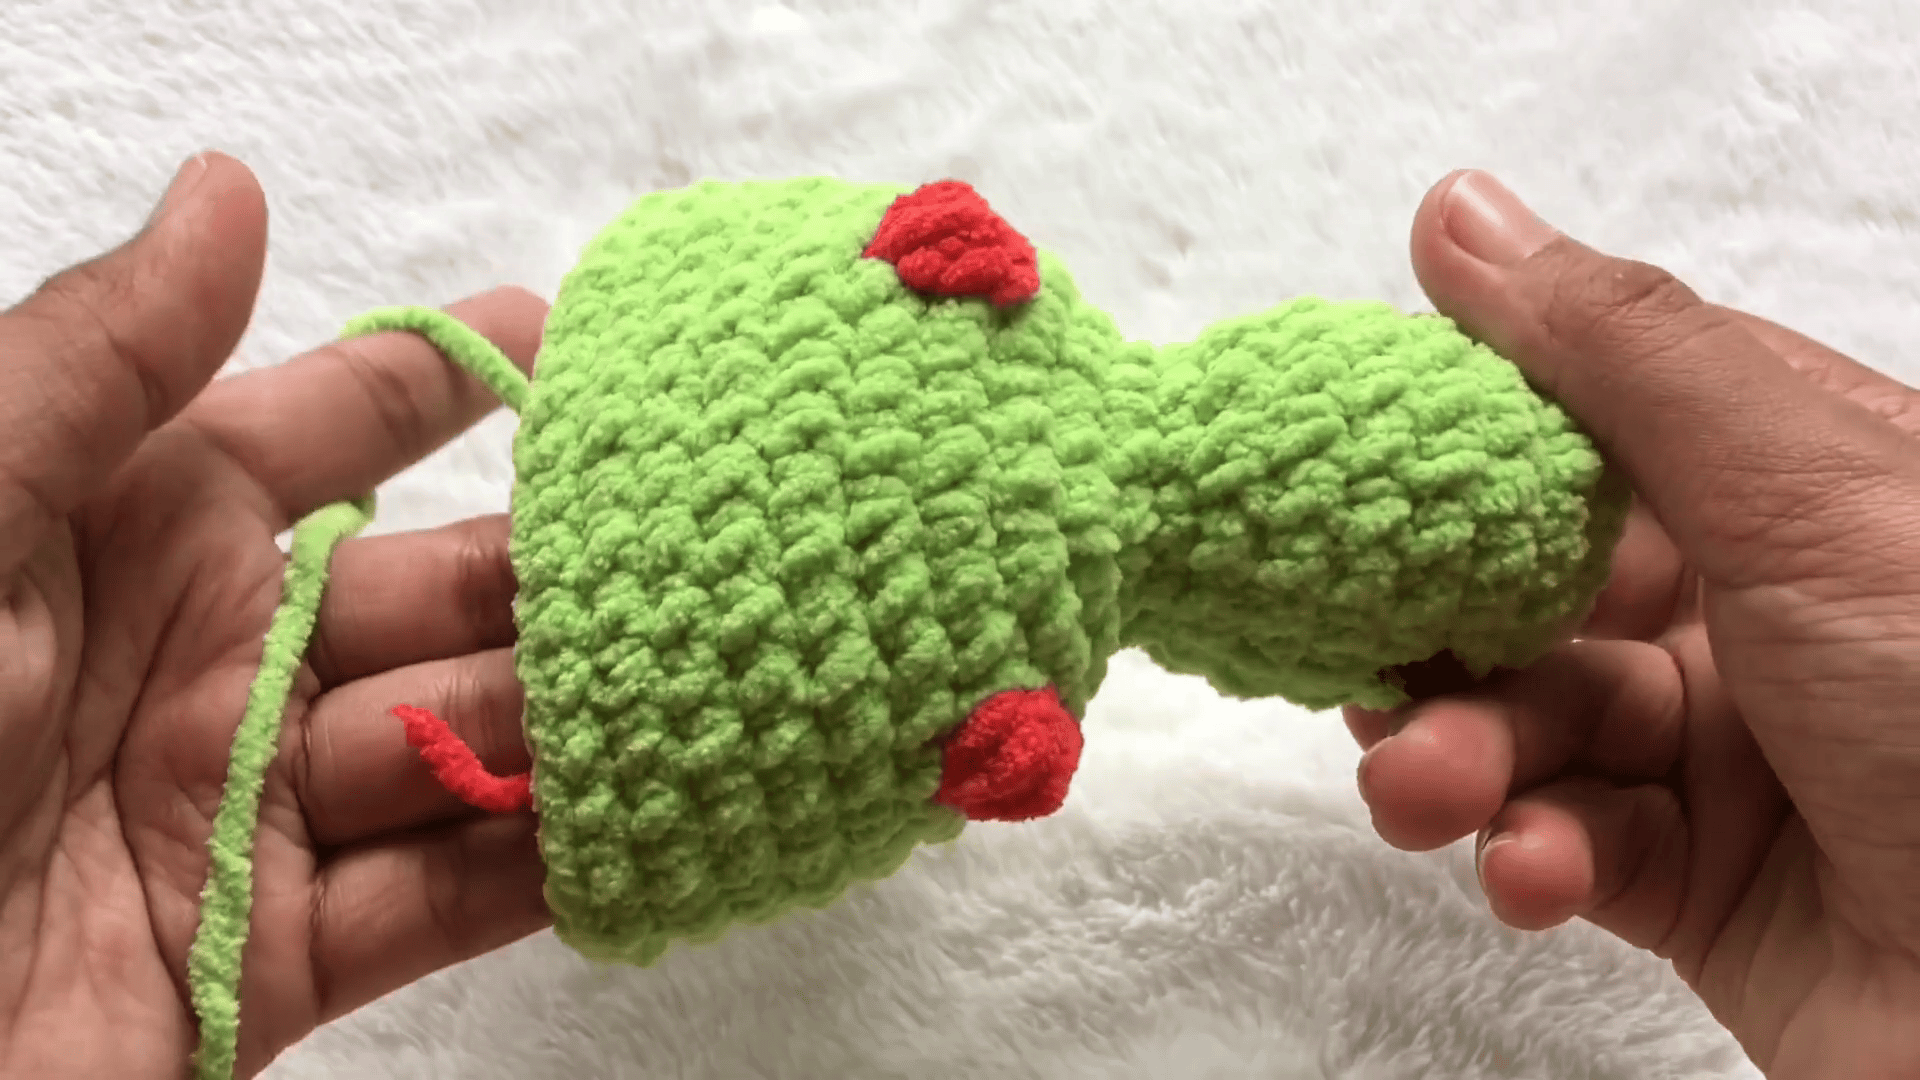
Step 3: Arms in Light Red
First, work R11 and R12. Then start R13 with the yellow-green yarn.
- Work 10 SC in the yellow-green yarn.
- Next, change to light red and make one Puff Stitch for the first arm.
- Then switch back to yellow-green and work 8 SC.
- After that, make another Puff Stitch in light red for the second arm.
- Finally, finish the round with 10 SC (Total: 30).
Pro-Tip: Each arm puff needs a color change, so keep the two yarns untangled. Afterward, pull the puff gently outward, and the arm will stand tall.
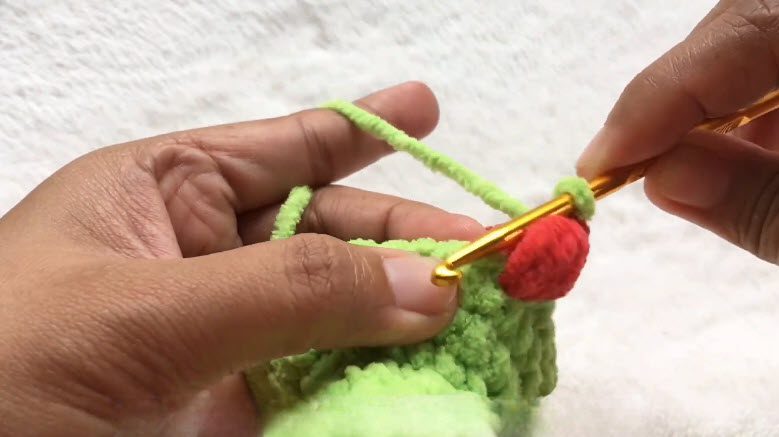
Step 4: Legs and Tiny Red Feet
First, work R14 to R19. Then start R20 with the yellow-green yarn.
- Work 14 SC in yellow-green.
- Next, switch to light red and make one Puff Stitch for the first leg.
- Then work 8 SC in yellow-green.
- After that, make another Puff Stitch in light red for the second leg.
- Finally, finish the round with 14 SC in yellow-green (Total: 38).
Pro-Tip: The leg puffs use the same color change as the arms. Also, count the 8 SC between them twice, because even spacing keeps the feet balanced.
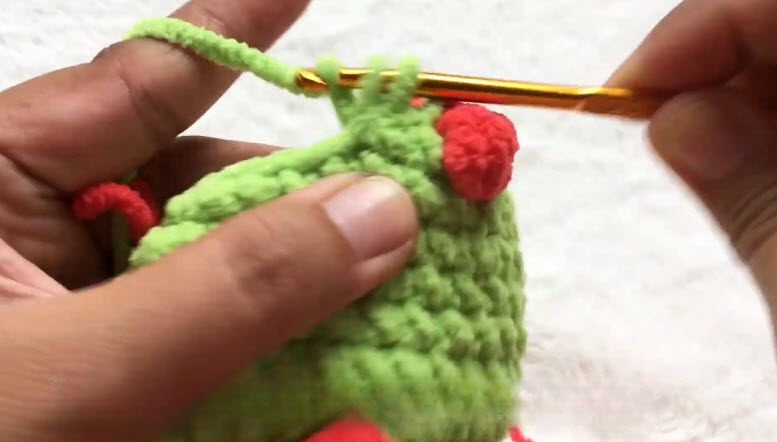
Step 5: Tail of the Crochet Baby Spinosaurus Pattern
Now shape the tail with decreases. Then close the last round with slip stitches.
- R25: (1 Dec, 2 SC) x 6 (Total: 18)
- R26-28: 18 SC
- R29: (1 Dec, 1 SC) x 6 (Total: 12)
- R30: 6 Dec (Total: 6). Close hole with slip stitches.
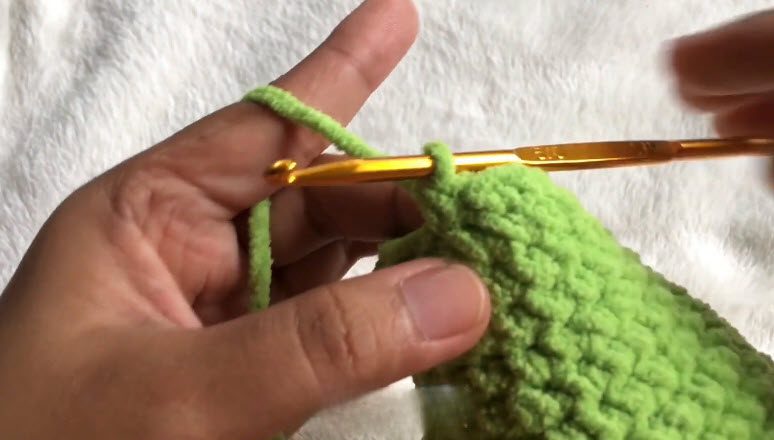
Step 6: Red Sail Back Fins
Finally, add the two fins that form the sail. First comes Fin 1, and then Fin 2 follows.
Fin 1
- Fin 1 (between R10-11): 3 DC Inc, 1 TC Inc, 3 TC, 1 TC Inc, 3 DC Inc, 1 HDC Inc, 1 SC
Pro-Tip: Fin 1 has the longest list of increases in the whole pattern. So read it once fully, and then stitch one group at a time. In this way, the sail grows evenly.
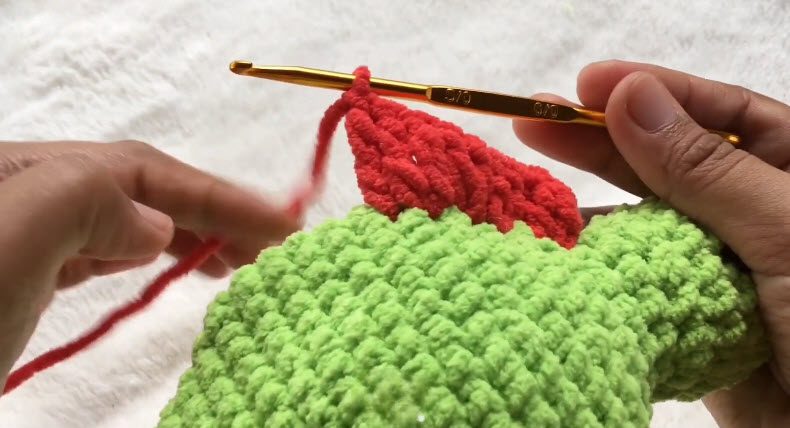
Fin 2
- Fin 2 (on R27): HDC Inc, DC Inc, 1 HDC, 1 SC
Pro-Tip: Fin 2 is short, yet every stitch counts. Therefore, keep the tension steady, and the small fin will sit neatly on the tail.
Assembly
First, stuff the body before you complete the tail. Then close the tail with slip stitches. Finally, secure and hide all the yarn tails inside the dinosaur.
Common Mistakes in the Crochet Baby Spinosaurus Pattern
Most problems here are small ones. Even so, a quick check saves a lot of unpicking later.
- First, forgetting the colour change. Light red belongs to the puffs, while yellow-green fills the stitches around them.
- Also, miscounting between puffs. R13 has 10 SC, 8 SC and 10 SC, whereas R20 has 14 SC, 8 SC and 14 SC.
- Next, placing the eyes too high or too low. Attach them between R5 and R6.
- Then, stuffing after closing the tail. Stuff the body first.
- Besides that, leaving loose ends outside. Hide every yarn tail inside the toy.
- Finally, confusing fin stitches. Since DC, TC and HDC differ in height, read each fin line slowly.
Beginner Tips for the Crochet Baby Spinosaurus Pattern
Fins and puffs sound tricky, but a few easy habits make them simple.
- First, try one puff stitch on scrap yarn before you start. Afterwards, the real puffs feel familiar.
- Also, mark the first stitch of every round. Consequently, the totals are easier to check.
- Next, lay both yarn colours side by side. That way, colour changes happen smoothly.
- Then stitch in bright light, because stitch totals need clear eyes.
- Besides that, rest between steps. Tired hands often lead to uneven stitches, so a short pause helps.
- Moreover, read each colour change line twice before stitching. Thus, you always know which yarn comes next.
- Finally, tick off each round on paper. A tiny checklist keeps your place when life interrupts.
Uses and Benefits of This Crochet Baby Spinosaurus Pattern
A baby Spinosaurus is a charming gift for dinosaur lovers of every age. First, soft chunky yarn feels cuddly, and the light red limbs add a cheerful pop. Besides gifting, the toy works as shelf decor, a nursery accent or a pocket-sized buddy. Moreover, the project teaches magic rings, puffs and color changes in one go. Also, chunky yarn makes progress feel quick. As a result, a happy dino arrives soon.
Personalization Ideas
Pick New Yarn Shades
First, swap the yellow-green for a favourite shade, or trade the light red for another bright tone. Thus, a fresh palette gives your dino its own personality.
Name the Dino
Next, choose a fun name for the baby, such as Sunny or Rex Junior. In turn, the name turns the toy into a real character.
Add a Ribbon Bow
Then tie a thin ribbon around the neck for a birthday gift. Likewise, a ribbon that matches the light red limbs ties the whole toy together.
Bonus: Dino Display Corner Ideas
Give the finished dinosaur a home that feels special. First, place it on a shelf beside favourite storybooks. Next, add a few small plants for a tiny jungle scene. Then tuck a cozy basket nearby so the baby can nap between playtimes. Because a little corner like that keeps the toy safe, it also turns the toy into decor. Better still, visitors will notice the red sail and tiny feet right away.
FAQs About the Crochet Baby Spinosaurus Pattern
Is the crochet baby Spinosaurus pattern beginner-friendly?
It suits advanced beginners best. While the rounds are simple, the puffs, colour changes and fins add a gentle challenge.
Which yarn colours does the baby Spinosaurus use?
The pattern uses Chunky Yarn from Rainbow Yarn in yellow-green and light red. First, yellow-green forms the stitches around the limbs. Then light red makes the puffs.
Where do the safety eyes go?
Attach the 10mm safety eyes between R5 and R6 on the head. Also, fix them before you stuff the head.
When should the body be stuffed?
Stuff the body before completing the tail. Afterwards, secure and hide all yarn tails inside the dinosaur.
How are the arms and legs made?
Each arm and leg is one Puff Stitch in light red. First, the arms appear in R13. Then the legs appear in R20.
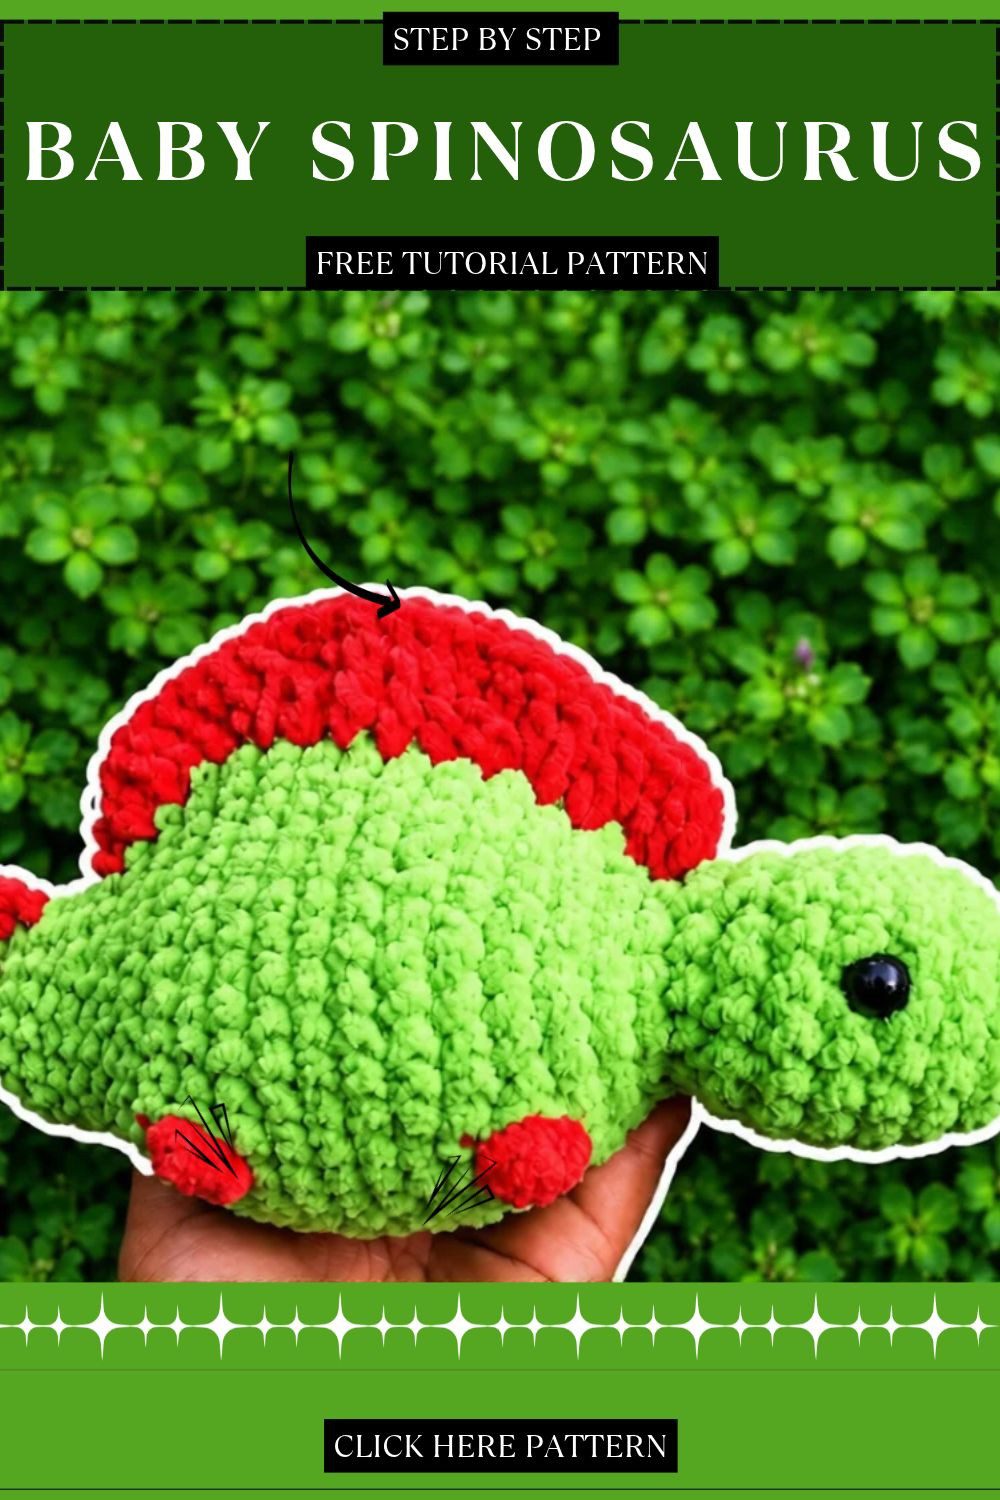
What makes the red sail and tiny feet stand out?
The sail comes from the two back fins, one between R10-11 and one on R27. Meanwhile, the tiny feet come from the two light red puffs in R20.
How long does the crochet baby Spinosaurus pattern take?
Plan on about 3 to 4 hours of stitching, plus short prep and finishing time. Of course, you can split the work over a few sittings.
Your Little Dino Is Ready for Hugs
So the little Spinosaurus is done. First, give the sail a pat. Then make sure every yarn tail is tucked away, and look the toy over from nose to tail. The colour changes and fins need a little focus, sure. Still, they are the parts that make this dino special. Now gift it, keep it, or stitch a second one in new shades. Whatever you choose, enjoy the hugs and have fun sharing your crochet baby Spinosaurus with everyone.