Crochet Spiral Top Pattern for a Bold Summer Look
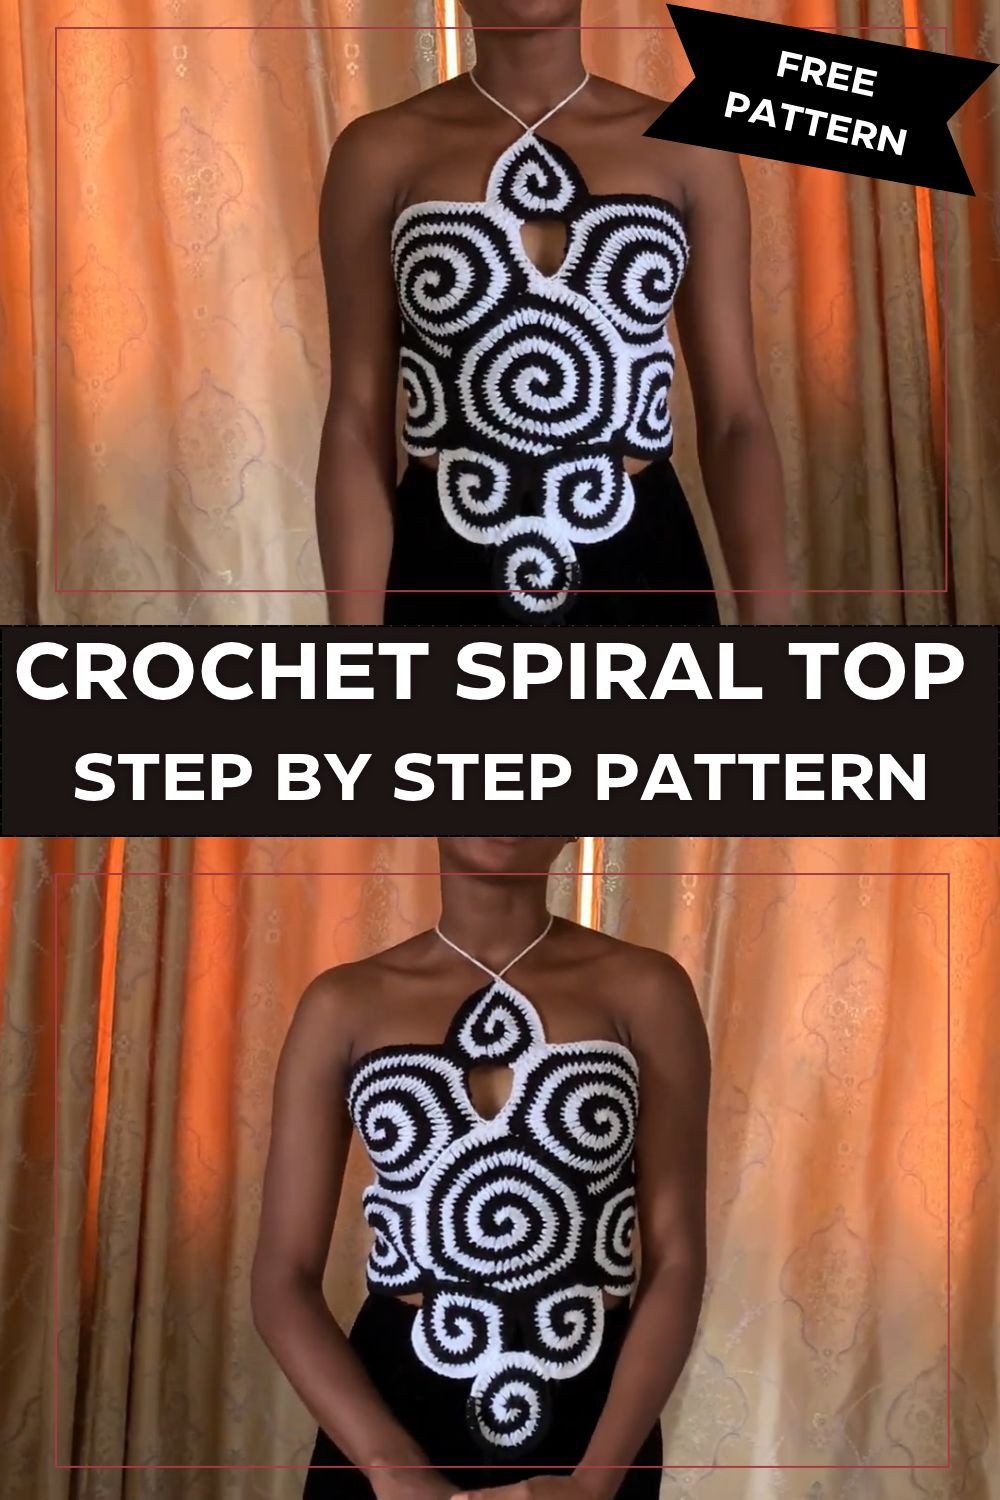
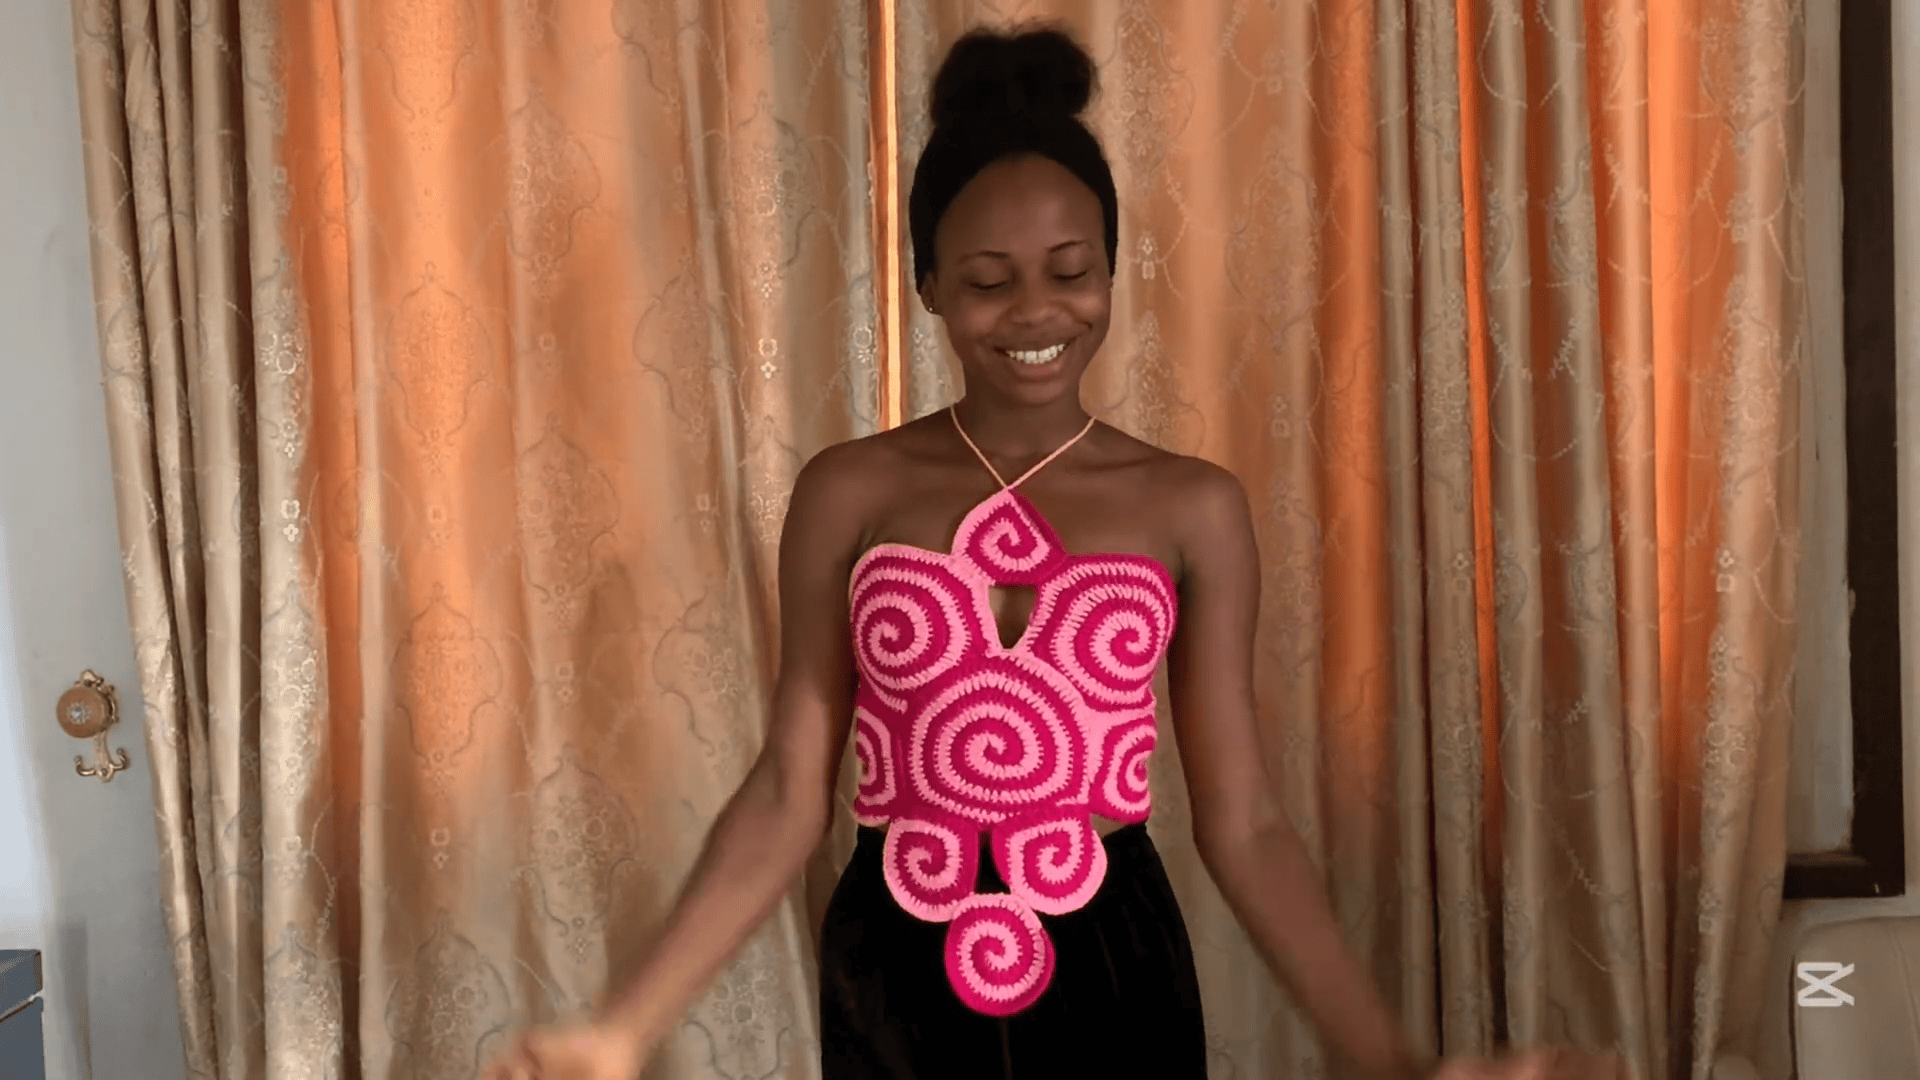
This top is made from round pieces. Each piece has two colours and a swirl. You make all the pieces, sew them together, and tie the back with a long chain. Below is the crochet spiral top pattern for you.
This crochet spiral top is made from many round pieces. Each piece is made with two colours, and the colours make a swirl. You need to know basic crochet stitches to make it. The skill level is intermediate. First, you make all the circles. Then you sew them together. At the end, you make a long chain and put it through the back to tie the top. Make small or big circles to fit the body. You can wear it in summer or give it to someone as a gift.
Crochet Spiral Top Pattern Overview
Skill level: Intermediate. You should know the basic stitches, and you also need patience for the assembly.
Finished size: Estimated. Each large circle comes out about 7 to 8 inches (18 to 20 cm) across, while the other circles are sized to match the bust and waist of the wearer.
Techniques: magic circle, spiral rounds with increases, seaming, layering circles, and a long chain tie.
Because every circle uses two colours, the swirl shows up on its own. In addition, the finished top has an open back, so it feels light on sunny days. It also makes a sweet handmade gift for someone special.
Materials for the Crochet Spiral Top Pattern
- Acrylic yarn (Yeye wool): two balls of each colour, using about one-quarter of each
- 4.0 mm crochet hook
- Stitch markers
- Scissors
- Darning needle
- Measuring tape (optional)
Abbreviations Used
- sc: single crochet
- hdc: half double crochet
- dc: double crochet
- ch: chain
- slst: slip stitch
- inc: increase (2 stitches in the same stitch)
How to Crochet the Spiral Circle Base
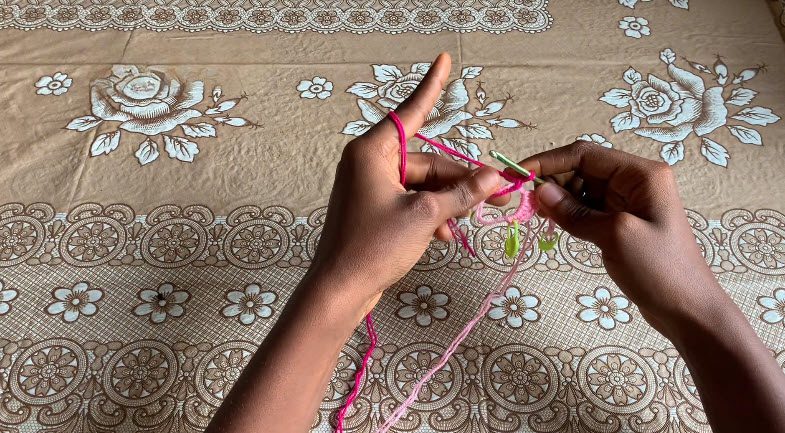
Every circle begins with a magic circle and two yarn colours. First you work the light colour, and then you switch to the dark colour. As a result, the spiral look appears all by itself.
Row 1 in the Light Shade
- Make a magic circle and ch 1.
- Next, work 2 sc, 2 hdc and 2 dc into the magic circle with the light colour.
- Finally, mark the first sc stitch, because it matters later.
Row 1 in the Dark Shade
- Drop the light-coloured yarn first.
- Then join the dark colour with a slip knot and put your hook back into the same magic circle.
- After that, ch 1.
- Work 2 sc, 2 hdc and 2 dc into the magic circle once more.
Altogether, Row 1 has 12 stitches: 6 light and 6 dark.
Rows 2 to 6 of the Spiral Circle
Row 2: Work 2 dc in every stitch around, so you end with 24 stitches: 12 light and 12 dark.
For Row 3, inc in the first stitch, then 1 dc in the next stitch, and repeat around.
In Row 4, inc in the first stitch, followed by 1 dc in each of the next 2 stitches. Repeat around.
Next comes Row 5, where you inc in the first stitch, then place 1 dc in each of the next 3 stitches and repeat around.
Finally, in Row 6, inc in the first stitch, and after that, work 1 dc in each of the next 4 stitches. Repeat around.
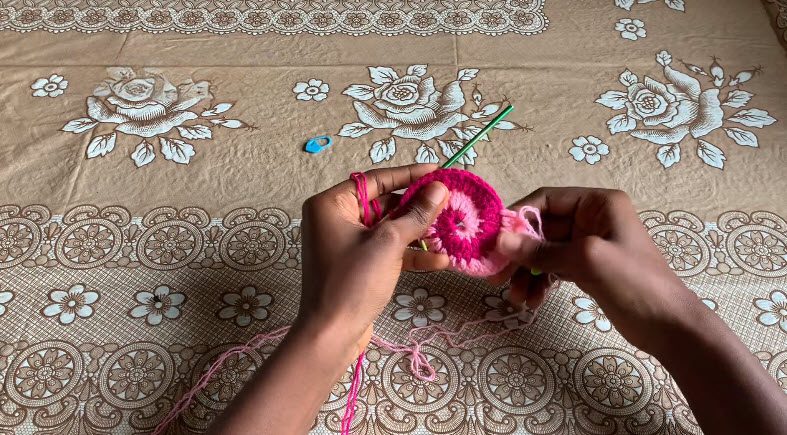
As you keep going, you alternate between the two yarn colours. Since each round uses the same kind of increases, the swirl moves outward into a flat, round disc.
Making Bigger Circles for Your Crochet Spiral Top Pattern
The number of rows depends on how big you want each circle. For the largest spirals in this top, you keep going until you reach an inc followed by 5 dc in the next 5 stitches. Therefore, make circles in different sizes so they fit the bust and waist measurements of the person who will wear it.
Ending the Spiral Circle Neatly
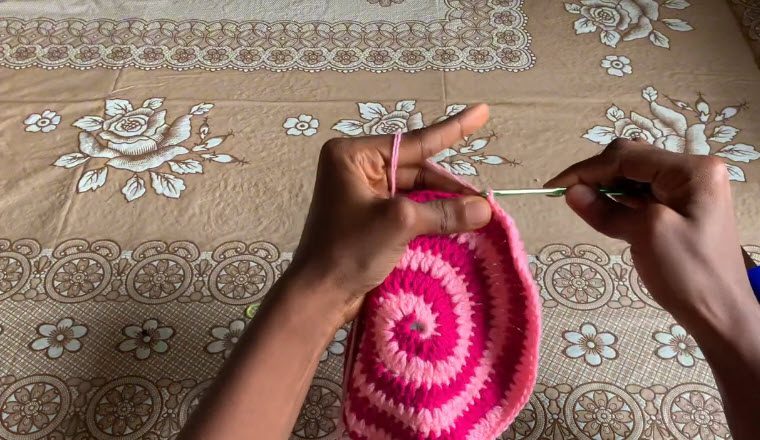
Do not stop right after the last dc round, because a blunt stop leaves a hard edge. Instead, finish with a tapered edge by working these in order:
- Work 1 hdc.
- Follow with 1 sc.
- Finish with 1 slst.
This makes a clean diagonal edge that keeps the flow of the spiral. Although you can add an extra dc or slip stitch to adjust the taper, the hdc, sc, slst ending always comes at the very last. Once the slip stitch is done, ch 1 and cut the yarn, leaving a tail long enough to weave in neatly.
Assembling the Crochet Spiral Top Pattern
This is the most technical part of the project, so take your time and be patient.
Before You Sew the Spiral Circles
- Weave in all the loose yarn ends first, and make sure they are secure.
- Next, arrange the circles to match the wearer’s measurements, since the larger circles usually form the bust and middle section.
Sewing the Spiral Circles Together
- Thread two darning needles, one for each yarn colour.
- Sew each section with yarn that matches its colour, because a mismatched colour would show in the seams.
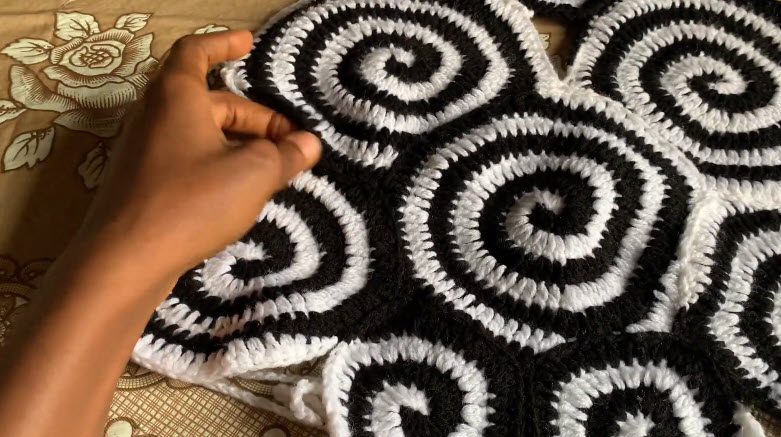
- Some circles are layered on top of others, which gives the top its depth, bumps and shape.
- After that, stitch the edges of the circles together with the darning needle. There is no single right way to join them, since it depends on your layout, but the circles must stay firmly in place so the top keeps its shape.
- Once a section is joined, tie off the yarn securely and repeat for the next section.
Finishing the Back Ties of the Spiral Top
- Make a very long chain; in this tutorial, it is 420 chains.
- Then lace the chain through the back edges of the top in a crisscross pattern.
- Finally, pull it to fit, because it works like a corset-style closure that you can adjust for a secure, custom fit.
If the lacing feels confusing, put the top on a mannequin so you can follow the path of the ties.
Bonus: Colour Pairing Ideas for Your Spiral Top
Two-colour circles need a light shade and a dark shade, so the pair you pick changes the whole mood. For example, cream with navy gives a clean, classic swirl, while peach with plum feels softer and more playful. Likewise, pale mint with deep teal suits a relaxed beach day. However, whichever pair you choose, keep the same two colours across every circle so the top looks balanced.
Quick Tips for a Neat Crochet Spiral Top
- Mark the first stitch of every round, so you never lose your place in the spiral.
- Keep the same stitch sequence in both colours, because it keeps the spiral even.
- Match the sewing yarn to each section, since it makes the top look professional.
- Before you sew, try the pieces on the body or hold them against it so the size is right.
Wrapping Up Your Spiral Top
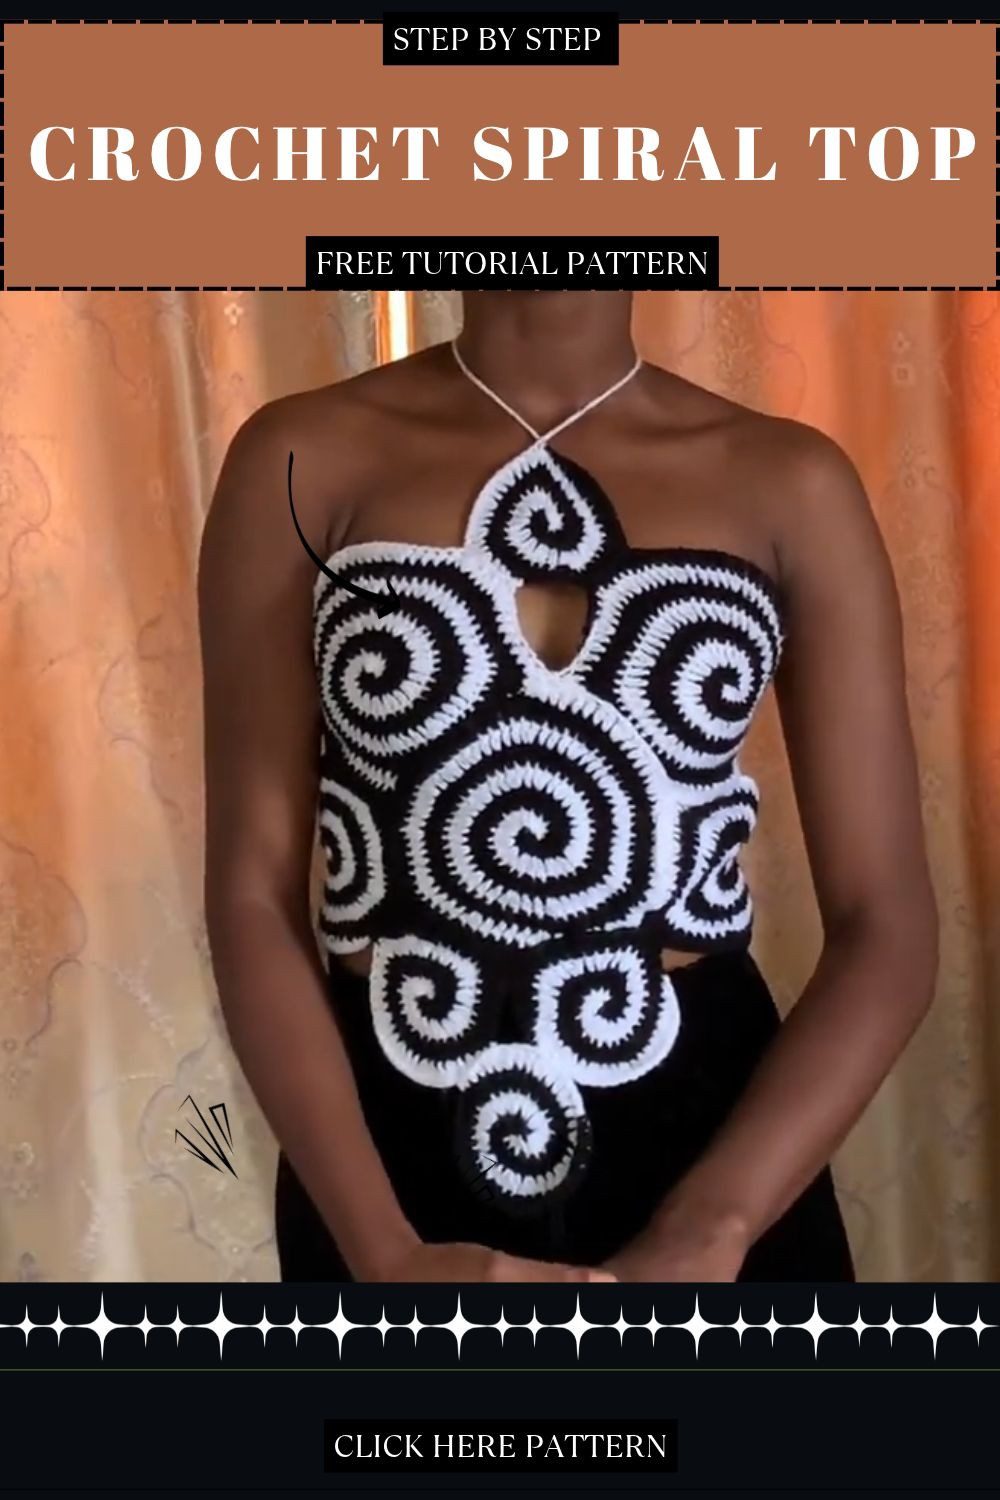
So that’s pretty much it. Once the circles are joined and the back tie is laced, you can just put the top on and head out. You get a backless top full of swirls, with a few bumpy layers for depth and the lacing hugging your body. Yeah, this crochet spiral top pattern takes some patience, but honestly, the swirls and the open back make it worth the effort.