Crochet Butterfly Bikini Top Pattern for Cool Wardrobe
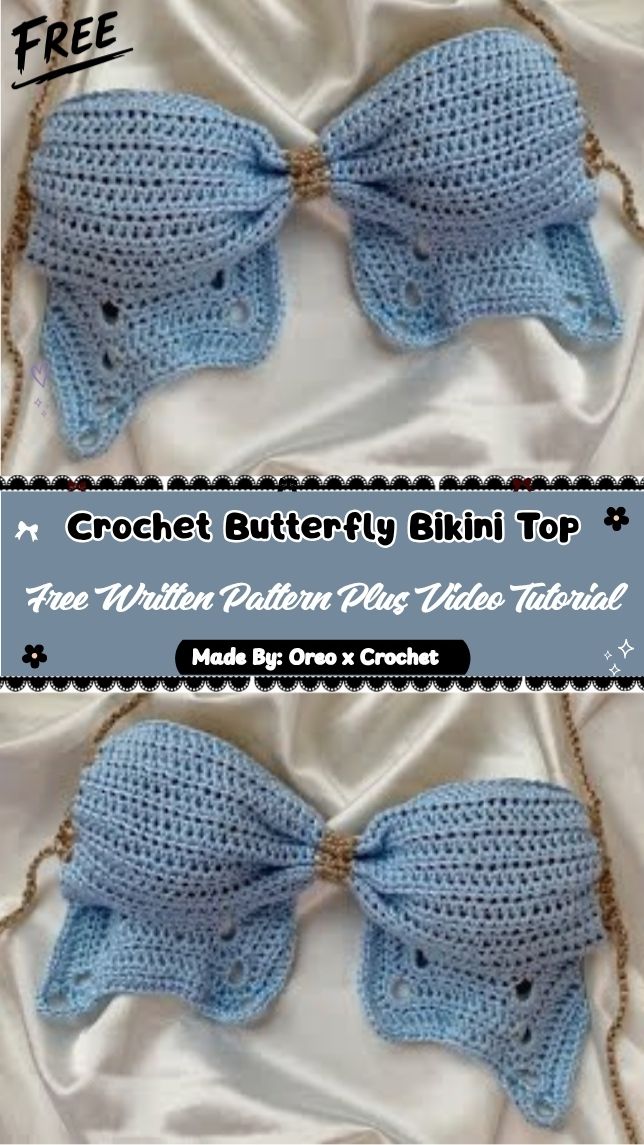
Warm sand under your feet, a light breeze, and a hand-stitched Crochet Butterfly Bikini Top hugging your shoulders this is the kind of project that turns a simple ball of yarn into a summer favorite. If you love bright colors and playful designs, this pattern is about to become your new go-to.
This crochet pattern brings together simple stitches and a playful wing silhouette, making it a fun pick whether you’re building your first garment or adding another piece to your handmade collection. It’s a great beginner crochet option since it relies on basic techniques, yet the finished look feels detailed and intentional. Perfect for anyone chasing fresh handmade crochet ideas, this project is made to be worn, styled, and enjoyed all summer long.
What Is This Crochet Project About?
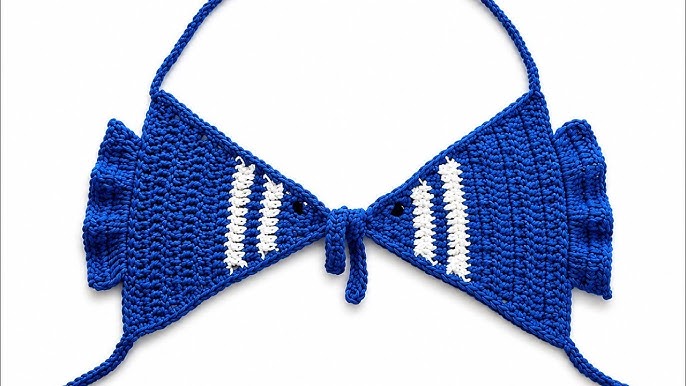
This butterfly bikini top pairs two soft crochet triangles shaped like butterfly wings with adjustable ties, making it a lightweight, breathable piece for pool days, beach trips, or layering under a cover-up. It works up quickly, uses basic stitches, and looks far more detailed than the effort it actually takes.
The design is inspired by a tutorial video that walks through the wing shaping and strap assembly step by step, so even if you’re newer to garment-style crochet, you’ll have a visual guide to lean on alongside this written pattern.
This is exactly the kind of easy crochet project that proves handmade pieces can be trendy, wearable, and totally doable in a weekend.
Gathering Your Supplies
Before you pick up your hook, it helps to know exactly what’s going into this piece. Here’s what you’ll want on hand.
Yarn Type
- Cotton or cotton-blend yarn (DK or worsted weight works best)
- Choose a yarn with good stitch definition so the wing shape stands out
- Two colors optional one for the wings, one for contrast trim
Hook Size
- 3.5mm to 4mm crochet hook (adjust based on your yarn weight and tension)
Extra Tools
- Yarn needle for weaving in ends
- Stitch markers
- Small scissors
- Measuring tape
- Sewing thread and beads (optional, for extra detailing)
Stitches and Abbreviations Used
This pattern relies on a handful of basic stitches, so it’s friendly even if your stitch vocabulary is still growing.
- Ch – Chain
- Sc – Single crochet
- Dc – Double crochet
- Sl st – Slip stitch
- Inc – Increase
- Dec – Decrease
- Rep – Repeat
Skill Level
This pattern sits at a beginner to intermediate level. If you already know how to chain, single crochet, and increase across a row, you’re ready to start. The wing shaping adds a small learning curve, but nothing that a first-time garment maker can’t handle.
Step-by-Step Crochet Instructions
Step 1: Foundation Chain for the Wing Base
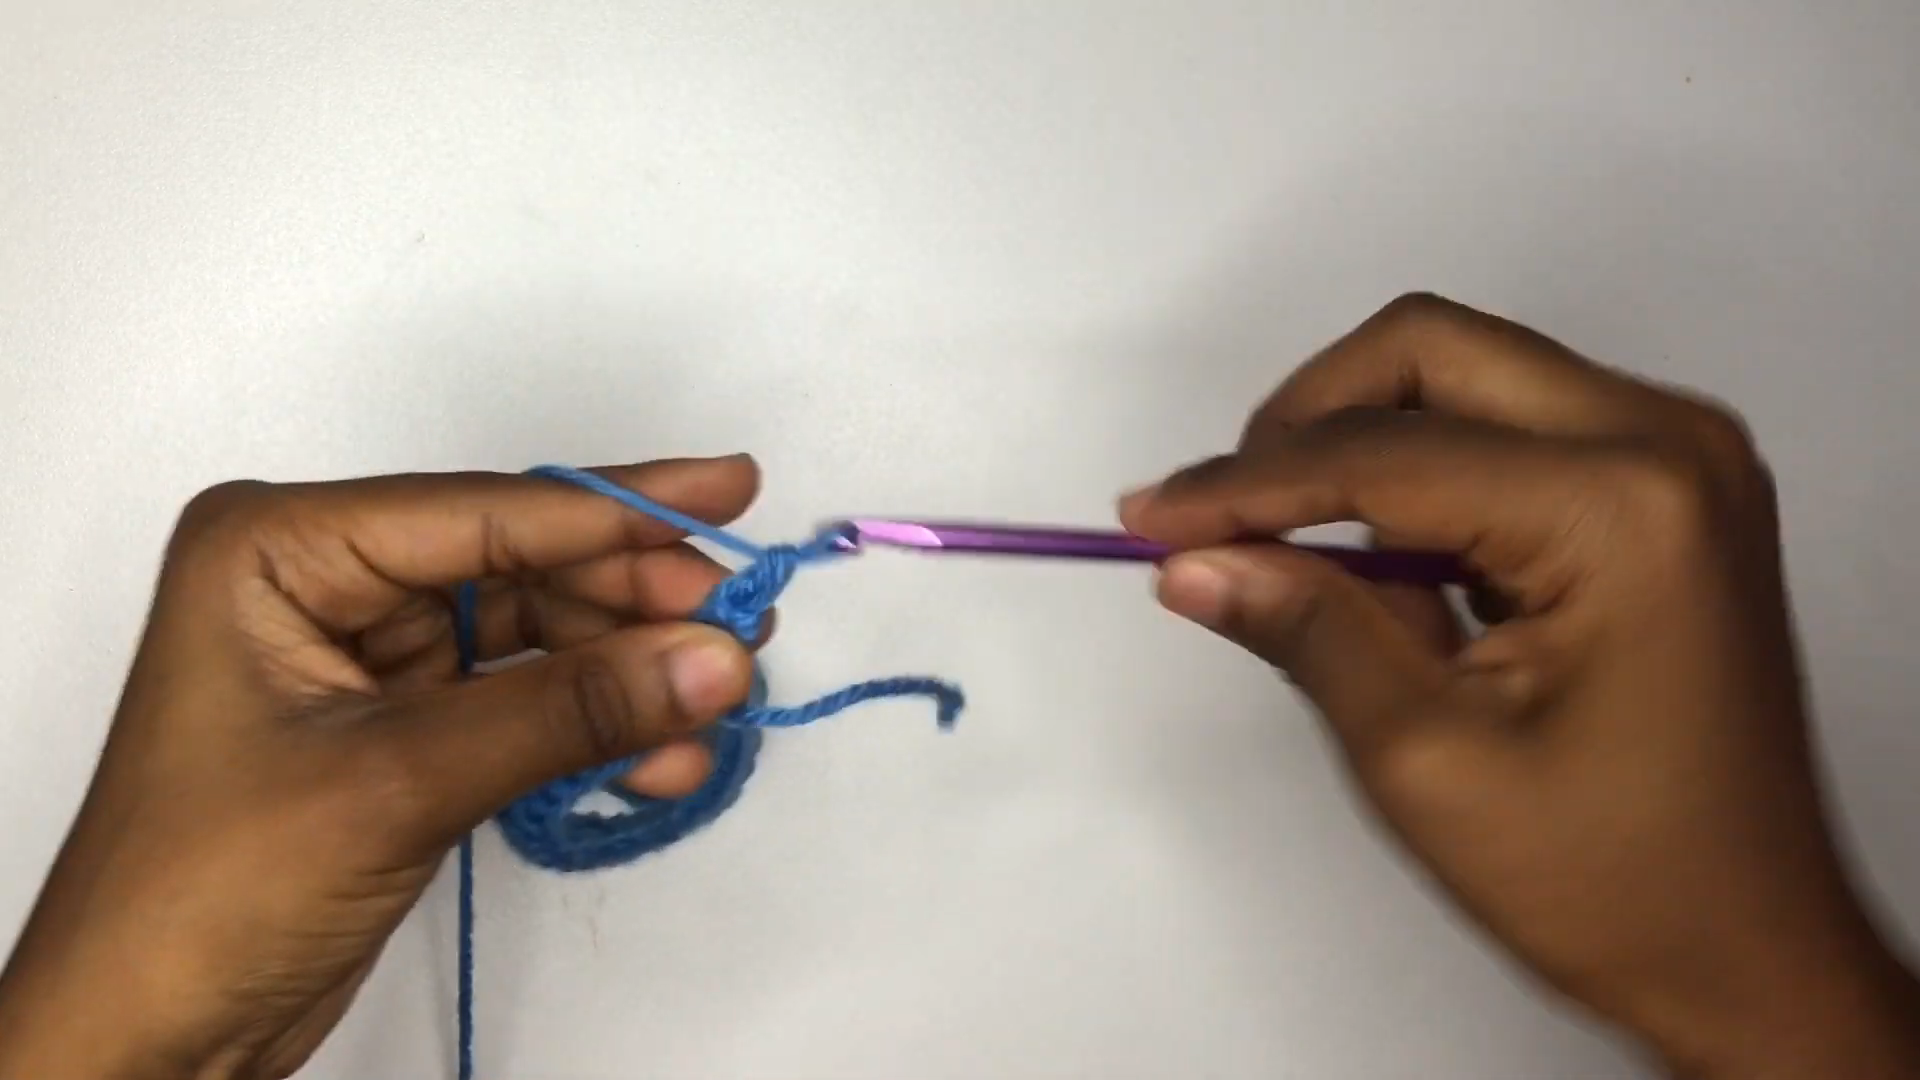
Start with a foundation chain of about 6-8 stitches, depending on your desired cup size. This chain becomes the top edge of your first butterfly wing.
Step 2: Build the Wing Shape with Increases
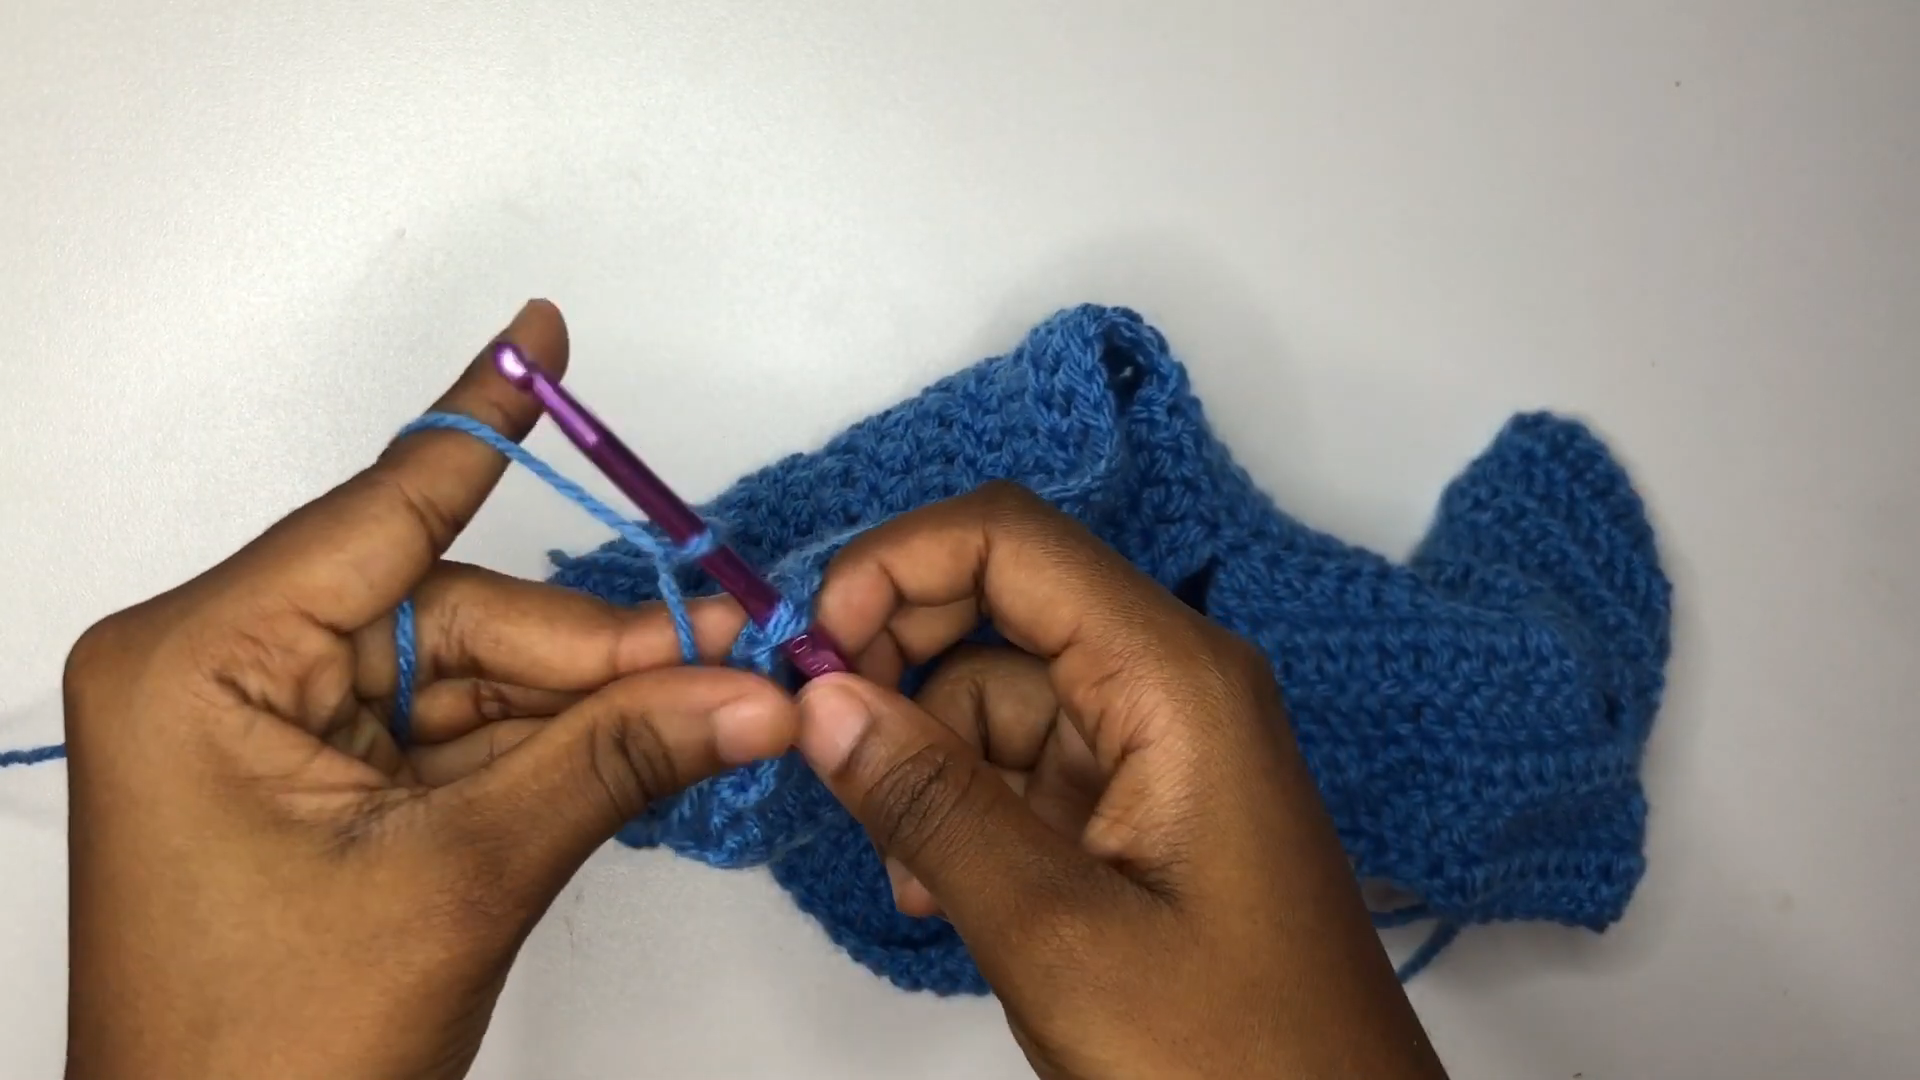
Work single crochet across your foundation row, then begin increasing at the start and end of each row. This gradual widening is what creates the rounded, wing-like curve.
Step 3: Shape the Wing Point
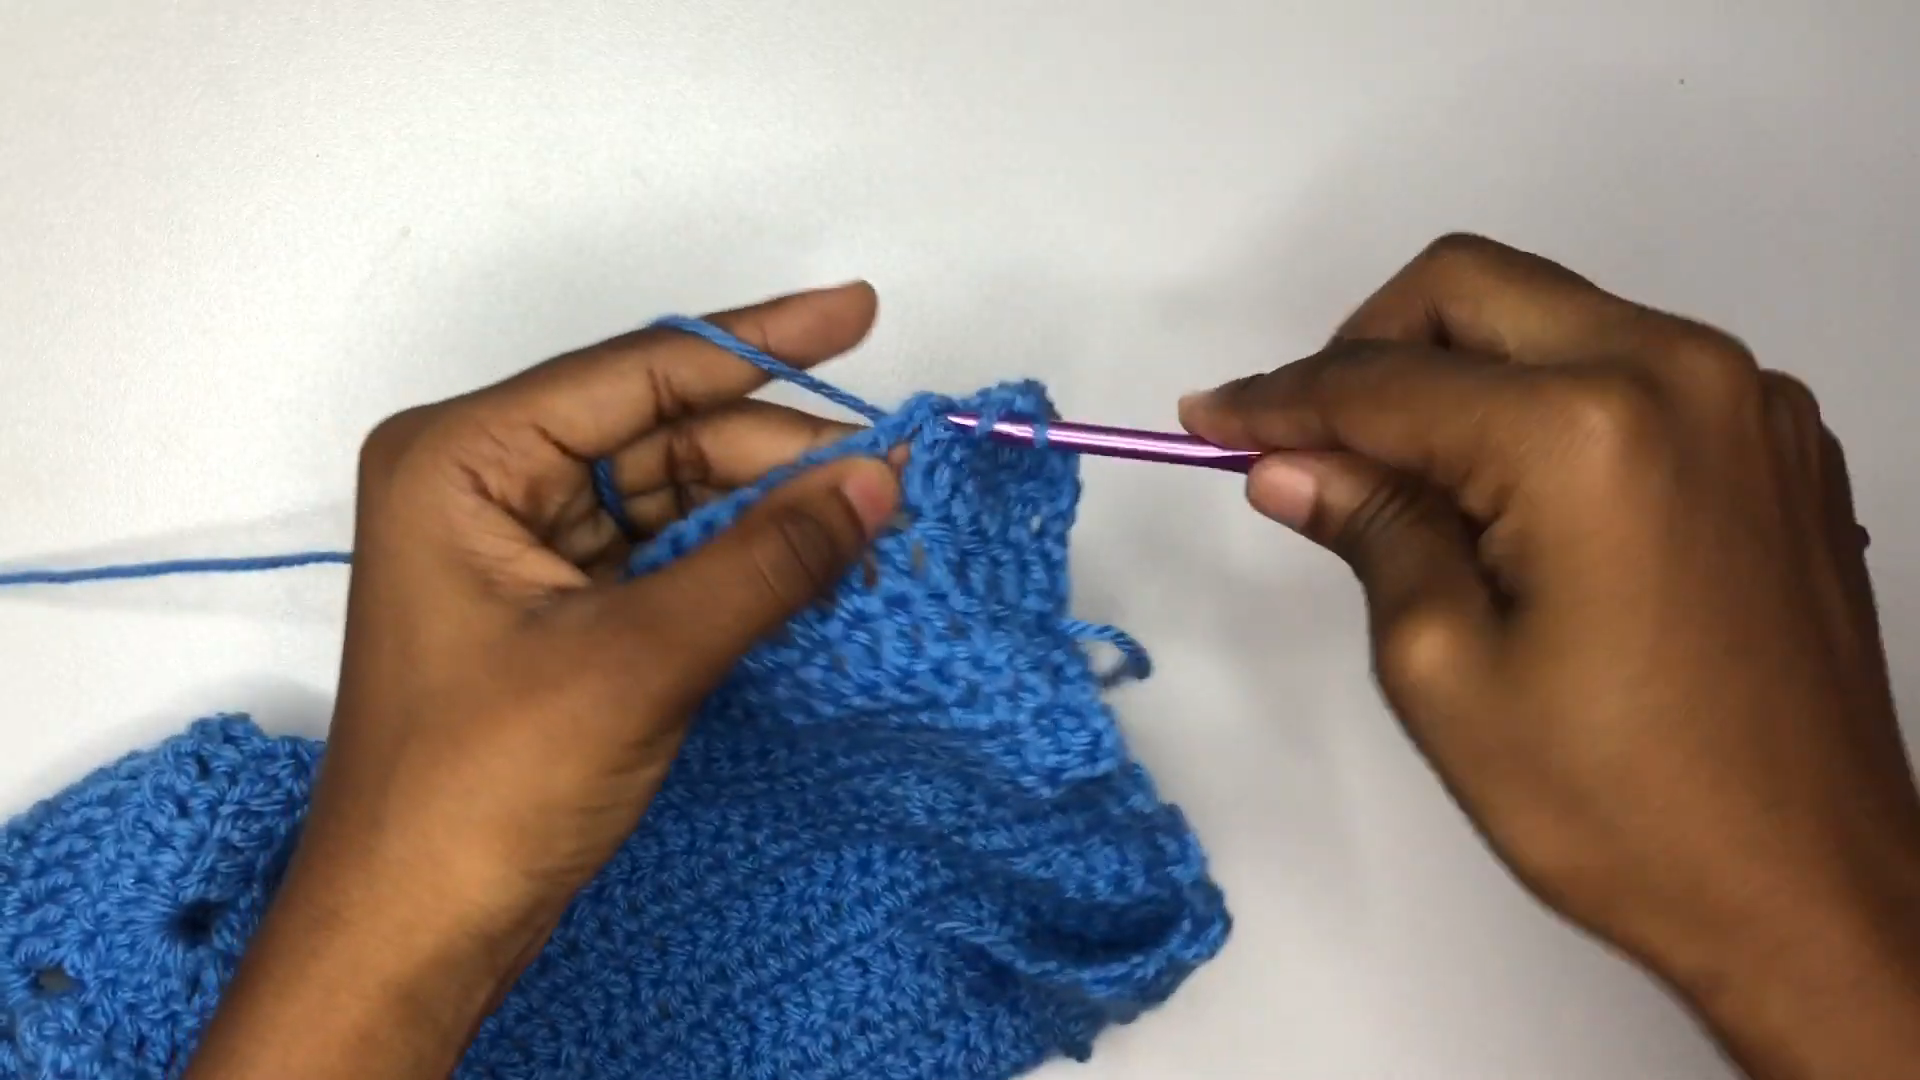
Once your wing reaches your desired width, start decreasing evenly on both sides. This brings the piece to a soft point, mimicking the tip of a butterfly wing.
Step 4: Repeat for the Second Wing
Make a second wing that mirrors the first in size and shape. Lay both pieces side by side to check they match before moving forward.
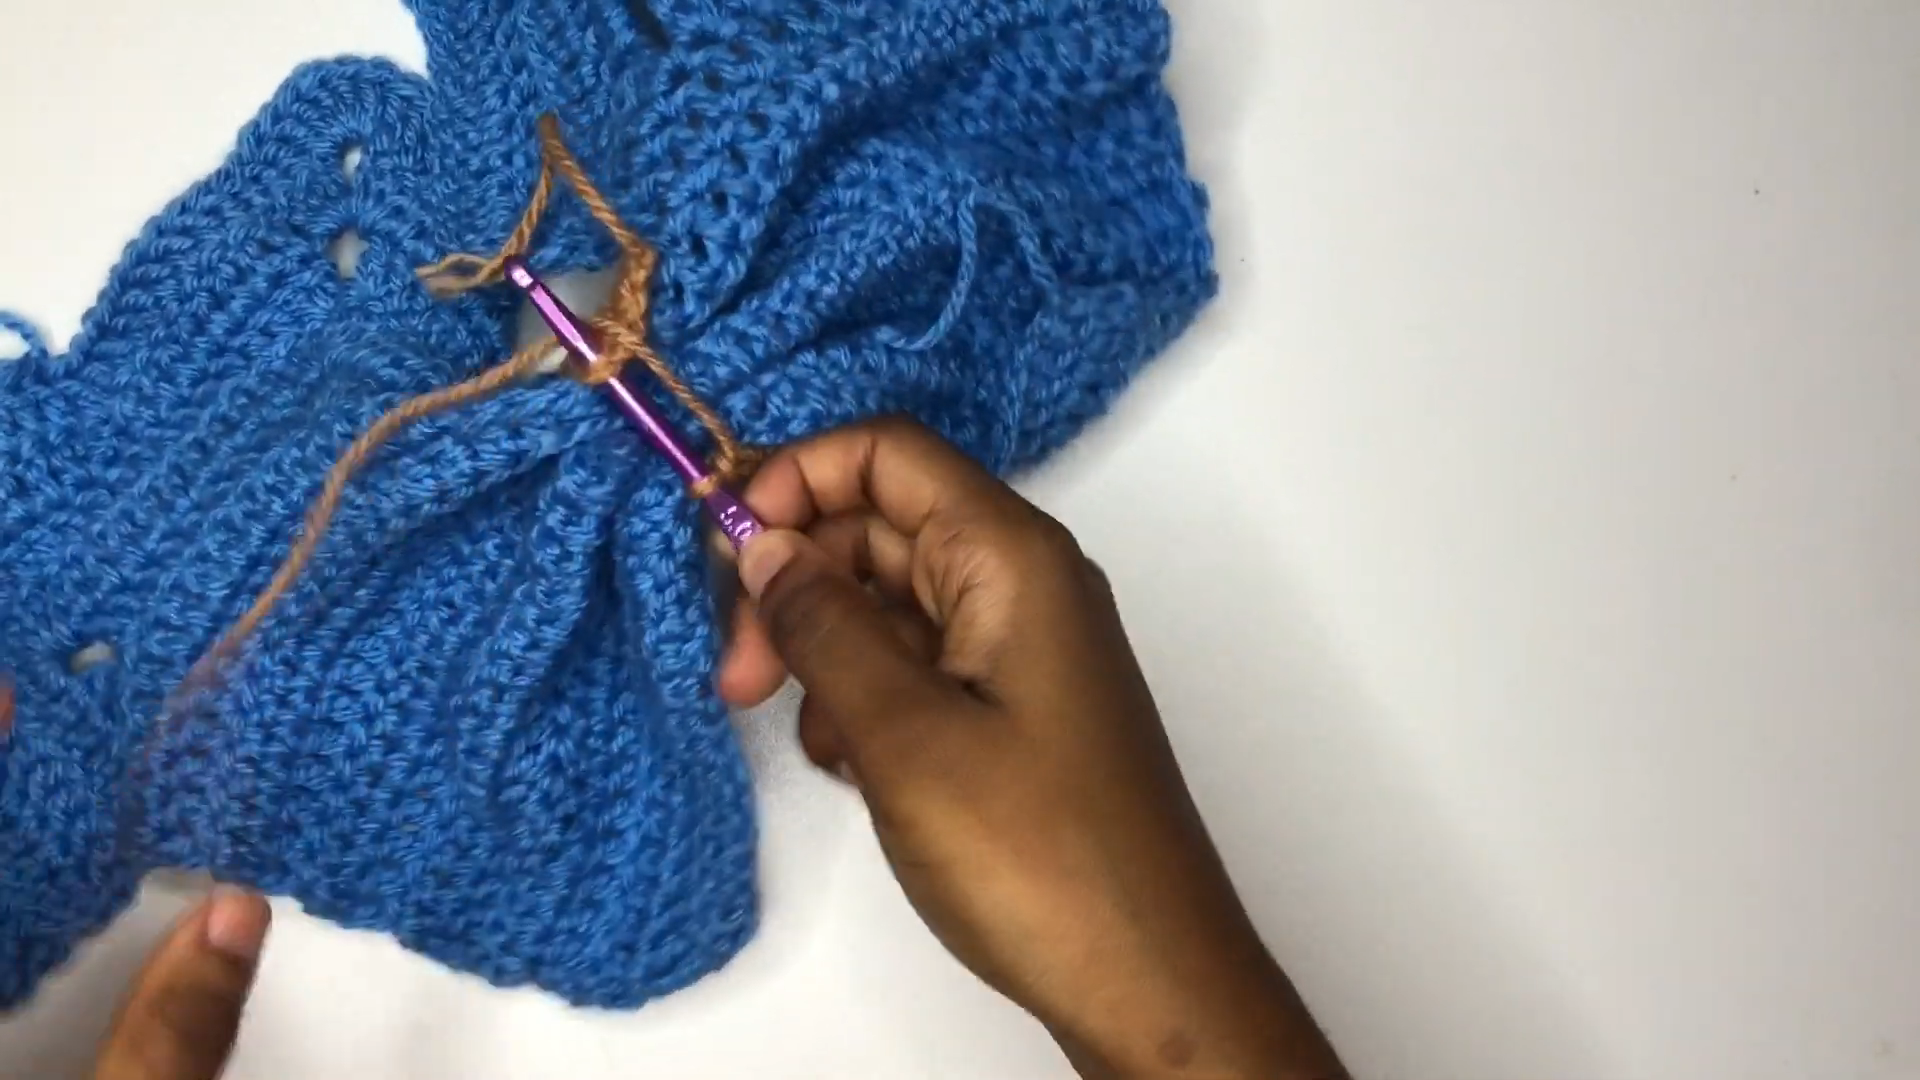
Step 5: Add the Center Connector
Crochet a short strip or use a ring to join both wings at the center front. This connector determines your final bust coverage, so try it on as you go.
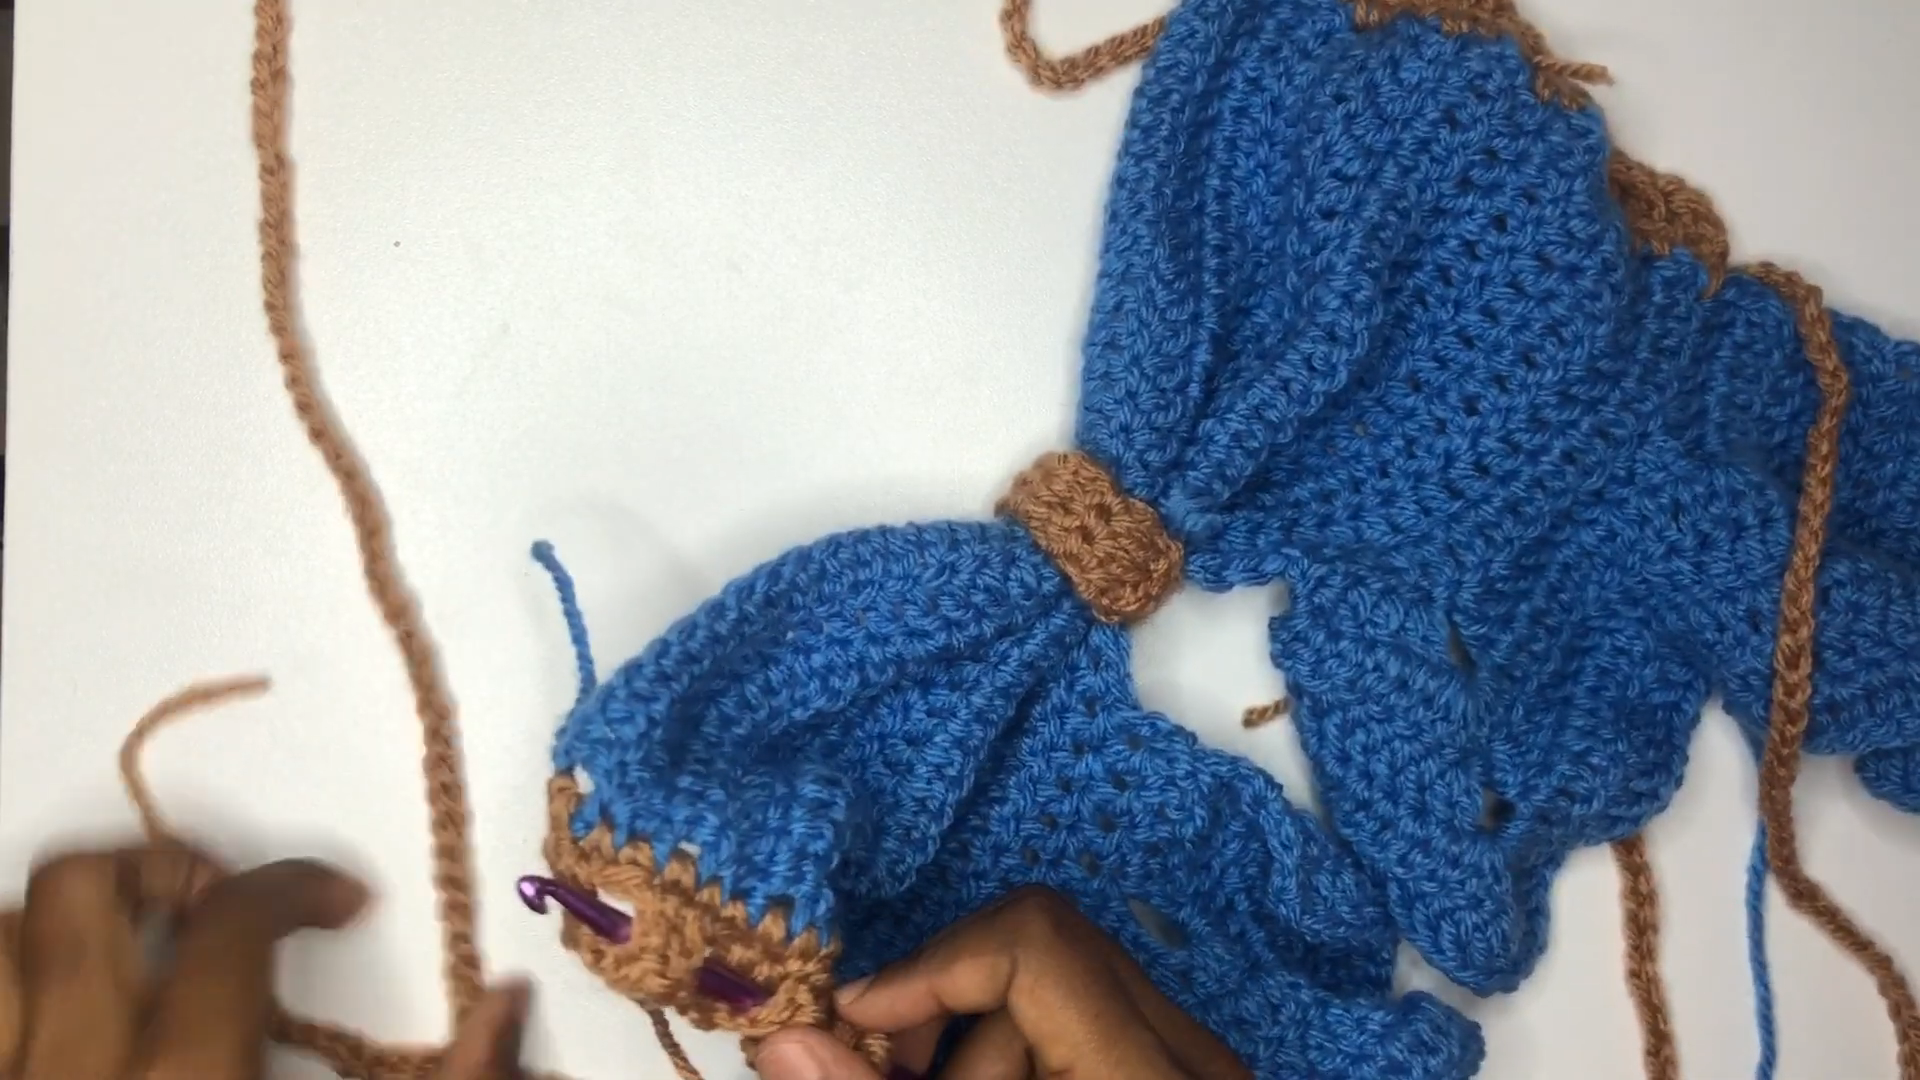
Step 6: Attach Neck Ties
Chain a long enough length on each top corner of the wings to tie behind the neck. Adjust the length based on personal comfort.
Step 7: Attach Back Ties
Repeat the same chain-tie method along the bottom or side edges, depending on the style shown in the tutorial, to secure the top around your back.
Step 8: Finishing Touches
Weave in all loose ends with your yarn needle. Add an edging round of single crochet around the wings for a cleaner, more polished look.
Helpful Beginner Tips
- Keep your tension even; tight stitches early on can throw off the wing shape later.
- Try the piece on as you build it, especially before finishing the ties.
- Use a lighter yarn color first if you’re still learning to see your stitches clearly.
- Block your finished wings gently to help the shape hold.
Common Mistakes and How to Fix Them
Mistake: Wings turn out uneven in size.
Solution: Count your rows and stitch counts carefully, and lay both wings flat to compare after every few rows.
Mistake: The top feels too loose or too tight.
Solution: Adjust the tie length rather than the wing size itself, since ties are the easiest part to customize for fit.
Mistake: Curling edges.
Solution: Add a finishing row of slip stitches or single crochet around the border to flatten curling.
Mistake: Stitches look too loose overall.
Solution: Drop down half a hook size for a tighter, more structured fabric.
Pattern Customization Ideas
- Swap solid yarn for a variegated or ombre skein for a natural gradient wing effect.
- Add a contrasting trim color around the wing edges.
- Sew small beads or a tiny bow at the center connector for extra detail.
- Make a matching bottom piece using the same stitch pattern for a full set.
- Try a scalloped edge instead of a plain border for a lacier finish.
Size and Color Suggestions
This pattern adjusts easily across sizes just by changing your starting chain length and number of increase rows. For color choices:
- Pastel shades for a soft, feminine look
- Bold neon tones for a beach-ready pop of color
- Black and white for a classic, versatile piece
- Two-tone wings using a main color and a bright trim
Frequently Asked Questions
Is this pattern good for absolute beginners?
Yes, as long as you’re comfortable with basic single and double crochet along with simple increasing and decreasing.
What yarn weight works best for this top?
A DK or worsted weight cotton yarn gives the best structure while staying breathable for warm weather.
Can I make this Crochet Butterfly Bikini Top reversible?
You can, by crocheting a duplicate layer in a different color and joining the two pieces together at the edges.
How do I know if my wings are the right size?
Try the piece against your body as you go, comparing it to a bikini top you already own for reference.
Is this top safe for swimming?
Cotton yarn will absorb water and stretch slightly, so it’s better suited for sunbathing, photos, or layering rather than active swimming.
Final Thoughts
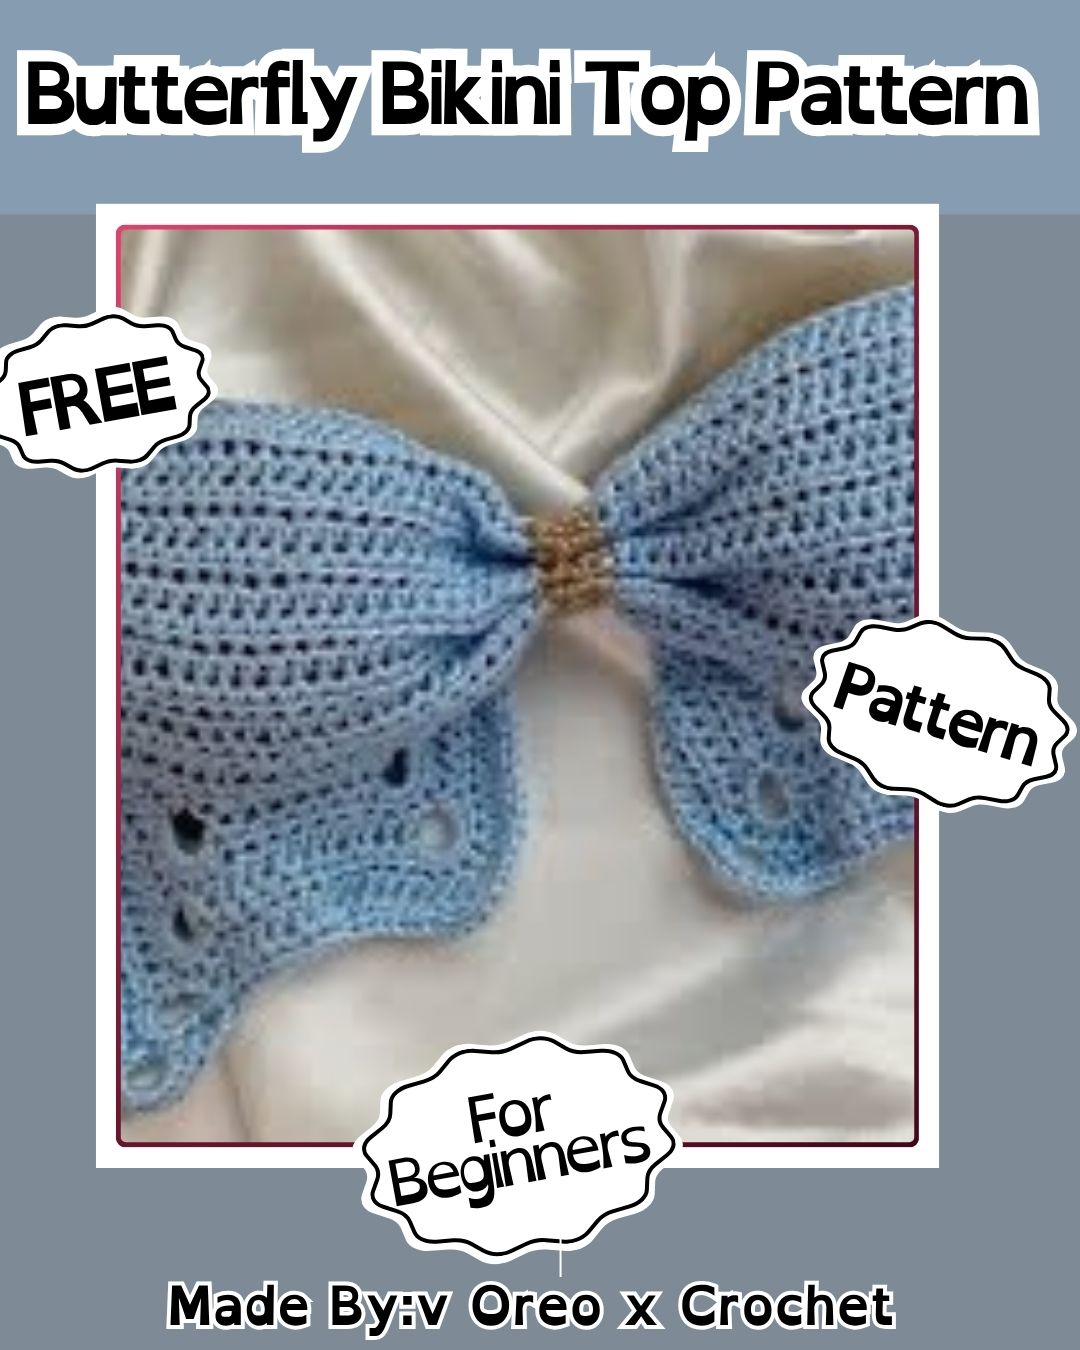
This crochet butterfly bikini top is proof that a few balls of yarn and a handful of basic stitches can turn into something genuinely stylish. Whether you’re planning a beach trip or just want a fun handmade piece to show off, this project is a satisfying one to complete. Grab your hook, follow the tutorial alongside this guide, and enjoy building your own wearable piece of summer art.
If you’re searching for more handmade crochet ideas, this butterfly top is a great addition to your crochet pattern collection simple enough for a relaxed afternoon, yet eye-catching enough to wear with pride.