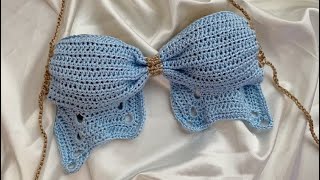
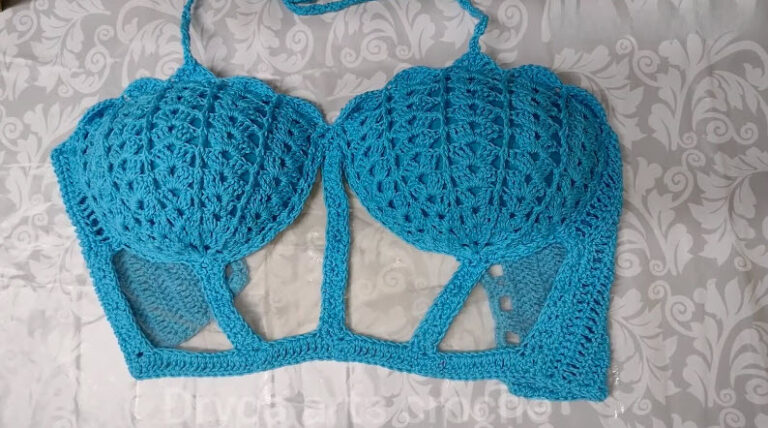
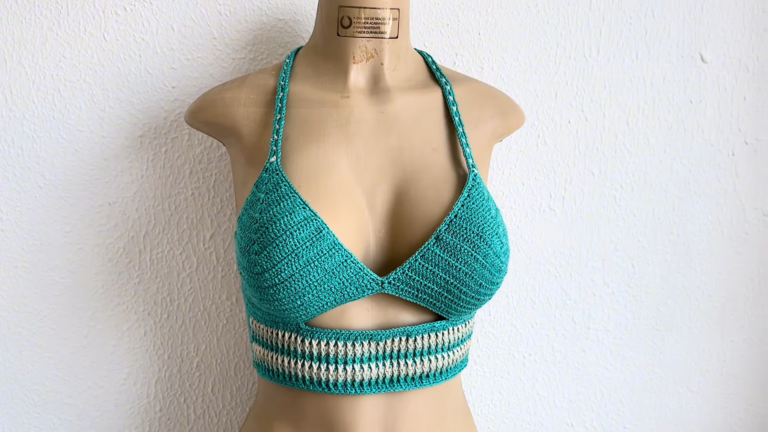
Crochet a Fish Bikini Top Pattern for Summer Days
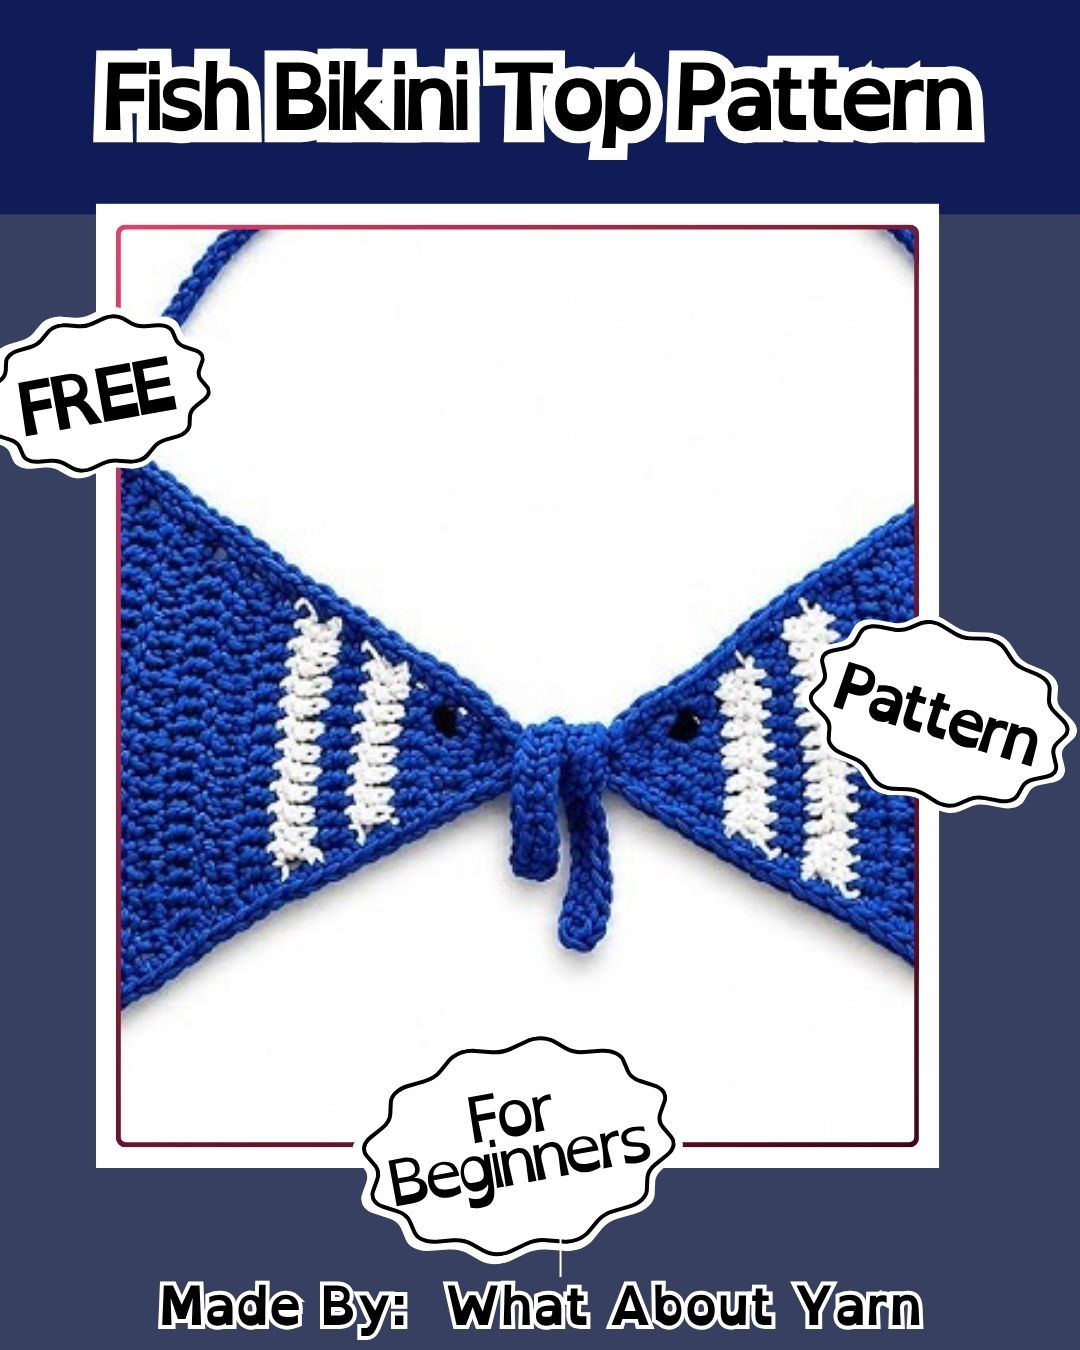
This Crochet Fish Bikini Top Pattern brings ocean-inspired flair to handmade swimwear, perfect for summer days. Its scale-like texture and beautifully fitted shape give this top a charming look, while the playful design sets it apart from typical bikini tops. Its simple construction and easy stitches also make it an achievable, approachable project for new crocheters.
Beach days, pool parties, and beach-themed photoshoots are exactly where this crochet fish bikini top pattern proves especially useful. It suits anyone who enjoys a whimsical, nature-inspired look rather than a plain, solid-colour swim top. With its scale-like texture, this fish scale bikini top design brings creative flair to any crochet swimwear collection, perfect for summer style.
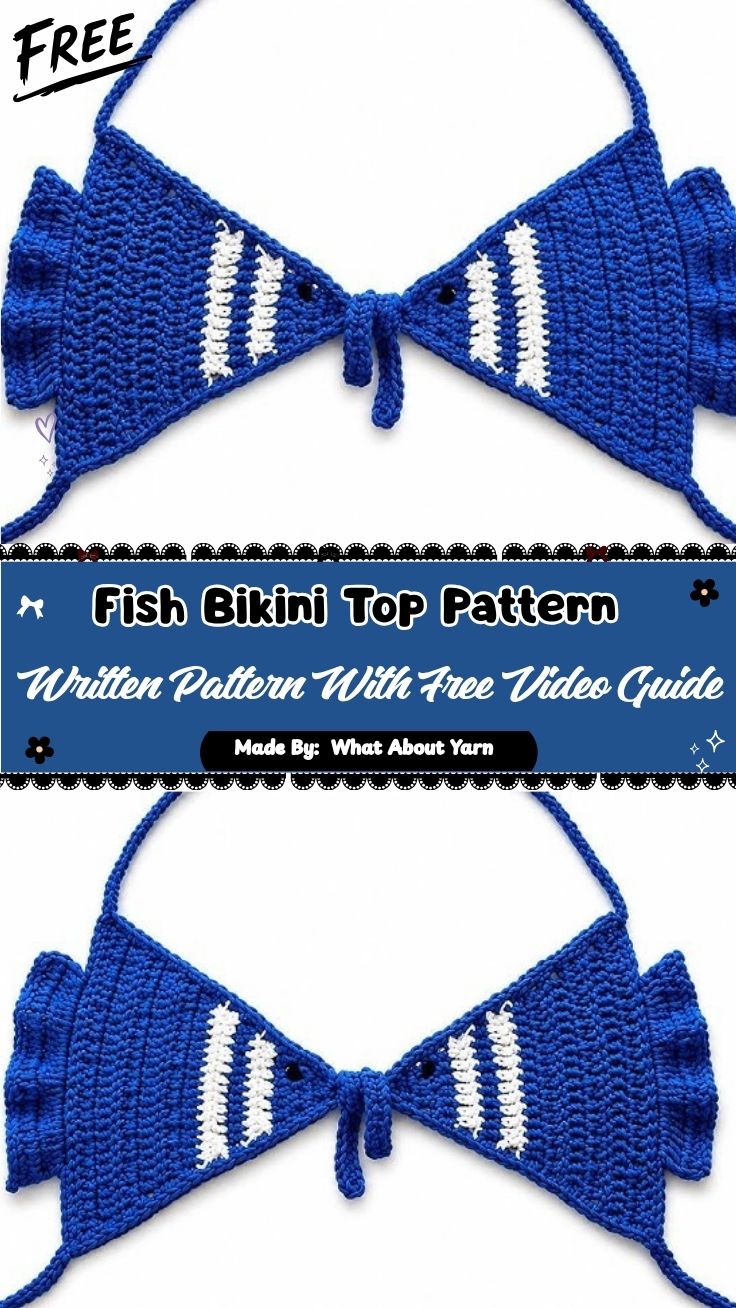
What Is a Crochet Fish Bikini Top?
This style works well for beach days, pool parties, or beach-themed photoshoots. It suits people who enjoy a whimsical, nature-inspired look rather than a plain, solid-color swim top.
Skill Level: Beginner to Intermediate
This pattern is best suited for beginner to intermediate crocheters. The individual stitches used are simple, but the scale-like layering and shaping around the cups require a bit of patience and attention to detail. Anyone who already knows basic stitches and has made a simple crochet top before will find this project approachable.
Materials and Tools Needed
Before starting, gather the following supplies:
- Lightweight cotton or cotton-blend yarn (swim-safe, quick-drying)
- A crochet hook sized to match your yarn weight (commonly 2.5mm–4mm)
- Yarn needle for weaving in ends
- Measuring tape
- Stitch markers
- Fabric scissors
- Optional: swim-safe lining fabric for extra coverage and support
Choosing the right yarn matters here. Since this top is meant for water and sun exposure, a stretchy, quick-drying cotton blend holds its shape far better than regular acrylic yarn, which can sag once wet.
Key Features and Techniques of the Fish Bikini Top
The fish bikini top stands out because of a few core techniques:
- Shell or scallop stitch repeats – these create the curved, overlapping look of fish scales.
- Gradual cup shaping – rows increase or decrease gradually to form a rounded, supportive cup shape.
- Color blending – many versions use two or three shades of blue, green, or teal blended together to mimic underwater light.
- Adjustable straps – long chain straps allow the top to be tied around the neck and back for a custom fit.
Understanding these four elements before you begin makes the rest of the project much easier to follow.
Step-by-Step Guide to Crocheting a Fish Bikini Top
Step 1: Start With a Slip Knot on Your Hook
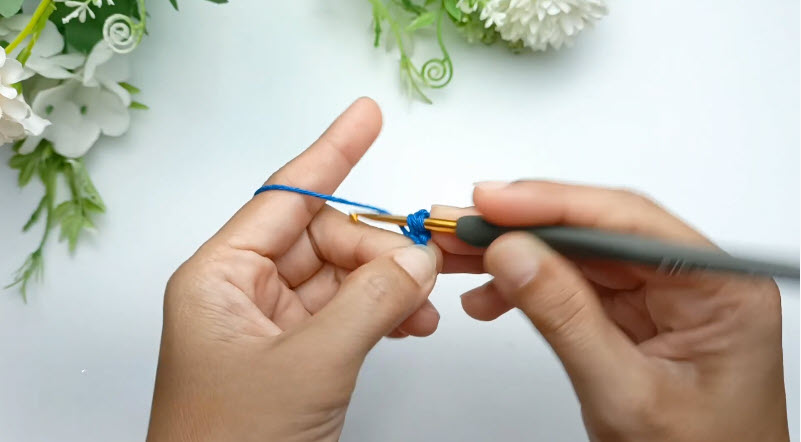
Begin by making a slip knot with your yarn and placing it onto your crochet hook. Hold the hook and yarn between your fingers the way you normally would, keeping the tension light so the loop sits comfortably without pulling too tight. This slip knot is the very first loop your entire cup will be built from, so keep it snug but not stiff.
Step 2: Chain and Begin Your First Stitches
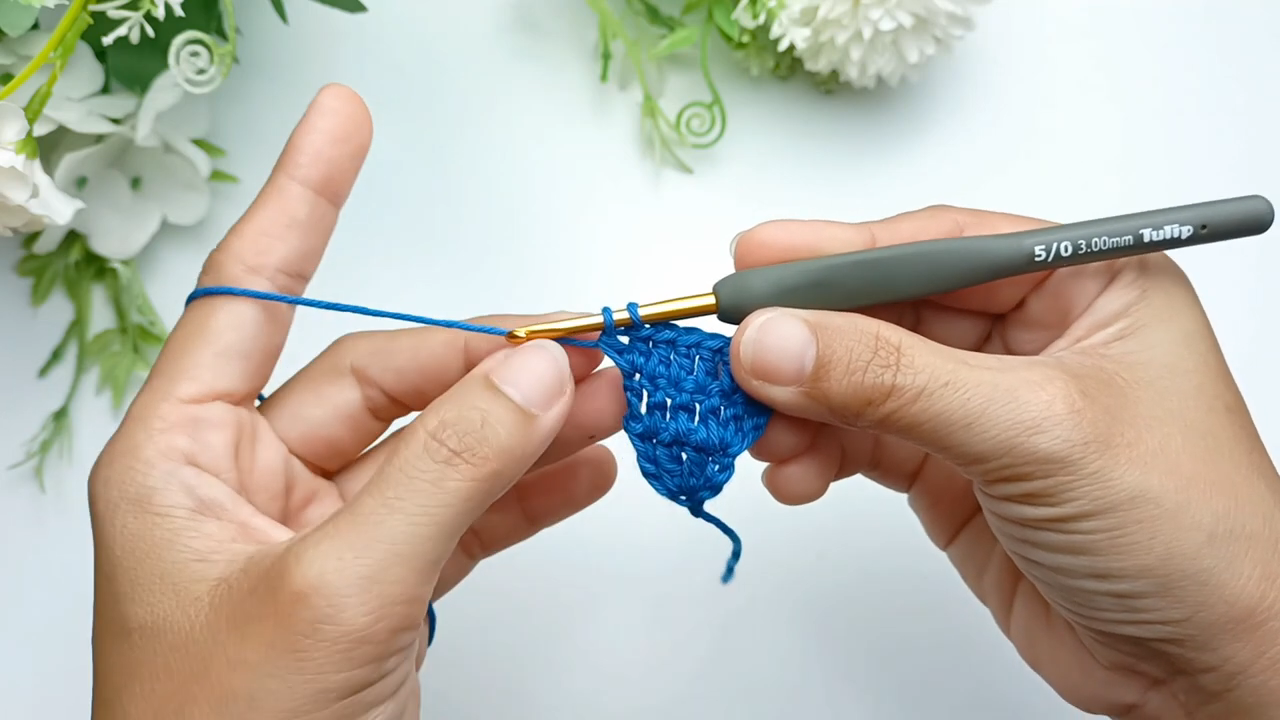
From the slip knot, chain a few stitches to form your starting point, then start working your first single crochet stitches into the base. As you work, you’ll notice the piece naturally begins forming a small point at the bottom; this is the tip of your triangle cup. Keep your strap chain hanging loose to the side as you continue, since it will be worked into the cup later.
Step 3: Build Upward in Striped Rows
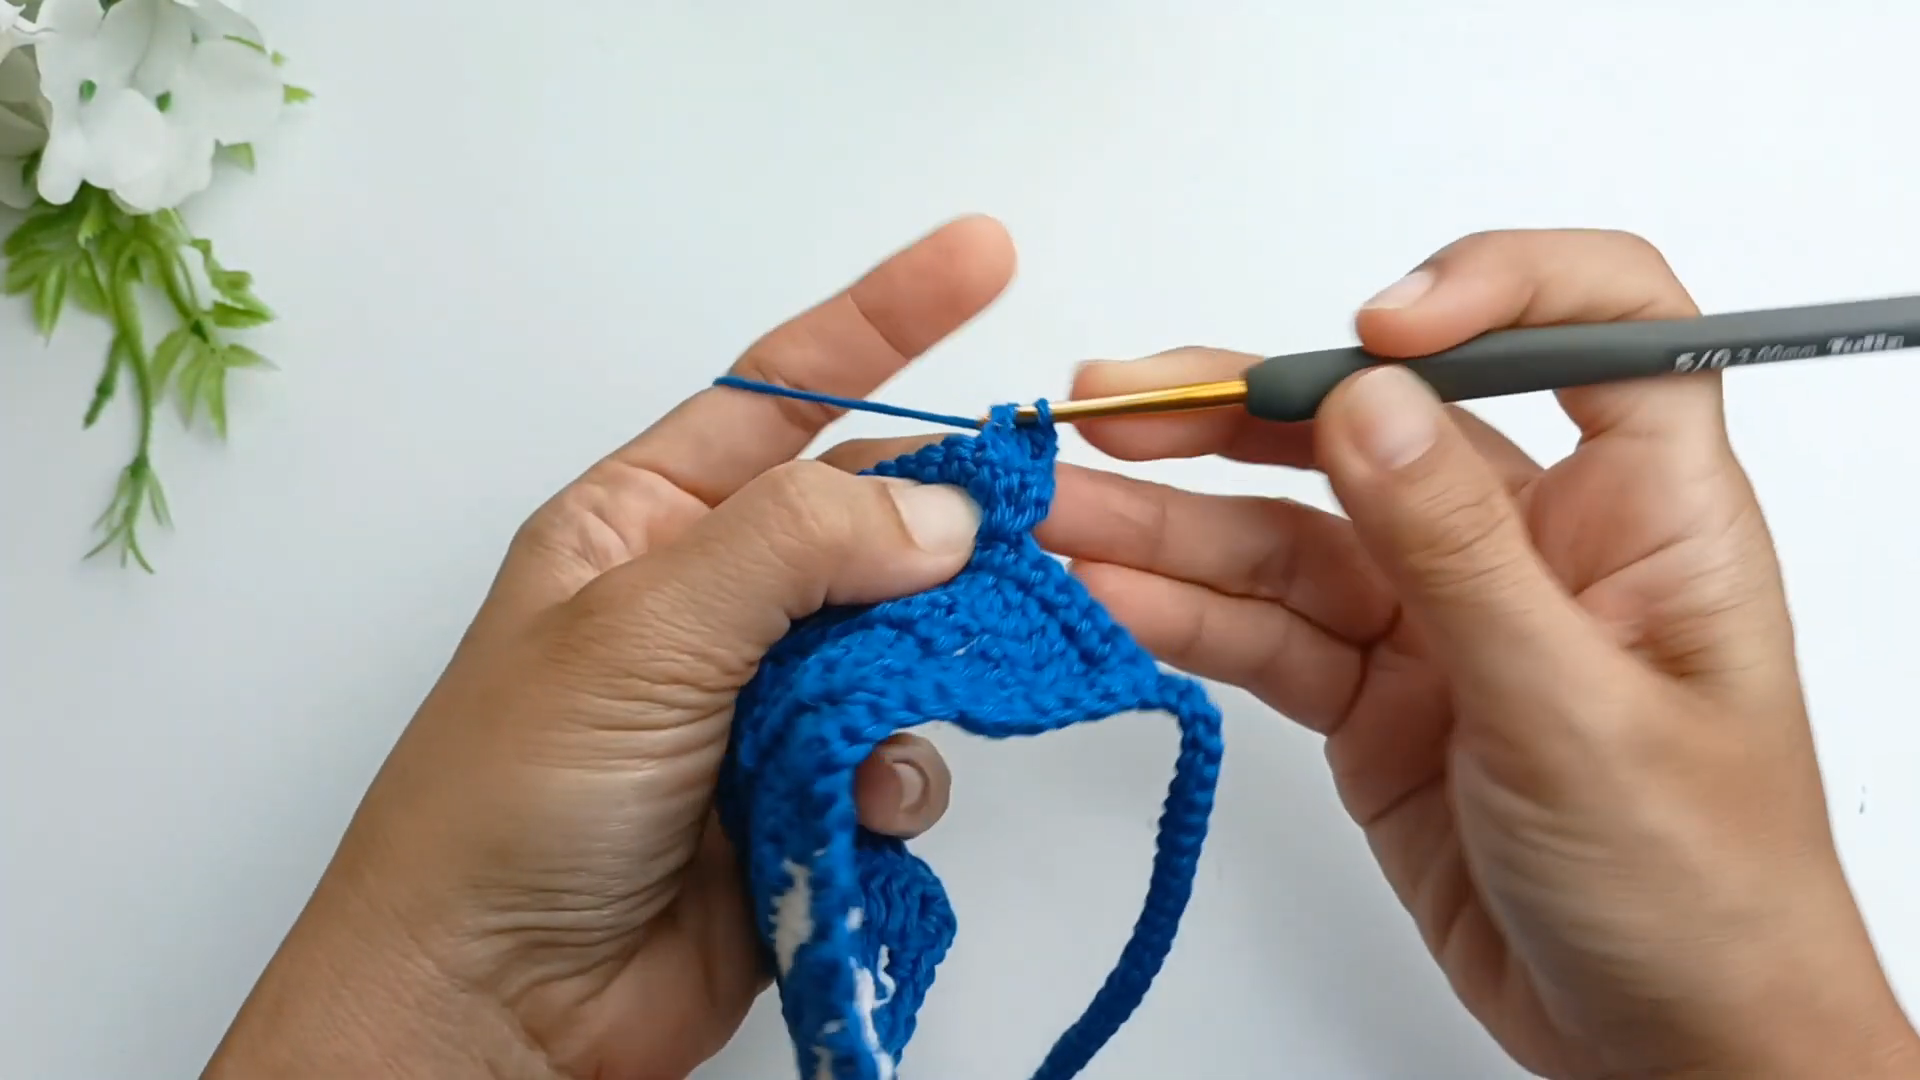
Continue working single crochet stitches row by row, switching between your two yarn colors to create the striped scale effect. Each row should sit neatly on top of the last, gradually widening the triangle as you move upward. Keep the tension even across each row so the stripes stay straight and the fabric lies flat instead of curling.
Step 4: Keep Shaping the Cup as You Work
Continue repeating your stitch pattern, working steadily up the triangle while checking that both sides increase evenly. Hold the piece up periodically to see how the shape is forming against the strap chain already attached at the corner. This step is mostly about consistency; keep your stitch count even on each side so the finished cup sits symmetrically once both pieces are complete.
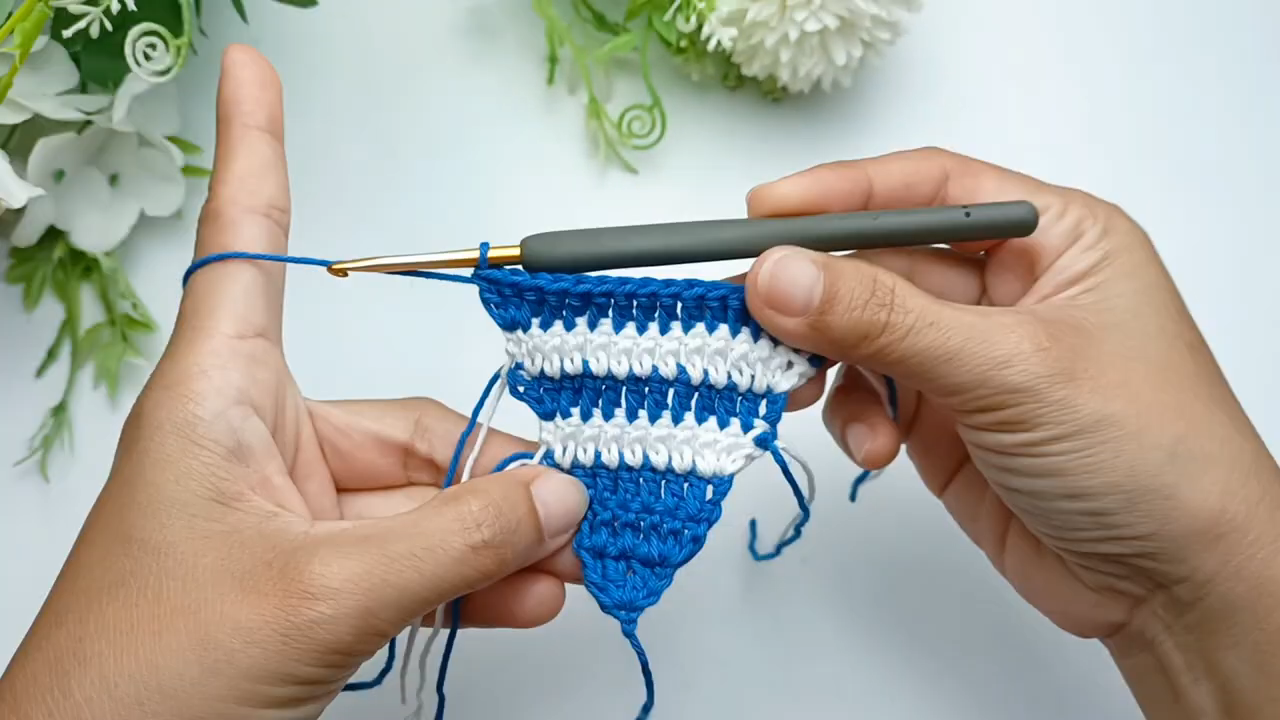
Once one cup is finished, repeat Steps 1 through 4 to create the matching second cup, then join both cups at the center front and attach the neck and back straps securely before weaving in the loose ends.
Helpful Tips for Beginners
- Always crochet a small gauge swatch first to avoid sizing issues later.
- Use stitch markers to track where each scale row begins and ends.
- Try the piece on frequently while shaping the cups rather than waiting until the end.
- Choose yarn labeled as swim-safe or quick-drying for the best long-term durability.
- Block your finished piece lightly to help the scale pattern lie flat and even.
Common Mistakes to Avoid
- Skipping the gauge swatch, which often leads to cups that are too small or too large.
- Pulling stitches too tight, causing the fabric to curl instead of lying flat.
- Uneven cup shaping, which happens when stitch counts aren’t tracked closely between both sides.
- Using regular acrylic yarn, which loses shape quickly once exposed to water and sun.
- Attaching straps before checking fit, which can lead to an uncomfortable or loose top.
Customization Ideas and Variations
- Blend two or three yarn colors for an ombré, underwater gradient look.
- Add small metallic or shimmer yarn strands for extra shine.
- Extend the scale pattern down into a matching cover-up or crop top.
- Swap the scallop stitch for a puff stitch for a bolder, more textured scale effect.
- Add fringe or tassels along the bottom edge for a mermaid-inspired finish.
Frequently Asked Questions
Is a crochet fish bikini top beginner-friendly?
Yes, as long as you’re comfortable with basic stitches. The scale pattern looks intricate but is built from simple repeated rows.
What type of yarn works best for this pattern?
A lightweight, quick-drying cotton or cotton-blend yarn works best since it holds its shape well in water and sun.
Do I need to add a lining for support?
A lining isn’t required, but it does add extra coverage and support, especially for actual swimming rather than sunbathing.
How long does it take to finish a crochet fish bikini top?
Most crocheters finish this project in a few hours to a couple of days, depending on experience level and how detailed the scale pattern is.
Can I make this pattern in any color?
Absolutely. While blue, teal, and green shades give the most realistic fish-scale look, any color combination can work for a personalized style.
Is this top safe to swim in?
With swim-safe yarn and secure straps, it can work for light swimming. However, it is better suited for sunbathing, pool lounging, and beach photos.
Final Thoughts
A crochet fish bikini top is a fun, creative way to bring handmade charm into your summer wardrobe. With simple shell stitch repeats, gradual cup shaping, and a bit of color blending, you can create a swim top that feels playful and one-of-a-kind. Whether you’re heading to the beach, lounging by the pool, or just want a unique piece for warm-weather photos, this pattern offers a manageable project for beginner and intermediate crocheters alike. Gather your yarn, follow the steps at your own pace, and enjoy watching your own scale-inspired design come to life. Once you’ve finished your first one, you might find yourself making a few more in different color combinations for the rest of the season.