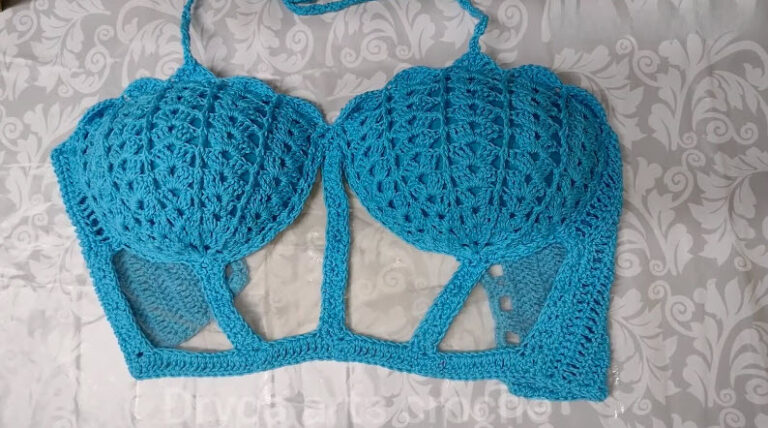
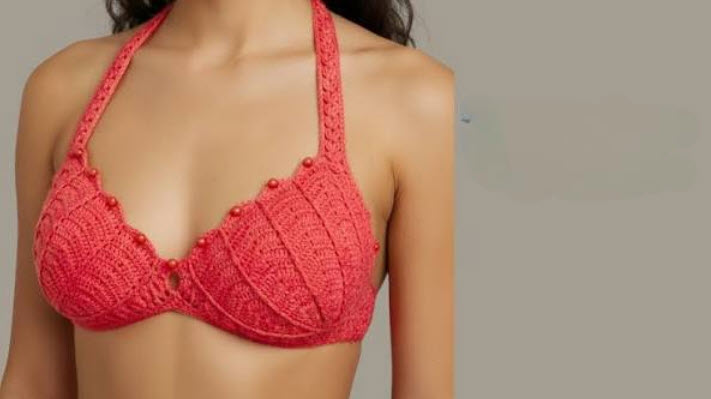
Free Crochet Halter Top Pattern with Cutout Waistband
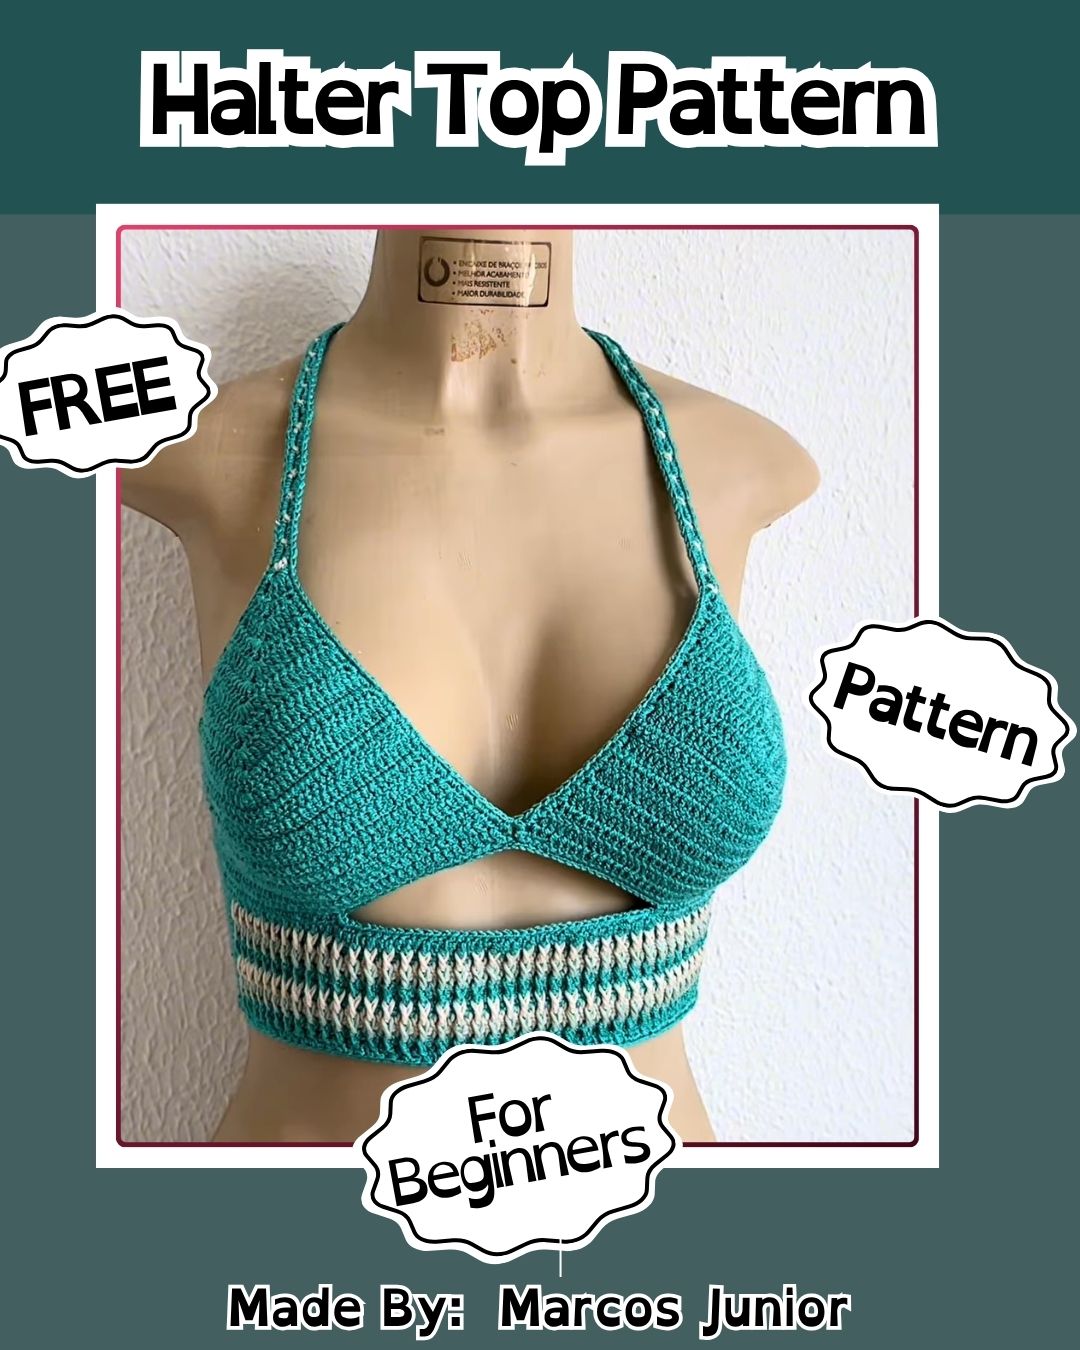
Handmade swimwear keeps evolving, and this Free Crochet Halter Top Pattern with Cutout Waistband brings a fresh, eye-catching twist to the usual bikini top. It pairs a fitted halter cup with an open, crochet waistband detail that adds texture and shows off skin in a flattering way. This design has become a favourite for anyone wanting swimwear that feels handmade yet fashion-forward.
This crochet halter top pattern with a cutout waistband is especially useful for beach days, festivals, and pool parties where you want a top that feels both supportive and breezy, thanks to its open waistband design. With its fitted cups and layered stitch texture, this crochet halter top pairs beautifully with any cutout waistband design, making it a versatile piece for warm-weather wear.
What Is a Crochet Halter Top with Cutout Waistband?
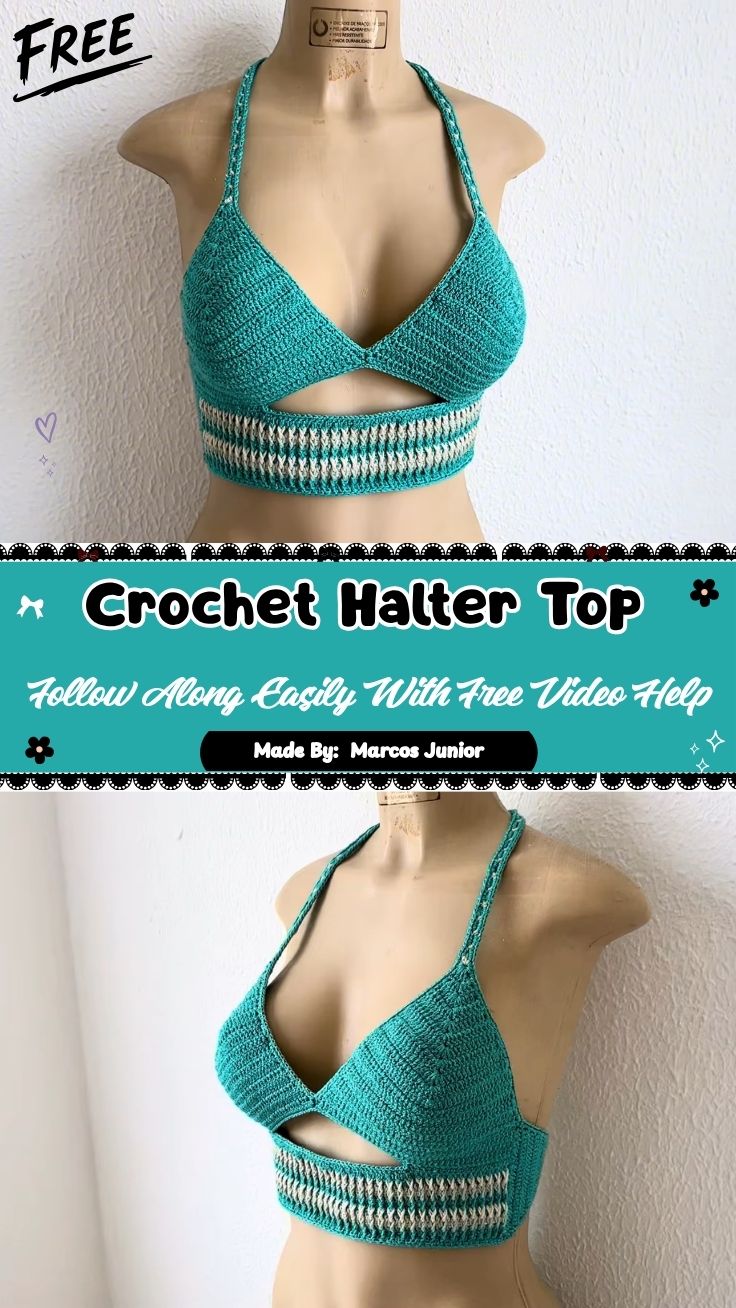
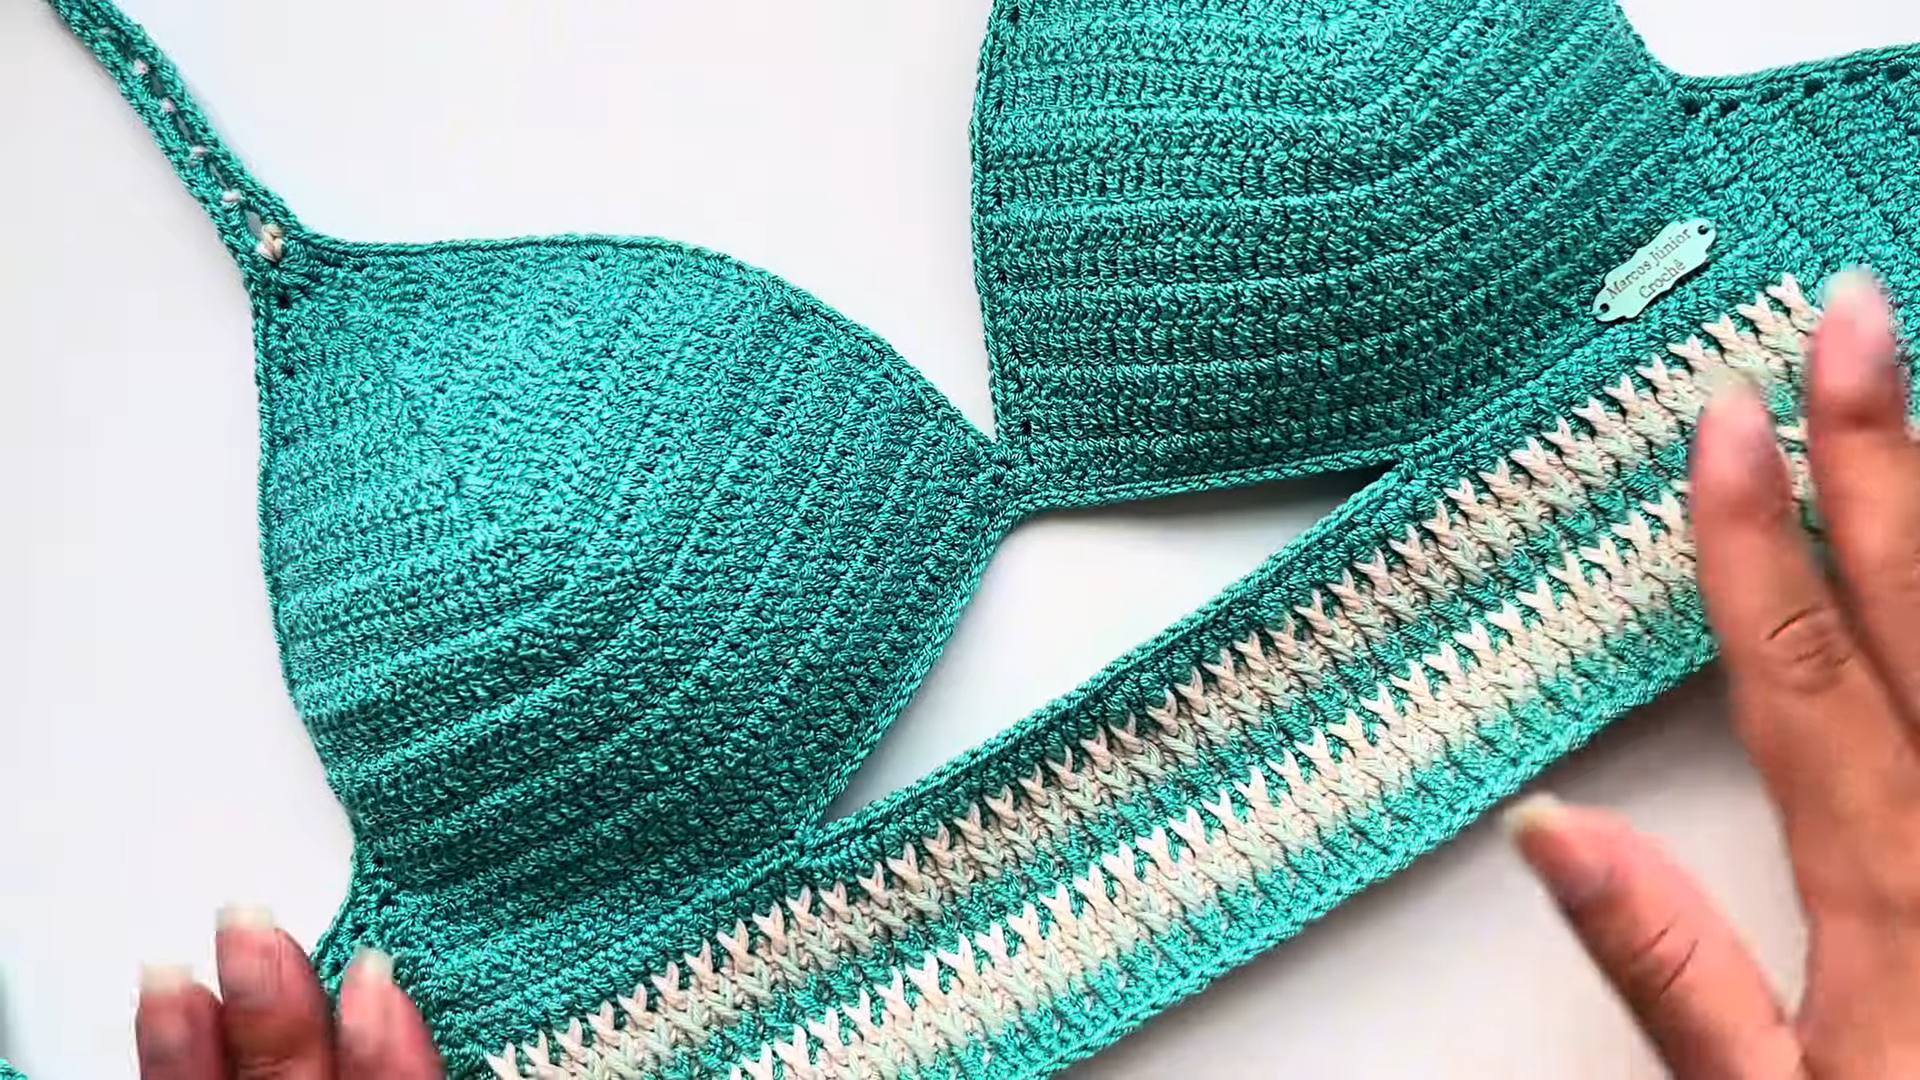
A crochet halter top with a cutout waistband is a swimwear piece made as one connected design, combining a fitted bikini-style cup section with an open, lace-like waistband band below it. The cups are worked in solid single crochet rows for support, while the waistband uses a lighter, more open stitch pattern that creates a striped, airy look.
The neck strap ties behind the head, and the waistband sits just under the bust, creating a layered, two-tone effect that feels different from a standard, one-piece swim top.
Skill Level: Intermediate
This pattern is best suited for intermediate crocheters. The cup shaping itself is fairly straightforward, but the open cutout waistband stitch pattern requires more focus and a bit of prior experience with color changes and open stitch repeats. Anyone who has made a simple crochet top before will be able to follow along with practice.
Materials and Tools Needed
Before starting, gather the following supplies:
- Lightweight cotton or cotton-blend yarn in your main color
- A contrasting yarn color for the waistband stripes
- A crochet hook sized to match your yarn weight (commonly 2.5mm–4mm)
- Yarn needle for weaving in ends
- Measuring tape
- Stitch markers
- Fabric scissors
- Optional: swim-safe lining fabric for the cups
Cotton or cotton-blend yarn is the best choice here since it holds its shape well and dries quickly, which matters for a piece meant to be worn near water and sun.
Key Features and Techniques of This Pattern
A few core techniques make this pattern stand out:
- Fitted cup shaping – rows increase and decrease gradually to build a rounded, supportive cup.
- Open cutout waistband stitch – a lighter, chevron-style stitch repeat that creates the airy, see-through waistband section.
- Two-tone color blocking – switching between a main color and a lighter contrast shade for the waistband stripes.
- Adjustable halter straps – long chain straps that tie behind the neck for a customizable fit.
Understanding these four techniques before starting makes the rest of the project far easier to follow.
Step-by-Step Guide to Crocheting the Halter Top
Step 1: Start Your Foundation Ring
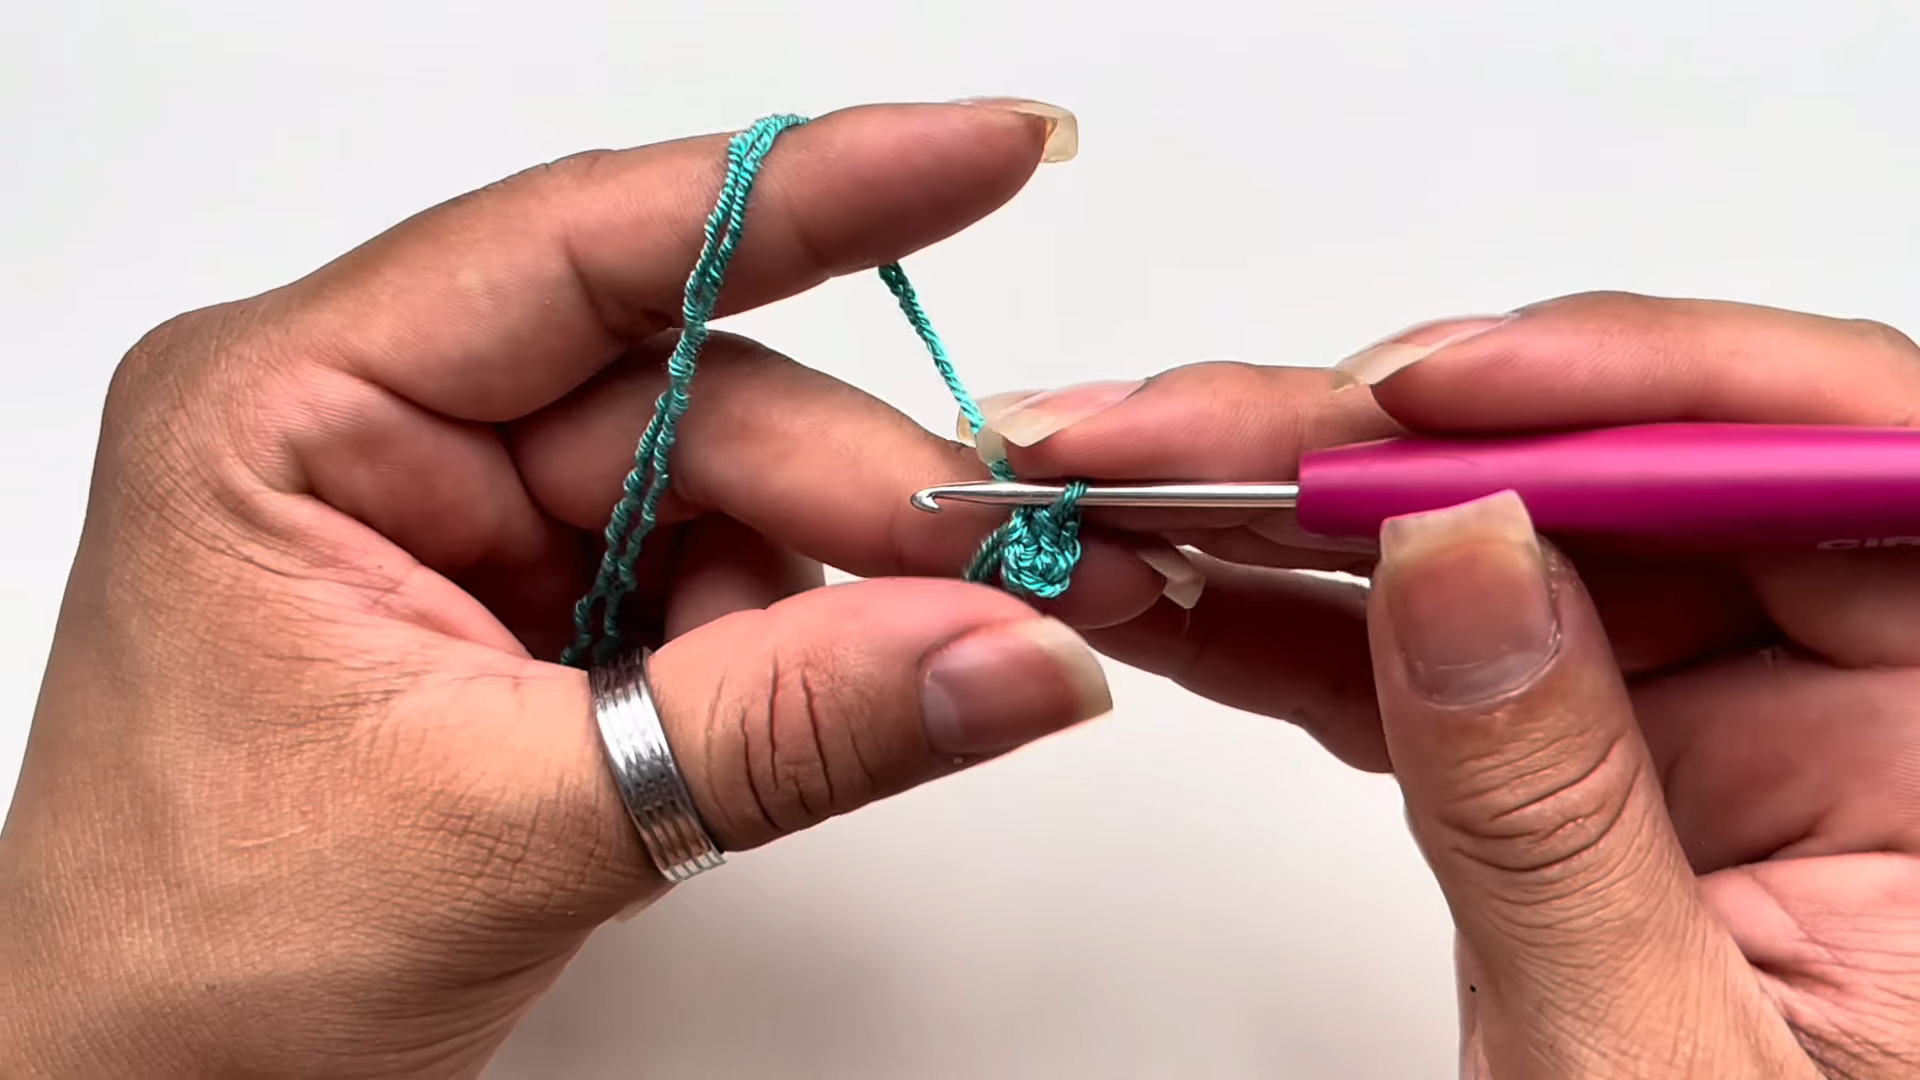
Begin by making your starting loop and working your first few stitches around it to form a small foundation ring. Keep your tension even here since this ring becomes the base that the entire cup is built from. Hold your hook and yarn comfortably, working slowly through this first round.
Step 2: Begin Building the Cup Base
Once your foundation ring is set, start working single crochet stitches into it round by round. You’ll notice the piece begins forming a small, rounded shape almost immediately. Keep your stitch count consistent in this stage so the base sits flat instead of curling to one side.
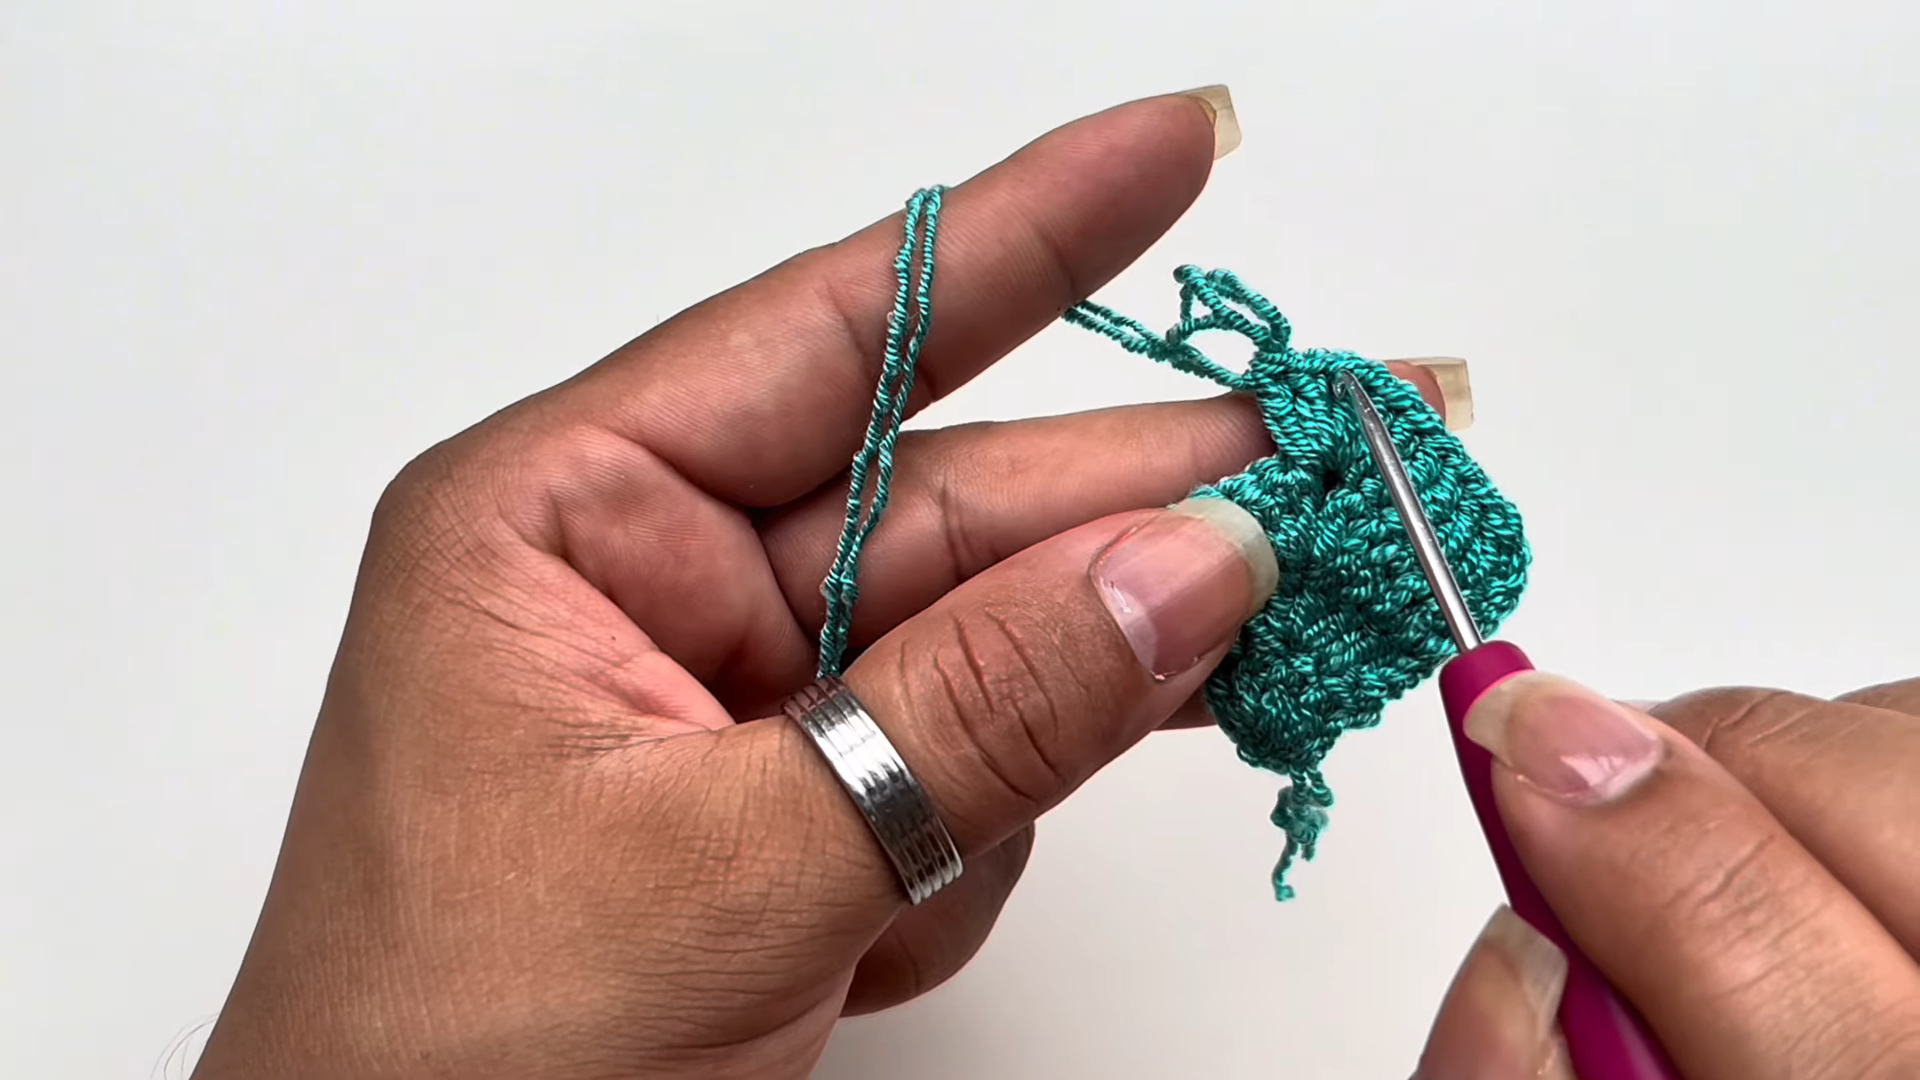
Step 3: Continue Working Rows Upward
Keep building rows steadily, increasing where needed to widen the piece into the cup shape. Hold the growing piece in your hand as you work, checking regularly that both edges are increasing evenly. This is the stage where the texture starts to really take shape, so keep your stitches snug and consistent.
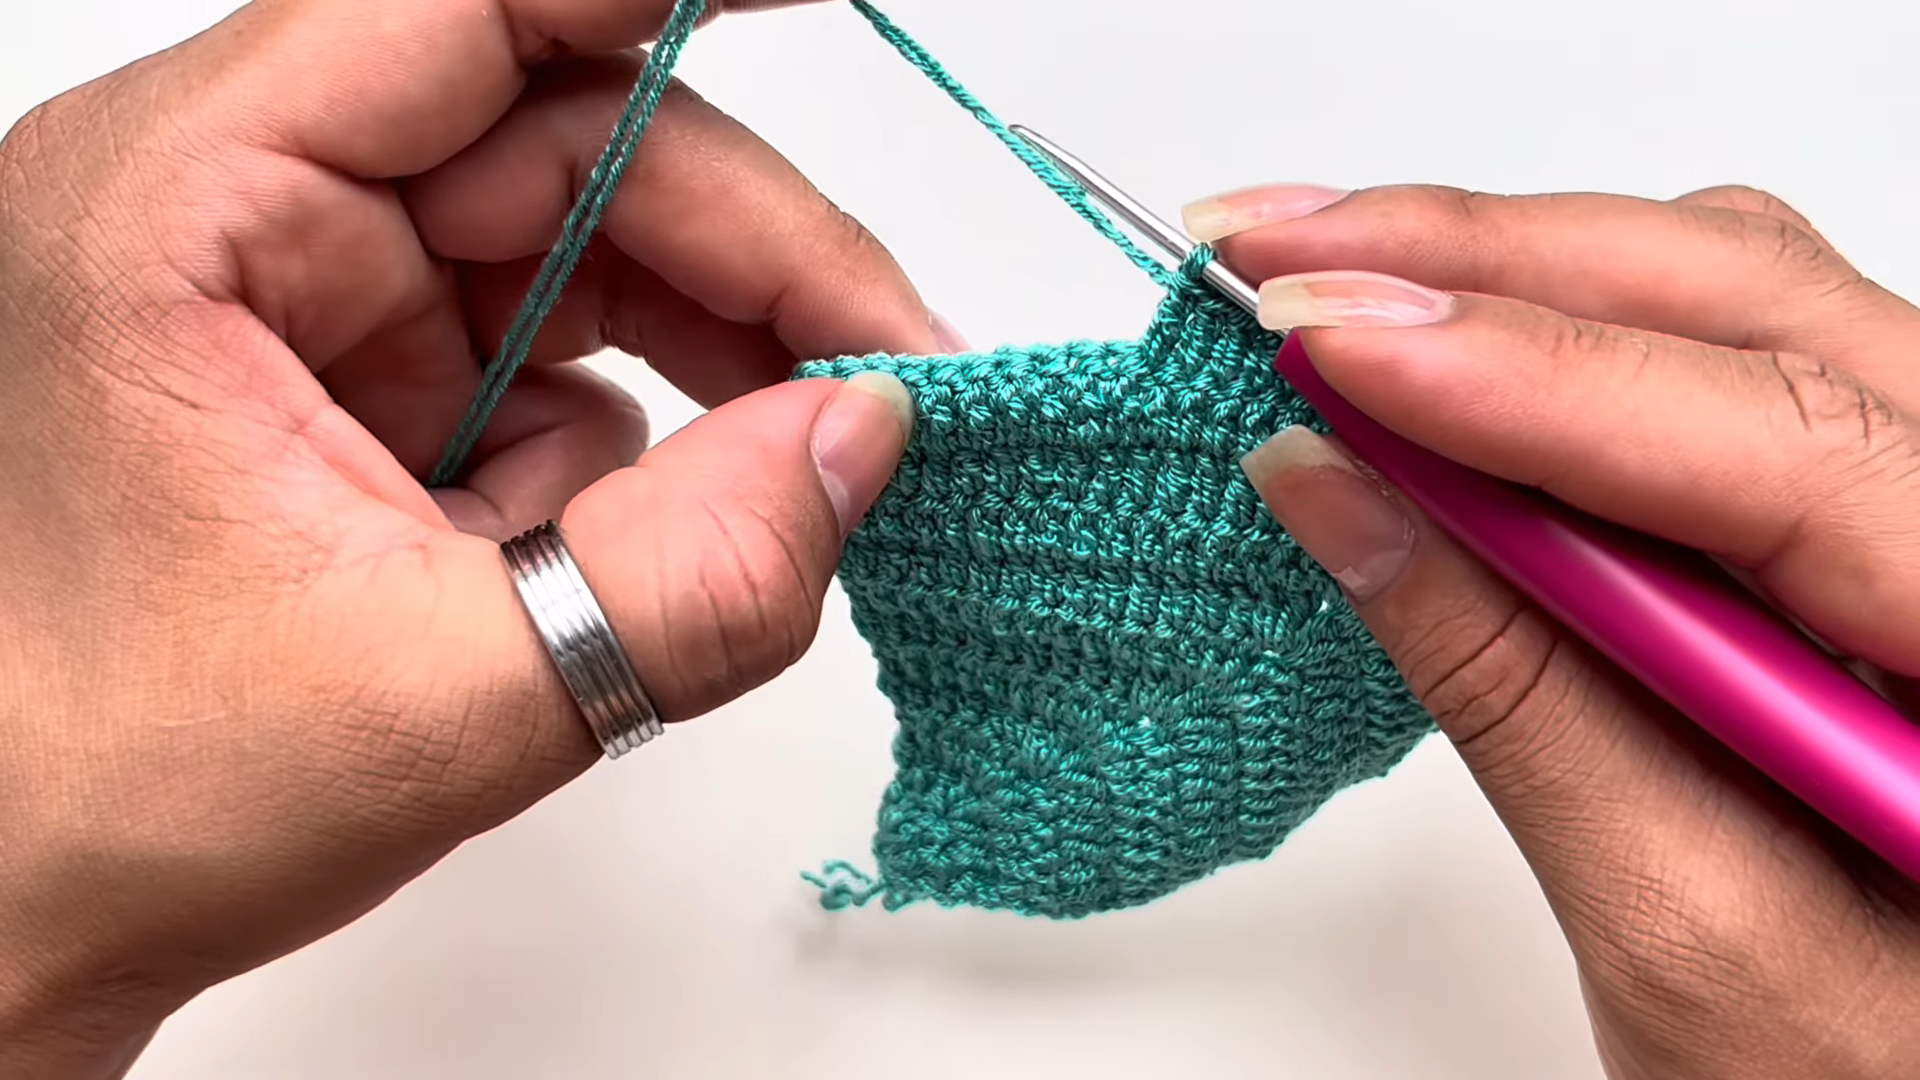
Step 4: Complete the First Cup Shape
Continue working until your piece reaches a full, rounded cup shape with even rows all the way through. At this point, the fabric should sit flat and hold its form well when you turn it in your hands. Set this piece aside once finished, and repeat Steps 1 through 3 to create a matching second cup.

Step 5: Add the Second Cup and Cutout Waistband
With both cups complete, join them together at the center point and begin working the open cutout waistband section below, switching between your main color and contrast yarn to build the striped chevron effect. Attach your halter straps at the top corners, then weave in all loose ends and give the finished piece a final shape check before wearing.
Helpful Tips for Beginners
- Practice the open waistband stitch on a small swatch before attaching it to your cups.
- Keep a consistent tension throughout, especially when switching between yarn colors.
- Try the cups on periodically while shaping them, rather than waiting until the end.
- Use stitch markers to track row counts between your two cup pieces.
- Block your finished piece lightly so the waistband stripes lie flat and even.
Common Mistakes to Avoid
- Rushing the color changes, which can leave loose or uneven stitches at the color-switch points.
- Skipping the tension swatch, leading to a waistband that either gapes too much or feels too tight.
- Uneven cup shaping between the two sides, which throws off the overall fit.
- Using stiff, non-stretch yarn, which makes the open waistband stitch harder to work evenly.
- Attaching straps before checking fit, resulting in a top that sits too high or too low.
Customization Ideas and Variations
- Try three or more contrast colors in the waistband for a bolder, ombré-style stripe effect.
- Extend the cutout waistband section further down to create a matching crop top.
- Swap the chevron stitch for a shell stitch for a softer, more rounded waistband texture.
- Add a thin trim or picot edge along the cup tops for extra detail.
- Use a metallic or shimmer yarn blend in the waistband stripes for a beach-glam finish.
Frequently Asked Questions
Is this halter top pattern beginner-friendly?
It leans more toward intermediate, mainly because of the open cutout waistband stitch. Beginners can still try it with some patience and practice on a swatch first.
What yarn works best for the cutout waistband?
A lightweight, quick-drying cotton or cotton-blend yarn works best, since it holds its shape and keeps the open stitch pattern looking crisp.
Do I need a lining for the cups?
A lining isn’t required, but it adds extra support and coverage, especially if you plan to wear the top for actual swimming.
How long does this pattern take to finish?
Most crocheters finish the cups and waistband section over a few days, depending on experience level and how detailed the color pattern is.
Can I make the waistband a different pattern than chevron?
Yes, any open, lace-style stitch repeat can work in place of the chevron pattern, as long as it matches the airy, cutout look.
Is this Crochet Halter Top Pattern suitable for actual swimming?
With swim-safe yarn and secure strap attachment, it holds up well for light swimming, though it’s best suited for sunbathing, pool lounging, and beach photos.
Final Thoughts
This crochet halter top pattern with a cutout waistband offers a fun way to bring a fresh, fashion-forward piece into your handmade swimwear collection. Between the fitted cup shaping and the airy, striped waistband detail, it stands apart from a plain, solid-color top while still staying approachable for anyone with some crochet experience. Take your time with the cup shaping, practice the waistband stitch on a swatch first, and enjoy watching the two-tone design come together. Once finished, you’ll have a piece that feels handmade, personal, and perfect for warm-weather days ahead.