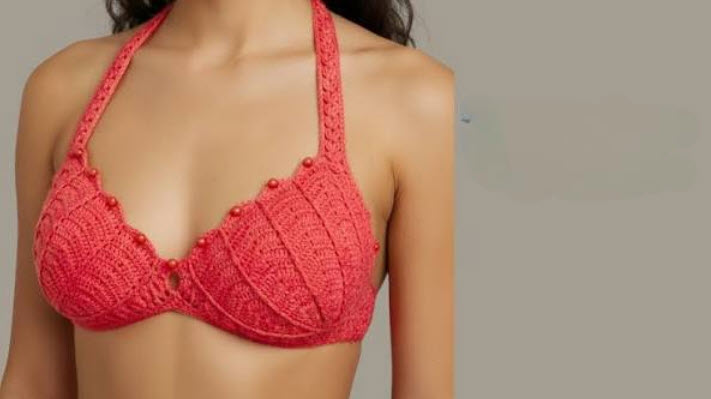
Stylish Crochet Cropped Top Pattern for Summer Outfits
Every summer wardrobe feels more complete with a lightweight handmade Crochet Cropped Top. This crochet design pairs effortlessly with jeans, shorts, or maxi skirts, making it a stylish choice for beach days, weekend outings, and sunny vacations.
Crafting your own cropped top means getting exactly what you want: the right colors, the perfect length, and details that match your personal style. Warm weather calls for pieces that feel light and look fresh, and this handmade version delivers both. Store-bought tops rarely offer that same custom fit or creative freedom. Paired with denim shorts or a flowy skirt, this cropped top brings an effortless, put-together touch to any summer outfit.
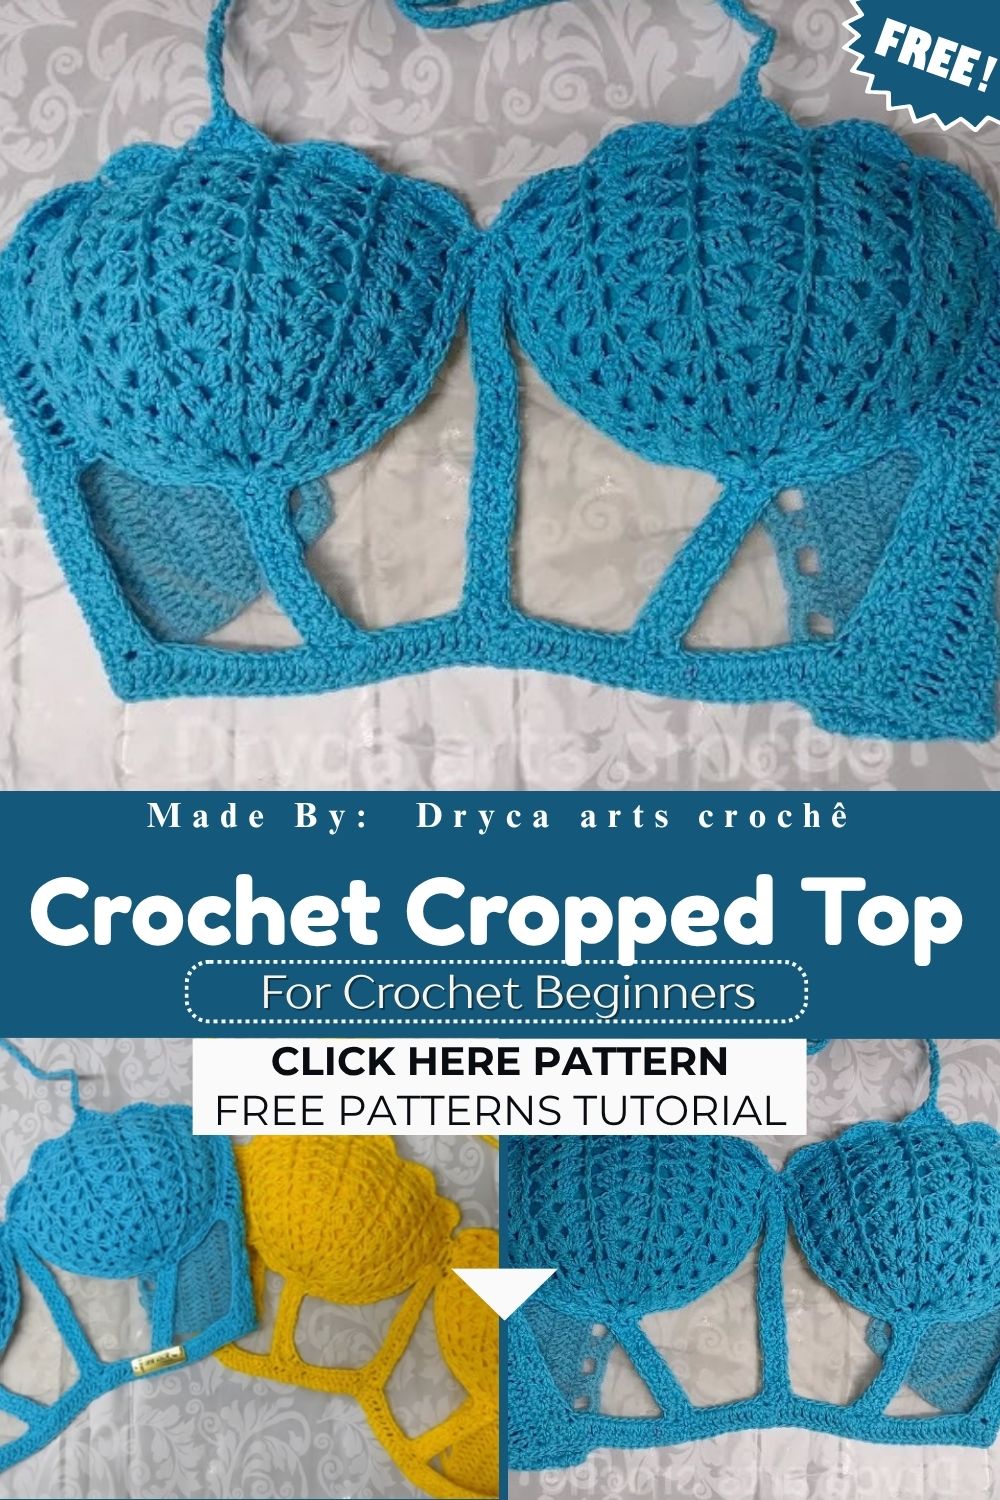
Overview
A cropped top sits right above the waistline, pairing effortlessly with high-waisted jeans, denim shorts, or flowy skirts. This particular design uses simple, repeating stitches, which keep the whole project quick without sacrificing a polished, boutique-style finish. It works for casual beach days or dressed-up evening looks.
What Makes This Pattern Special
Breathable stitch work, a flattering fitted shape, and adjustable strap length make this top wearable for almost any body type or occasion.
Skill Level
This project suits confident beginners and intermediate makers. Basic stitches like single crochet and half double crochet carry the whole design, though shaping the neckline and armholes calls for a little extra attention. Anyone comfortable reading a simple stitch pattern can finish this top in a weekend or two.
Materials and Tools You’ll Need
Gathering the right supplies before starting saves time and frustration later.
- Lightweight cotton or cotton-blend yarn (DK or worsted weight works well)
- Crochet hook sized to match your yarn (usually 3.5mm–4mm)
- Yarn needle for weaving in ends
- Measuring tape
- Stitch markers
- Scissors
- Optional: buttons, ribbon, or trim for decorative touches
Key Techniques Used in This Design
Trust me, none of these techniques are complicated once you see them in action.
Foundation and Body Shaping
The body of the top starts with a simple foundation chain, then builds upward using consistent rows of half double crochet. Keeping tension even here shapes the final fit.
Strap and Neckline Construction
Straps get crocheted separately or as an extension of the main panel, depending on the style you’re going for. The neckline shaping usually involves decreasing stitches gradually rather than cutting fabric, which keeps the edge smooth and stretch-friendly.
Edging for a Clean Finish
A simple border round along the hem, neckline, and armholes gives the top a store-bought look and prevents curling edges.
Step-by-Step Instructions
Step 1: Take Your Measurements
Measure your bust, desired top length, and shoulder width. Write these numbers down since they’ll guide every following step.
Step 2: Create the Foundation Chain
Chain a length matching your bust measurement, adjusting for your yarn’s gauge. This chain becomes the base of your top’s body.
Step 3: Build the Main Body
Work rows of half double crochet upward until you reach your desired torso length. Keep row counts even on both the front and back panels if you’re crocheting them separately.
Step 4: Shape the Armholes
Once you hit underarm height, begin decreasing stitches on both sides gradually. This creates the curved shape needed for comfortable arm movement.
Step 5: Shape the Neckline
Continue decreasing at the center front (and back, if applicable) to form the neckline opening. Go slow here — small, steady decreases look far more natural than sudden drops.
Step 6: Add the Straps
Crochet two straps to your preferred length, then attach them securely at the shoulder seams. Try the top on before finishing to double-check placement and length.
Step 7: Finish the Edges
Add a simple single crochet border around the hem, armholes, and neckline. This step locks stitches in place and gives the whole piece a tidy, finished appearance.
Step 8: Weave In Ends and Block
Hide any loose yarn tails with a yarn needle, then lightly block the top so it holds its shape and drapes properly.
Helpful Tips for Beginners
- Always crochet a small gauge swatch first — sizing mistakes are hard to fix later.
- Cotton yarn holds its shape better than acrylic for warm-weather garments.
- Try the top on periodically during construction, especially before finishing straps.
- Count stitches at the end of every row to catch mistakes early.
Common Mistakes to Avoid
- Skipping the gauge swatch, which throws off the entire fit.
- Decreasing too quickly at the neckline, creating an unflattering, sharp edge.
- Using yarn that’s too heavy, which can make the top feel stiff instead of breezy.
- Forgetting to try the piece on before attaching straps permanently.
Customization Ideas
- Add a scalloped edge along the hem for a feminine touch.
- Swap solid straps for braided or twisted ones.
- Use two contrasting yarn colors for a striped effect.
- Add a drawstring at the waist for an adjustable fit.
- Attach small buttons or a ribbon tie at the neckline for extra detail.
Frequently Asked Questions
Q1: What yarn weight works best for a summer crop top?
Lightweight cotton or cotton-blend yarn in DK or worsted weight keeps the top breathable and comfortable in warm weather.
Q2: How long does this Crochet Cropped Top project usually take?
Most makers finish within 6–12 hours, spread across a few sessions, depending on experience level.
Q3: Can this pattern be resized for different body types?
Yes. Adjusting the foundation chain length and row count easily changes the fit for various bust and torso sizes.
Q4: Is this pattern good for a first garment project?
Absolutely. The stitches stay simple throughout, making it approachable even for those who’ve never crocheted clothing before.
Q5: What’s the best way to style a finished crop top?
Pair it with high-waisted denim, a flowy maxi skirt, or shorts for an easy, put-together summer look.
Q6: Can I make this Crochet Cropped Top without decreasing for the neckline?
Yes, a straight neckline works too just skip the gradual decreases and finish with a simple border instead.
Conclusion
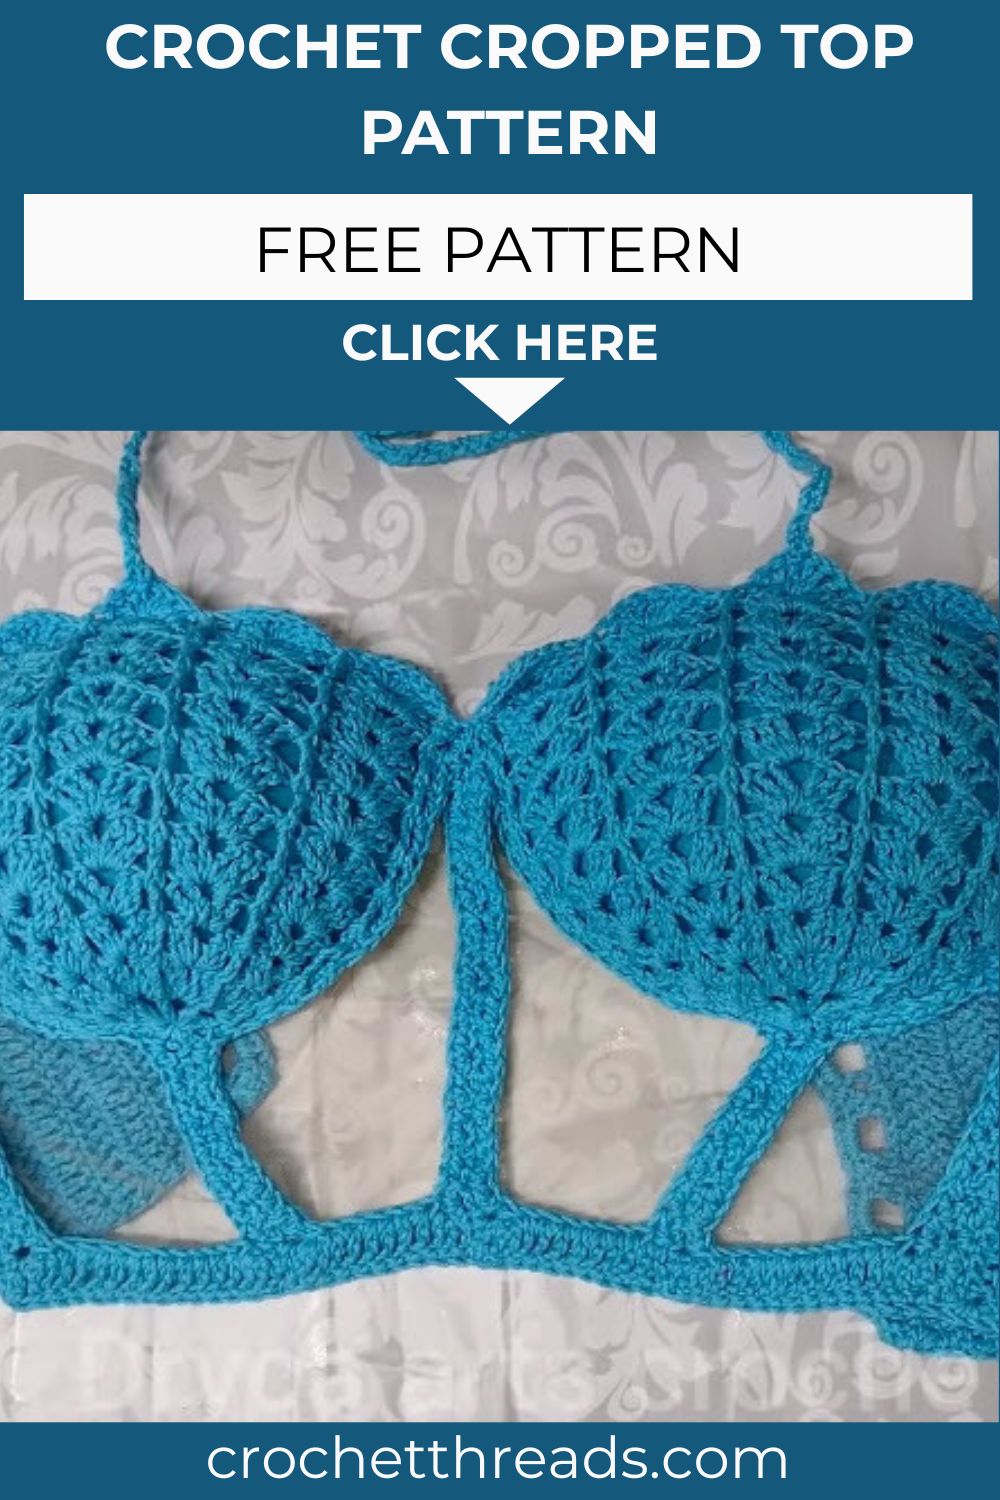
A handmade Crochet Cropped Top brings comfort, style, and a personal touch to any summer wardrobe. With simple stitches, clear shaping steps, and plenty of room for customization, this pattern welcomes both new and experienced makers alike. Whether you’re heading to the beach or dressing up for a summer gathering, this top adapts beautifully to your style. Ready to give it a try? Grab your hook and yarn, follow the steps above, and craft a piece you’ll want to wear on repeat all season long.