Free Crochet Beaded Halter Bikini Top Pattern
Summer makes for the perfect time to try something new, and this Crochet Beaded Halter Bikini Top Pattern can turn into a distinctive addition to any wardrobe. Whether headed to the beach or lounging by the pool, this handmade halter bikini top blends lovely beaded details with boho-chic style, giving it a look that stands apart from typical store-bought swimwear.
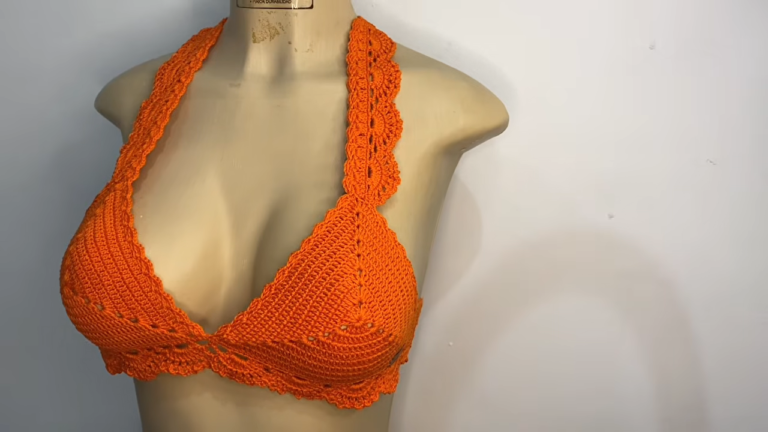
This Crochet Beaded Halter Bikini Top Pattern pairs a delicate shell stitch texture with shimmering beads, adding beautiful sparkle and boho flair throughout the design. Each cup builds from a small starting point and gradually shapes outward, creating a fitted silhouette. It suits anyone after a distinctive handmade swimwear option for the beach, pool days, and summer vacations especially well. Adjustable ties at the neck and back help customise the fit, while the Crochet Halter Bikini Top style makes it a charming, wearable summer piece.
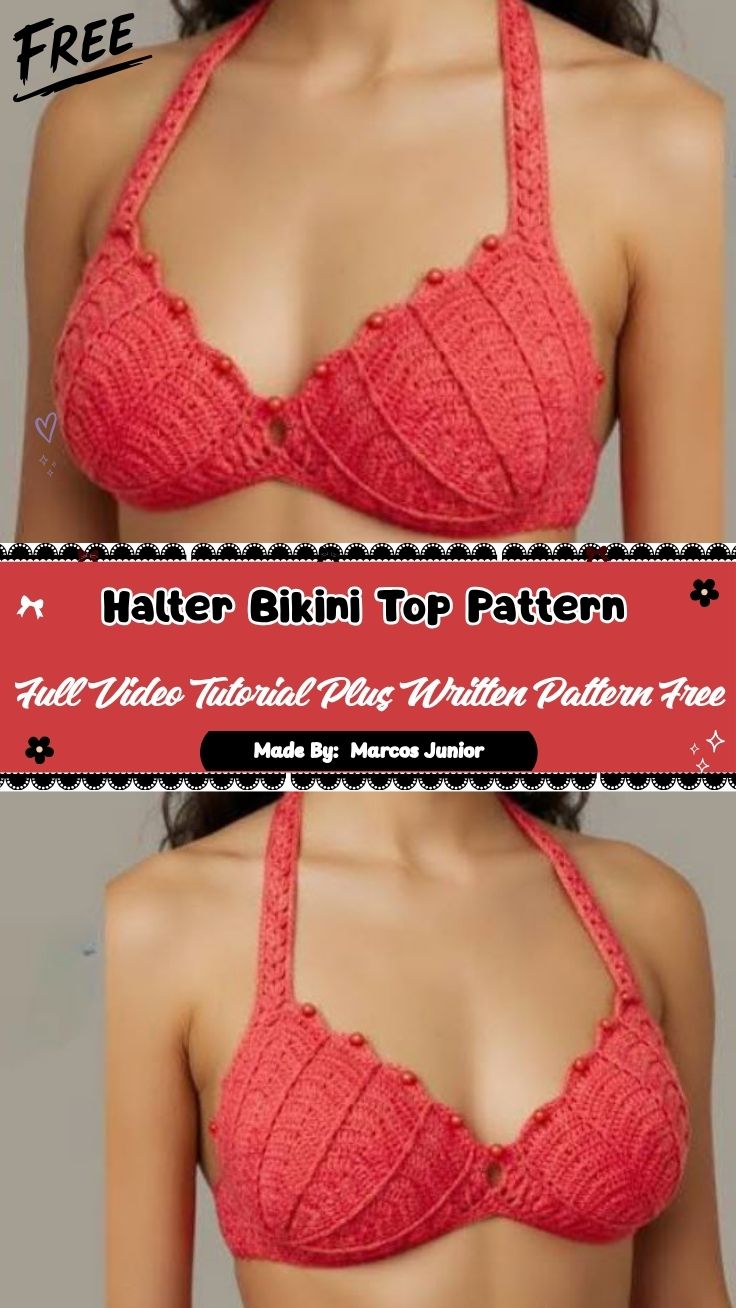
It works up quickly using basic stitches, making it approachable even if you have only tried a few crochet projects before. The beads add a playful sparkle that catches the sunlight beautifully.
Skill Level
This pattern is rated Beginner to Intermediate. If you already know how to work a foundation ring, single crochet, and shell stitches, you will pick this up with ease. Beginners with some basic crochet experience can also complete it with a little patience.
Materials You Will Need
- Lightweight cotton or cotton-blend yarn (a smooth, sturdy weight works best for swimwear)
- A crochet hook that matches your yarn weight (a 3.5mm or 4mm hook is a common choice)
- Small decorative beads with holes large enough for your yarn to pass through
- A yarn needle for weaving in ends
- Scissors
- A tape measure for checking fit
- Optional: bikini bottom lining fabric or swim-safe backing fabric for added support
Key Techniques Used in This Pattern
Before you start, it helps to understand the main stitches and methods used throughout this project:
Foundation Ring
Every cup begins with a small foundation ring or starting loop. This tiny circle becomes the base that all future rounds build upon.
Shell Stitch
The shell stitch creates the wavy, fan-like texture seen across the finished top. Groups of stitches are worked into the same space, then repeated to form a scalloped pattern.
Beading Method
Beads are pre-strung onto the yarn before crocheting begins, then slid into place at chosen points to catch the light and add texture.
Shaping
Increases and decreases are used to shape the cup so it curves naturally instead of lying flat.
Step-by-Step Instructions
Step 1: Create the Foundation Loop
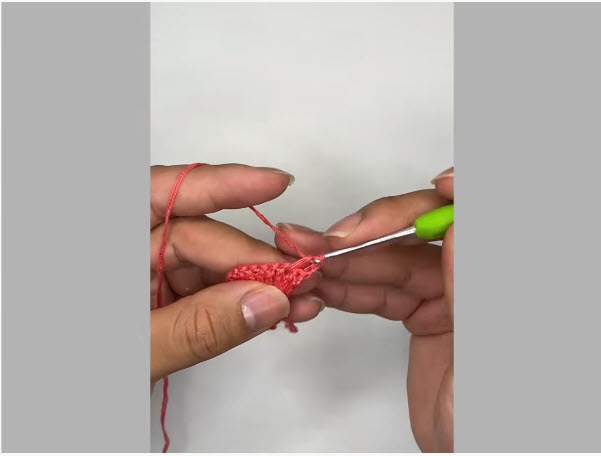
Start by making a small starting loop with your yarn, holding the tail between your fingers for control. Insert your hook into the loop and begin working your first stitches directly into this ring. This tiny starting point is the heart of the entire cup, so keep your tension even and snug.

Step 2: Build the First Few Rounds
Once your foundation stitches are in place, continue working additional stitches into the same base, gradually widening the circle. At this stage, the piece will still look small and tightly gathered, but this is exactly how it should appear before the shaping begins.
Step 3: Shape the Base of the Cup
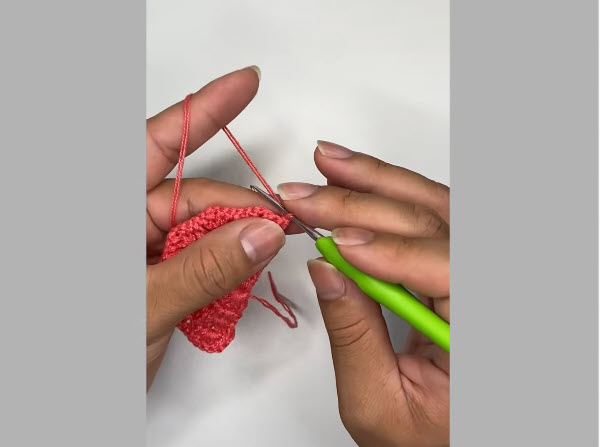
Continue adding stitches around the growing piece, allowing the shape to curve outward slightly. You will notice the fabric starting to take on a rounded, cup-like form. Keep your stitches consistent so the shape grows evenly on all sides rather than pulling to one direction.
Step 4: Work the Shell Stitch Pattern
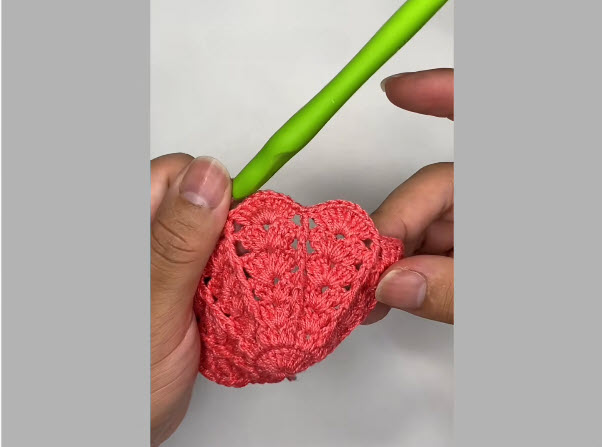
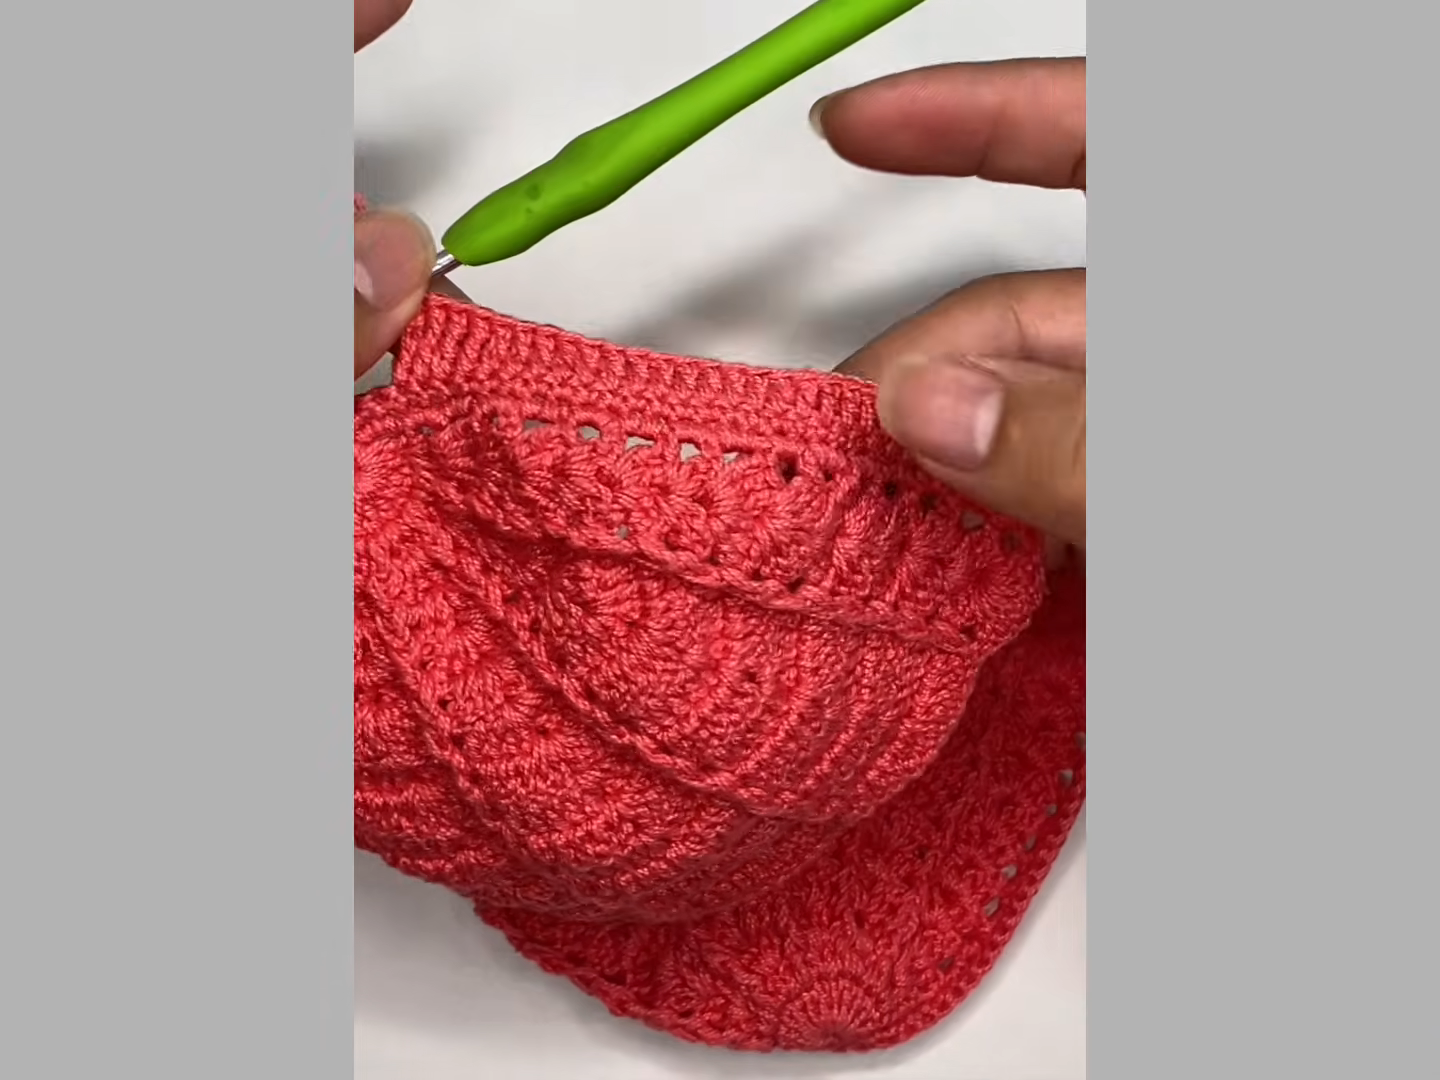
Now switch into the shell stitch pattern, working groups of stitches into designated spaces to build the scalloped, fan-shaped rows. As you repeat this pattern across several rounds, the piece will begin to resemble a textured, petal-like cup shape. This is where the beaded halter bikini top really starts to come to life.
Step 5: Complete the Rows and Shape the Edges
Keep repeating the shell stitch rounds, adding rows outward until the cup reaches your desired size and coverage. Once the shell texture is fully formed, work an even finishing round along the top edge to smooth out the shape. This edge will later hold your straps and beaded ties, so keep it neat and well-defined.
Step 6: Add Straps and Beaded Ties
Attach your yarn at the top corners of each cup and chain a long enough length to comfortably tie around the neck and behind the back. Thread pre-strung beads onto these chains at intervals for a decorative touch, then secure the ends firmly.
Step 7: Finish and Weave In Ends
Weave in all loose yarn tails using your yarn needle, trimming any excess. Check both cups for a matching size and shape before moving on to your final fitting.
Helpful Tips for Beginners
- Always swatch a small sample first to check your gauge and stitch tension.
- Use a smooth, non-stretchy cotton yarn for the best shape retention in water.
- Pre-string all your beads onto the yarn ball before you begin, since adding them mid-row is tricky.
- Keep both cups identical by counting your stitches and rounds carefully.
- Block your finished piece gently to help the shell pattern lie flat and even.
Common Mistakes to Avoid
- Skipping the gauge swatch, which can lead to a top that is too small or too large.
- Using yarn that stretches too much, causing the top to lose shape after wear.
- Forgetting to secure beads tightly, which can cause them to slip off during use.
- Rushing the shaping rounds, resulting in an uneven or lopsided cup.
- Leaving yarn tails unwoven, which can unravel with washing or wear.
Customization Ideas
- Swap the bead color to match your favorite swimsuit shades or metallics.
- Add a matching beaded bottom for a complete coordinated set.
- Use a thicker yarn for a bolder, more textured look.
- Try a contrasting trim color around the edges for extra detail.
- Add a small tassel or fringe at the tie ends for a boho finish.
Frequently Asked Questions
Is this pattern safe to wear in the pool or ocean?
Yes, as long as you use a cotton or swim-appropriate yarn and consider adding a lining for extra support and coverage.
How much yarn do I need for this project?
This depends on your size and yarn weight, but most halter tops use one to two small skeins of lightweight cotton yarn.
Can I make this pattern without beads?
Absolutely. The beads are decorative, so you can leave them out entirely for a simpler, classic halter top look.
What size hook works best for this pattern?
A 3.5mm to 4mm hook typically works well with lightweight cotton yarn, but always check your gauge first.
Do I need lining fabric for support?
Lining is optional but recommended, especially for larger sizes, to add extra structure and coverage underneath the crochet fabric.
Can I adjust the size of the cups?
Yes, you can add or reduce rounds in the shaping steps to make the cups smaller or larger to fit your body.
Conclusion
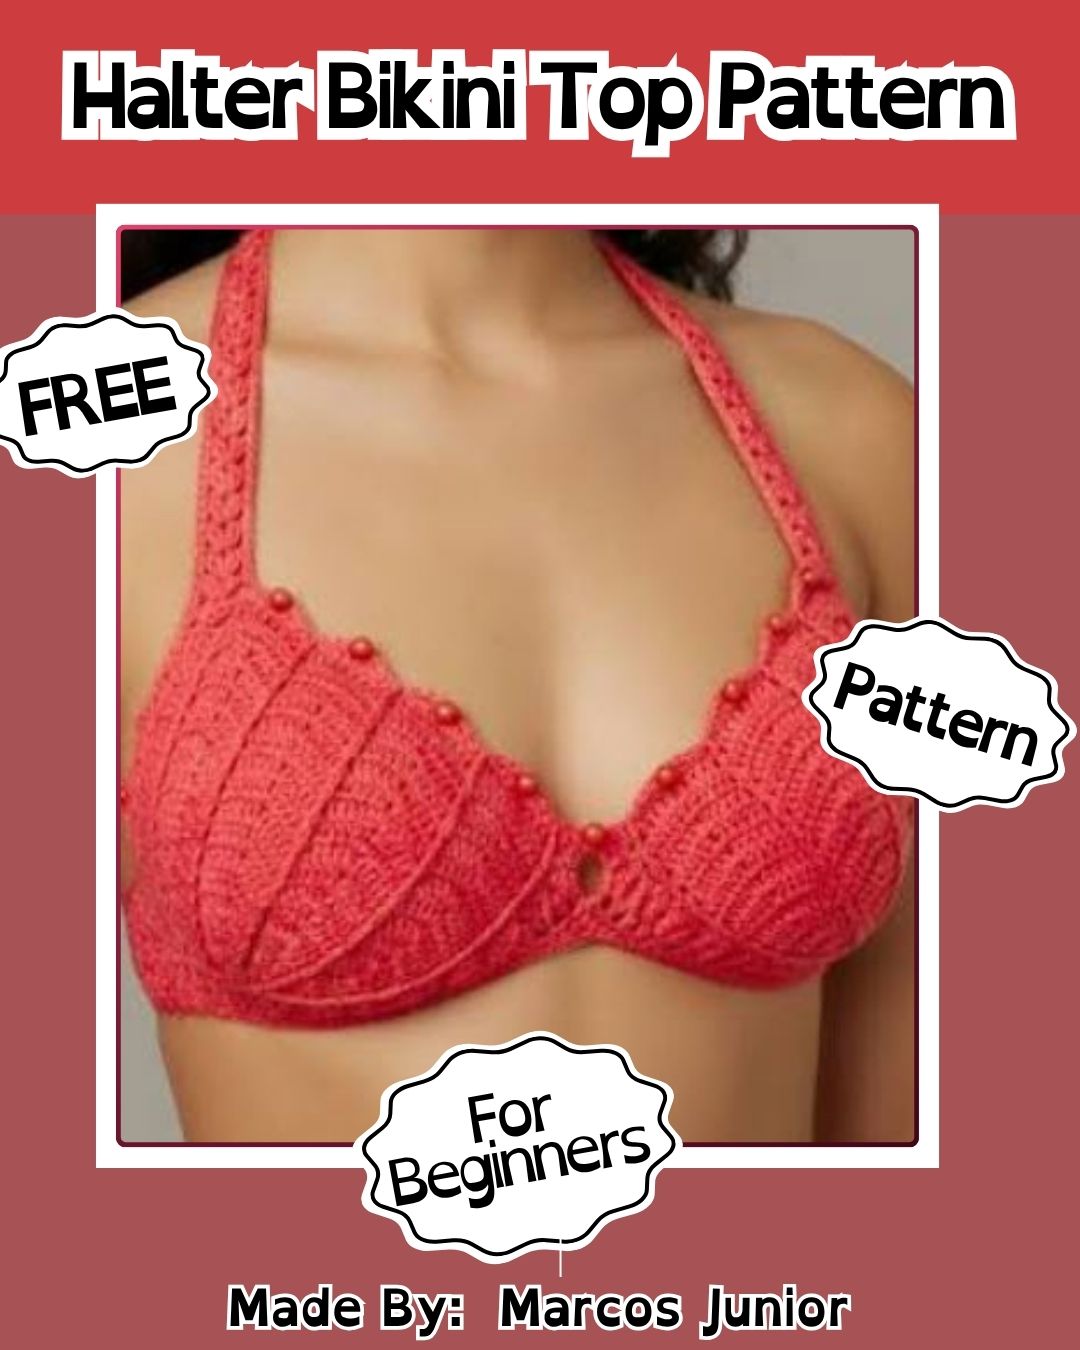
This Crochet Beaded Halter Bikini top pattern is a fun and rewarding project that blends classic shell stitch texture with a sparkling beaded finish. From the very first foundation loop to the final beaded ties, every step builds toward a piece you will be proud to wear all summer long. With simple materials and a beginner-friendly approach, this pattern is a wonderful way to create a one-of-a-kind swimwear piece. Give it a try, personalize it with your favorite colors and beads, and enjoy showing off your handmade halter bikini top wherever the sun takes you.