Crochet Top Sleeves Pattern with Modern Neckline
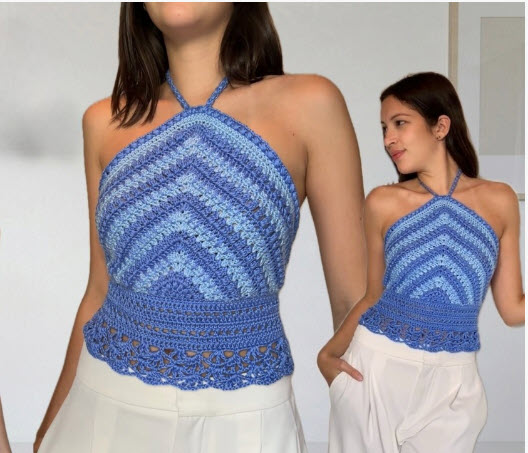
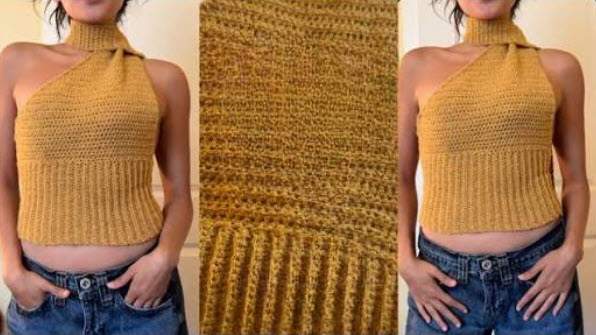
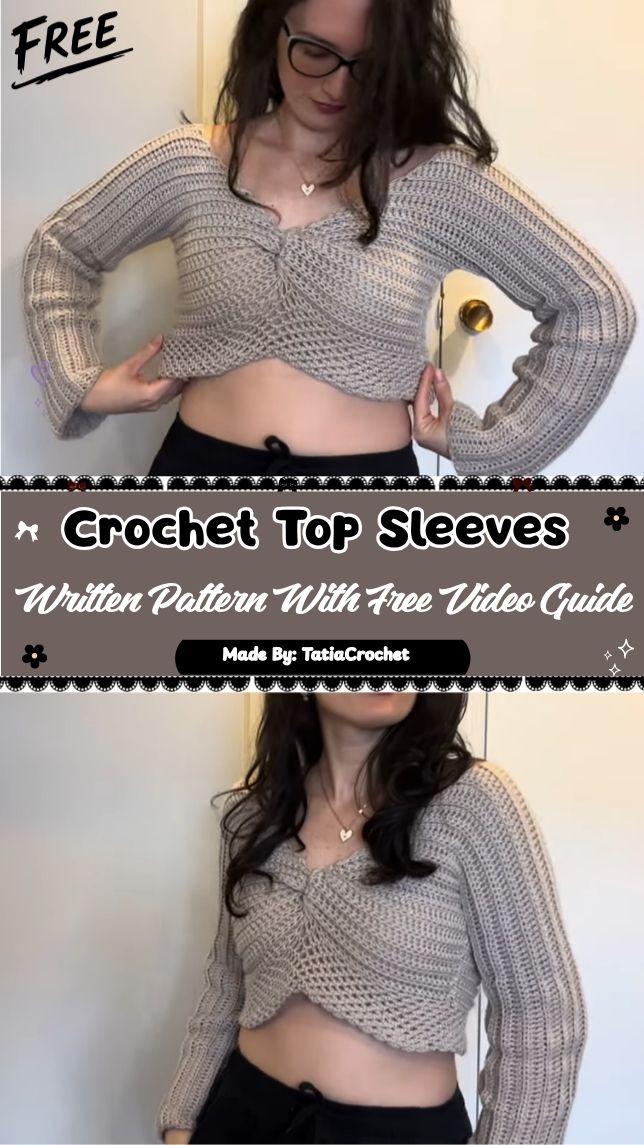
Soft cream yarn and simple stitched rows give this Crochet Top Sleeves Pattern a beautiful, modern look. A distinctive neckline and comfortable sleeves keep the design standout despite its simplicity, while the light, soft texture makes it a delightful pick for everyday wear.
Structured sleeve shaping meets a clean, modern neckline in the pattern, resulting in a top that feels stylish rather than plain. The crochet top design suits brunch, coffee dates, and casual spring outings especially well, while its comfortable construction also makes it practical for all-day wear. It’s made for anyone wanting a beginner-friendly crochet pattern that still delivers a genuinely stylish piece, with simple construction keeping the work approachable from the very first row.
What This Crochet Project Is All About
This top is worked in panel sections that join together to form the sleeves and neckline, following the shaping shown in the linked tutorial. The panels are worked separately, then seamed, giving the finished piece a tailored, structured look rather than a loose, boxy shape.
It’s a great easy crochet project for anyone who wants to move beyond scarves and blankets into wearable pieces, since the stitch pattern itself stays repetitive and predictable even while the shaping does the visual work.
Time Box for This Project
- Foundation and panel rows: 1-1.5 hours
- Sleeve shaping: 45 minutes to 1 hour
- Neckline finishing: 30-40 minutes
- Seaming and final touches: 30 minutes
Total time: roughly 3-4 hours, depending on your crochet speed and yarn weight.
Required Materials and Supplies
Getting your supplies sorted first makes the whole process smoother, so here’s what to gather before starting.
Yarn Type
- Worsted weight cotton or cotton-blend yarn works best for structure and drape
- A neutral or solid color helps the stitch pattern and neckline shaping stand out clearly
Hook Size
- 4mm to 5mm hook, adjusted to match your yarn weight and desired tension
Extra Tools
- Yarn needle for seaming panels together
- Stitch markers to track shaping rows
- Measuring tape
- Removable locking stitch marker (helpful for marking neckline points)
Crochet Stitches and Abbreviations Used
- Ch – Chain
- Sc – Single crochet
- Hdc – Half double crochet
- Dc – Double crochet
- Sl st – Slip stitch
- Inc – Increase
- Dec – Decrease
- Rep – Repeat
Step-by-Step Crochet Instructions
Step 1: Start the Foundation Chain
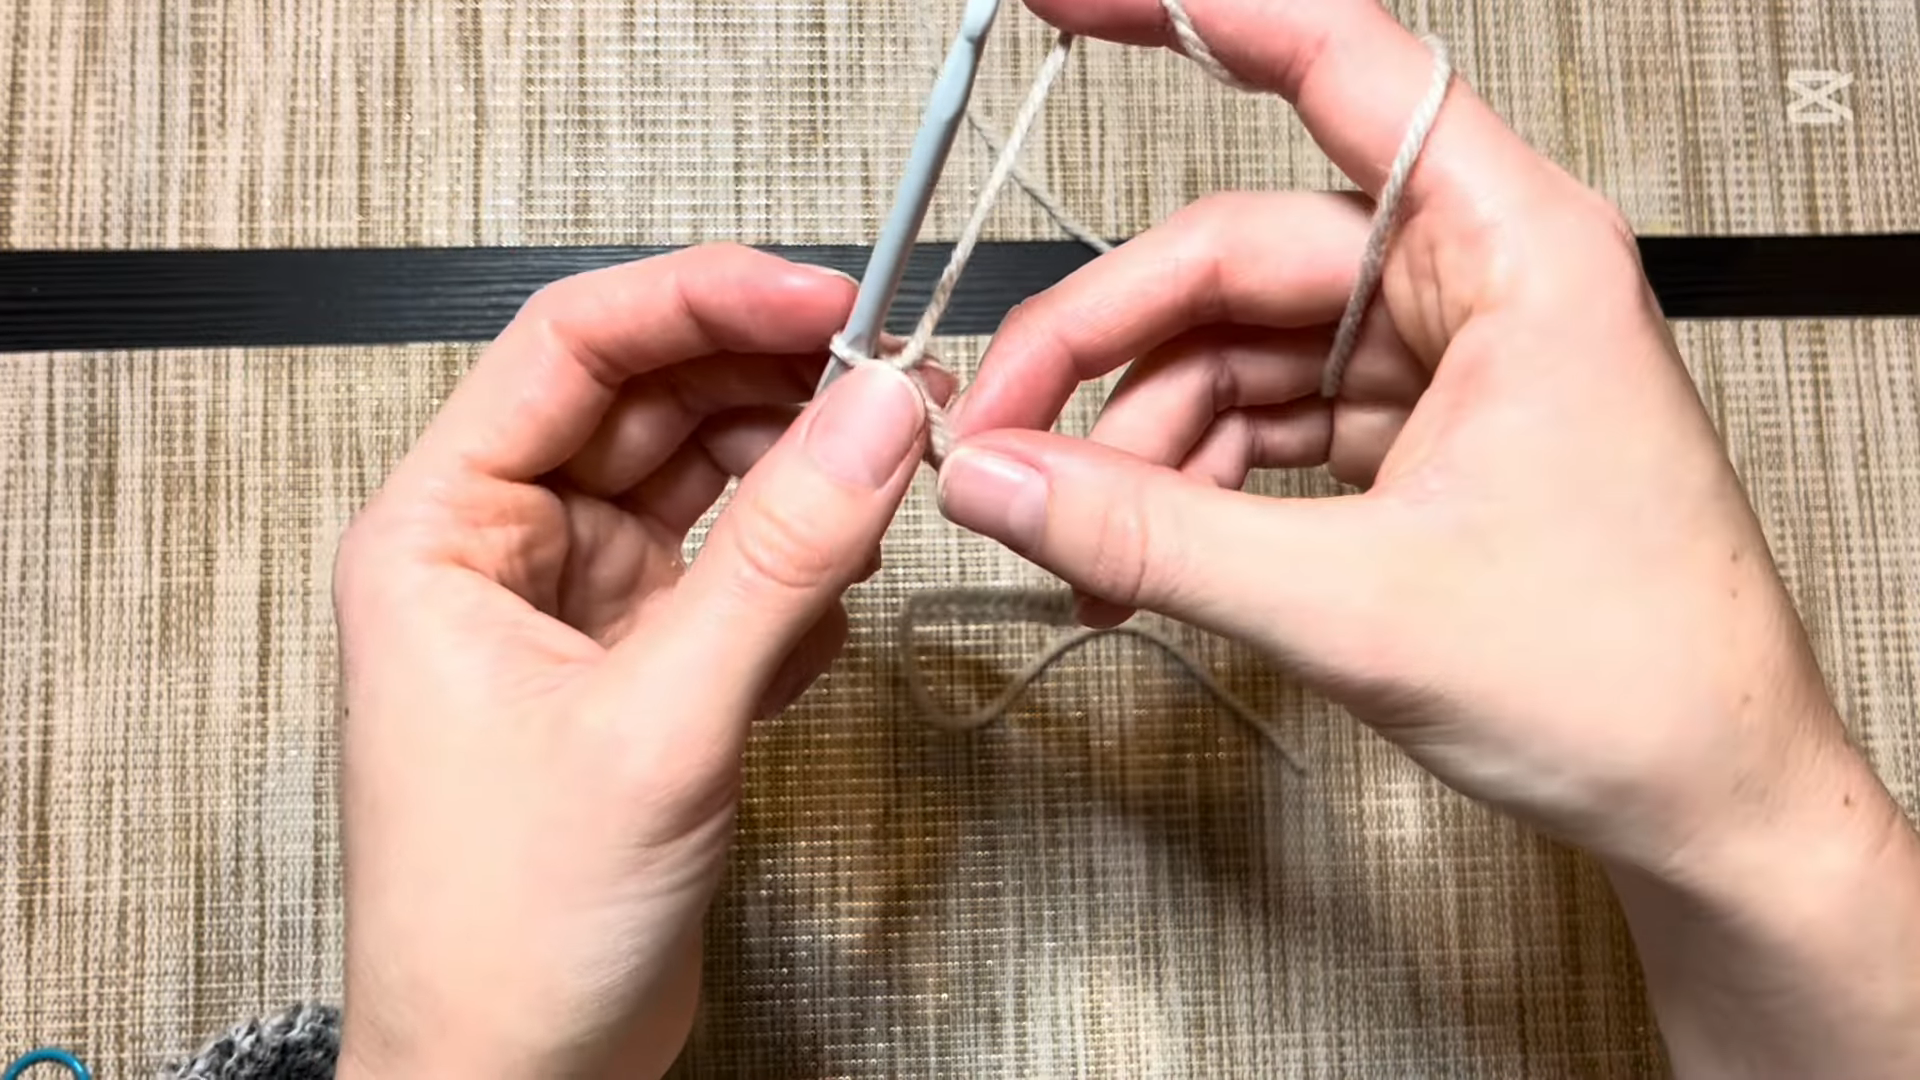
Chain a length that matches your desired body width, then turn and begin working your first row in single crochet or half double crochet, depending on the density you want in the fabric.
Step 2: Build the Main Panel
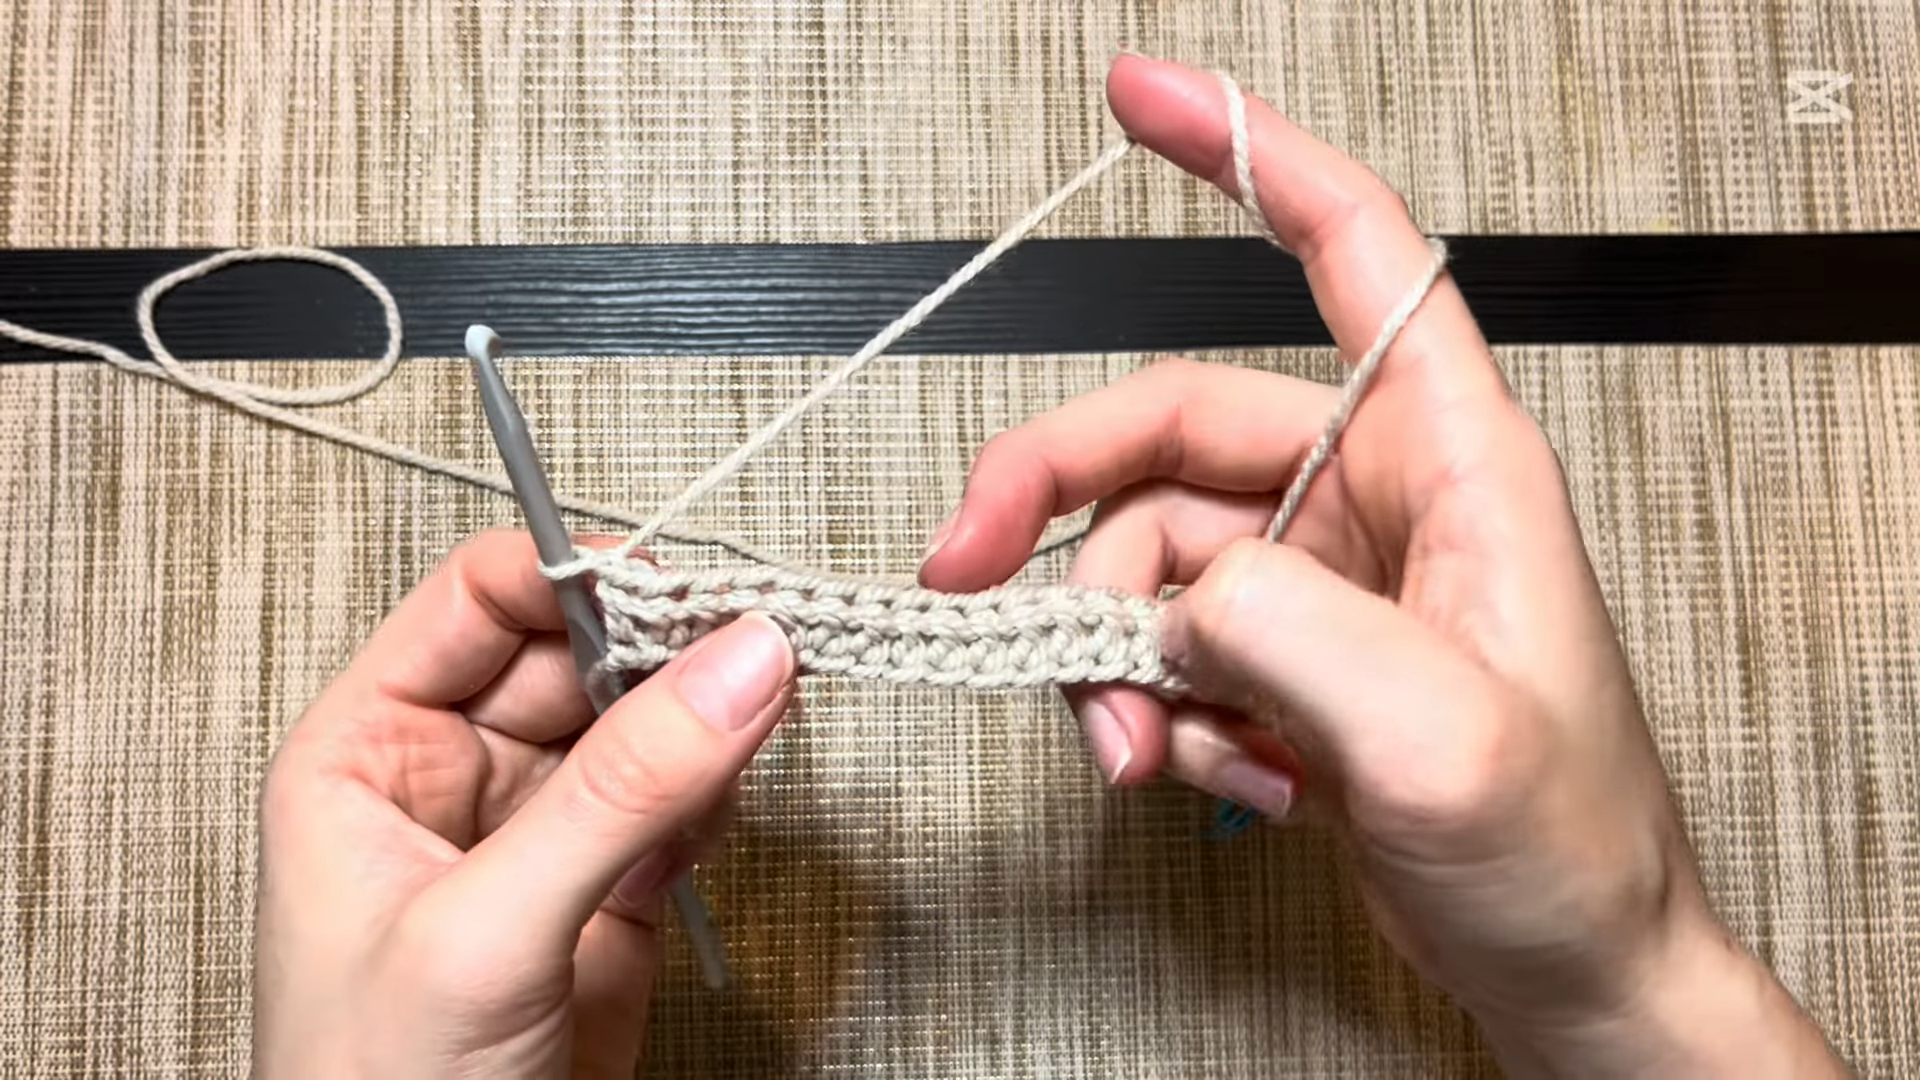
Work even rows in your chosen stitch pattern until the panel reaches the desired length for the body section, keeping your stitch count consistent throughout.
Step 3: Divide for the Sleeve Openings
At the point where the sleeves begin, split your work into sections, leaving gaps for the arm openings while continuing to build each side panel separately.
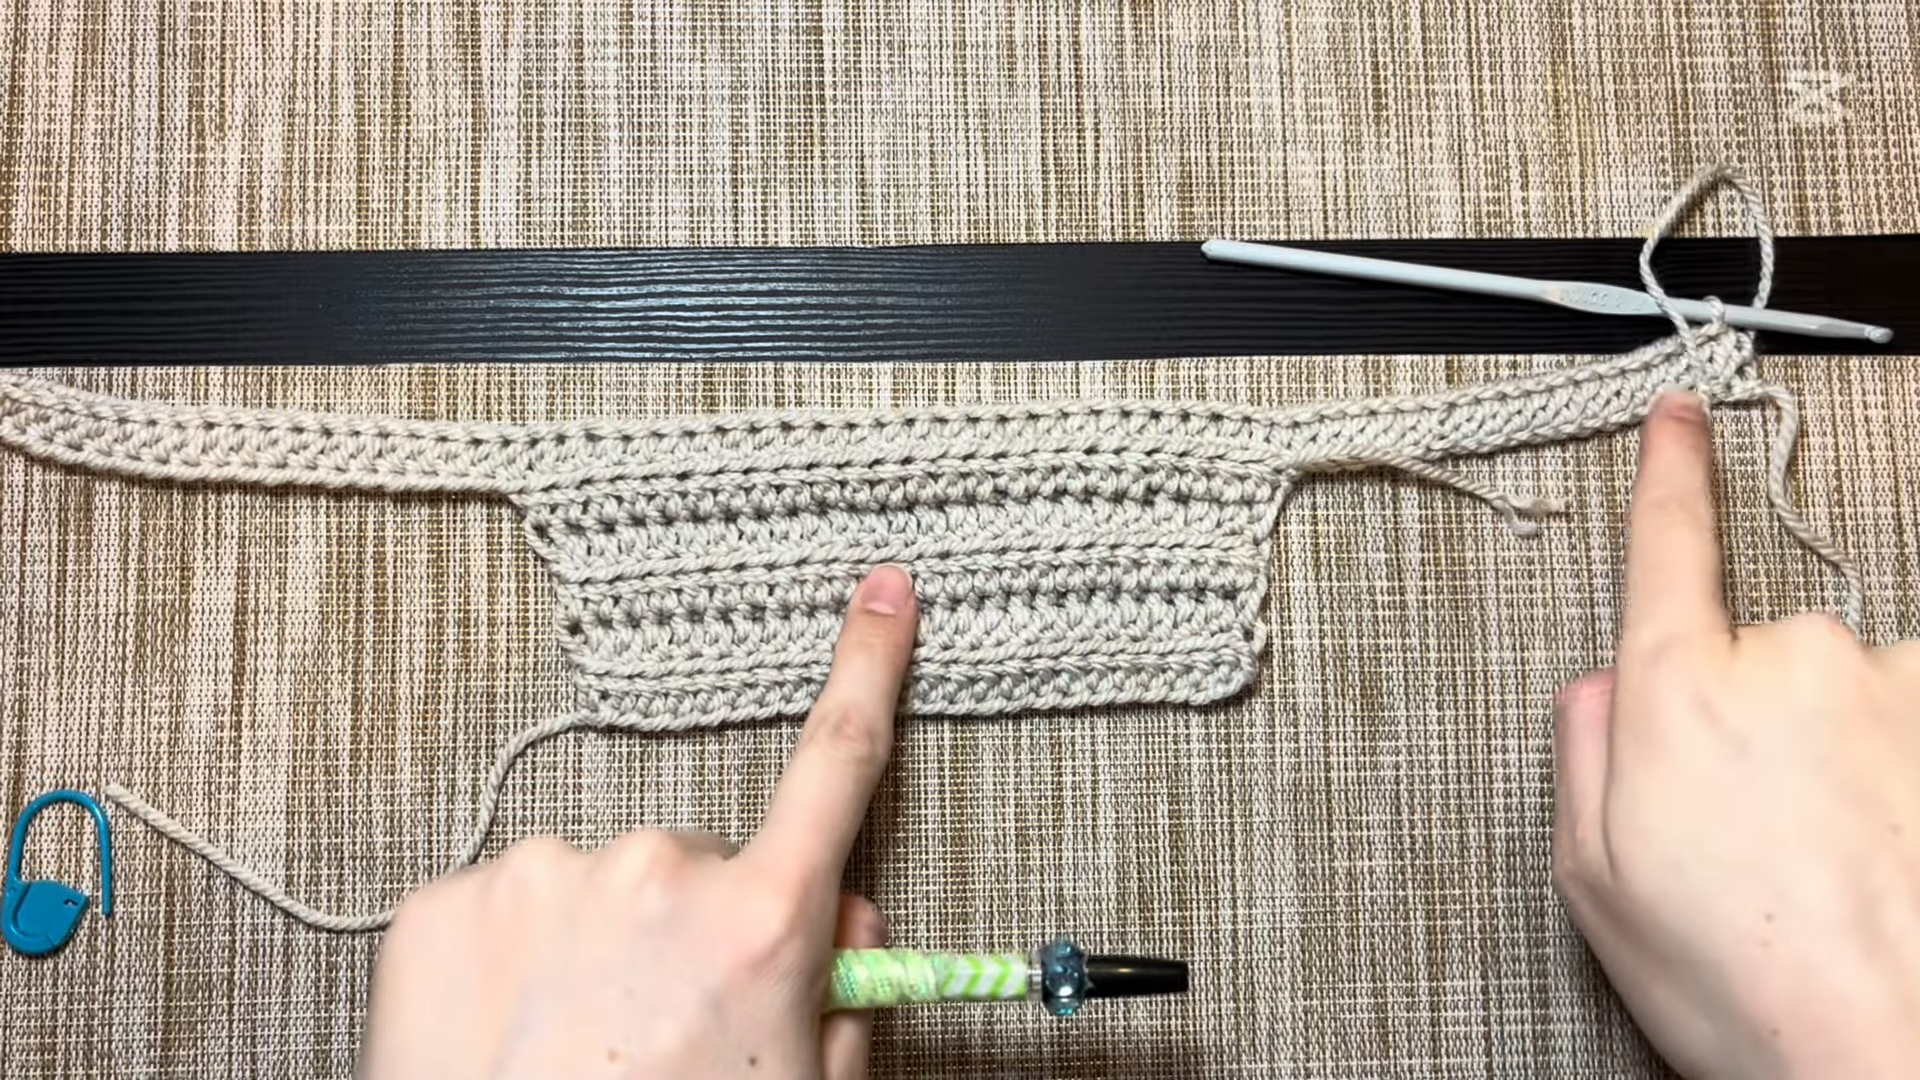
Step 4: Shape the Sleeve Panels
Work each sleeve panel in shorter rows, increasing or decreasing as needed to create the rounded, fitted shape at the shoulder and upper arm.
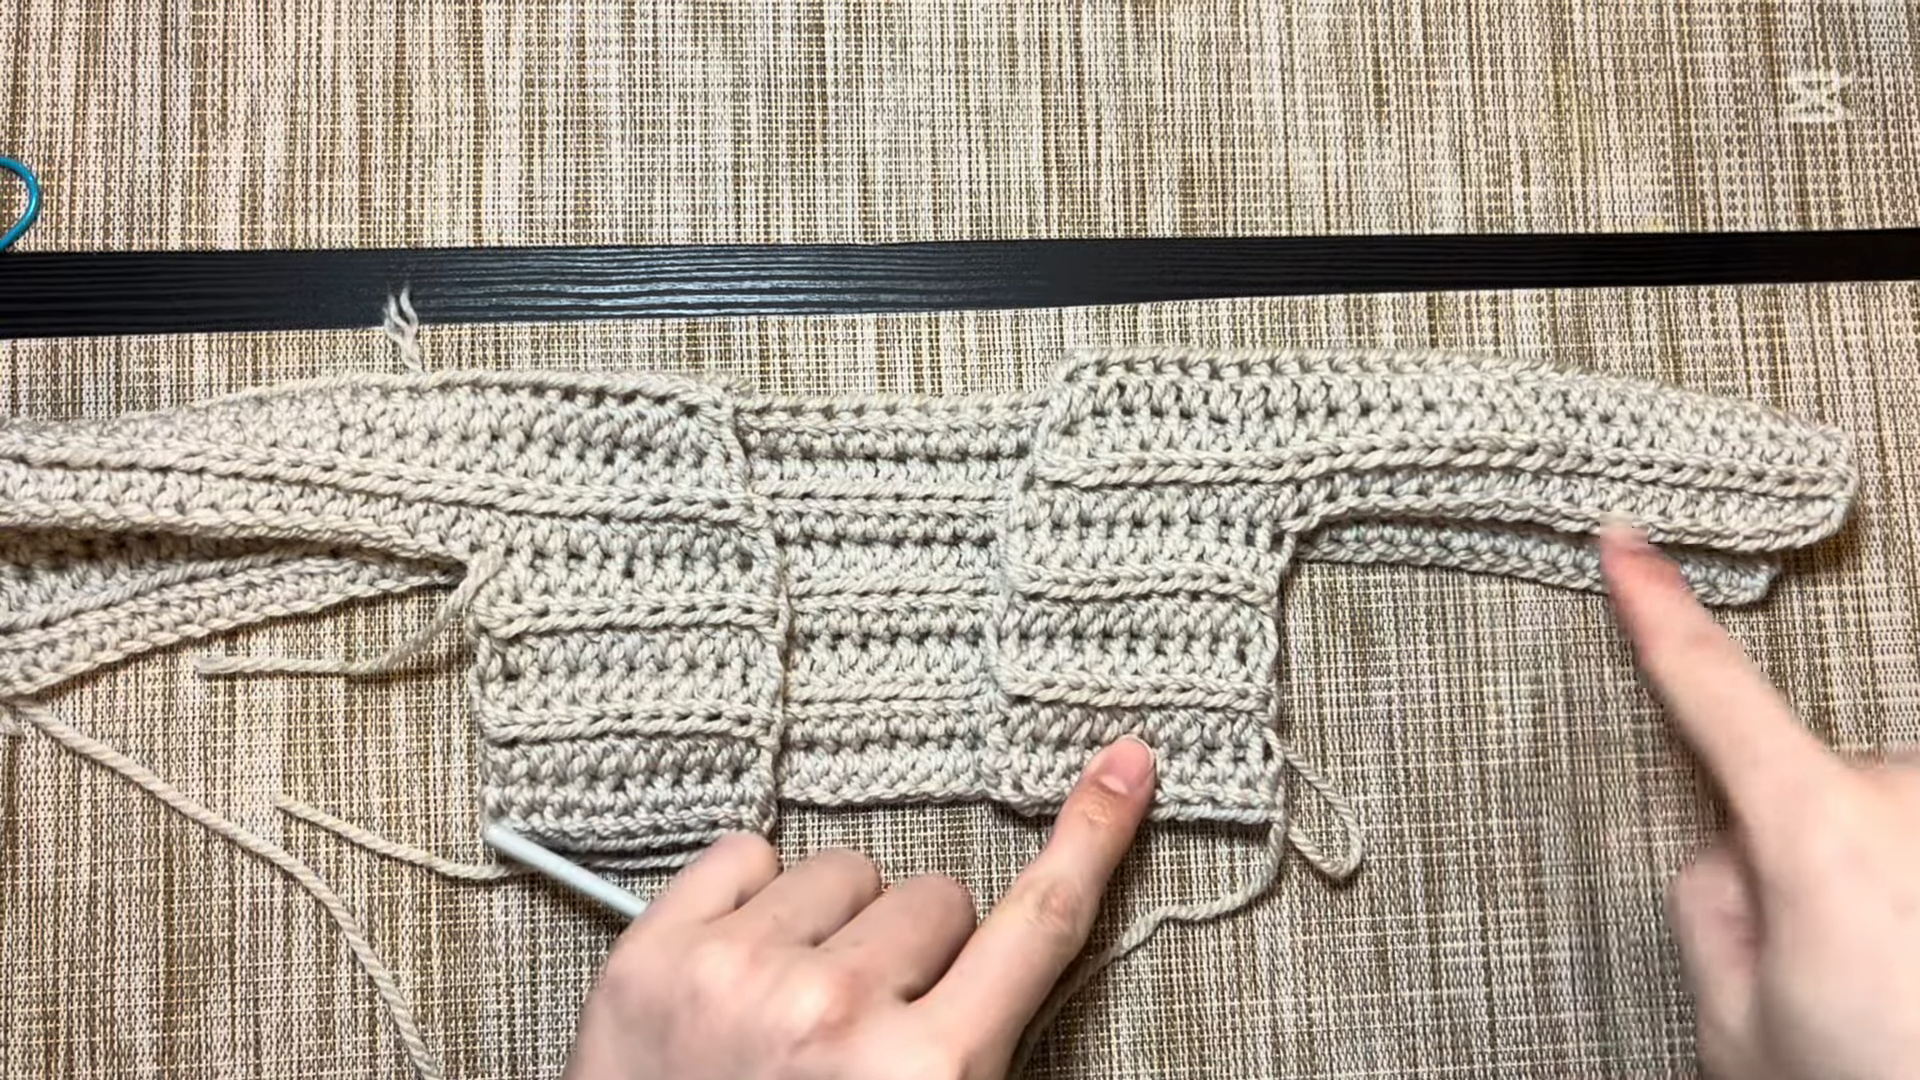
Step 5: Join the Panels Together
Once all panels are complete, lay them flat and seam them together using your yarn needle, matching stitch counts along each edge for a clean, even join.
Step 6: Shape the Modern Neckline
Work a rounded or scooped neckline edge by decreasing gradually across the front and back panels, checking the fit against your shoulders as you go.
Step 7: Add the Neckline Trim
Finish the neckline with a round of single crochet or a simple ribbed edge to give it a clean, finished look that won’t stretch out of shape.
Step 8: Weave In and Finish
Weave in all loose ends, block the finished top gently, and check that both sleeves sit evenly before wearing.
Personalization Ideas
Add a Contrast Trim
Use a second color around the neckline and sleeve edges for a subtle pop of contrast.
Try a Textured Stitch Panel
Swap the plain single crochet body for a shell or puff stitch panel for added texture.
Add Length Variations
Extend the body length slightly for a tunic-style version of the same top.
Helpful Beginner Tips
- Keep a consistent tension throughout, since sleeve shaping depends on even stitch counts.
- Try the piece on before finishing the neckline trim to confirm the fit feels right.
- Use stitch markers at every shaping point so you don’t lose track of increases or decreases.
- Block your panels before seaming for a cleaner, flatter join.
Common Mistakes and Solutions
Mistake: Sleeves come out uneven in length.
Solution: Count rows on both sleeve panels rather than measuring by eye alone.
Mistake: Neckline sits too tight.
Solution: Add one extra decrease row spaced evenly to loosen the curve slightly.
Mistake: Seams look bulky.
Solution: Use a whip stitch with matching yarn weight instead of a thicker seaming method.
Mistake: Panels don’t match in width.
Solution: Check your stitch count every few rows rather than only at the end.
Pattern Customization Ideas
- Use a lightweight yarn for a breezy summer version.
- Try a chunkier yarn and larger hook for a cozy fall version.
- Add short cap sleeves instead of full-length ones for a different silhouette.
- Experiment with a V-neck instead of a rounded neckline.
Size and Color Suggestions
This pattern adjusts by changing your starting chain length and the number of rows in each panel. For color choices:
- Soft neutrals like cream, oatmeal, or beige for an everyday look
- Muted sage or dusty blue for a quiet, elevated feel
- Bold solid colors for a statement piece
- Two-tone combinations using a main shade with contrast trim
FAQ Section
Is this Crochet Top Sleeves Pattern suitable for beginners?
Yes, as long as you’re comfortable with basic stitches and simple increasing or decreasing.
What yarn weight works best?
Worsted weight cotton or a cotton blend gives the cleanest stitch definition and best structure for this shape.
Can I make the sleeves longer?
Yes, simply add extra rows to each sleeve panel before joining, keeping both sides even.
How do I keep the neckline from stretching out?
A finishing round of single crochet or a ribbed trim helps the neckline hold its shape over time.
Can this Crochet Top Sleeves Pattern be resized for different body types?
Yes, adjusting the foundation chain length and panel width lets you scale the top up or down.
Bonus Section:
Hand wash your finished piece in cool water with a mild detergent, then lay it flat to dry to help it keep its shape. Avoid wringing or hanging it, since wet cotton yarn can stretch out of place.
Ready to Start Hooking?
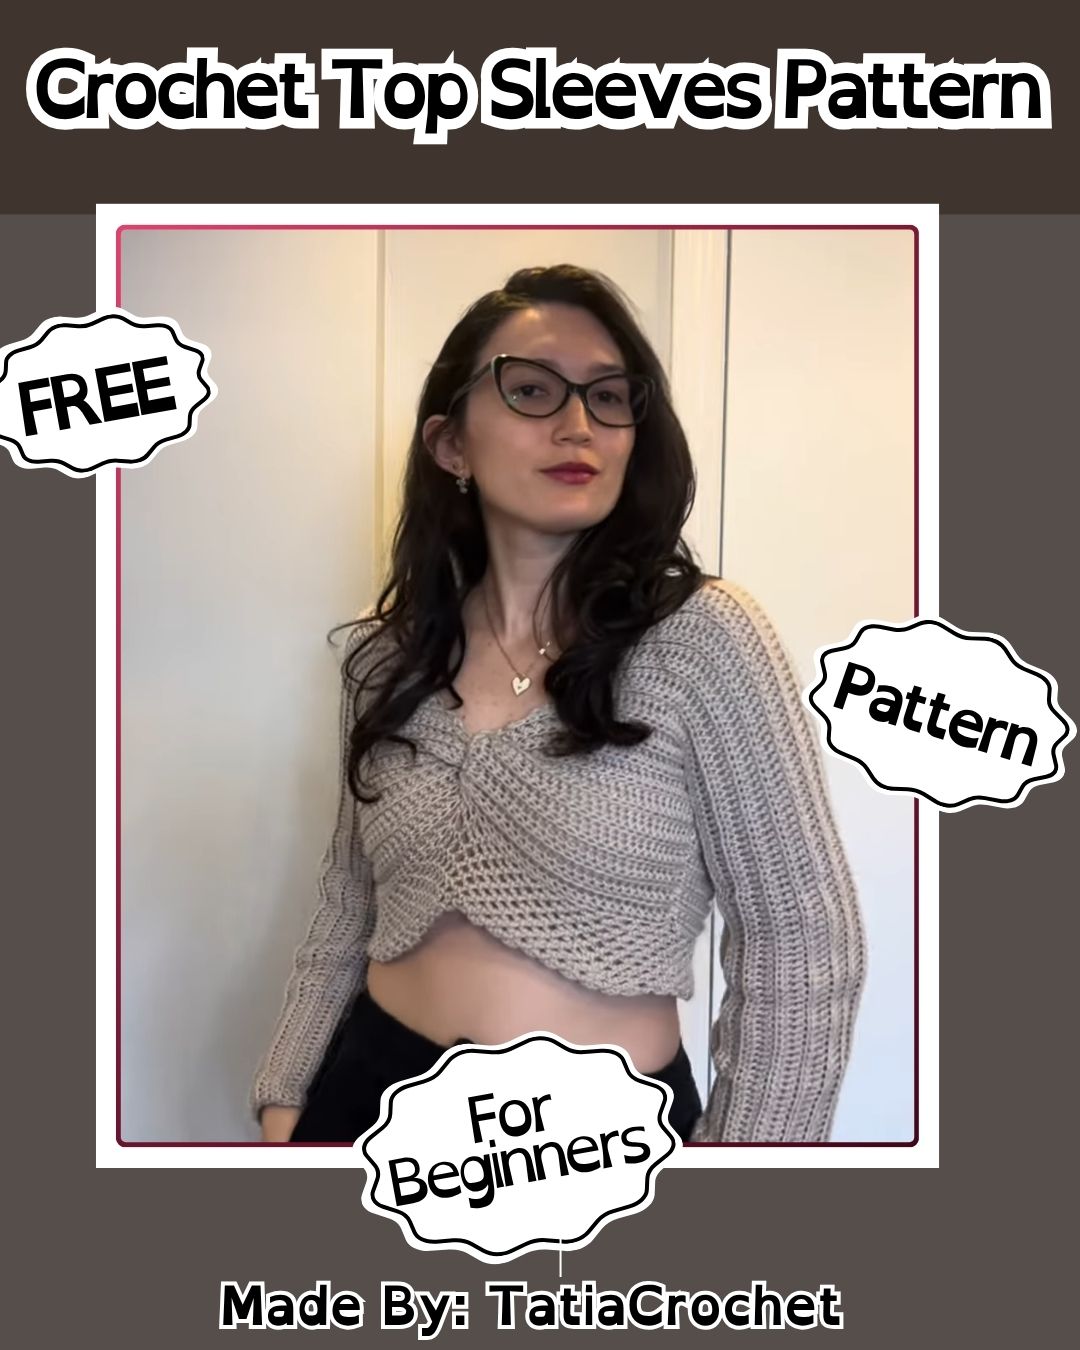
This Crochet Top Sleeves Pattern with structured sleeves and a modern neckline is a satisfying step up from simple squares and scarves, giving you a genuinely wearable piece by the end. Follow the tutorial alongside this written guide, take your time with the shaping rows, and you’ll end up with a top that looks far more polished than the effort it actually took.
Whether you’re building your beginner crochet skills or adding another finished piece to your handmade collection, this pattern is a rewarding one to try.