Crochet Triceratops Amigurumi with Pink Dots and Horns
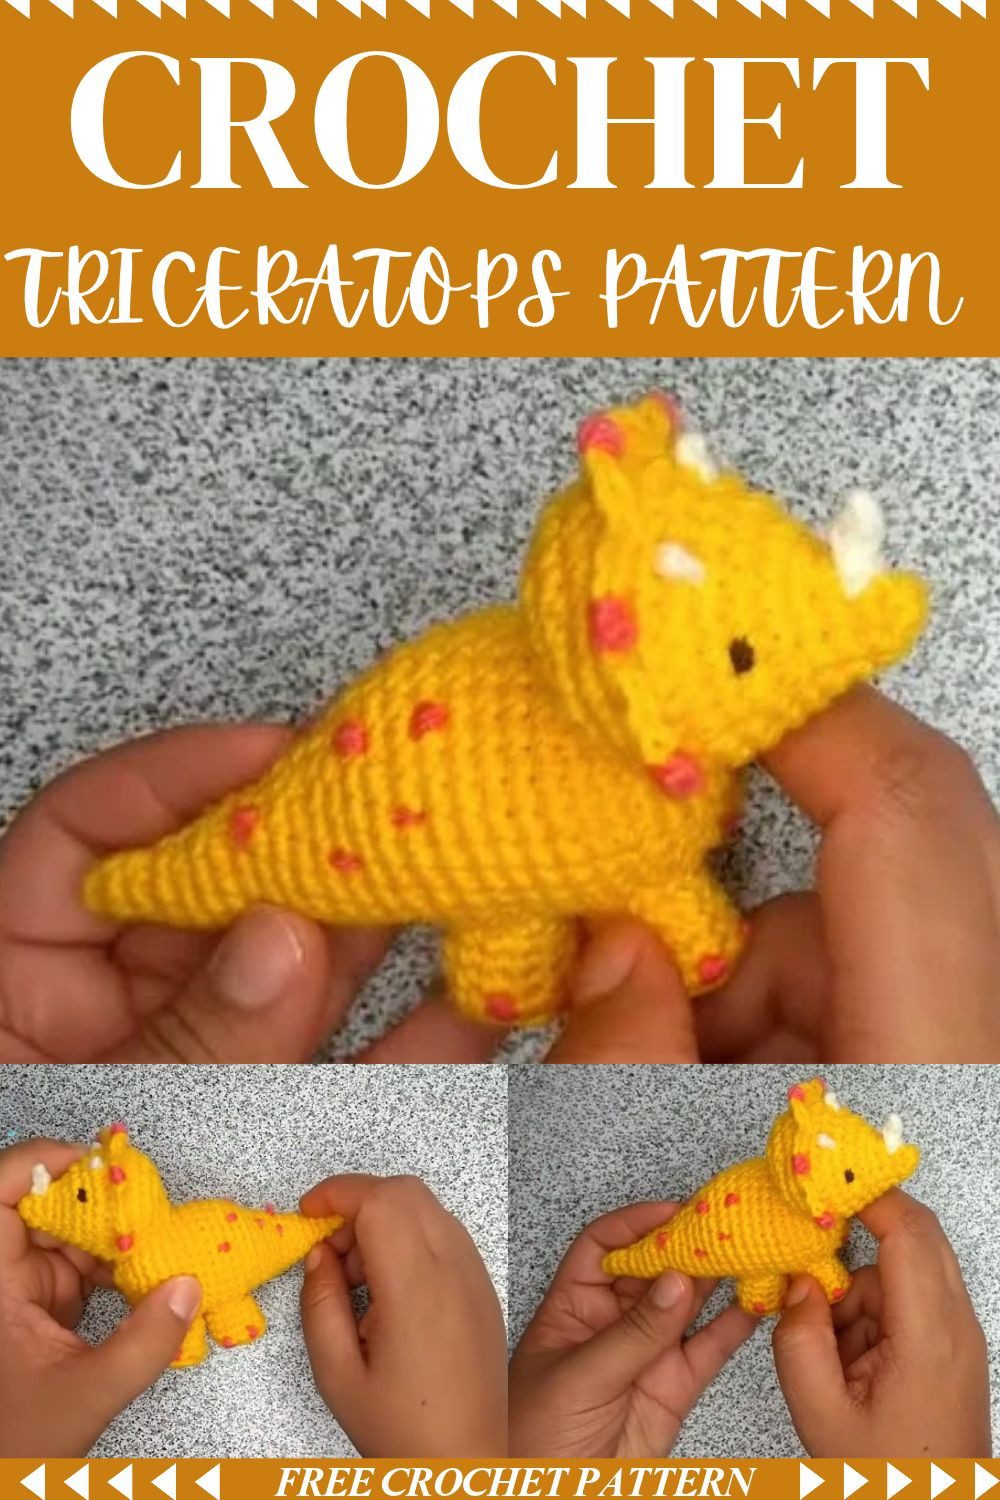
Little dinosaurs look best when they are soft, spiky and made by you. This crochet triceratops amigurumi has a ridged frill, tiny horns and a dotted body. Follow the steps below to finish a sweet toy to keep or give.
I love the moment flat stitches start looking like a creature. Tiny horns and dots give this one its charm.
Crochet Triceratops Amigurumi Project Overview
This free crochet dinosaur pattern builds the toy in separate pieces. You will stitch a ridged head, a tapering body and tail, four short legs and a few slim horns. The head carries a back-loop ridge, and that ridge is where the spiky frill is added. I
Skill level: Advanced beginner to intermediate
Finished size: About 3 to 4 inches (7 to 10 cm) long, depending on yarn weight and tension
Main hook: 2.7 mm (00 hook)
Detail hook: 0.75 mm, for the small horns
Terminology: US
Preparation time: 10 to 15 minutes
Stitching time: 2 to 3 hours
Sewing, horns and embroidery: 45 to 60 minutes
Materials and Tools
- Main colour yarn for the head, body and legs (smooth acrylic or cotton blend, sport or DK weight)
- Contrast yarn for the horns and spikes
- 2.7 mm crochet hook
- 0.75 mm crochet hook
- Fiberfill stuffing
- Tapestry needle
- Scissors
- Stitch markers
- Black embroidery thread or fine yarn for the eyes, nostrils and spots
Leftover yarn works well, since each colour needs less than one small skein.
Abbreviations and Pattern Notes
MR: Magic ring
ch: Chain
sl st: Slip stitch
sc: Single crochet
inc: Increase (2 sc in the same stitch)
dec: Decrease (2 sc worked together)
FLO: Front loop only
BLO: Back loop onlyInvisible decrease: work it through the front loops only of two neighbouring stitches.
- FLO means the hook goes under the loop nearest you. BLO means the farthest loop, which leaves a horizontal ridge the head uses for the frill
Step 1: Head
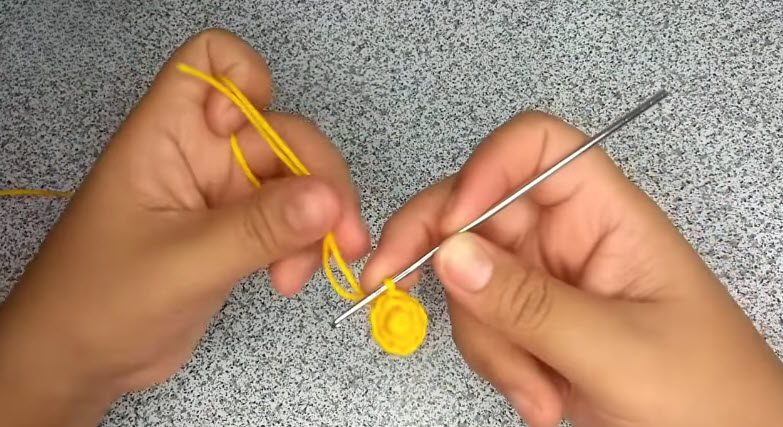
Take the 2.7 mm hook and the main colour. Wrap the yarn around two fingers, form the magic ring, and chain 1 to lock it.
Rnd 1: 6 sc in the ring, join with sl st, ch 1. Pull the tail to close the centre. (6)
Rnd 2: (1 inc, 1 sc) repeat around, join, ch 1. (9)
Rnd 3: 9 sc around, join, ch 1. (9)
Rnd 4: (1 sc, 1 inc) repeat around for 3 repeats, join, ch 1. (12)
Rnd 5: 2 sc, 6 inc, 3 sc, join, ch 1. (18)
Rnd 6: (2 sc, 1 inc) repeat around, join, ch 1. (24)
Rnd 7: 24 sc around, join, ch 1. (24)
Rnd 8: (3 sc, 1 inc) repeat around, join, ch 1. (30)
Rnd 9: 30 sc around, join, ch 1. (30)
Rnd 10: 5 sc, 20 sc in BLO, 5 sc, join, ch 1. (30)
Rnd 11: 30 sc through both loops, join, ch 1. (30)
Rnd 12: (2 sc, 1 dec) repeat around, join, ch 1. (22 to 24, depending on spacing)
Rnd 13: Repeat (2 sc, 1 dec), adjusting the sequence as needed, join, ch 1.
Rnd 14: (1 dec, 1 sc) repeat around, join. Stuff the head firmly, then fasten off with a long tail.
Step 2: Frill (Head Ruff Spikes)
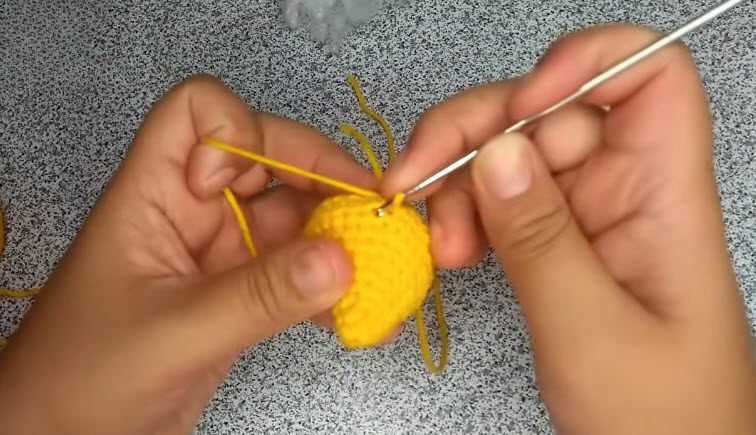
Hold the finished head with the Rnd 10 ridge facing you. Insert the hook under a back-loop strand on the ridge and join the contrast yarn with a slip stitch. Skip 1 stitch. In the next stitch, work 2 sc, ch 1, 2 sc to form a spike. the next. Repeat the sequence Fasten off and weave in the ends.
Tug each chain-1 point gently outward as you stitch, because the frill then stands up instead of folding flat.
Step 3: Body and Tail
Start a new magic ring with the main colour.
Rnd 1: MR, 6 sc, join, ch 1. (6)
Rnd 2: 6 inc, join, ch 1. (12)
Rnd 3: (1 sc, 1 inc) around, join, ch 1. (18)
Rnd 5: (3 sc, 1 inc) around, join, ch 1. (30)
Rnds 6 to 13: 30 sc around for 8 rounds, joining and chaining 1 each time. (30)
Rnd 14: (3 sc, 1 dec) around, join, ch 1. (24)
Rnd 15: 24 sc around, join, ch 1. (24)
Rnd 16: 8 sc, 1 dec, 1 sc, 1 dec, 1 sc, 1 dec, 8 sc, join, ch 1. (21)
Rnd 17: 21 sc around, join, ch 1. (21)
Rnd 18: 7 sc, 1 dec, 1 sc, 1 dec, 1 sc, 1 dec, 6 sc, join, ch 1. (18)
Rnd 19: 18 sc around, join, ch 1. (18)
Rnd 20: 5 sc, 1 dec, 1 sc, 1 dec, 1 sc, 1 dec, 5 sc, join, ch 1. (15)
Rnd 21: 15 sc around, join, ch 1. (15)
Rnd 22: 4 sc, 1 dec, 1 sc, 1 dec, 1 sc, 1 dec, 4 sc, join, ch 1. (12)
Rnd 23: 12 sc around, join, ch 1. (12)
Rnd 24: 3 sc, 3 dec, 3 sc, join, ch 1. (9)
Rnd 25: 9 sc around, join, ch 1. (9)
Rnd 26: 1 sc, 3 dec, 1 sc, join, ch 1. (6)
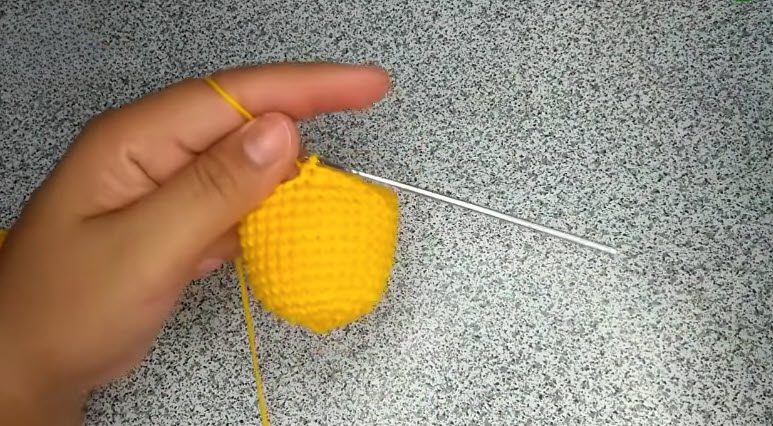
Rnd 27: 6 sc around, join. Fasten off with a long tail, stuff the tail tip, and close the opening.
. In that way, the tail keeps its shape and the stitches do not stretch.
Step 4: Legs (Make 4)
Rnd 1: MR, 6 sc, join, ch 1. (6)
Rnd 2: 6 inc, join, ch 1. (12)
Rnd 3: 12 sc in BLO, join, ch 1. (12)
Rnds 4 to 6: 12 sc around for 3 rounds, joining and chaining 1 each time. (12)
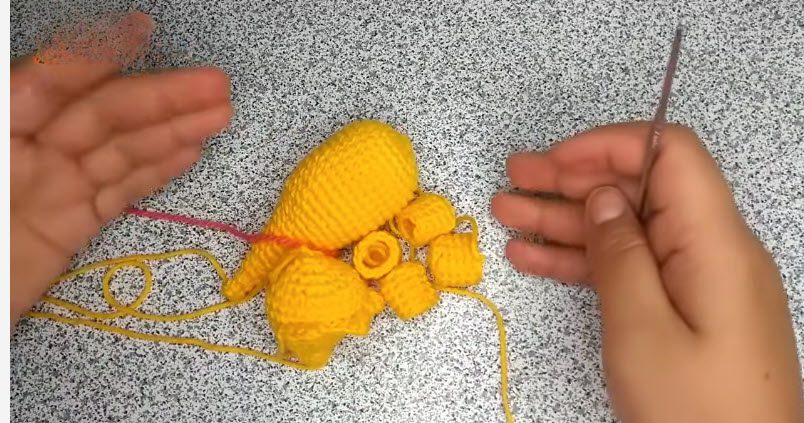
Join with a sl st and fasten off, leaving a long tail for sewing.
Step 5: Horns
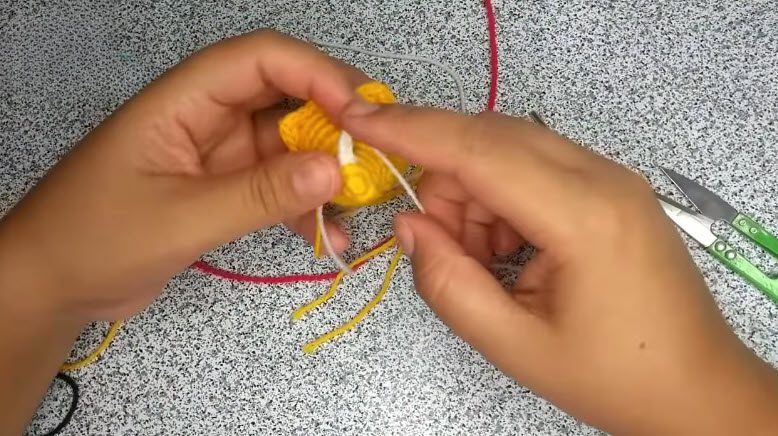
Switch to the 0.75 mm hook and the contrast yarn. Thread the starting tail on a tapestry needle, place the horn at the nose, and secure it to the snout with a slip stitch sides.
: Pull the tail snugly while weaving it back through, since a firm tail keeps each tiny horn from flopping sideways.
Closing and Finishing
To close any stuffed part, thread the fastening tail on a tapestry needle, weave it through the front loops of the last round, and pull tight. Hide the end inside the toy. For a keychain version, attach a sturdy split ring through the top of the head or the horn base using a reinforced yarn loop.
Dino Display and Gifting Ideas
This amigurumi dinosaur sits on a shelf, rides in a bag, or hangs from a keychain (see the closing notes). As a crochet dinosaur toy gift, it suits dinosaur fans of any age.
Your Little Dino Is Ready
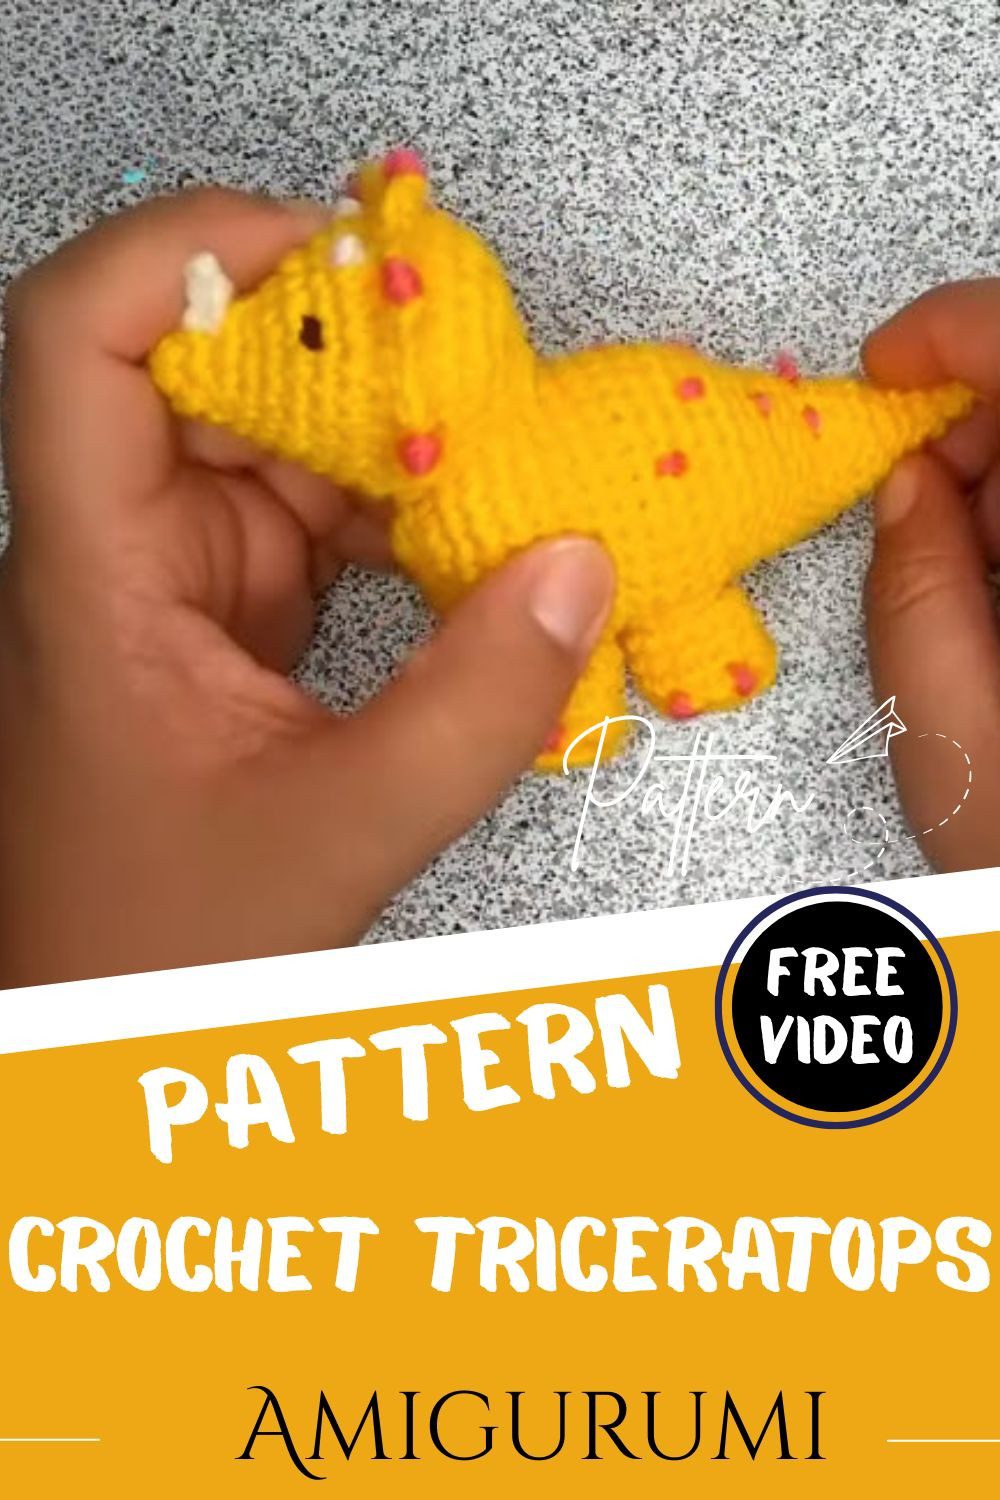
Make the head, frill, body and legs, stick on the horns, and sew it all together. Go make one.