Easy Crochet Octopus Baby Amigurumi Pattern You’ll Love
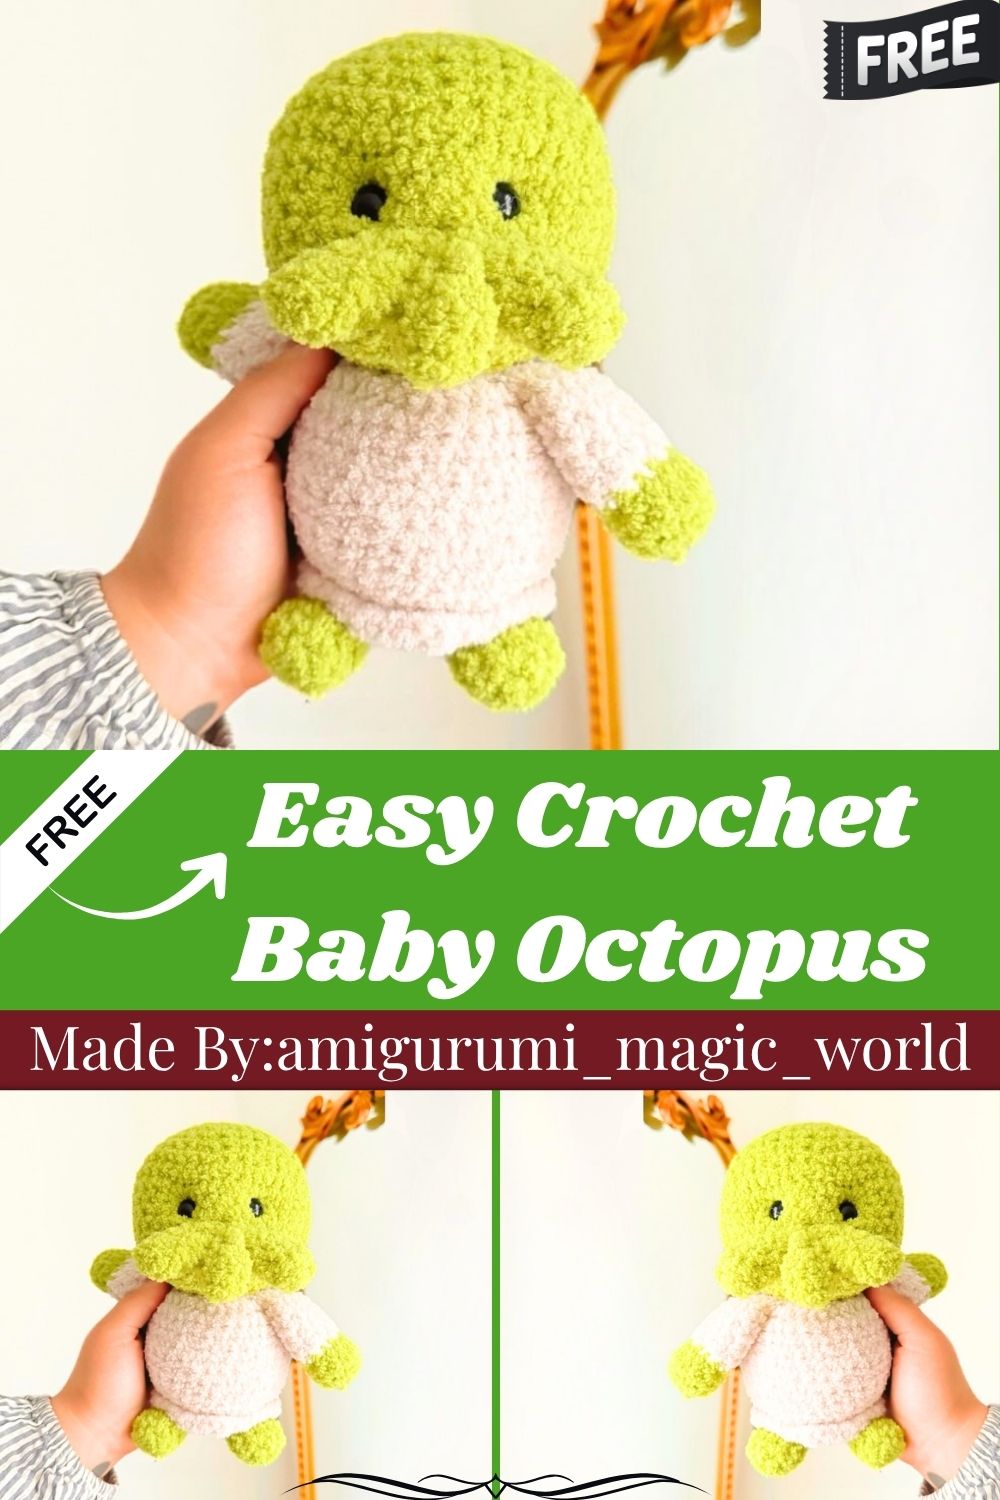
Round eyes, tiny arms, and a soft, rounded body make this baby octopus impossibly cute. Trust me, the two-tone color switch gives it a playful, ocean-inspired look that beginners can stitch confidently in just one sitting.
Baby octopus amigurumi patterns bring a fun twist to typical crochet toys, and this one delivers real charm. Honestly, the color change between the head and lower body creates that classic sea-creature look everyone loves right away. Safety eyes, three tiny nose pieces, and four little limbs give this design genuine personality. Stuff-as-you-go construction keeps the shape firm without extra sewing steps later. Arms and feet stay unstuffed for a soft, floppy feel that mimics real tentacles. Grab your hook and yarn, and let’s bring this little sea friend to life.
Special Techniques
- Magic Ring (MR) starts every piece, keeping the center closed and hole-free
- Invisible decrease (Dec) creates smoother shaping than a standard decrease
- Back Loop Only (BLO) and Front Loop Only (FLO) stitching separate color sections and add subtle ridges
- Folding pieces in half before working single crochet across closes arms, feet, and nose flat without extra seaming
- Stitch marking at round 31 allows a clean return point for the optional border round
Skill Level
This pattern fits beginners who already know single crochet, increases, decreases, and basic color changes. No joke, the repeats stay predictable, making the stitch counts easy to track throughout.
Common Mistakes
- Forgetting to stuff gradually, leading to a lumpy or uneven body shape later
- Placing safety eyes too high or too low instead of between rounds 10 and 11
- Mixing up FLO and BLO rounds, which shifts the color-block ridge line
- Overstuffing the arms or feet, which removes their soft, floppy texture
- Losing track of the stitch marker placed at round 31 for the border
Uses & Benefits
Real talk, this pattern works well beyond a simple nursery toy. The finished octopus makes a soft, huggable companion for babies and toddlers, while its compact size suits shelf display or gift-giving too. Ocean-themed nurseries, baby showers, and beach-inspired décor all benefit from a handmade piece like this. Because the pattern uses stuff-as-you-go construction, finishing time stays short. Crafters selling handmade toys also find this design appealing, since its two-tone body and tiny features photograph beautifully for online listings.
Helpful Beginner Tips
- Stuff a little after every few rounds instead of waiting until the piece closes
- Use a stitch marker at the start of each round to avoid miscounting
- Keep tension even when switching yarn colors to prevent visible gaps
- Test eye placement with pins before locking safety eyes in permanently
- Practice the fold-and-sc-across technique on scrap yarn first if it feels new
Assembly
- Sew both arms evenly along the upper sides of the body
- Attach both feet along the bottom edge for stability when the toy sits upright
- Center the combined three-piece nose beneath the safety eyes
- Secure the optional FLO border around round 31 for added texture
- Weave in all yarn tails tightly to keep small parts firmly attached
Where Can You Use This Case?
- A soft handmade toy for a nursery with an ocean or sea-life theme
- A thoughtful baby shower gift paired with a matching blanket or onesie
- A shelf display piece for collectors of amigurumi sea creatures
- A craft fair or online shop item, since the two-tone design stands out in photos
- A comfort toy sized right for toddlers who love huggable, rounded shapes
Why Beginners Will Enjoy This Pattern
Low-key, this project feels approachable because every part reuses the same core stitches. Repeats stay consistent across the head, body, arms, and feet, so counting never feels overwhelming. Ngl, finishing the nose piece and watching three small parts combine into one feature feels genuinely rewarding for a beginner still building confidence.
Tips and Tricks for Success
- Keep a consistent gauge across the head and body to maintain proportion
- Switch colors at the exact round listed to keep the ridge line clean
- Fold arms and feet carefully before stitching across to avoid uneven seams
- Photograph each stage if planning to make multiple octopi for gifting later
- Double-check eye spacing before securing safety eyes, since they cannot be repositioned after
Why This Crochet Pattern Is Trending?
Sea-creature amigurumi patterns keep gaining popularity because they combine bright color combinations with simple, repeatable shaping. This baby octopus design adds extra appeal thanks to its stuff-as-you-go method, which speeds up finishing time for makers who want quick, giftable results.
- Ocean-themed nursery décor continues trending across handmade marketplaces
- Stuff-as-you-go construction appeals to crafters looking for faster finishing methods
- Two-tone color designs photograph well, boosting visibility on social platforms
Materials
- Yarn: Alize Softy Plus (main color and a second contrast color)
- 2 safety eyes (14mm)
- 6.00mm crochet hook
- Fiberfill stuffing
- Yarn needle
- Stitch marker
Abbreviations
- MR – Magic Ring
- Sc – Single Crochet
- Inc – Increase (2 sc in the same stitch)
- Dec – Invisible Decrease
- BLO – Back Loop Only
- FLO – Front Loop Only
- Sl st – Slip Stitch
Head & Body
Stuff as you go. Worked in one piece. Start with green for the head.
- 6 sc in MR (6)
- Inc around (12)
- (sc, inc) x 6 (18)
- (2sc, inc) x 6 (24)
- (3sc, inc) x 6 (30)
- (4sc, inc) x 6 (36)
- (5sc, inc) x 6 (42)
- (6sc, inc) x 6 (48) 9–14. Sc around [6 rounds] (48)
- (6sc, dec) x 6 (42)
- (5sc, dec) x 6 (36)
- (4sc, dec) x 6 (30)
- (3sc, dec) x 6 (24)
Add safety eyes between rounds 10 & 11, approx 5 or 6 stitches apart.
- (2sc, dec) x 6 (18)
Switch to beige/white yarn.
- FLO inc around (36) 21–30. Sc around [10 rounds] (36)
You can add or remove rows depending on how long you want the body to be.
- (2sc, dec) x 9 (27)
Mark a stitch in the front loop of round 31. We will return to this to add a border.
- (sc, dec) x 9 (18)
- Dec around (9)
Close and fasten off. Sl st where you added the stitch marker in the front loop of round 31. Inc around in FLO and fasten off.
Optional: Add face shaping around the eyes.
Arms
Make two. Don’t stuff. Start with green yarn.
- 6 sc in MR (6)
- Inc around (12) 3–4. Sc around [2 rounds] (12)
Switch to beige/white yarn.
- FLO sc around (12) 6–8. Sc around [3 rounds] (12)
- Dec around (6)
- Fold in half and 3 sc across. Fasten off and leave a tail to sew.
Sew both arms on either side of the body.
Feet
Make two. Don’t stuff. Use green yarn.
- 6 sc in MR (6)
- Inc around (12) 3–4. Sc around [2 rounds] (12)
- Dec around (6)
- Fold in half and 3 sc across. Fasten off. Leave a tail to sew.
Sew both feet on the bottom of the body.
Nose
Make three. Don’t stuff. Use green yarn.
- 6 sc in MR (6) 2–6. Sc around [5 rounds] (6)
Fasten off the first two and set aside. After round 6 of the third one, fold in half and sc across. Fold the next in half and continue sc across. Fold the third in half and continue to stitch across. This combines all three into one nose.
Leave a tail to sew to the face. Sew the nose in the middle of the face, beneath the eyes.
Conclusion
This baby octopus pattern blends easy shaping with genuine charm, making it a satisfying project from start to finish. For real, once the color switch and nose assembly come together, the rest of the pattern flows smoothly toward a soft, finished sea creature ready for cuddling or display.