Free Crochet Capybara With a Hood and Cupcake
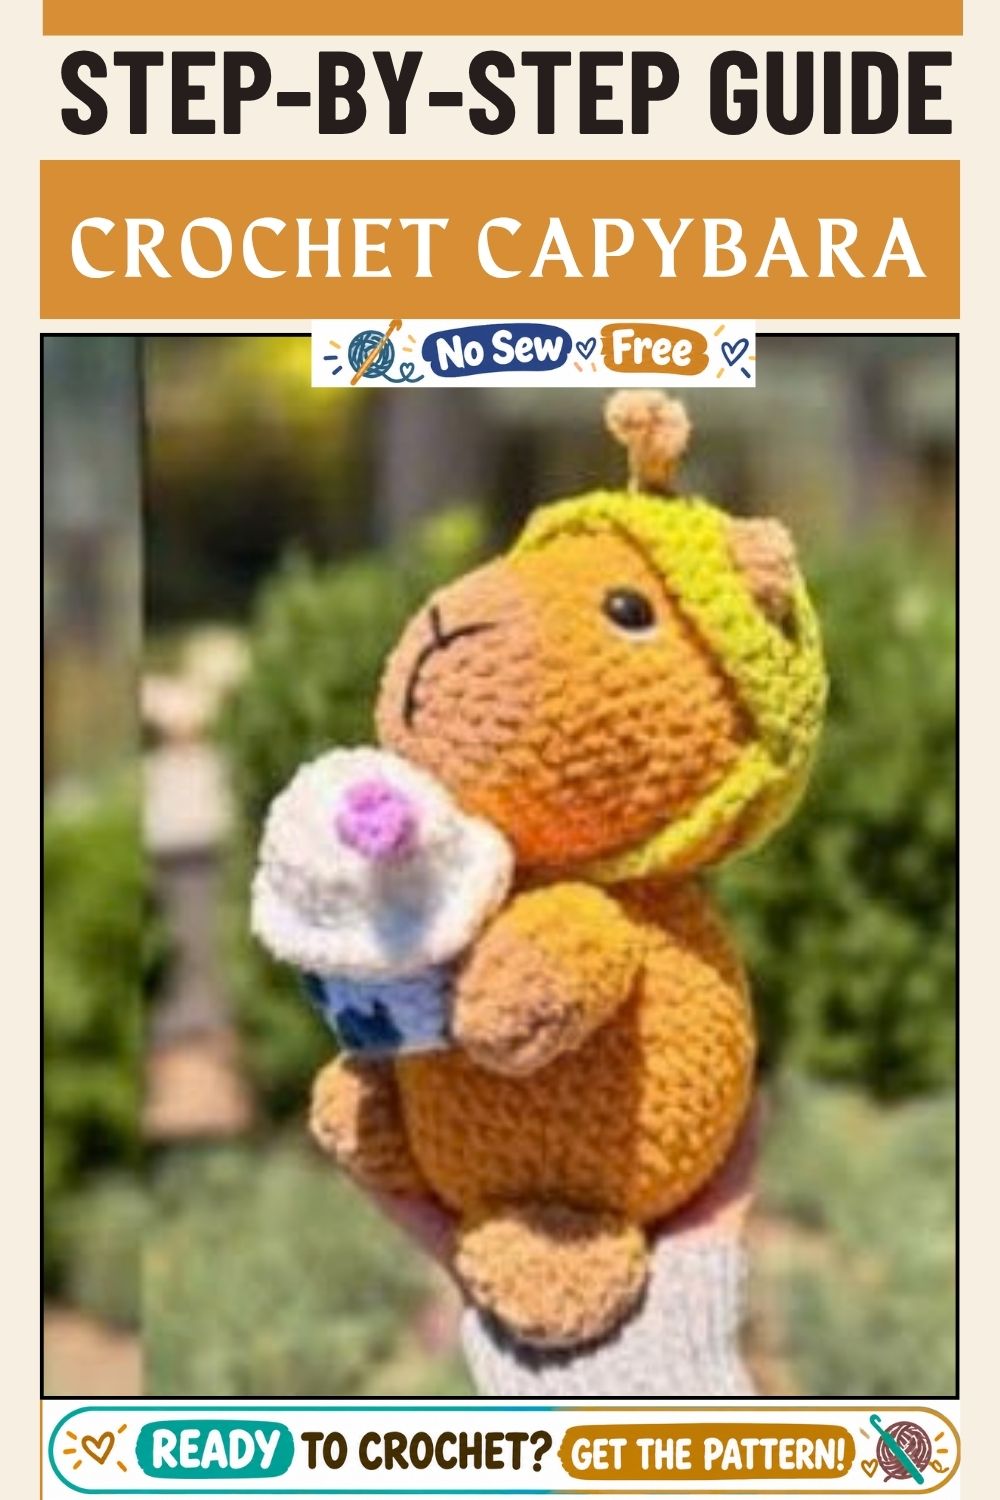
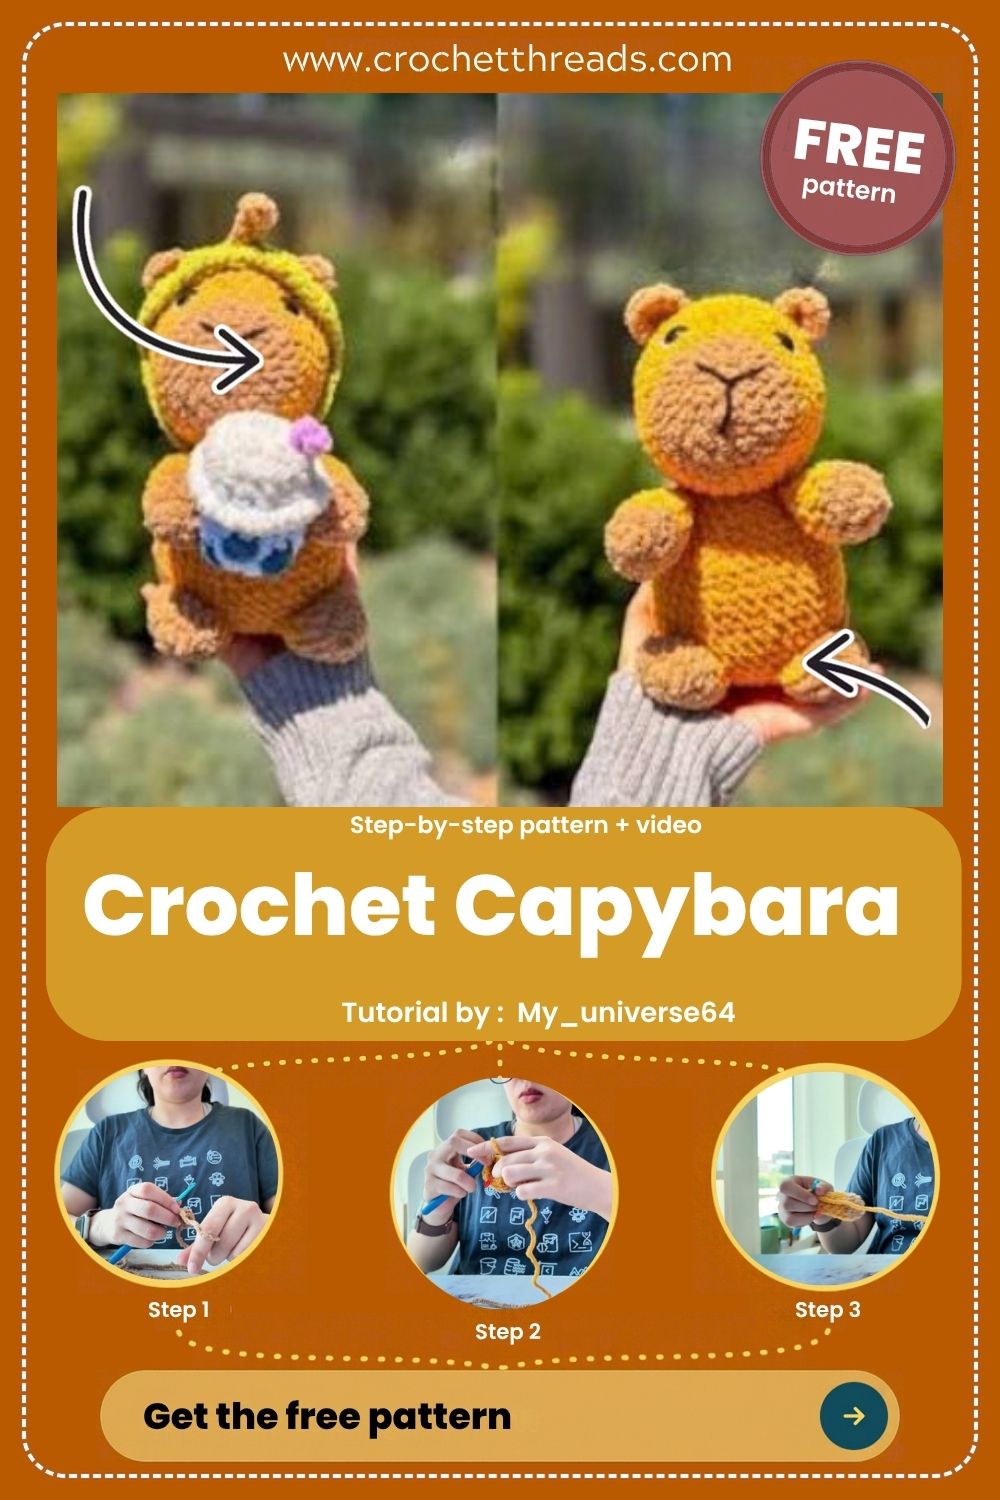
Golden chenille loops, tan-tipped feet, and a soft hood framing a sleepy face give the Crochet Capybara With a Hood and Cupcake its cozy charm. A tiny frosted cupcake tucked between its paws finishes the look.
Worked in plush chenille yarn, the Free Crochet Capybara pattern builds two-tone legs, a rounded body, a snug hood, and a palm-sized dessert accessory. Below, you’ll find round-by-round guidance matched to each tutorial photo, tips for spotting stitches in fuzzy yarn, smart stuffing timing, and fixes for the shaping problems that commonly trip up amigurumi capybara makers.
Pattern Overview
The capybara is built from separate pieces: two legs, a body-and-head shape, small ears, a hood, and a cupcake. Every piece is worked in continuous spiral rounds with single crochet. The legs change color partway, so the paws come out darker than the fur. The hood slips over the head and gets tacked in place. The cupcake gets sewn between the front legs.
Materials
- Mustard or golden-tan plush chenille yarn for the body
- Light brown plush yarn for the paws and ears
- Contrasting plush yarn for the hood
- Scraps of tan and pink for the cupcake, plus a little white or colored yarn for sprinkles
- 5 mm crochet hook
- Locking stitch markers
- Polyester fiberfill
- 10 mm safety eyes, or black yarn for embroidered eyes
- Tapestry needle and scissors
Yarn Selection and Hook Size
Chenille gives the toy its velvety, squishable feel, but it hides stitches. A 5 mm hook with bulky plush yarn keeps the fabric dense enough that stuffing won’t peek through. If your stitches look lacy when you stretch the fabric, drop down half a millimeter. Gauge isn’t critical for a toy, as long as all the pieces use the same yarn and hook.
Stuffing and Safety
Stuff firmly but evenly, adding small tufts at a time. For children under three, skip the safety eyes and embroider the face with yarn. Sew every piece down with several passes, and knot all tails securely on the inside.
Abbreviations (US Terms)
- MR: magic ring
- sc: single crochet
- inc: 2 sc in the same stitch
- dec: invisible decrease
- sl st: slip stitch
- BLO: back loop only
- FO: fasten off
Time Box
- Prep: about 10 minutes to gather yarn and wind the colors
- Stitching: roughly 2 to 3 hours for all the pieces
- Finishing: about 45 minutes for stuffing, sewing, and the face
Step-by-Step Instructions Matched to Each Photo
Round counts below follow standard amigurumi increase spacing for bulky plush yarn. Compare them with the reference video as you work.
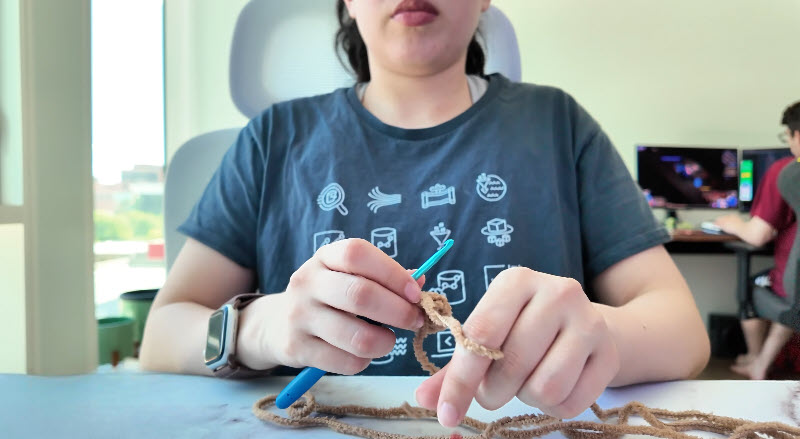
Photo 1: Start the Paw in Tan
- With the light brown yarn, form a magic ring. Work 6 sc into it and pull the ring closed. (6)
- Place a marker in the first stitch.
- Round 2: inc in every stitch. (12)
- Round 3: sc around. (12)
Hold the ring between your thumb and middle finger, just as the maker does in the photo. That grip keeps the loop open while you work those first stitches.
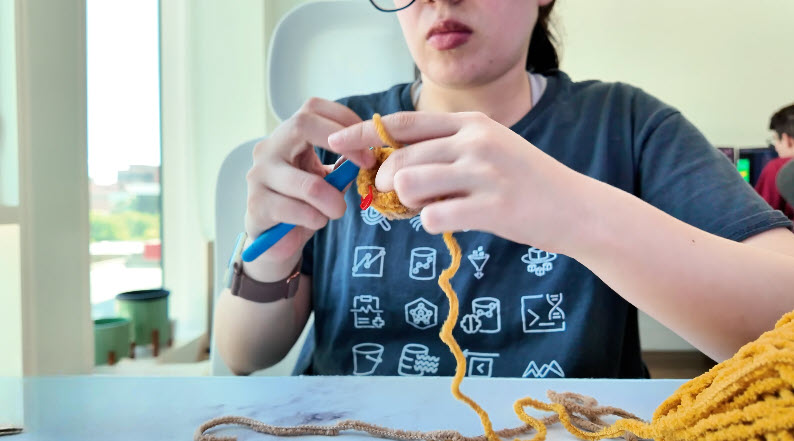
2: Switch to the Body Color
- On the last stitch of Round 3, pull the mustard yarn through for the final yarn-over.
- Round 4: sc around in mustard. (12)
Keep the tan tail on the inside of the piece. Tug it gently after a round so the color line sits flat.
Pro Tip: Move the marker up every single round when you’re working in chenille. Losing track of your place in plush yarn costs far more time than it does in smooth yarn.
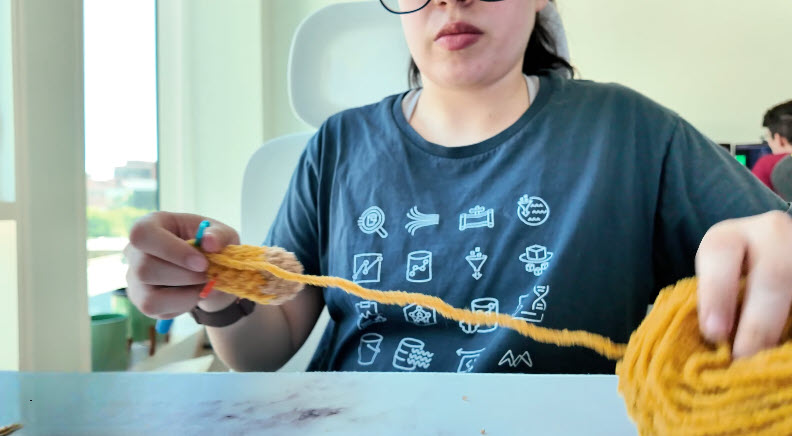
3: Build the Leg Length
- Rounds 5 to 8: sc around. (12)
- Pull a long stretch of working yarn from the skein before each round, as shown in the photo. Chenille drags on itself, and yanking it mid-stitch tightens your tension.
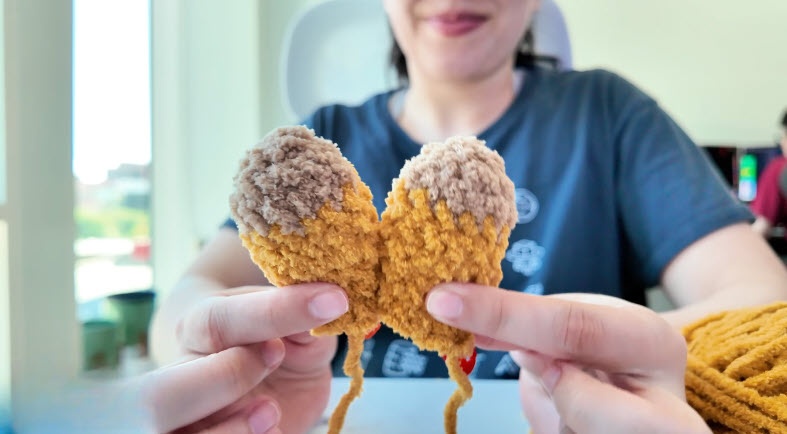
4: Finish and Compare Both Legs
- Flatten the opening and FO, leaving a 30 cm tail for sewing.
- Make a second leg to match.
- Hold both legs side by side, as in the photo. The tan tips should be the same depth, and the legs should be the same length.
Matching them now saves you from a capybara that tilts once it’s sewn together
5: Shape the Body From Inside
- With mustard: MR, 6 sc. (6)
- Round 2: inc around. (12)
- Round 3: (sc, inc) around. (18)
- Round 4: (2 sc, inc) around. (24)
- Round 5: (3 sc, inc) around. (30)
- Rounds 6 to 12: sc around. (30)
Push your fingertips into the open piece, as the maker does in the photo, to round out the dome. Press any flat spots outward so the curve looks even.
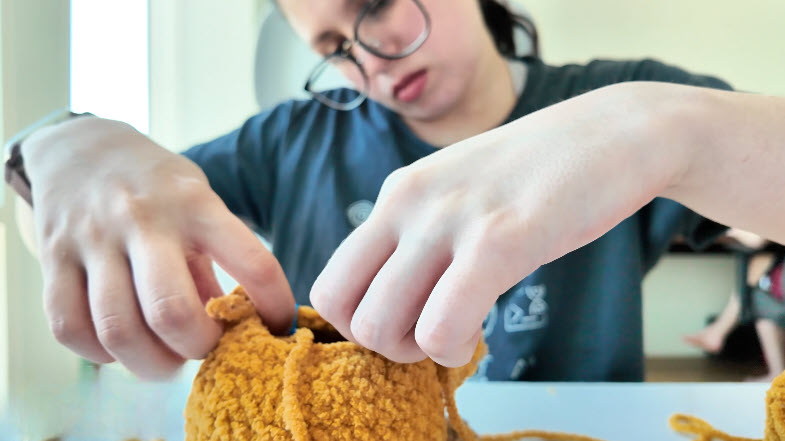
6: Work the Open Cup and Close
- Keep the marker on the edge, as shown in the photo, so you can see where each round ends.
- If you’re using safety eyes, insert them now between Rounds 8 and 9, about 6 stitches apart.
- Round 13: (3 sc, dec) around. (24)
- Start stuffing.
- Round 14: (2 sc, dec) around. (18)
- Round 15: (sc, dec) around. (12)
- Top up the stuffing.
- Round 16: dec around. (6)
- FO and weave the tail through the front loops to cinch the hole closed.
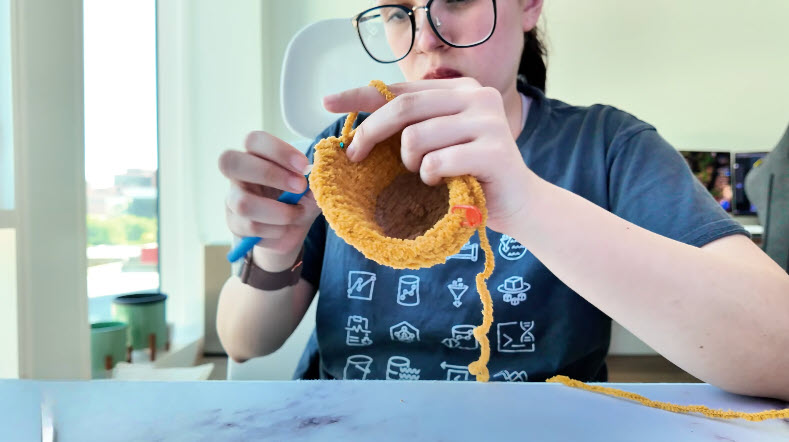
Stitch Count Checkpoints
- Count now: After Round 5 of the body, you should have exactly 30 stitches. An extra increase here makes the head look lopsided.
- Measure next: Both legs should come out the same length before you attach anything.
- Test the fit: The hood’s face opening should frame the eyes, not cover them.
Common Mistakes
- Counting the wrong loops. Chenille hides the V of each stitch, so makers often skip or double one. Feel for each stitch with your hook tip before inserting it.
- Loose color changes. A slack join leaves a gap at the ankle.
- Stuffing too late. Once the hole narrows, it’s hard to fill the head evenly.
- Crooked hood. Sewing it before checking it’s centered twists the face.
Troubleshooting
- Stuffing shows between stitches. Go down a hook size, or swap to a slightly thicker yarn.
- Lumpy body. Pull out the fiberfill and re-stuff in smaller pieces.
- Leg won’t stand straight. Lightly stuff the bottom third before sewing it on.
- Cupcake tips over. Flatten the liner base by pressing it against the table while you sew.
Color Variations
Warm caramel with chocolate paws looks close to a real capybara. Mint or lavender hoods lean playful. For the cupcake, strawberry pink frosting on a tan liner is classic, and a chocolate liner with cream frosting pairs nicely with a golden body.
Personalization Ideas
Seasonal Hoods
Try a pumpkin-orange hood for fall, or a red one with a white pom-pom for winter.
Treat Swaps
Replace the cupcake with a mini donut, a strawberry, or a tiny orange.
Sleepy Face
Stitch curved closed eyes instead of using safety eyes.
Bag Charm Size
Use worsted cotton and a 3 mm hook to make a pocket-sized version for a keyring.
FAQs
Can beginners make the capybara?
Yes. It uses only single crochet, increases, and decreases. Chenille takes some patience, so practice counting stitches on a swatch first.
Can I use regular acrylic yarn?
Absolutely. The toy will come out smaller and the stitches easier to see, so adjust the hook to about 3.5–4 mm.
Is the hood removable?
Only if you leave it unsewn. A couple of tacking stitches at the back keep it steady but easy to snip later.
How do I wash it?
Hand wash in cool water, press out the moisture in a towel, and air dry. Tumble drying can mat chenille.
Reading Stitches in Chenille Yarn
Plush yarn swallows stitch definition, so rely on touch more than sight. Run your thumb along the top edge of the round, and you’ll feel small bumps. Each bump is one stitch. Working under good light helps, and a light-colored marker shows up better than a dark one against golden fur. If a stitch count comes out wrong, frog back to the marker instead of guessing. Chenille also sheds when it’s ripped out repeatedly, so undo work slowly and in small sections.