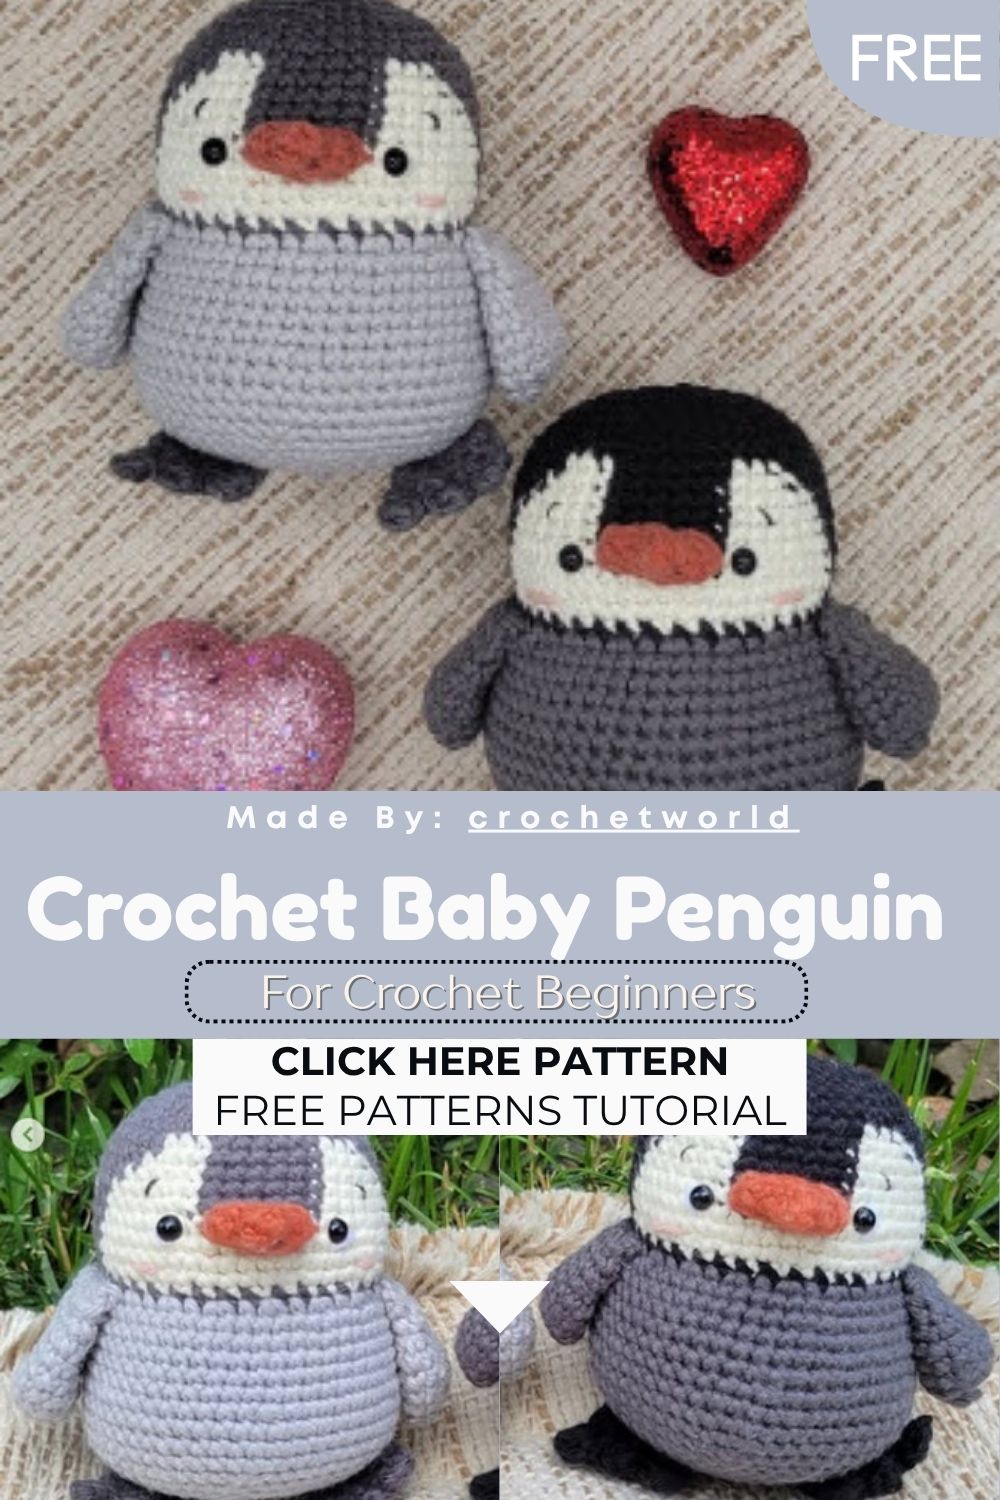
Free Crochet Baby Penguin Amigurumi Pattern For Beginners
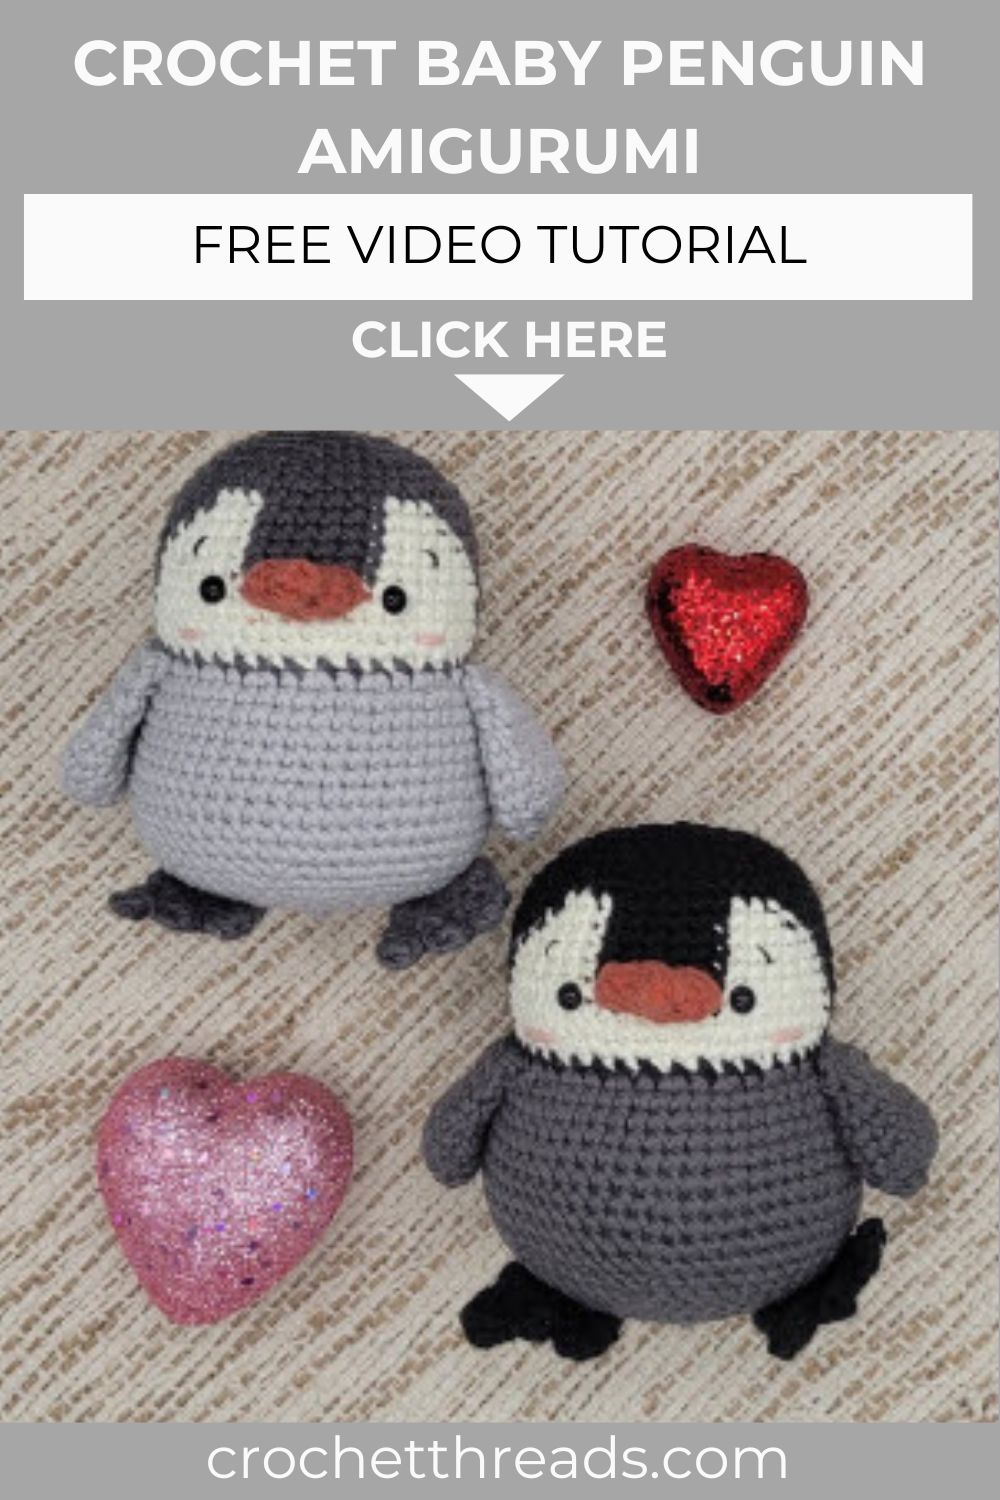
Little crochet penguins have a charm all their own at first glance and you fall for them instantly. This free crochet baby penguin pattern is round, plump, wonderfully cute, and an ideal choice for beginners. Its tiny beak and little feet give it pure appeal, and the best part is that it can be made in two different sizes the choice is yours.
Penguins just have a way of melting hearts, don’t they? This little one keeps things simple a round body, contrasting colors, and the sweetest beak sewn right between the eyes.
You can make a small worsted-weight version or size it right up with chunky yarn. Either way, the steps stay nice and beginner-friendly. Hands down, it’s a feel-good little project.
Pattern Overview
- The Free Crochet Baby Penguin is worked as one head-into-body piece, so the round head flows straight down into the belly with no seam between them.
- The head starts from an oval base (chain 4, both sides), giving the penguin a wide, friendly face shape.
- A contrasting belly patch is built into rounds 8–16 using a second color, which is what gives a penguin its classic two-tone look.
- The beak is made separately in orange and sewn on early, so you can place the eyes around it perfectly.
- Two wings and two little webbed feet are crocheted and added at the end neither one needs stuffing.
- It comes in two sizes: a small worsted-weight version and a larger chunky one. Same steps, different yarn and hook.
Skill Level
This Free Crochet Baby Penguin pattern is made for beginners. As long as you know a magic ring, single crochet, increases, and decreases, you’re good to go. The little feet add fun detail.
Materials
- Small version: 2.5 mm hook, 6 mm safety eyes, worsted-weight yarn
- Bigger version: 4 mm hook, 8 mm safety eyes, weight 6 yarn
- Two contrasting main body colors (one darker, one lighter)
- Orange yarn for the beak
- Pink yarn for the blush (optional)
- Stuffing
- Yarn needle, stitch marker, scissors
Abbreviations
- ch: chain
- sc: single crochet
- dc: double crochet
- sl st: slip stitch
- inc: increase
- dec: decrease
- F.o.: fasten off
- ( ): number of stitches in the round
This pattern is written in US crochet terms.
Special Techniques
A few simple techniques shape this little penguin, so here’s what to know first:
- Working both sides of a chain: Round 1 of the head runs down one side of the starting chain and back up the other, so the base comes out oval rather than round.
- Color-change belly patch: Rounds 8–16 alternate between your two main colors mid-round to shape the lighter belly against the darker back.
- Joined rounds on the beak: The beak uses a ch 1 at the start and a sl st at the end of each round, though you can spiral it after round 2 if you prefer.
- Folded, closed limbs: The wings and feet are folded in half and crocheted shut, so they stay flat and easy to sew.
- Webbed-toe stitches: Round 8 of each foot uses sl st, ch, and dc combos to shape those cute little penguin toes, mirror-imaged on each side.
The Pattern
Beak
Use orange yarn. Do not stuff. Start with a long beginning tail for sewing the beak to the head later. This is crocheted in distinct rounds with a ch 1 at the start and a sl st at the end of each round. (You can disregard the ch 1 / sl st and spiral instead after round 2 if you’d like.)
- R1: ch 12, sl st to the first ch you made (12)
- R2: ch 1, 12 sc, sl st to the first sc you made (12)
- R3: ch 1, dec x6, sl st to the first sc you made (6)
- R4: ch 1, dec x3, sl st to the first sc you made (3)
F.o. and weave in the ending tail. Set the beak aside for later.
Head
Start with your darker color (the darker of your two contrasting body colors). For rounds 8–16, the main count is in the darker color, with the belly section worked in the lighter ivory shade.
- R1: ch 4. From the 2nd ch from the hook: 2 sc, inc. On the other side of the chain: 2 sc, inc. (8)
- R2: inc x8 (16)
- R3: (sc, inc) x8 (24)
- R4: (2 sc, inc) x8 (32)
- R5: (3 sc, inc) x8 (40)
- R6: 40 sc (40)
- R7: (4 sc, inc) x8 (48)
- R8: 6 sc, 3 sc, 6 sc, 3 sc, 30 sc (48)
- R9: 5 sc, 4 sc, 6 sc, 4 sc, 29 sc (48)
- R10: 4 sc, 5 sc, 6 sc, 5 sc, 28 sc (48)
- R11–12 (2 rounds): 3 sc, 6 sc, 6 sc, 6 sc, 27 sc (48)
- R13: 3 sc, (sc, inc) x3, 6 sc, (sc, inc) x3, 27 sc (54)
- R14–15 (2 rounds): 3 sc, 24 sc, 27 sc (54)
- R16: 3 sc, sc, dec, (4 sc, dec) x3, 3 sc, sc, dec, (4 sc, dec) x4 (45)
Placing the Eyes and Beak
The yarn tail (where you start and end each round) marks the side of the head. Insert the eyes between rounds 13 and 14, about 8–9 stitches apart. If you like, embroider white outer edges on each eye. Sew the beak onto round 13 between the eyes. Fold the beak so its seam sits at the bottom where it’s least visible. Optionally, add pink blush between rounds 15–16 (about 2 stitches wide) and eyebrows on round 11.
Body
- R17 (in the darker color): (3 sc, dec) x9 (36)
Stuff the head so far, and continue stuffing the body as you go. Change to your lighter color.
- R18: (sc, inc) x18 (54)
- R19–23 (5 rounds): 54 sc (54)
- R24: (8 sc, inc) x6 (60)
- R25–27 (3 rounds): 60 sc (60)
- R28: (8 sc, dec) x6 (54)
- R29: (7 sc, dec) x6 (48)
- R30: (6 sc, dec) x6 (42)
- R31: (5 sc, dec) x6 (36)
- R32: (4 sc, dec) x6 (30)
- R33: (3 sc, dec) x6 (24)
- R34: (2 sc, dec) x6 (18)
- R35: (sc, dec) x6 (12)
- R36: dec x6 (6)
F.o. and weave in the end tail.
Wing (make 2)
Use your lighter color. Do not stuff.
- R1: ch 2, complete 8 sc in the 2nd ch from the hook (8)
- R2: inc x8 (16)
- R3–5 (3 rounds): 16 sc (16)
- R6: (6 sc, dec) x2 (14)
- R7: 14 sc (14)
- R8: (5 sc, dec) x2 (12)
- R9: ch 1, fold the wing in half and crochet closed with 6 sc (6)
F.o. and leave a long tail for sewing. Sew the wings to the sides of the body between rounds 18–19, slightly toward the front.
Foot (make 2)
Use your darker color. Do not stuff. The toes on round 8 are mirror images of each other, so they’re broken into steps below.
- R1: ch 2, complete 6 sc in the 2nd ch from the hook (6)
- R2: inc x6 (12)
- R3–6 (4 rounds): 12 sc (12)
- R7: ch 1, fold the foot in half and crochet closed with 6 sc (6)
- R8: ch 1, turn, and complete the following:
- 1st stitch: sl st, ch 2, dc, ch 2
- 2nd stitch: sl st
- 3rd stitch: sl st, ch 2, dc, ch 2
- 4th stitch: sl st
- 5th stitch: sl st, ch 2
- 6th stitch: dc, ch 2, sl st
F.o. and leave a long tail for sewing. Sew each foot near rounds 30–33 of the body.
Assembly
Here’s the order that makes finishing easiest:
- Make the beak first and set it aside, keeping its long starting tail for sewing.
- Once the head reaches around 16, sew the beak onto round 13, then insert the eyes 8–9 stitches apart on either side of it.
- Add any optional details now: white eye outlines, pink blush between rounds 15–16, and little eyebrows on round 11.
- Stuff the head at round 17 and keep filling the body as you decrease down to the close.
- Fold and close the two wings, then sew them at the sides between rounds 18–19, slightly toward the front.
- Fold and close the two feet, shape the toes on round 8, and sew them near rounds 30–33 so your penguin stands tall.
Common Mistakes
A handful of spots tend to catch people out, so keep these in mind:
- Sewing the beak too late. Attach it around round 13 first, then place the eyes around it so the face lines up right.
- Spacing the eyes wrong. They sit between rounds 13 and 14, about 8–9 stitches apart. Too close, and he looks cross-eyed.
- Losing track of the belly color changes. Rounds 8–16 switch colors mid-round, so read each one slowly and count carefully.
- Stuffing all at once. Fill the head at round 17, then keep stuffing the body as you go, before the decreases close it up.
- Stuffing the wings or feet. They’re meant to stay flat, so leave them unstuffed for clean folding and sewing.
- Placing the feet too high or too low. They go near rounds 30–33, so the penguin stands without tipping over.
- Pulling the toe stitches tight. The dc-and-chain toes need a little room to splay out properly.
Important Remarks
- For the small version, use a 2.5 mm hook, 6 mm eyes, and worsted-weight yarn.
- For the bigger version, switch to a 4 mm hook, 8 mm eyes, and a weight of 6 yards. The steps stay the same.
- Pick two contrasting main colors for the body (a darker shade and a lighter one), plus orange for the beak.
- The yarn tail at the start and end of each round marks the side of the head, so use it to keep your placement even.
- When sewing the limbs, you can weave the ending tail down a few rounds first, or use a fresh length of yarn instead.
- Because of the safety eyes, keep this one as decor or a gift for older kids unless you embroider the eyes instead.
Conclusion
And there’s your Free Crochet Baby Penguin beak, feet, and all. The good news? Once you get past the belly color changes, the rest is smooth sailing, just rounds of sc and a few easy decreases. Whether you go small and worsted or big and chunky, this one’s a winner for beginners. Make a single Free Crochet Baby Penguin, or a whole waddle of them in different color combos. So grab two cozy shades, pick up that hook, and give it a shot. You’ll be glad you did.