Crochet Pizza Slice Sunglasses Keychain Pattern for Your Style
A pizza slice wearing sunglasses sounds silly at first, and that’s exactly why it works so well as a keychain. Small, quirky accessories like this one catch attention fast, whether clipped to a backpack or dangling from a purse strap. Yarn scraps turn into something genuinely fun within a single sitting.
This crochet pizza slice sunglasses keychain checks every box. It hangs on backpacks, dangles from purses, and makes a genuinely fun handmade gift.Grab your hook and a few scraps of yarn. Within an hour, a cheerful little pizza slice with its own sunglasses will be ready to clip onto anything you carry.
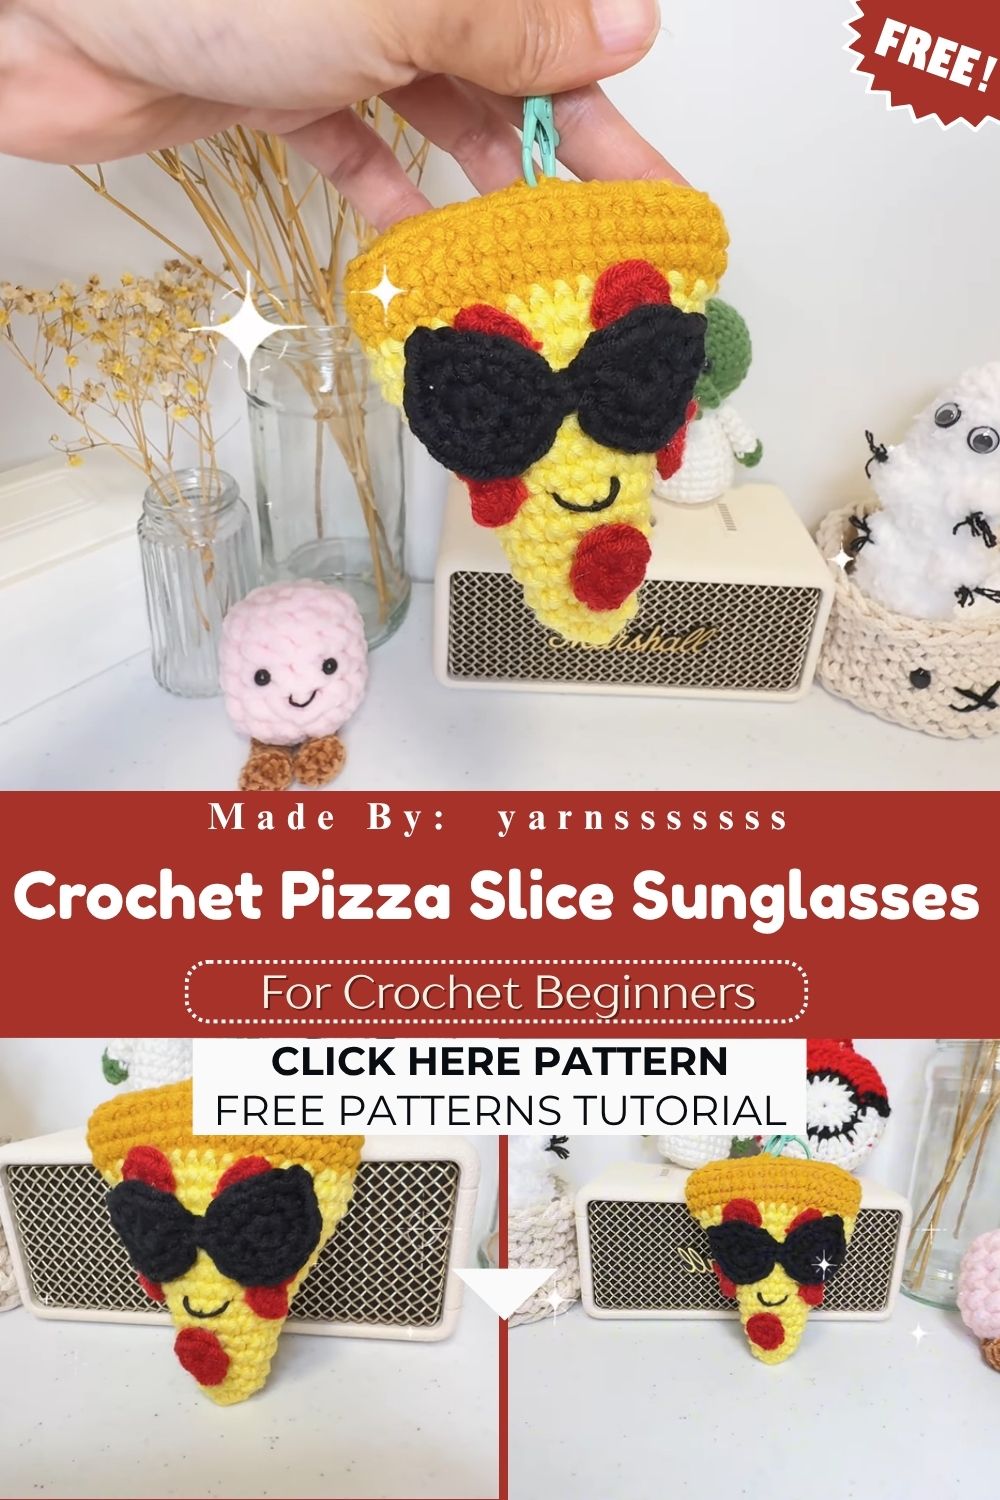
What Is This Crochet Project About
Picture a bright pizza slice, complete with cheese bubbles and a pepperoni topping, wearing a pair of miniature sunglasses across its crust. That image sums up this keychain. Crocheters build the pizza triangle in rows, stitch a curved crust edge, then attach small sunglass frames on top. Stuffing gives the slice a soft, huggable shape, while a keyring loop turns it into a functional accessory.
This project blends amigurumi charm with practical use. Crafters gift it, sell it at markets, or simply keep one clipped to their own bag. Kids adore the food-themed design, and adults appreciate the retro sunglasses twist.
Skill Level
Beginners can absolutely finish this pattern with confidence. Only single crochet, half double crochet, and basic decreases show up in the instructions. Sunglasses frames involve tiny chains and slip stitches, which stay simple even for first-timers. Total working time runs under ninety minutes once yarn colors are sorted. Anyone comfortable holding a hook and counting stitches will finish a polished keychain on the first attempt.
Materials and Supplies You’ll Need
Every great keychain starts with the right stash pull. Here’s the full supply list for this pattern:
Yarn Type
- Worsted weight yarn in tan or light brown (crust)
- Red or tomato-red yarn (sauce layer)
- Yellow or golden yarn (cheese layer)
- Small amount of brown yarn (pepperoni topping)
- Black yarn for sunglasses frames and lenses (or dark grey)
Hook Size
- 3.25mm (D) crochet hook for the pizza body
- 2.25mm (B) crochet hook for the sunglasses details
Extra Tools
- Yarn needle for weaving ends
- Polyester stuffing
- Stitch markers
- Sharp scissors
- Keyring or lobster clasp hardware
- Needle nose pliers (helpful for attaching hardware)
Scrap yarn works beautifully here, so this pattern doubles as a stash-buster for leftover worsted weight balls.
Crochet Stitches and Abbreviations Used
ch – chain, sc – single crochet, hdc – half double crochet, sc dec – single crochet decrease, sl st – slip stitch, st(s) – stitch(es), rep – repeat
Knowing these abbreviations ahead of time keeps the instructions easy to follow, especially for anyone newer to amigurumi charts.
Step-by-Step Crochet Instructions
Step 1: Crochet the Crust Triangle
Chain 12 in tan yarn. Work sc across, turn, and continue in rows. Increase one stitch at each end of every third row until the triangle reaches about three inches wide. This builds the classic wedge shape of a pizza slice.
Step 2: Add the Sauce Layer
Switch to red yarn. Work one row of sc directly onto the top edge of the crust triangle, leaving a thin tan border visible along the outside edge. This border mimics a golden baked crust.
Step 3: Build the Cheese Topping
Change to yellow yarn and repeat a similar row over the sauce layer, working slightly smaller than the red section. Leave small gaps unworked here and there for a melty, textured cheese look.
Step 4: Stuff and Join the Layers
Place a thin layer of stuffing between the crust and topping pieces before sewing them together. Keep the stuffing light so the keychain stays flat enough for a bag or keyring.
Step 5: Crochet the Pepperoni Circles
Using brown yarn, chain 4 and join with a sl st to form a ring. Work 8 sc into the ring, then fasten off. Make two or three small circles and sew them onto the cheese layer.
Step 6: Make the Sunglasses Frames
Switch to the smaller hook and black yarn. Chain 6, then sl st into a small oval shape for each lens. Repeat for a second lens, then connect both ovals with a short chain bridge across the middle, forming the classic sunglasses silhouette.
Step 7: Attach the Sunglasses
Position the sunglasses diagonally across the pizza slice, right where a face would sit if the pizza were a character. Sew each lens in place using small, even stitches through the cheese layer.
Step 8: Finish with Hardware
Weave in every loose end using a yarn needle. Attach a keyring or lobster clasp to the pointed tip of the crust, and the keychain is ready to use.
Helpful Beginner Tips
- Work with a smaller hook size than the yarn label suggests for tighter, neater stitches.
- Count stitches at the end of every row to avoid gradual shape drift.
- Use stitch markers on the first stitch of each row when working the triangle shape.
- Pin the sunglasses in place before sewing to check positioning first.
- Keep tension consistent, since tight stitches hide stuffing better than loose ones.
Common Mistakes and Solutions
Uneven triangle edges: This usually happens from missed increases. Count stitches after every row and adjust immediately rather than waiting until the end.
Visible stuffing through gaps: Thin yarn or loose stitches often causes this. Switching to a slightly smaller hook tightens the fabric and solves the problem.
Sunglasses looking lopsided: Rushing the attachment step leads to crooked frames. Pin both lenses symmetrically before picking up a needle.
Curling crust edge: Working too many increases in one spot causes ruffling. Spread increases evenly across the row instead of stacking them together.
Pattern Customization Ideas
- Swap pepperoni for tiny mushroom or olive shapes using different colored yarn scraps.
- Add a rainbow-tinted lens color for a fun, non-traditional sunglasses look.
- Turn the piece into a brooch or bag charm instead of a keychain.
- Crochet a mini slice without sunglasses for a simpler, classic pizza charm.
- Add a small smiling face beneath the sunglasses for extra character.
Size and Color Suggestions
A finished keychain typically measures around three to four inches long, making it light enough for daily carry. Classic red, yellow, and tan colors give the most realistic pizza look, though pastel versions in soft pink and mint work wonderfully for a playful, modern twist. Neon sunglasses frames in hot pink or electric blue add a bold pop against the traditional pizza palette.
Frequently Asked Questions
How long does this project take to finish?
Most crocheters complete the keychain in sixty to ninety minutes, depending on stitch tension and experience level.
What yarn weight works best?
Worsted weight yarn gives the sturdiest, most durable result for a keychain that gets daily handling.
Can this pattern work without stuffing?
Yes. Skipping stuffing creates a flatter charm, which some crafters prefer for keeping it slim inside a bag.
Is this pattern suitable for craft fairs?
Absolutely. Quick turnaround time and low yarn cost make it a popular choice for small handmade businesses.
What if I don’t have small hooks for the Crochet Pizza Slice Sunglasses?
A single hook size works fine throughout the whole project; the smaller hook simply creates tighter, cleaner detail work.
Conclusion
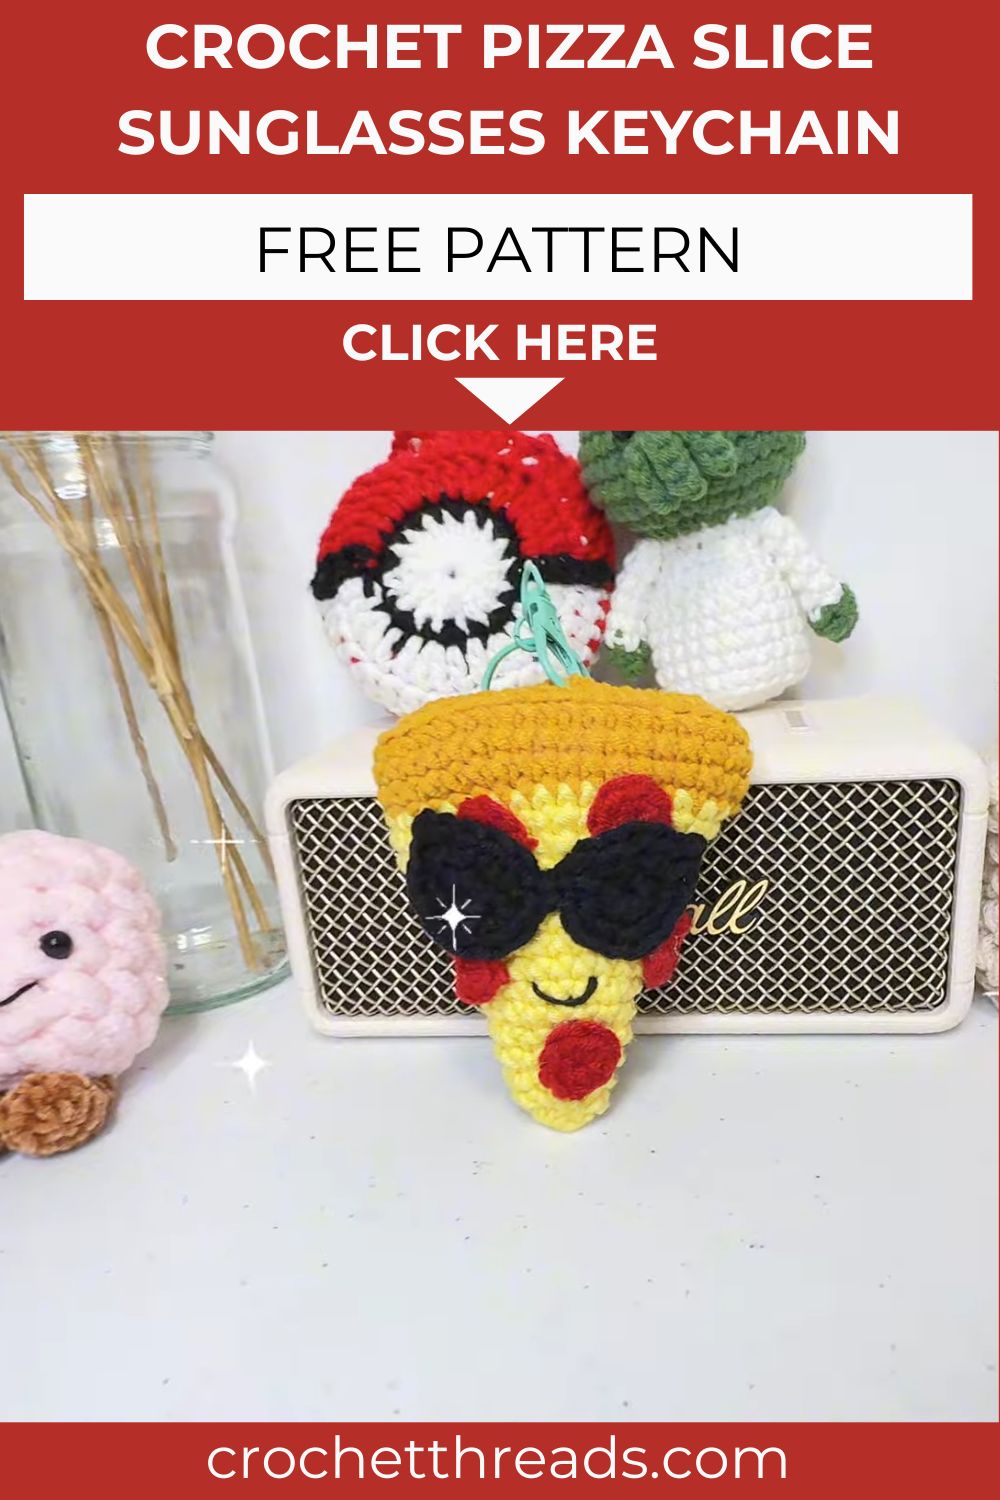
This crochet pizza slice sunglasses keychain brings together food-themed charm and playful personality in one quick project. Beginners gain confidence with simple stitches, while experienced crocheters enjoy a fast, satisfying make between bigger projects. Clip one onto a backpack, gift a batch to friends, or stock a craft table with these cheerful little accessories. Grab that yarn stash, and let this pizza slice bring some sunshine to any keyring today.