Crochet Bunny Pouch Water Bottle Holder Pattern for a Chic Look
Bunny characters bring warmth and playful charm to handmade accessories, inspired by soft ears and gentle expressions. Crocheters return to this friendly shape repeatedly, since it turns a simple water bottle holder into a chic, memorable project for everyday use.
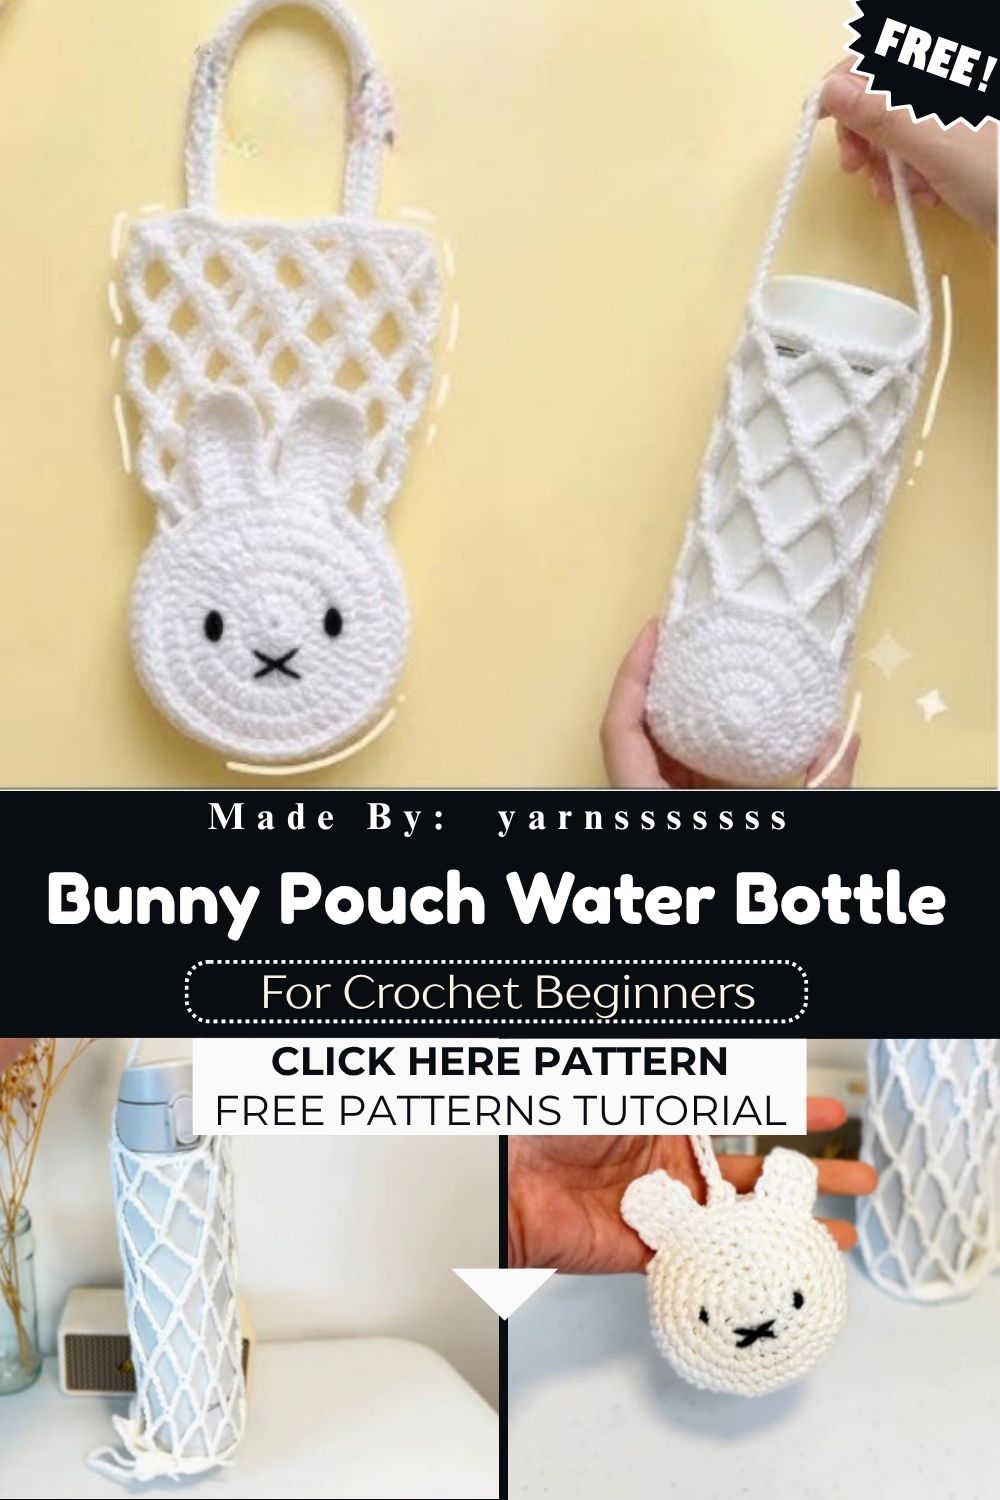
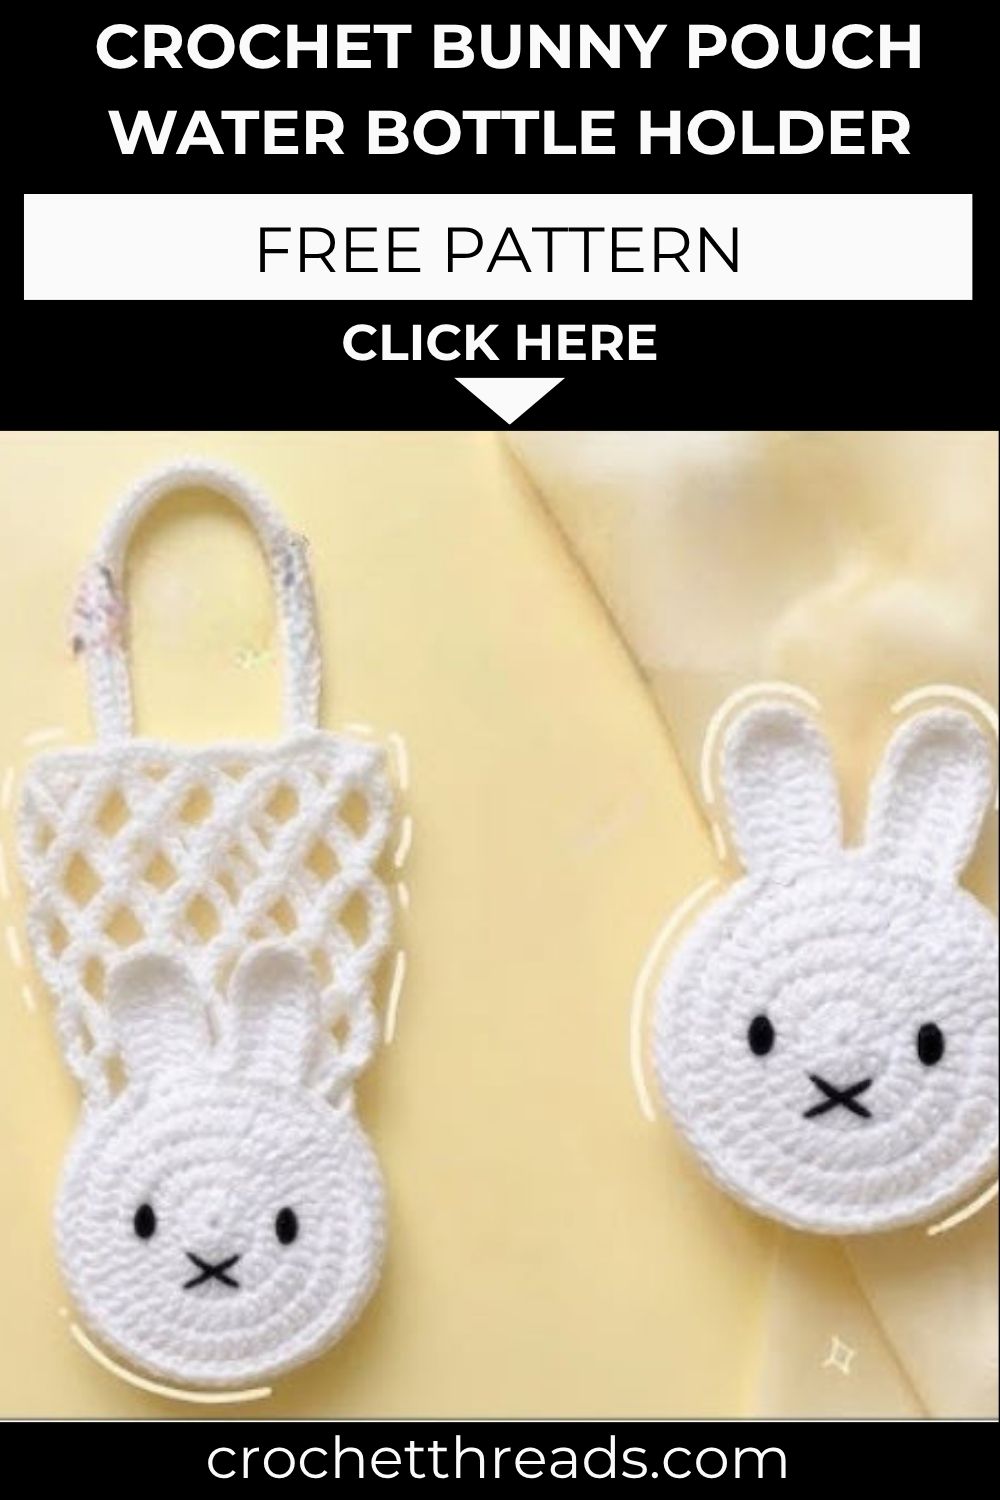
A bunny pouch water bottle holder combines amigurumi shaping with practical function, wrapping a soft crochet cover around your bottle while adding a cute face, ears, and a secure keychain loop. Worked mostly in single crochet with simple increases and decreases, it stays approachable even for newer crocheters building confidence.
Finished pieces make thoughtful gifts or sweet personal accessories, pairing function with charm. Customize colors and details freely, turning this pattern into a signature handmade design anyone can enjoy daily.
Skill Level
Intermediate. Basic amigurumi experience helps, since the pattern combines rounds of single crochet, shaping through increases and decreases, and a bit of sewing for assembly. Absolute beginners who already know the magic ring and single crochet stitch can still complete this project with patience.
Materials and Supplies List
Gathering supplies ahead of time keeps the crochet process smooth and enjoyable.
Yarn colors
- Main color: soft cream, blush pink, or light lavender for the bunny body
- Accent color: pastel pink for inner ears and nose detail
- Optional contrast color for bows, patches, or stripes
Tools and notions
- Crochet hook size 3.5mm or 4mm (matched to worsted weight yarn)
- Safety eyes, 8mm or 9mm, black
- Polyester fiberfill stuffing
- Yarn needle for sewing pieces together
- Sharp scissors
- Stitch markers
- Keychain ring or bag clip hardware for attaching the finished pouch
Crochet Techniques Used
This pattern relies on a handful of core amigurumi techniques, all beginner-friendly once practiced.
Magic Ring
The magic ring starts each round piece with a tight, gap-free center, which keeps stuffing secure inside the finished bunny shape.
Single Crochet
Single crochet forms the base fabric throughout the project, creating a dense texture that holds stuffing well and gives the pouch its sturdy structure.
Increase and Decrease
Increases add stitches to widen a round, shaping the head and body outward, while decreases remove stitches to taper the top and bottom smoothly.
Sewing Parts Together
A yarn needle attaches ears, arms, and facial details onto the main body, blending pieces seamlessly so the finished bunny looks polished and professional.
Step-by-Step Crochet Pattern Instructions
Head Creation
- Start with a magic ring and work 6 single crochet stitches into it.
- Increase every stitch on round two to reach 12 stitches total.
- Continue increasing in alternating patterns across several rounds until the head reaches the desired width, typically around 30 to 36 stitches.
- Work several rounds without increasing to build height, then begin decreasing gradually to round off the top of the head.
- Insert safety eyes before closing the head completely, spacing them evenly for a friendly expression.
- Stuff firmly and close the remaining opening with a few decrease rounds.
Body Making
- Begin the body with a magic ring, working 6 stitches into the center.
- Increase steadily over the following rounds to widen the base enough to hold a standard water bottle.
- Work even rounds of single crochet without increasing to create the main pouch height, adjusting length to match your bottle size.
- Leave the top open or add a drawstring-style closing round, depending on the desired pouch style.
Ears, Accessories, and Tail
- Create two ear pieces using elongated oval shapes, worked flat or in the round depending on preference.
- Fold each ear slightly at the base before sewing, giving a natural curved look.
- Add a small pom-pom or crocheted puff stitch tail at the back of the body for a classic bunny touch.
- Crochet a narrow strap or loop if the pouch will double as a crossbody accessory.
Facial Details
- Embroider a small triangular nose using pink or coral yarn, centered below the safety eyes.
- Add a simple mouth line using backstitch for a sweet, subtle expression.
- Optional rosy cheeks can be added with light pink yarn or fabric blush for extra charm.
Assembly Process
- Pin the head onto the body before sewing, checking placement from multiple angles.
- Sew the head securely using a whip stitch, tucking the yarn tail inside once finished.
- Attach both ears near the top of the head, angling them slightly outward.
- Sew the tail onto the lower back of the body.
- Attach the keychain ring or clip hardware to the top edge of the pouch for easy carrying.
Finishing Touches
Weave in all loose ends carefully, trimming excess yarn close to the fabric. Fluff the stuffing gently through the opening before final closure, checking that the bunny holds its shape evenly on all sides.
Helpful Beginner Tips
- Keep stitches tight. Amigurumi projects need firm, close stitches so stuffing stays hidden and the shape holds well over time.
- Use stitch markers. Marking the start of each round prevents confusion, especially during long increase and decrease sequences.
- Stuff evenly and firmly. Add small amounts of stuffing gradually, pressing gently into corners and curves rather than packing everything in at once.
Design Customization Ideas
Handmade crochet ideas shine when personalized, and this bunny pouch adapts easily.
- Different colors: Swap the main yarn shade for seasonal palettes, like pastel spring tones or warm autumn hues.
- Cute accessories: Add tiny bows, flower appliqués, or embroidered patterns for extra personality.
- Mini size variations: Scale down the pattern using a smaller hook and thinner yarn to create a keychain-sized charm instead of a full bottle holder.
FAQ Section
What is the best yarn for amigurumi?
Worsted weight cotton or acrylic yarn works best for amigurumi, since both hold stitch definition well and support tight, structured shapes.
How do you make a crochet plush firm?
Firm results come from smaller hook sizes than the yarn label suggests, combined with tight single crochet stitches and generous, even stuffing throughout each section.
How long does this project take?
Most crocheters finish a bunny pouch water bottle holder within four to six hours, spread across a few relaxed sessions, depending on experience level and pouch size.
Conclusion
A bunny pouch water bottle holder brings together practical everyday use and sweet handmade charm in one satisfying project. Gather your yarn, pick a favorite color palette, and start looping this adorable pattern today for a chic accessory that carries your personality everywhere you go.