Crochet Pibble Dog Amigurumi Pattern for Fabulous Looks
About This Crochet Pattern
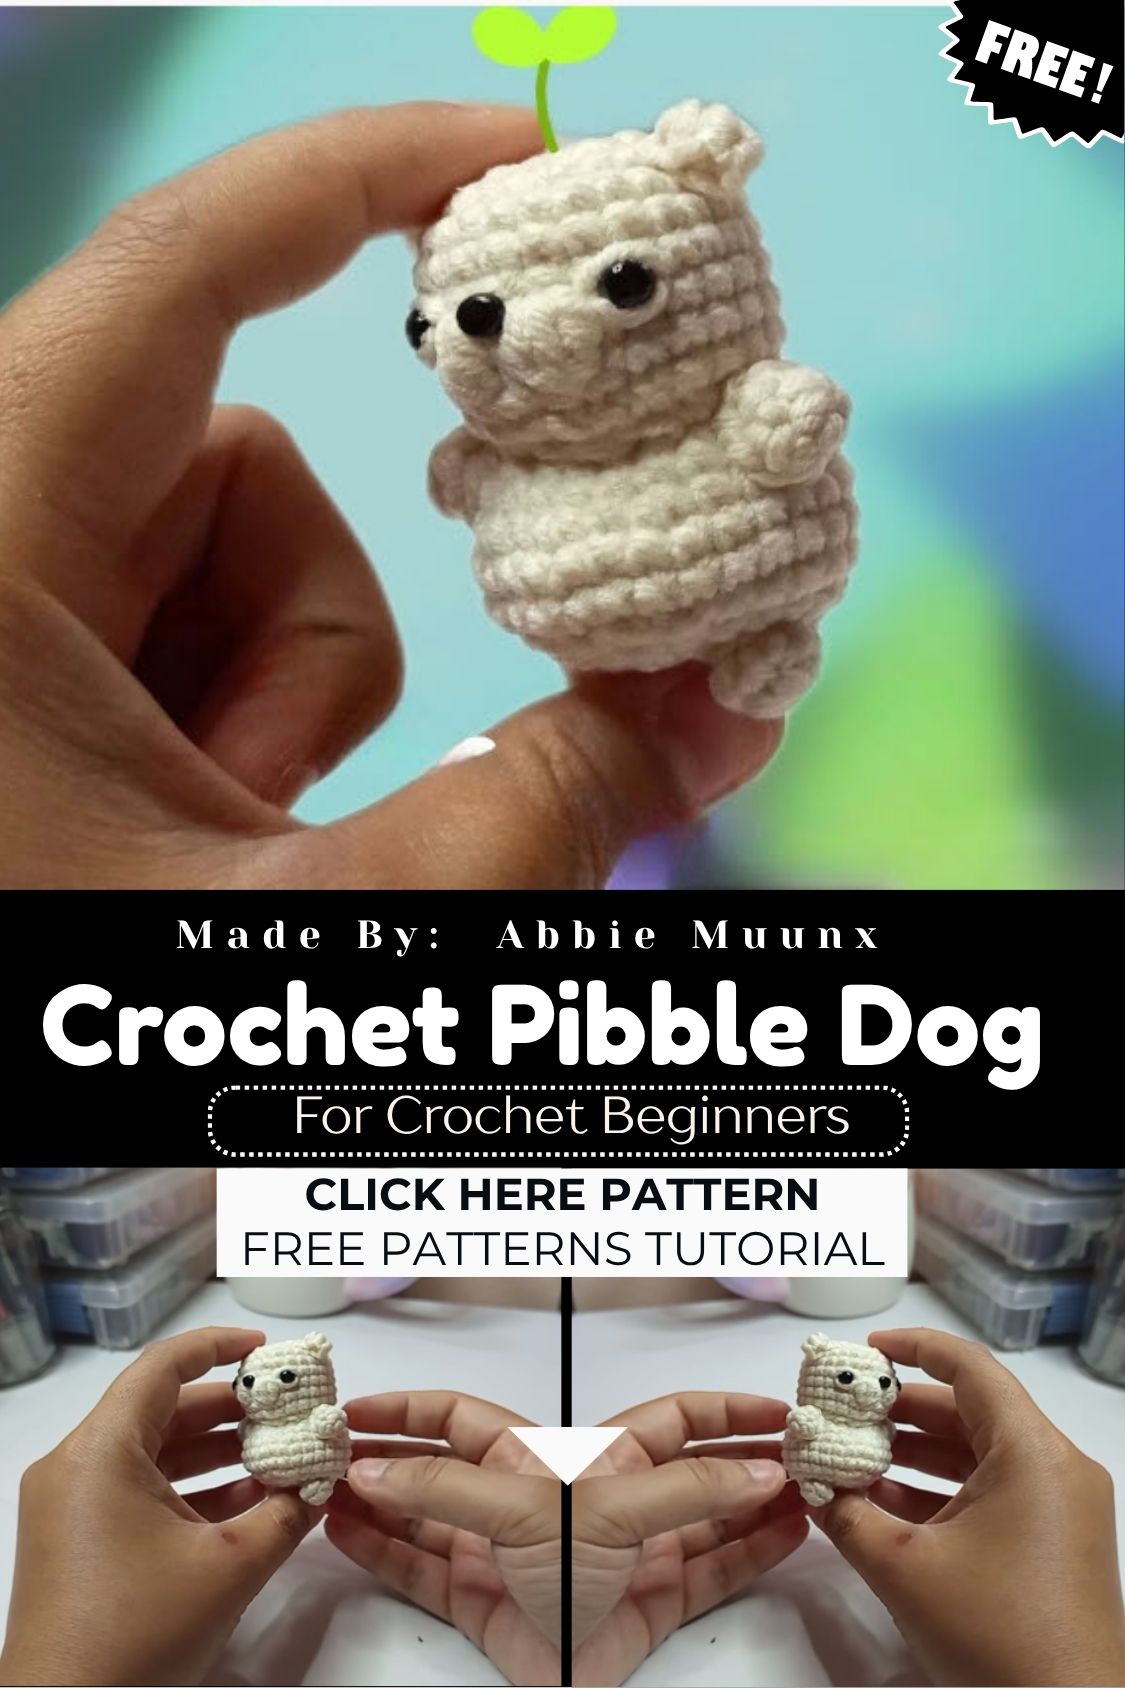
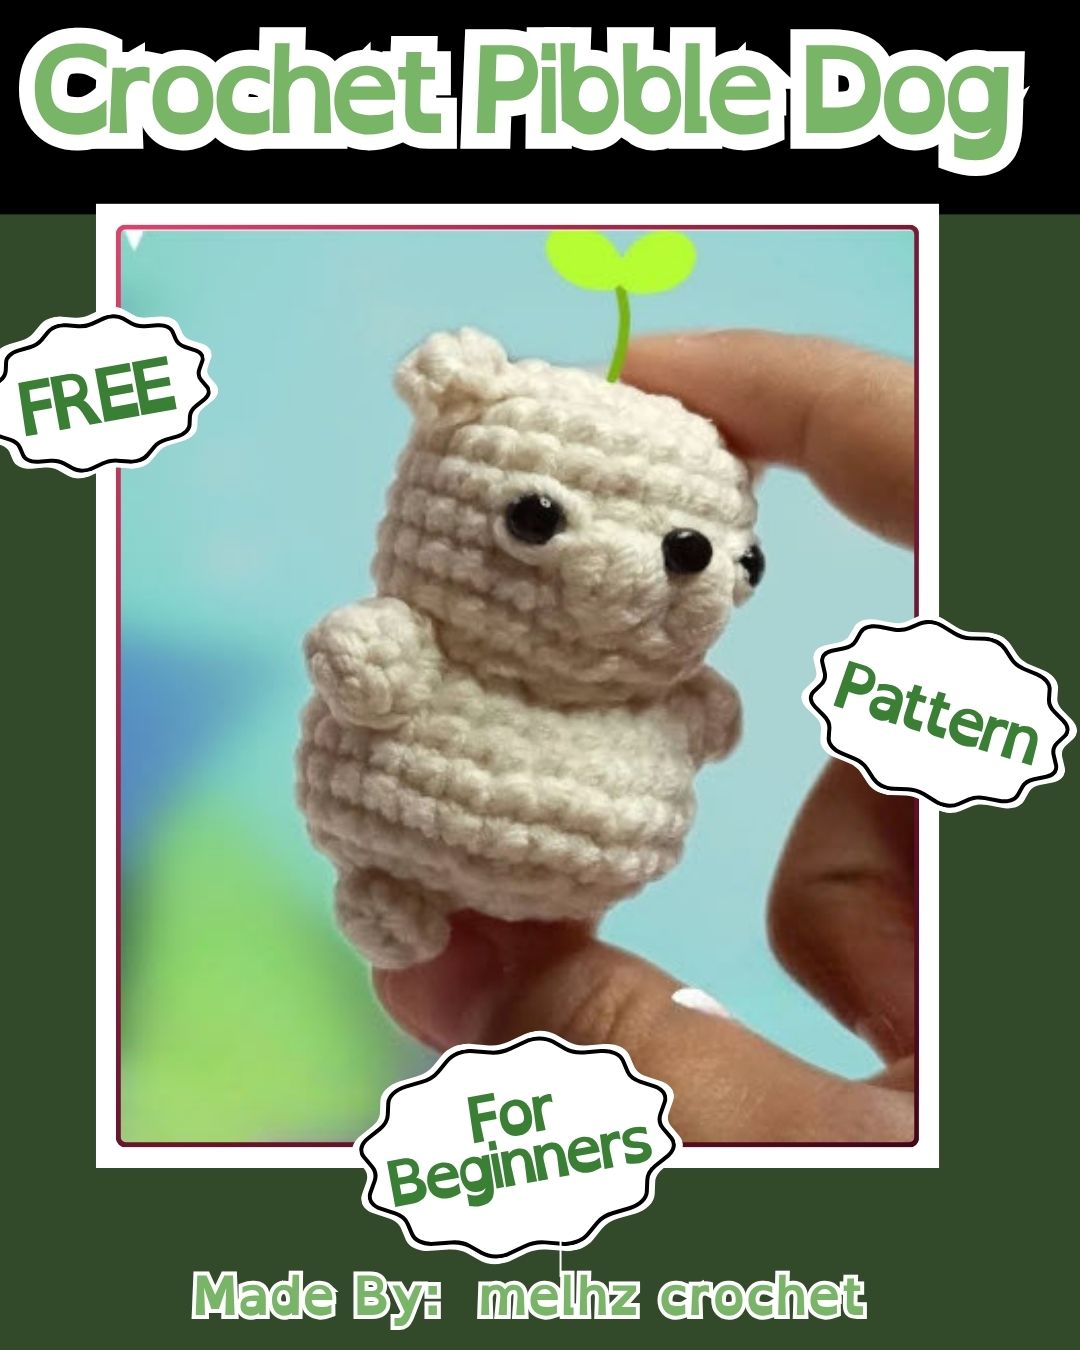
Chunky proportions define this pibble amigurumi, with a broad head, thick neck, and compact little legs that give it that signature pitbull stance. Floppy ears and a gentle, slightly tilted head make the finished toy feel expressive rather than stiff, and the muzzle shaping is simple enough that first-timers won’t feel overwhelmed by it.
Color choices carry a lot of the personality here. Fawn, brindle, and black-and-white patches all read as authentic pit bull coloring, so swapping yarn shades lets crafters recreate their own dog or invent a brand-new pup entirely. Low-key, this is one of those patterns where the construction stays simple,e but the finished result looks like it took way more skill than it actually did.
Project Details
- Skill Level: Beginner to Intermediate
- Finished Size: Approximately 6–7 inches tall (sitting position)
- Estimated Time Required: 5–7 hours
- Recommended Yarn Weight: Worsted weight (Medium, #4)
- Crochet Hook Size: 3.5mm–4mm
Materials Needed
- Worsted weight yarn in fawn, brown, or brindle (main color)
- Small amount of white or cream yarn (for chest patch and paws)
- Black yarn or embroidery floss (for nose and eyebrows)
- 9mm or 10mm safety eyes
- Fiberfill stuffing
- Tapestry needle
- Stitch markers
- Scissors
- Optional: small ribbon or bandana for accessorizing
Crochet Stitches & Techniques
Nothing on this list should scare off a newer crocheter, honestly. Every technique below shows up somewhere in the pattern, and each one builds a foundation for the next.
- Magic Ring (MR): Starts each rounded piece with a tight, gap-free center.
- Chain Stitch (ch): Used for the base of the tail and small connector pieces.
- Single Crochet (sc): The primary stitch for nearly the entire body.
- Increase (inc): Two single crochets in one stitch, shaping the rounded head and body.
- Invisible Decrease (invdec): Keeps shaping smooth without visible gaps or holes.
- Slip Stitch (sl st): Joins rounds and finishes off edges neatly.
- Color Changes: Needed for the chest patch, paws, and any brindle striping.
- Fastening Off: Secures the yarn at the end of each piece.
- Sewing Pieces Together: Brings the head, ears, legs, and tail into one finished dog.
Pattern Instructions
Creating the Head and Muzzle
Start the head with a magic ring of 6 single crochets, then increase every round until reaching roughly 30–36 stitches around, depending on desired size. Work several rounds evenly, then begin decreasing gradually to round the top of the skull. The muzzle gets crocheted separately as a smaller rounded piece, stuffed lightly, and sewn onto the lower front of the head before the eyes go in. Placing safety eyes before finishing the stuffing makes adjustments far easier.
Crocheting the Body
Body construction mirrors the head in many ways — a magic ring start, gradual increases to build width, then a straight section for the torso. Pitbulls carry weight in the chest and shoulders, so increasing slightly more in the upper body rounds gives that stocky, muscular silhouette. Stuff firmly as work progresses rather than waiting until the very end, since it’s much harder to pack stuffing into a fully closed piece.
Arms and Legs
Four identical limb pieces make up the legs, worked in matching pairs for consistency. Short and thick shapes suit this breed best; avoid stretching them out too long, or the finished dog will lose that compact pitbull look. Leave a slightly longer starting tail on each limb for easier attachment later, and stuff each one just enough to hold shape without becoming stiff.
Ears and Tail
Floppy ears work up as flat, folded triangular shapes rather than fully rounded pieces, giving that natural drape pitbulls are known for. A short, tapered tail crochets quickly in a few rounds, curving slightly upward when attached to suggest alertness or excitement.
Facial Features
Embroider the nose in black yarn using small horizontal stitches layered close together for a solid, glossy look. Light brown or black eyebrow markings above the safety eyes add that classic furrowed, soulful pitbull expression. A subtle mouth line, stitched in a slight curve, brings warmth and personality to the whole face.
Joining All Pieces
Pin every piece in place before committing to any stitching legs evenly spaced, ears symmetrical, tail centered. A whip stitch works well for attaching limbs and ears since it creates a clean, nearly invisible seam. Take time here; rushed assembly is the single biggest reason finished amigurumi ends up looking lopsided.
Final Assembly
Once every piece connects securely, weave in all remaining yarn tails and give the toy a final shape check. Gently reposition ears or fluff the stuffing wherever needed for a balanced, symmetrical finish.
Tips for Success
- Count stitches at the end of every round, no joke one missed stitch throws off the whole shape.
- Use stitch markers religiously, especially on rounds with frequent increases or decreases.
- Stuff in layers rather than all at once for even firmness throughout.
- Keep tension consistent; loose stitches create visible gaps in the finished toy.
- Hide yarn ends by weaving through several stitches in different directions, not just one line.
- Block or lightly steam finished pieces if they look uneven after stuffing.
Personalization Ideas
Trust me, this pattern practically begs for customization. Swapping the main yarn color creates an entirely different-looking pup, whether that means classic blue-nose gray, deep brindle, or a bold red coat. Seasonal versions work beautifully too a tiny knitted sweater for winter, or a bandana for summer. Alternate facial expressions, like wide happy eyes or a sleepy half-closed look, change the toy’s whole personality. Mini versions make adorable keychains or bag charms, while an oversized jumbo pibble becomes a statement centerpiece. Adding a small loop at the top of the head turns any size into a hangable ornament or gift topper.
Common Mistakes to Avoid
Overstuffing early rounds often distorts the head shape before increases even finish, so pace stuffing gradually instead. Skipping stitch counts leads to asymmetrical ears or legs that don’t match — always count before moving to the next round. Placing safety eyes too early, before test-fitting against the muzzle, sometimes results in a crossed-eyed or off-center look. Rushing the sewing stage causes wobbly limbs, so pin first and stitch slowly for a professional finish.
Frequently Asked Questions
What yarn works best for this pibble amigurumi?
Worsted weight cotton or acrylic yarn holds shape well and gives good stitch definition for facial details.
Can this Crochet Pibble Dog Amigurumi pattern work for a different dog breed?
Adjusting ear shape, muzzle length, and coloring easily transforms this base pattern into other breeds like boxers or bulldogs.
How much yarn does one pibble require?
Roughly one skein of the main color covers most sizes, with small amounts of contrast color for patches.
Is this Crochet Pibble Dog Amigurumi pattern suitable for absolute beginners?
Basic single crochet and simple increases make this approachable, though some amigurumi experience helps with shaping confidence.
What size hook gives the best stitch tightness for stuffing?
A hook one size smaller than the yarn label recommends keeps stitches tight enough to prevent stuffing from showing through.
Can safety eyes be swapped for embroidered eyes?
Embroidered eyes work fine and make the toy safer for very young children or households with pets.
How long does the whole project typically take?
Most crocheters finish within a weekend, spreading the work across a few relaxed evening sessions.
Conclusion
Real talk, this Crochet Pibble Dog Amigurumi turns a few skeins of yarn into something genuinely full of character. Beginners build confidence through simple shaping, while experienced crafters find plenty of room to experiment with color and expression. Give this pattern a try, take pride in every stitch, and share the finished pup with fellow crochet lovers who’ll appreciate the charm behind it.