Free Crochet Rainbow Crayons Amigurumi Pattern for Fun Desk Accessories
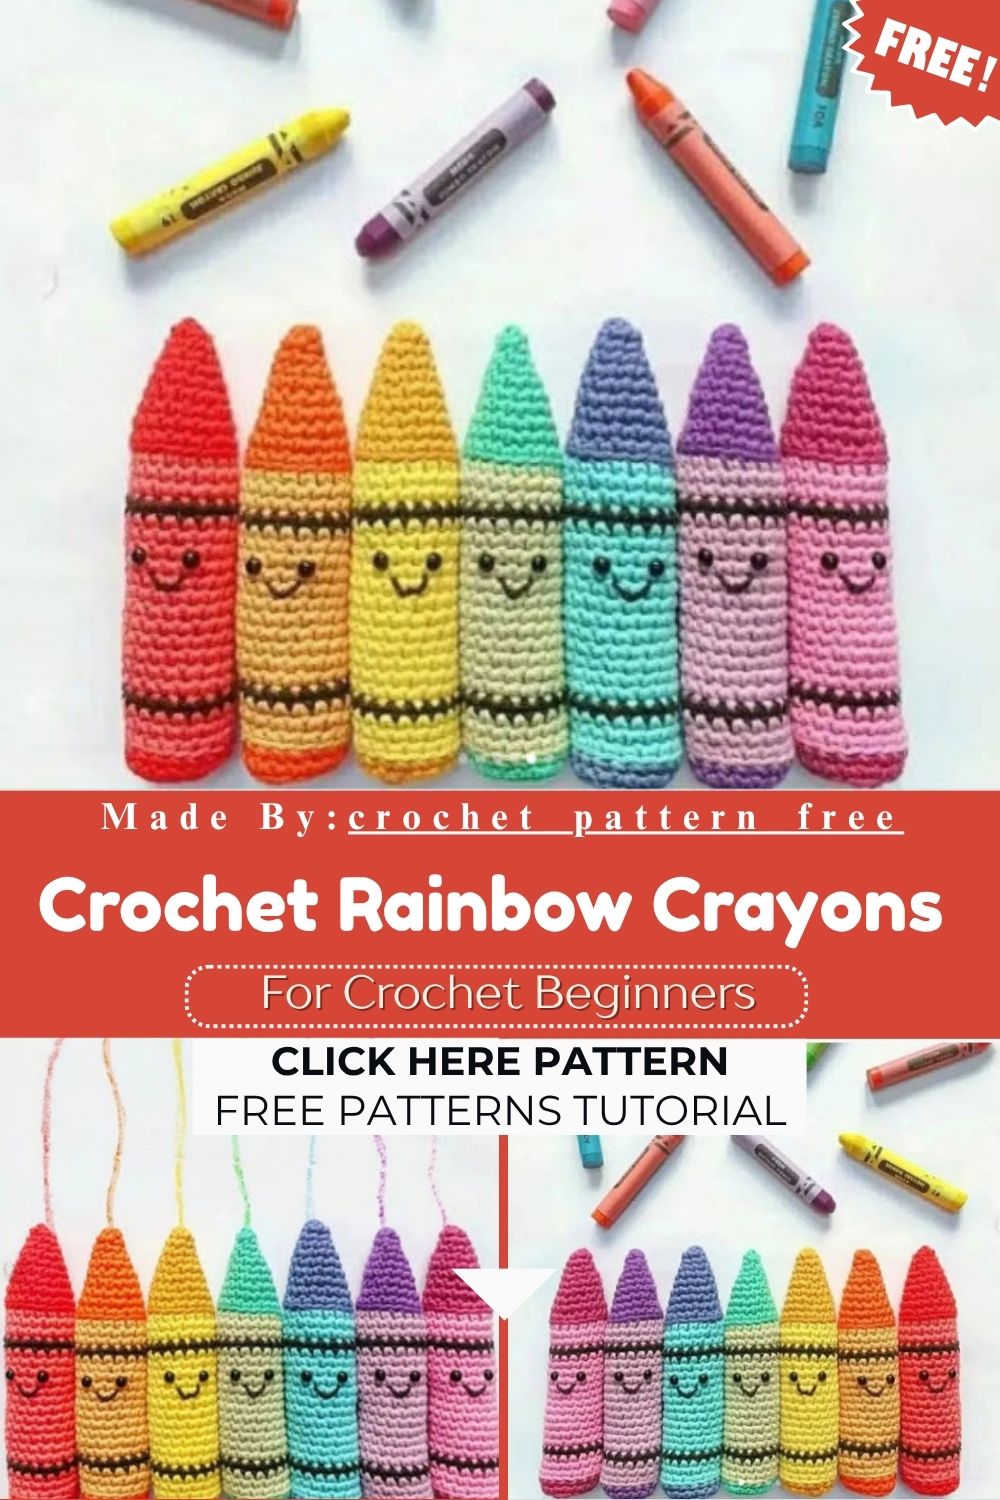
Vibrant colors always add extra charm to handmade creations, and the Free Crochet Rainbow Crayons Amigurumi is a lovely example of that beauty. With soft yarn and simple construction, it’s a quick yet distinctive project that grabs attention at first glance.
Every so often, an amigurumi pattern comes along that breaks away from the usual bear or bunny design to carve out its own identity, and the Crochet Rainbow Crayons Amigurumi is exactly one of those distinctive creations. Written entirely in UK crochet terms, this playful, colorful pattern builds a charming character using basic double crochet rounds, safety eyes, and a hand-embroidered smiling face. New and experienced crocheters alike will enjoy making it, especially if they love classroom decor, craft corners, kids’ rooms, or vibrant handmade decorations.
Overview
Free Crochet Rainbow Crayons amigurumi has become a favourite among makers who want something a little different from typical stuffed toys. The shape is simple, the colour options are endless, and the finished piece works equally well as a nursery decoration, a teacher’s gift, or a quirky paperweight. Because the body is built from one continuous tube of stitches, the construction stays beginner-friendly while still leaving room for creative colour choices.
Two main colours carry this pattern: Colour 1 forms the pointed crayon tip, while Colour 2 makes up the bulk of the body. A short section of black yarn adds the classic crayon stripe detail partway down, giving the piece an authentic, recognisable look once finished.
Skill Level
Beginners comfortable with basic double crochet, increasing, and decreasing will manage this pattern without much trouble. Working in back loops only and swapping colours mid-round add a touch of challenge, making it a satisfying next step after a first amigurumi project.
Materials and Tools
- Colour 1 yarn (crayon tip shade)
- Colour 2 yarn (main body shade)
- Small amount of black yarn (for the stripe detail)
- 3.0mm–3.5mm crochet hook (adjust to yarn weight)
- Fibre filling / polyester stuffing
- Safety eyes
- Stitch markers
- Yarn needle for weaving in ends and embroidery
Step-by-Step Guide
Shaping the Crayon Tip (Colour 1)
Work begins with a magic circle, then builds outward through a series of increase rounds to form the pointed tip that gives this project its crayon silhouette.
- Mc
- R1: 6dc in mc (6dc)
- R2: 1dc in each st (6dc)
- R3: [1dc, inc] 3 times (9dc)
- R4: 1dc in each st (9dc)
- R5: [2dc, inc] 3 times (12dc)
- R6: 1dc in each st (12dc)
- R7: [3dc, inc] 3 times (15dc)
- R8: 1dc in each st (15dc)
- R9: [4dc, inc] 3 times (18dc)
- R10: 1dc in each st (18dc)
Once round 10 is complete, fasten off Colour 1 and join Colour 2 to move into the main body.
Building the Body (Colour 2)
- R11: Working in back loops only, 1dc in each st (18dc)
Start stuffing with fibre filling as the tube grows, adding more gradually so the shape stays even rather than lumpy.
- R12–13: 1dc in each st (18dc)
Join black yarn without fastening off Colour 2, ready to add the signature crayon stripe.
- R14: 1dc in each st (18dc)
Fasten off black and continue working in Colour 2.
- R15–26: 1dc in each st (18dc)
Insert the safety eyes between rounds 17 and 18, spacing them three stitches apart for a friendly, forward-facing expression. Embroider a simple mouth just one row below the eyes to complete the face.
Join black again without fastening off Colour 2 for the second stripe detail.
- R27: 1dc in each st (18dc)
Fasten off black and continue with Colour 2.
- R28–30: 1dc in each st (18dc)
Closing the Crayon Base (Colour 1)
Fasten off Colour 2 and join Colour 1 once more to finish the base end of the crayon.
- R31: Working in back loops only, 1dc in each st (18dc)
- R32: 1dc in each st (18dc)
- R33: [1dc, dec] 6 times (12dc)
- R34: [dec] 6 times (6dc)
Fasten off, leaving a tail long enough to sew the opening shut neatly.
Usage Ideas
- Line several finished crayons along a windowsill or bookshelf as colourful desk decor.
- Stitch a set in different shades to create a keepsake gift box for a young reader.
- Attach a small loop and hang one from a backpack zipper for a playful accessory.
- Group three or four together as a centrepiece for a classroom or homeschool craft table.
Helpful Tips
Keeping tension consistent across colour changes makes a noticeable difference in the finished look. Pulling the working yarn snug when switching colours prevents small gaps from forming at the join. Counting stitches after every increase or decrease round also catches mistakes early, long before they affect the overall shape.
Stuffing a little at a time, rather than all at once, helps the crayon body stay smooth instead of developing odd bumps near the base or tip.
Customization and Variations
Swapping Colour 1 and Colour 2 shades opens up a full rainbow set, letting each crayon represent a different colour in the box. Some makers add a small felt or embroidered highlight near the tip to mimic a sharpened point, while others skip the safety eyes altogether for a more minimalist, decorative version.
Adjusting the hook size slightly changes the overall scale, so a smaller hook produces a mini desk version, while a larger hook and thicker yarn create a chunky floor cushion-style crayon.
Common Mistakes to Avoid
Losing track of stitch counts after the increase rounds ranks among the most frequent errors in this pattern. Pausing to count after each shaping round keeps the tip properly proportioned. Forgetting to work in back loops only on rounds 11 and 31 is another easy slip, and it can leave a visible seam instead of the intended ridge detail.
Overstuffing before reaching the final rounds sometimes makes closing the top or bottom tricky, so leaving the last few stitches slightly looser helps the needle pass through more easily during closure.
Finishing Tips
Weaving in ends securely along the inside of the body keeps the surface smooth and snag-free. A light steam or gentle blocking session can help even out any uneven stitches, particularly around the colour-change rounds. Trimming yarn tails close to the fabric, without cutting into nearby stitches, gives the finished piece a tidy, professional appearance.
Gifting Ideas
A full rainbow set makes a thoughtful gift for teachers, students, or anyone who appreciates handmade desk decor. Pairing a single crayon amigurumi with a small notebook or pencil case turns it into a charming back-to-school present. Wrapped in tissue paper inside a mini gift box, one of these crayons also works well as a birthday party favour for younger crafting fans.
Frequently Asked Questions
Can this pattern be made without safety eyes?
Yes, embroidered eyes or small felt circles work as a safe alternative, particularly for gifts intended for very young children.
What yarn weight suits this Free Crochet Rainbow Crayons pattern best?
Worsted weight yarn with a matching 3.0mm–3.5mm hook gives firm, well-defined stitches, though DK weight also works with a slightly smaller hook.
How much yarn is needed for one crayon?
A small amount of each colour is usually enough, since the pattern uses modest stitch counts throughout, though exact yardage varies by tension and yarn weight.
Can the stripe detail be left out?
Skipping rounds 14 and 27’s black sections still produces a complete crayon shape, simply without the classic stripe accent.
Conclusion
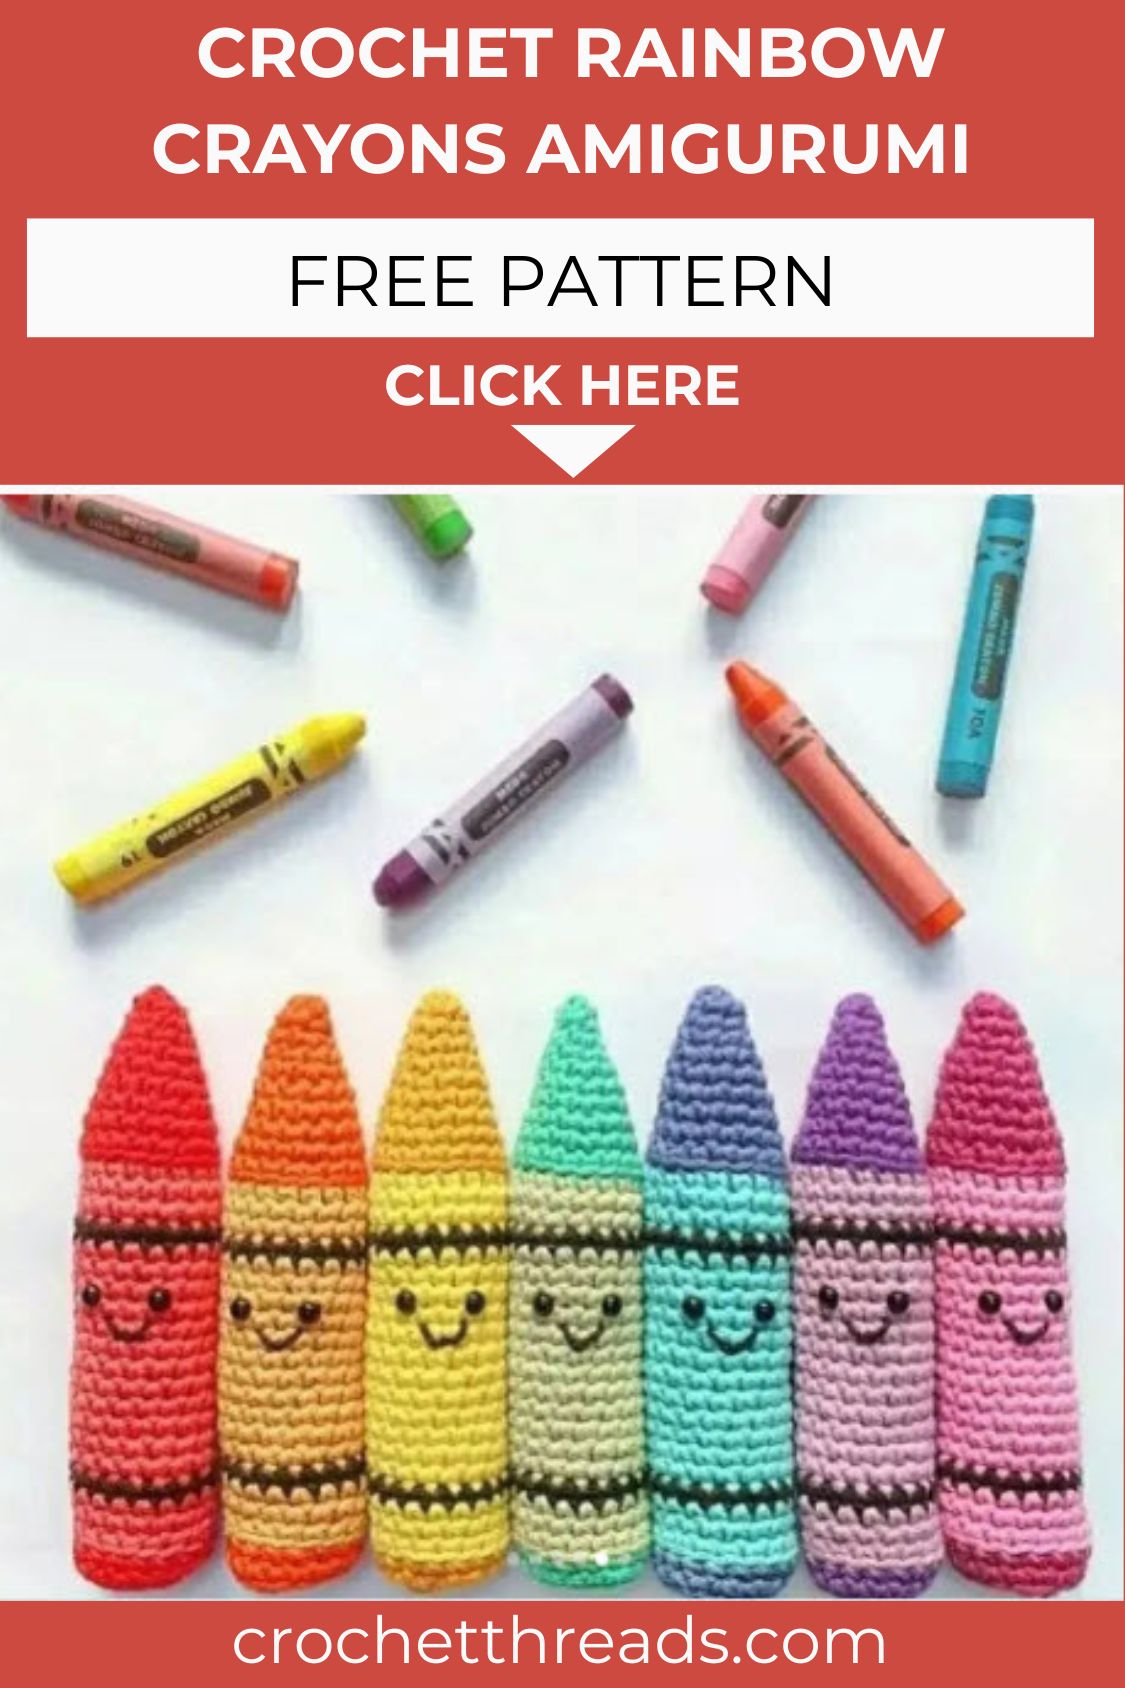
Free Crochet Rainbow Crayons Amigurumi projects prove that a familiar object can turn into a genuinely fun stitching adventure. From the pointed Colour 1 tip through the striped Colour 2 body, each round builds toward a cheerful desk companion full of character. Whether stitched as a single piece or a full rainbow collection, this pattern rewards patience with a colourful, huggable result worth displaying or gifting.