Crochet Baby Lamb Amigurumi Pattern Toy for Kids and Crochet Lovers
Turning the innocent charm of a baby lamb into yarn is always a joyful experience, and that’s exactly what makes the Baby Lamb Amigurumi special. Its adorable style and easy construction make it one of those beautiful amigurumi projects that come together in no time.
Carrying a timeless charm among farm animal amigurumi, the baby lamb never goes out of style. Its soft, fluffy texture, innocent face, and cozy vibe make it one of those characters that elevate any amigurumi collection. This design is a perfect choice for kids’ playtime, farmhouse-theme decor, soft amigurumi collections, or a memorable handmade keepsake gift. Crocheters familiar with basic single crochet and easy shaping can complete it without any trouble. The project calls for yarn, a crochet hook, fiberfill, safety eyes, and a few basic amigurumi supplies, while clear step-by-step instructions keep every part simple, resulting in a soft, heart-melting Baby Lamb at the end.
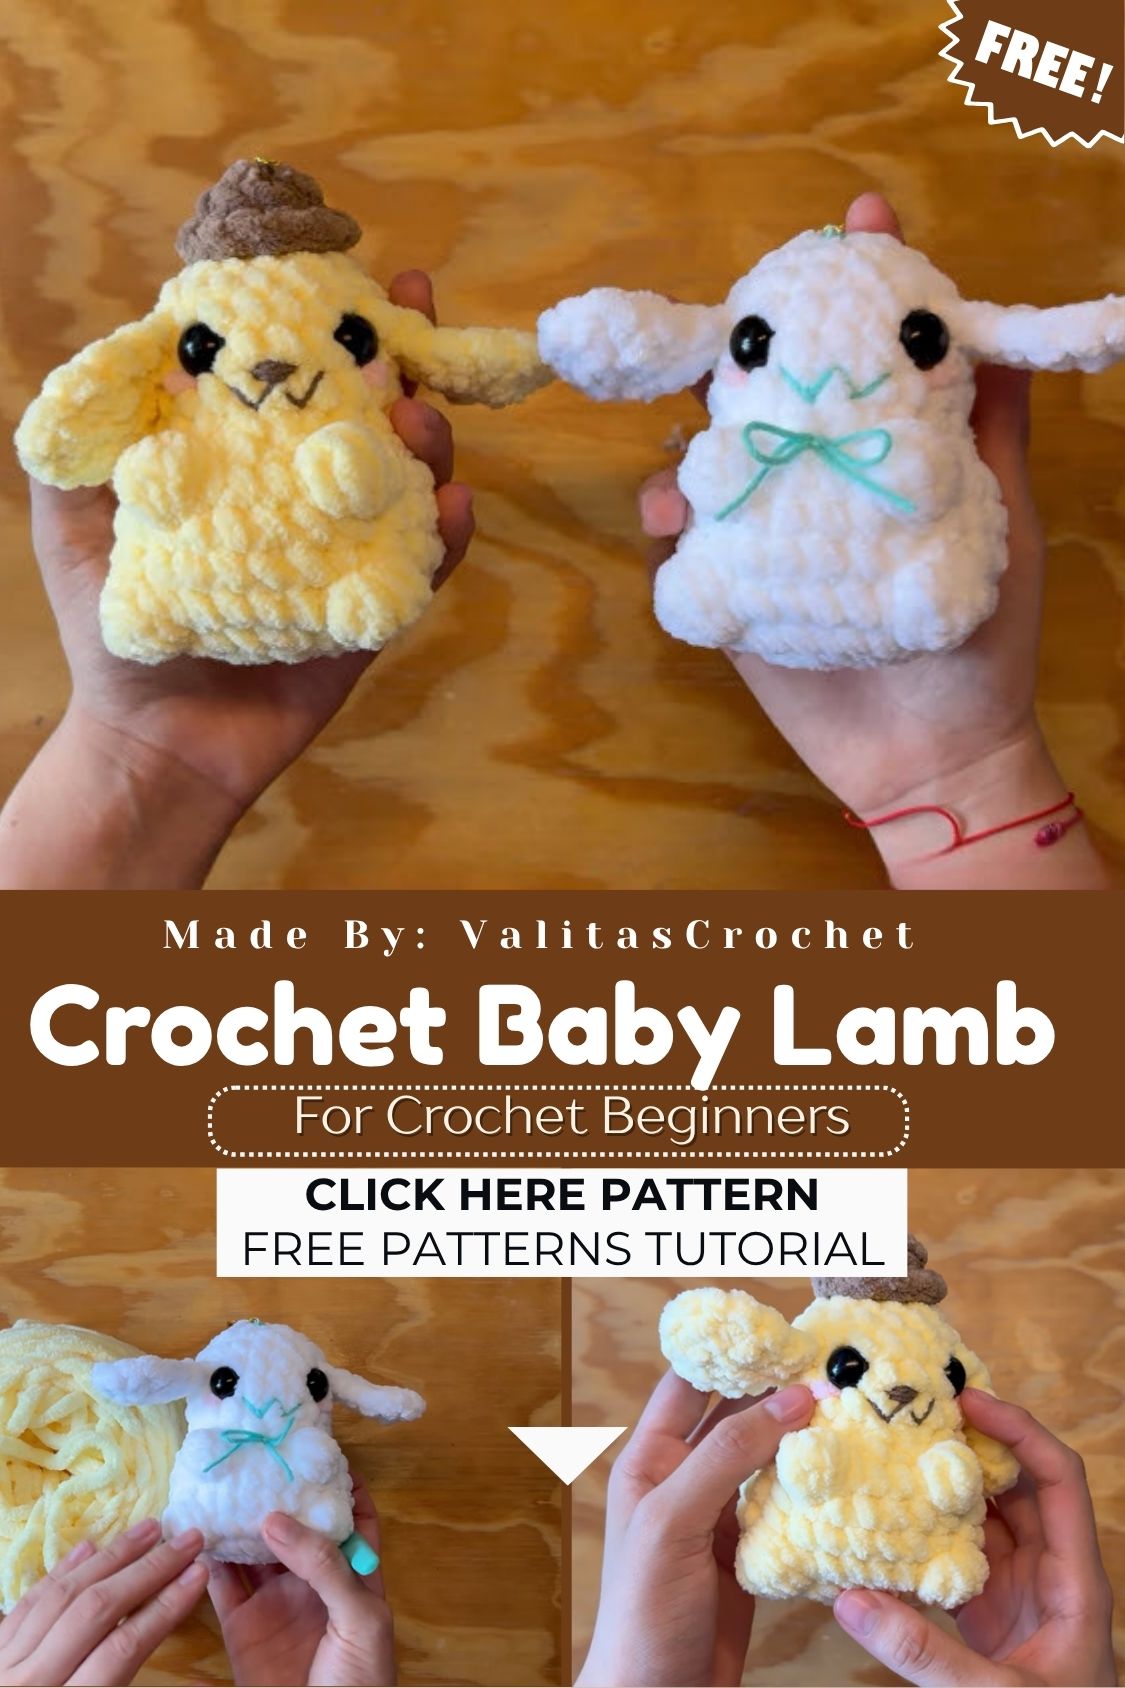
So What Exactly Are You Making Here
Quick version: a small stuffed lamb, worked mostly in continuous rounds, with a separate head, four little legs, two ears, and a curly wool texture added near the end. Nothing about the construction is unusual if you’ve made any round amigurumi before: body first, then head, then the small parts, then everything gets sewn together.
Where it gets fun is the wool detail. That’s really what turns a plain round shape into something that actually looks like a lamb, and it’s also the part most people enjoy the most, oddly enough, even though it’s the messiest step.
If you’ve never finished an amigurumi toy before, this is a fair one to start with. It doesn’t have tricky color changes or complicated shaping, and the stitch counts stay small and manageable throughout.
Skill Level
Beginner to intermediate, leaning beginner. If single crochet, increasing, decreasing, and magic ring don’t scare you, you’re fine. First-timers manage this one too, they just take a bit longer on the shaping rounds, which is completely normal.
Materials You’ll Want on Hand
Yarn
- Worsted weight (4) yarn in white or cream, for body and head
- A plush, bouclé, or loop-style yarn in white this is what gives the wool its texture, and honestly it makes a bigger difference than people expect
- Small amount of light brown, grey, or black yarn for ears, legs, and face details
Hook
- 3.5mm–4mm, adjust up or down depending on your yarn and how tightly you crochet
Everything Else
- 8mm–10mm safety eyes
- Fiberfill stuffing
- Yarn needle
- Stitch marker
- Scissors
- Black embroidery thread for the nose
Stitches and Abbreviations
- MR – Magic Ring
- ch – Chain
- sc – Single Crochet
- inc – Increase
- dec – Invisible Decrease
- sl st – Slip Stitch
- BLO / FLO – Back Loop Only / Front Loop Only
- F.O. – Fasten Off
- st(s) – Stitch(es)
- rnd – Round
Nothing unusual here. If you’ve made any amigurumi before, you already know most of this list by heart.
Step-by-Step Instructions
Body
Start with a magic ring, 6 sc into it. Increase every stitch the following round to get to 12, then keep increasing every other round until you’re around 30 stitches; that’s usually a good width for a small lamb, though you can go bigger if you want a chunkier toy. Once you hit your target width, work several rounds straight without increasing, to build height.
Start stuffing while you go, not at the very end. It genuinely makes the shape rounder and more even, and it saves you from wrestling stuffing into a nearly-closed body later. Decrease gradually to close the base, finish stuffing firmly, then sew the opening shut.
Head
Same idea, smaller scale magic ring, gradual increases until it’s rounded enough, a few even rounds, then decrease it back down and close it off. Stuff it firmly so it holds its shape, then attach it to the top of the body.
Ears
Worked flat or as small rounds, then folded a little before being sewn on. Keep them small and soft you want them to droop naturally rather than stick straight out like antennas.
Legs
Four small legs, each starting from a tiny magic ring, a couple of increase rounds, then several straight rounds. Stuff lightly (you don’t want stiff legs) and attach to the underside of the body.
The Wool Texture
This is the step that actually makes it look like a lamb and not just a round blob with legs. Either crochet loop stitches directly onto the body using your plush/bouclé yarn, or make small curled pieces separately and stitch them across the back and head afterward. Some people swear by the loop stitch method for a more realistic look; others just use a naturally curly yarn and skip the extra step entirely. Both work. Pick whichever one you have patience for.
Face
Attach safety eyes before you finish stuffing the head space them evenly, step back and check before locking them in, because once they’re snapped in place they’re not coming out easily. Embroider a small nose with a few horizontal stitches, and add eyebrows or lashes if you want a bit more personality on the face.
What Makes This Particular Tutorial Worth Following
Honestly, it’s the order things happen in. Body, head, ears, legs, texture, face nothing jumps around, nothing sends you back to a section you already finished. For newer crocheters, that matters more than people realize, because half the frustration with amigurumi patterns usually comes from confusing structure, not the stitches themselves.
It also doesn’t overcomplicate the design just to look impressive. A lot of lamb patterns either end up too plain or pile on so many small pieces that beginners give up halfway. This one sits right in the middle simple counts, but the wool texture alone does most of the visual work.
Tips for Beginners
- Mark the start of every round. Amigurumi is one continuous spiral, and it’s shockingly easy to lose your place
- Stuff gradually, not all at once at the end
- Keep tension a little tight, especially in white yarn, so stuffing doesn’t peek through
- Recount stitches after every increase or decrease; one missed stitch early on throws off everything later
- Use different colored stitch markers for legs vs ears so you don’t mix pieces up mid-project
Mistakes People Make (and How to Fix Them)
Head comes out lopsided.
Usually uneven spacing between increases. Fix it by counting carefully and spacing increases at even intervals.
Stuffing shows through the stitches.
Tension’s too loose, or yarn’s too thin. Size down your hook a little, or tighten up as you go.
Eyes end up too close or too far apart.
Measure before snapping them in there’s no undoing it once they’re locked.
Wool texture starts unraveling.
Secure the base of each loop stitch properly and weave in tails well, especially if it’s going to a child who’ll actually play with it.
Ways to Customize This Pattern
- Small bow or flower crown for a sweeter, girlier version
- Tiny bell or scarf around the neck for a farmhouse feel
- Shrink it down with thinner yarn for a keychain-sized mini lamb
- Make a whole family in different sizes for a nursery shelf
- Add a small pastel hat or headband for Easter or spring themes
Size and Color Options
Most finished lambs land somewhere around 4–6 inches depending on hook size and yarn weight. Want it bigger and more huggable? Bulkier yarn and a larger hook get you there fast.
White and cream stay the most popular choice since they look closest to real wool, but pastel pink, baby blue, or soft lavender make lovely nursery versions. For a more autumn feel, warm beige or light brown works nicely too.
FAQ
Is this okay for a total beginner?
Yes, as long as you already know basic single crochet plus increasing and decreasing. If Crochet Baby Lamb Amigurumi is completely new to you, practice a plain ball shape first before jumping in.
What yarn weight is best?
Worsted (4) for a standard-sized lamb. DK weight works if you want something smaller and more delicate.
Is it safe for a baby or toddler?
For very young kids, swap the safety eyes for embroidered ones plastic eyes are a choking risk for babies and toddlers.
How long does it take?
Most people finish it in two to four hours, spread across a couple of sittings.
Can finished Crochet Baby Lamb Amigurumi be sold?
Many pattern designers allow selling the finished toy even if the written pattern itself can’t be resold or shared. Always check the specific terms for whatever pattern you’re following.
No plush or bouclé yarn now what?
Use the loop stitch technique with regular yarn instead, or crochet small curls separately and stitch them on.
Final Thoughts
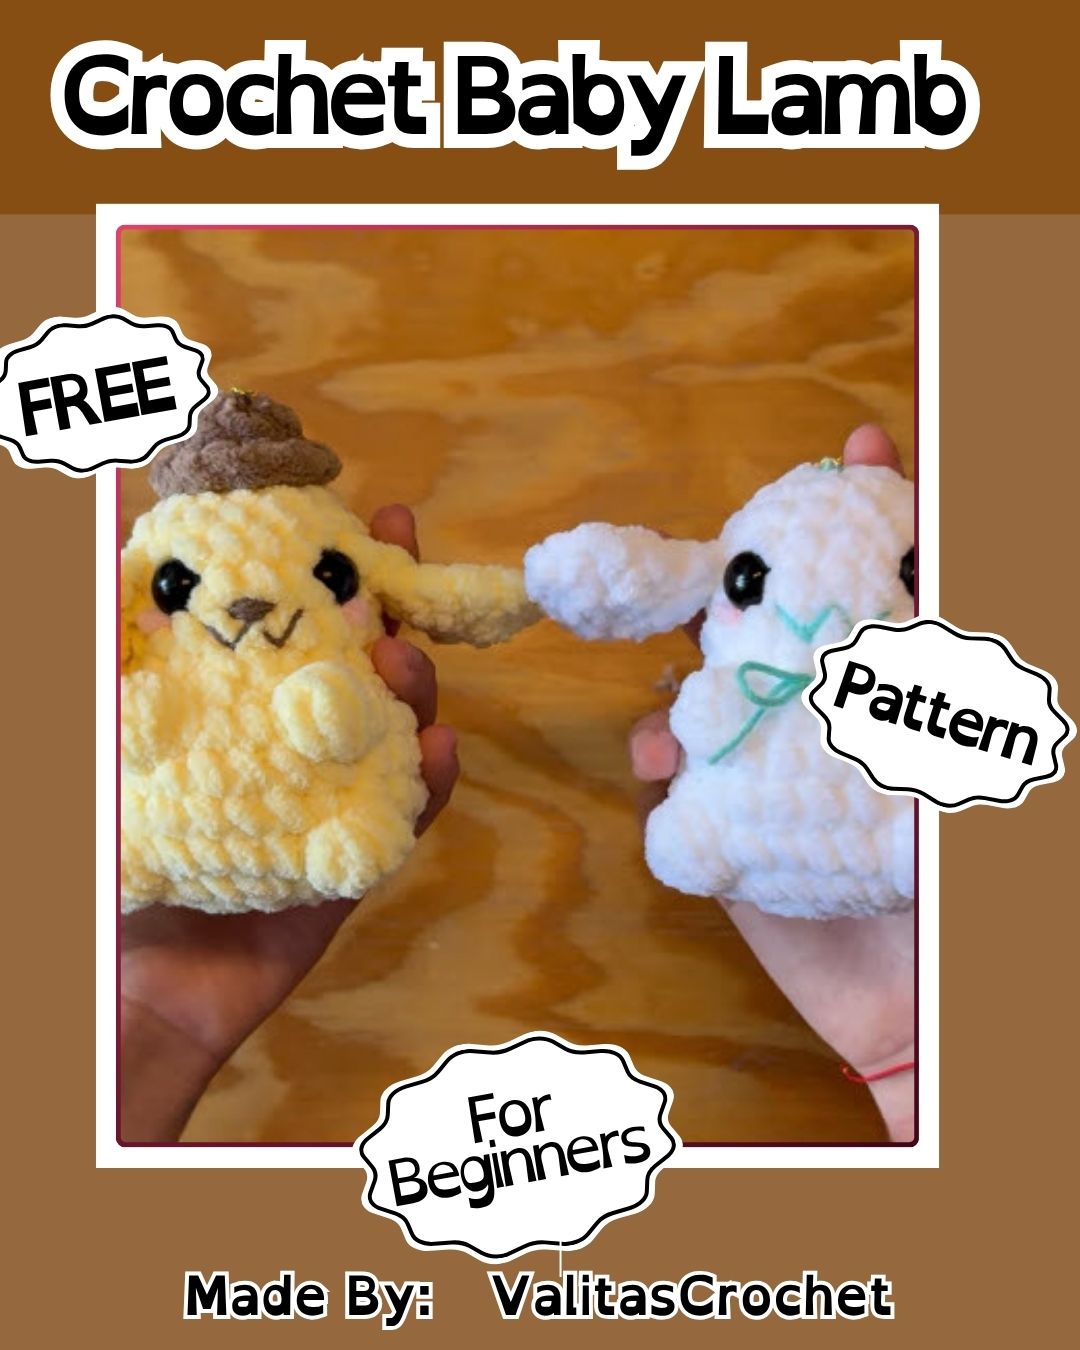
This little Crochet Baby Lamb Amigurumi hits a nice sweet spot simple enough for a beginner, detailed enough to actually feel proud of once it’s done. It’s a solid beginner crochet project, a good handmade gift idea, and honestly just a pleasant way to spend an evening with your hook and some soft yarn. Make one for a baby shower, one for your own shelf, whatever; chances are it won’t be your last.