Free Crochet Watermelon Keychain Pattern for Handmade Gifts
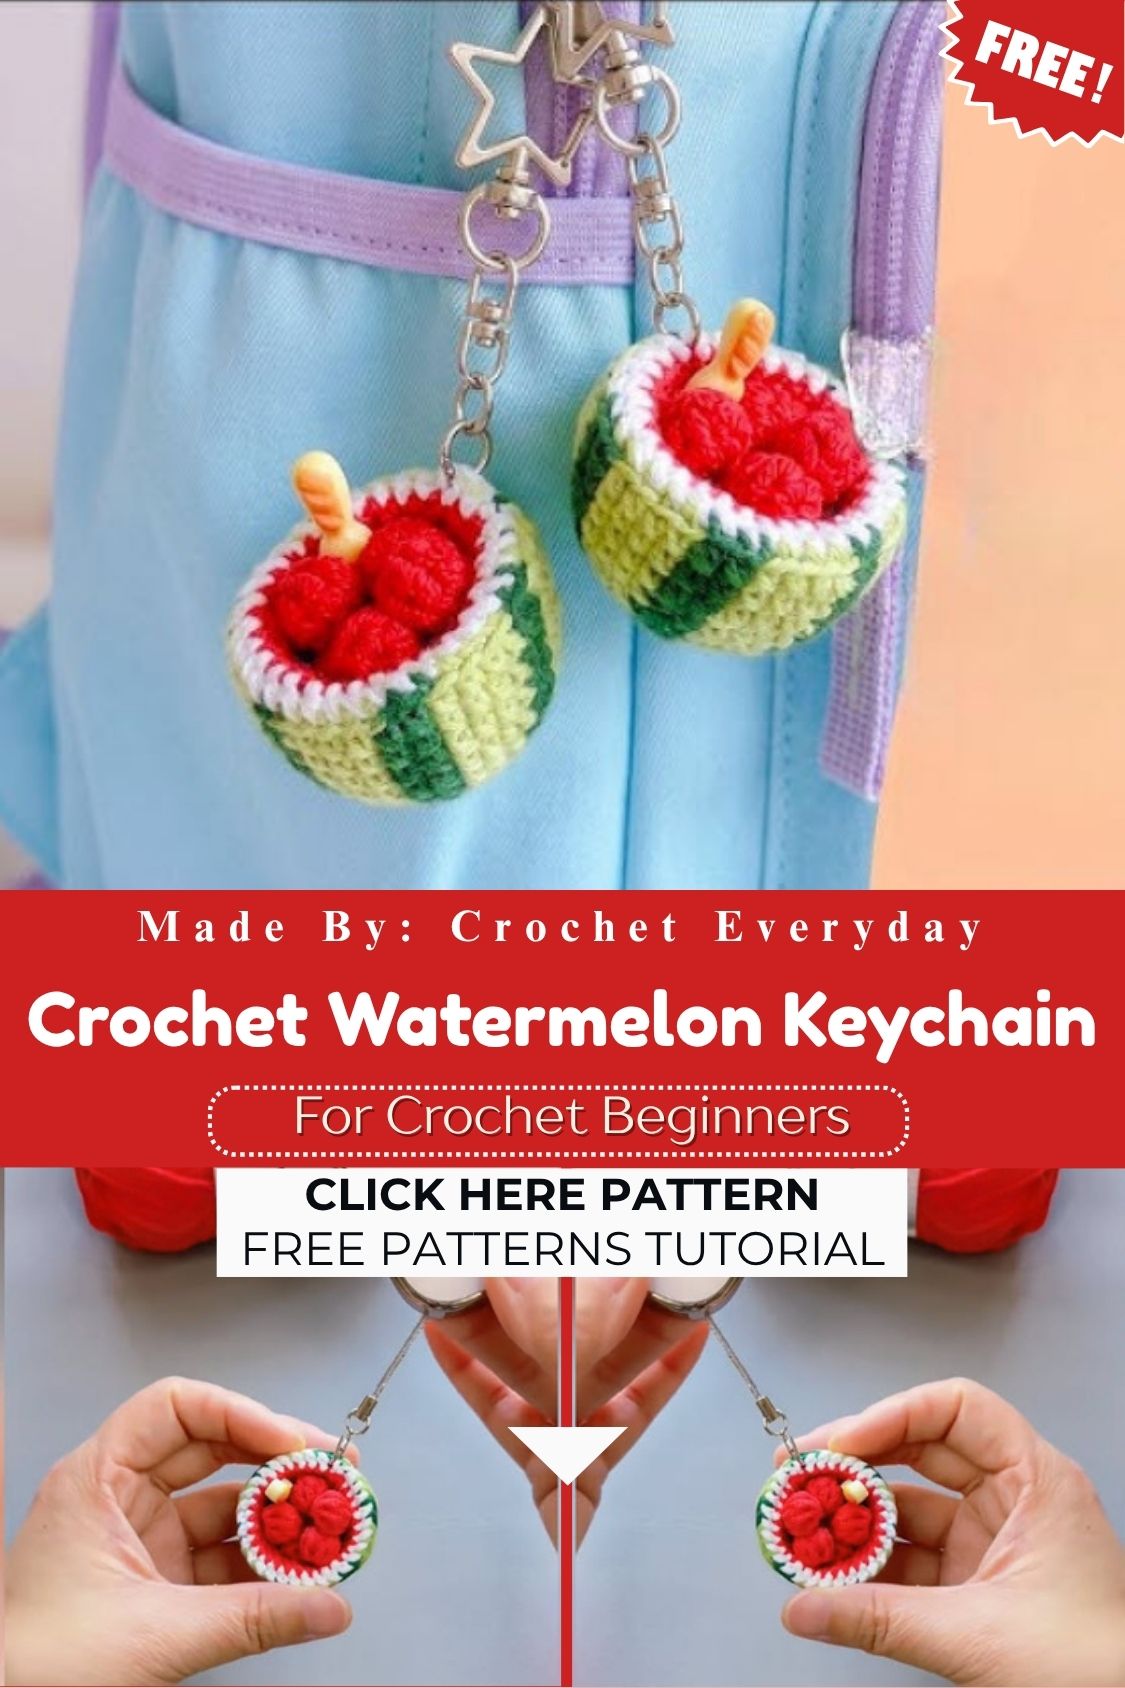
Always turning heads with its vibrant color, the summer watermelon brings that same charm to this Crochet Watermelon Keychain. A beautiful combination of red, green, and black gives it a fresh-looking, quick-to-complete design that instantly appeals to anyone who loves small amigurumi projects.
Small amigurumi projects always come together quickly, but the Crochet Watermelon Keychain instantly stands out with its vibrant color and distinctive design. With basic stitches, leftover yarn, and easy shaping, this pattern suits new and experienced crocheters alike, especially fruit lovers, keychain collectors, handmade gift enthusiasts, and anyone who loves colorful amigurumi designs and wants to create charming projects in no time.
Small, cute, and endlessly giftable, it’s the kind of easy crochet project that turns into a whole fruit basket collection before you know it.
Skill Level
Beginner Friendly
This pattern suits crocheters who already know single crochet, magic rings, and basic increases or decreases. No joke, if you’ve finished even one small amigurumi before, this watermelon slice will feel like a breeze from start to finish, with clear rounds and zero tricky shaping.
Materials and Supplies
Gather these before you start so your crochet session flows without pauses:
Yarn Colors
- Bright red or coral cotton yarn (watermelon flesh)
- White or cream cotton yarn (rind edge)
- Green cotton yarn (outer rind)
- Small amount of black yarn or embroidery thread (seeds)
Tools and Notions
- 2.5mm or 3mm crochet hook (match your yarn weight)
- Pair of 6mm safety eyes (optional, for a face version)
- Polyester fiberfill stuffing
- Yarn needle for weaving ends and sewing
- Sharp scissors
- Stitch markers
- Keychain ring, lobster clasp, or lanyard clip
Crochet Techniques Used
- Magic ring (adjustable ring start)
- Single crochet (sc)
- Increase (inc) and decrease (dec/sc2tog)
- Color changes between rounds
- Sewing pieces together with a yarn needle
Step-by-Step Pattern Instructions
Making the Watermelon Body
Start with red yarn and form a magic ring with 6 single crochet stitches inside it. Increase evenly across the next two rounds, adding six stitches each round, until you reach 18 stitches total. Work several rounds even, without increasing, to build the rounded body shape.
Switch to white yarn for one short round to create the thin rind edge, then finish with two rounds of green yarn to form the outer skin. Fasten off, leaving a long tail for sewing.
Shaping the Slice Curve
For a classic triangle slice look, work the body flat instead of in the round. Chain a foundation row in red, then increase at both edges every other row until the piece reaches your desired width. Add the white and green rows along the curved top edge to complete the rind.
Ears, Accessories, and Extra Details
This pattern skips ears since watermelons don’t need them, but you can add small green leaf shapes or a curly vine using chain stitches and slip stitches for extra charm. A tiny bow in contrasting yarn also looks adorable stitched near the top point.
Facial Details
If you want a kawaii version, place the safety eyes between the red and white sections before closing up the stuffing. Embroider a small curved smile below the eyes using black or dark pink thread, and add tiny cheek blushes with pink yarn or fabric chalk for extra sweetness.
Assembly Process
Stuff the piece firmly but evenly, pushing fiberfill into every corner with a blunt tool or chopstick so the shape stays smooth. Close the opening using the mattress stitch for an invisible seam, then weave in all loose ends through the stuffing.
Finishing Touches
Sew the black seed shapes onto the red section using short straight stitches, spacing them randomly for a natural look. Attach your keychain ring through the top of the rind using a scrap of yarn or a small jump ring, then give the piece a final trim of any stray fibers.
Helpful Beginner Tips
- Keep your stitches tight and even, since loose amigurumi stitches let stuffing peek through the gaps
- Use stitch markers on round one to avoid losing track of your starting point
- Stuff a little at a time rather than all at once for smoother, lump-free shaping
- Count stitches after every increase or decrease round to catch mistakes early
- Cotton yarn holds its shape better than acrylic for small keychain projects
Design Customization Ideas
- Swap red for yellow yarn to make a sunny mini pineapple slice instead
- Add a smiling face for a kawaii amigurumi keychain kids will love
- Make a mini size version using thread and a tiny 2mm hook for earrings or zipper pulls
- Try pastel colors for a soft, dreamy handmade crochet gift
- Attach a short beaded chain for a dressier bag charm look
Frequently Asked Questions
What is the best yarn for amigurumi?
Cotton yarn works best for amigurumi because it holds stitch definition well and prevents stuffing from showing through gaps. Acrylic yarn is a budget-friendly alternative, though it tends to stretch slightly more over time with regular handling.
How do I make my crochet plush firm?
Firm amigurumi comes from tight stitches paired with generous, even stuffing. Use a hook one size smaller than the yarn label suggests, and press stuffing into every section with a blunt tool so no soft spots remain.
How long does this project take?
Most crocheters finish this watermelon keychain in about one to two hours, depending on experience level. Beginners might spend closer to three hours while learning the increase and decrease pattern for the first time.
Wrap Up and Start Stitching
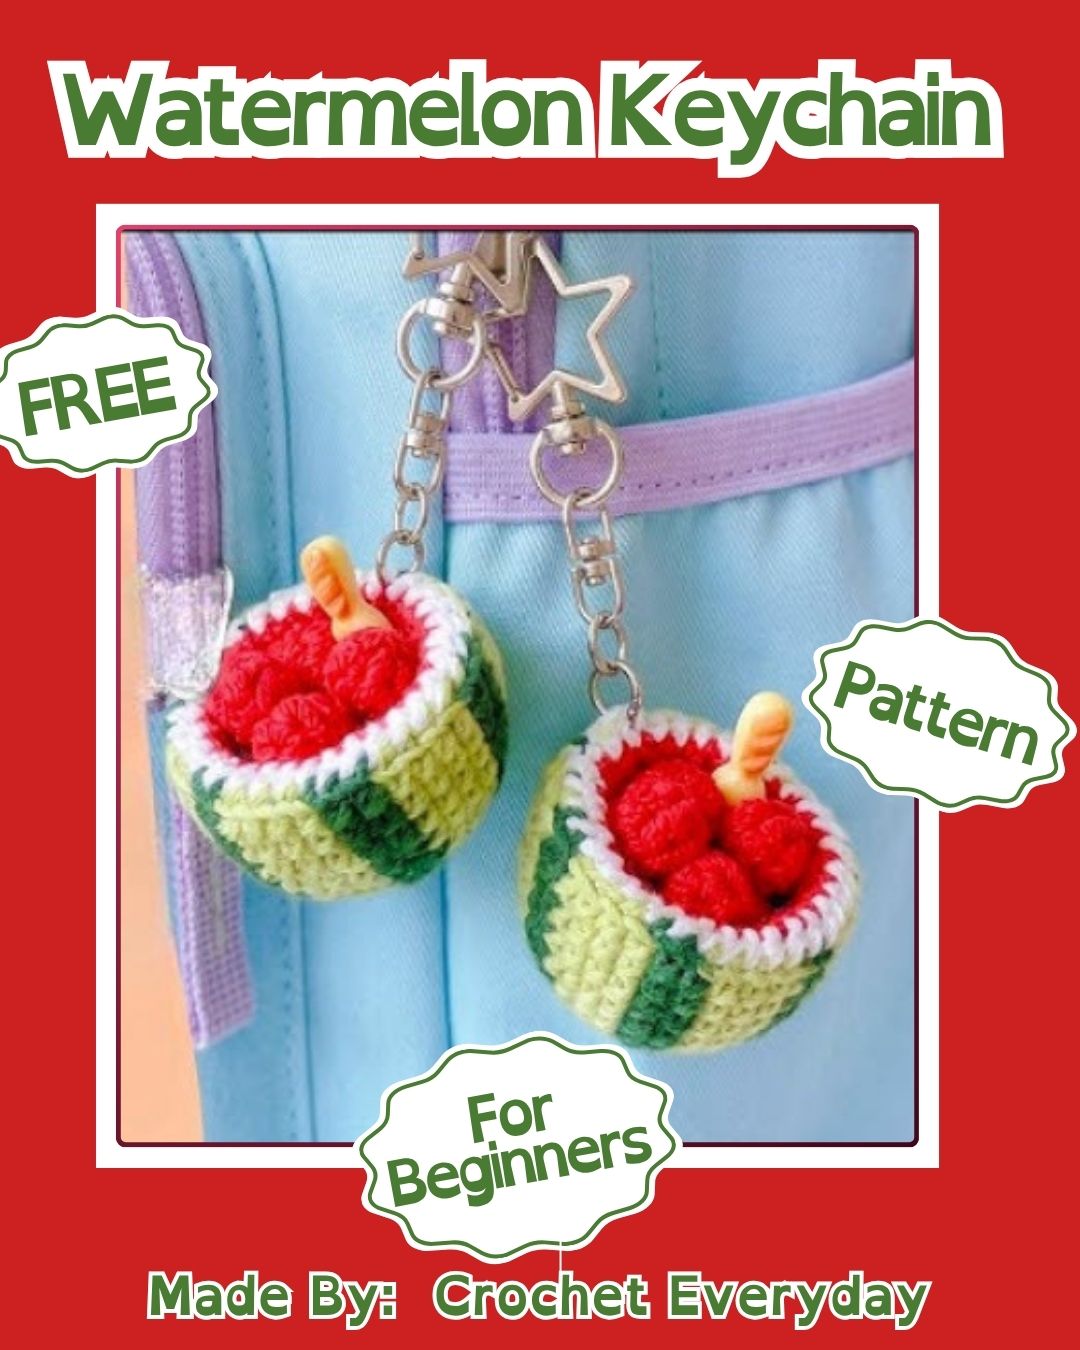
This Free Crochet Watermelon Keychain Pattern proves that small crochet pattern projects can pack in tons of personality with very little yarn or time. Grab your hook, pick a bright color palette, and stitch up a batch for friends, bag charms, or your own keys today.