Crochet Quokka Keychain Amigurumi Pattern for Beginners
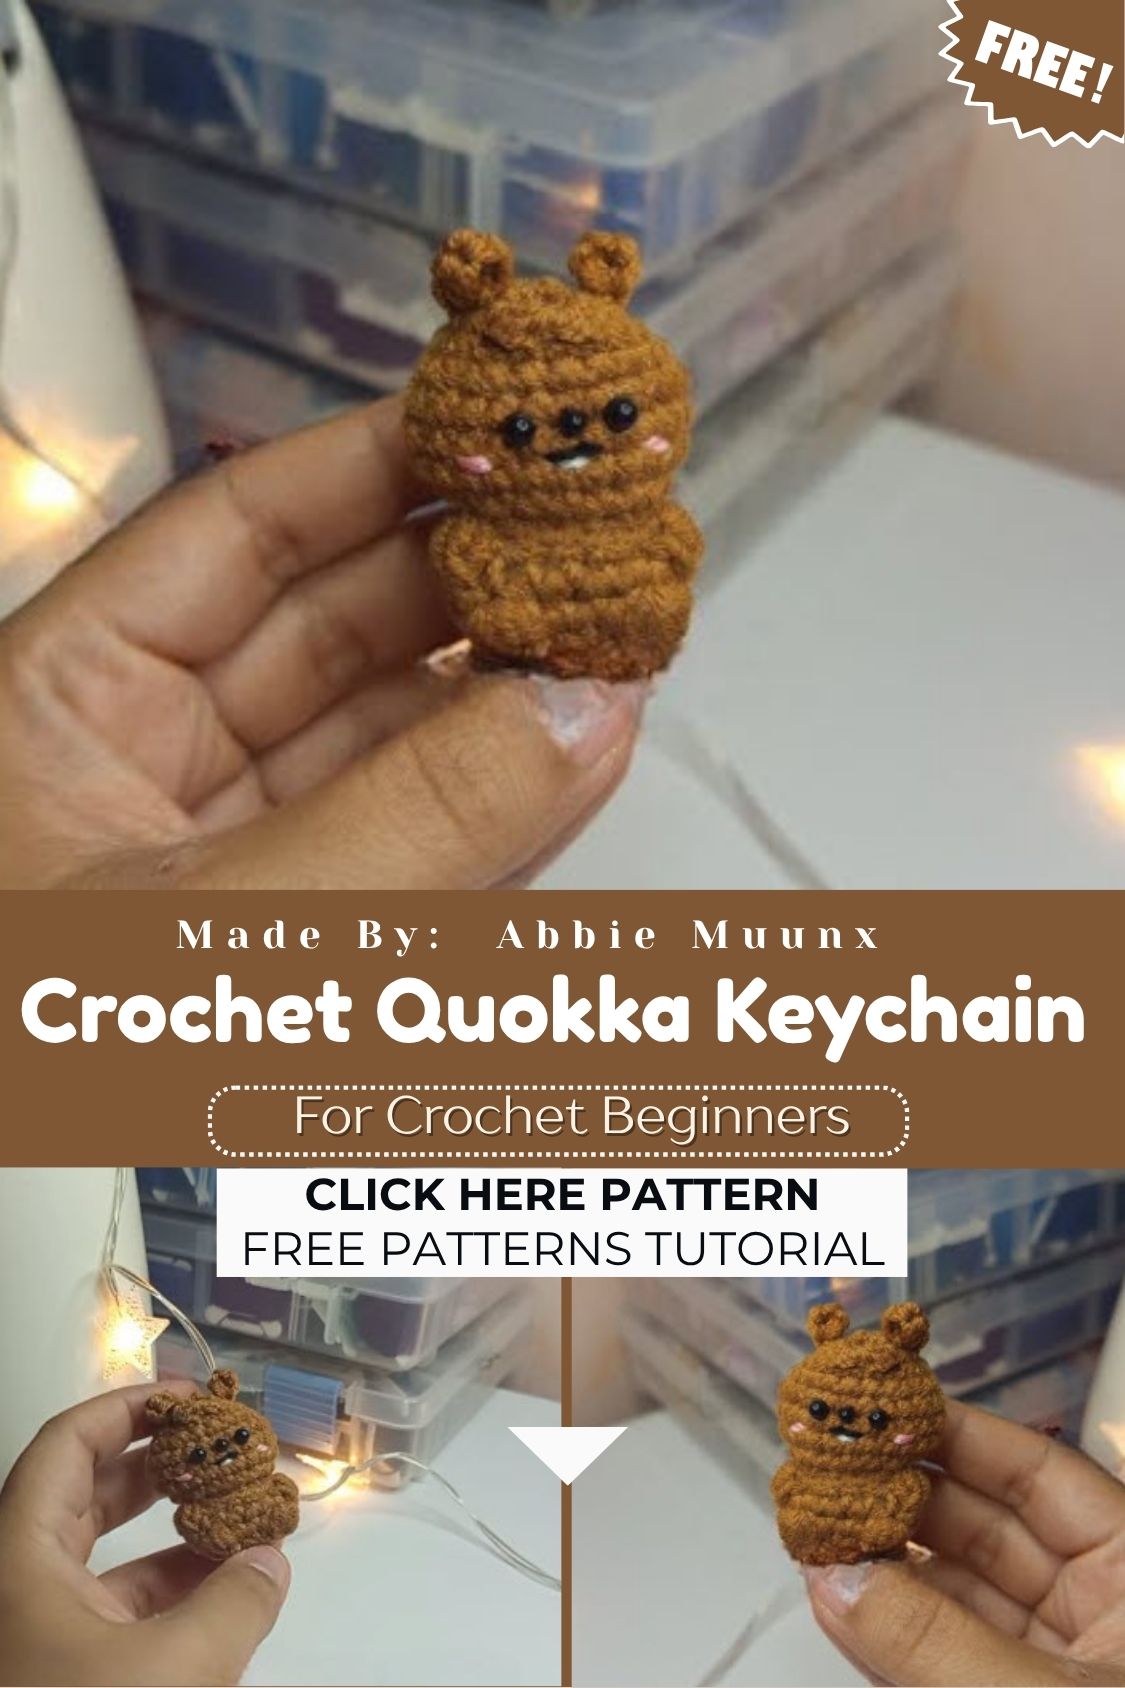
Even everyday accessories can turn into something special, and if you’re looking to create a beautiful handmade piece, the Crochet Quokka Keychain Amigurumi is a perfect choice. Its cheerful smiling character, easy shaping, and simple pattern come together to create a handmade keychain that catches every eye.
A small but distinctive crochet project, the Quokka Keychain Amigurumi brings handmade charm to everyday items. This tiny character makes a beautiful addition to car keys, house keys, handbags, or amigurumi keychain collections. If you understand basic single crochet, magic ring, and easy shaping, this pattern can be completed with confidence. The project requires yarn, a crochet hook, fiberfill, safety eyes, a keyring, and a few basic amigurumi supplies. Clear step-by-step instructions and simple construction make every part easy to complete, while capturing the quokka’s famous smiling face and charming shape stays effortless too.
Skill Level
Beginner-friendly. Real talk, if you know how to single crochet and work in a spiral, you already have what it takes to finish this little guy in an afternoon. No fancy stitches, no complicated shaping, just simple rounds worked one at a time.
Materials and Supplies
Gathering your supplies ahead of time makes the whole project smoother and way more relaxing.
Yarn
- Light brown or grey-brown yarn (main body color)
- Cream or off-white yarn (belly and muzzle patches)
- Small amount of black yarn (nose and eye details, optional)
- Worsted weight (medium #4) yarn works best for a firm, huggable texture
Tools and Notions
- 3.0mm or 3.5mm crochet hook (adjust to match your yarn weight)
- Pair of 6mm black safety eyes
- Polyester fiberfill stuffing
- Yarn needle for sewing pieces together
- Sharp scissors
- Stitch markers (a scrap of yarn or a locking marker works fine)
- Keyring with a jump ring or lobster clasp attachment
Crochet Techniques Used
Before diving into the pattern, here’s a quick rundown of the stitches and methods you’ll use throughout:
- Magic ring (MR) — creates a tight, hole-free starting circle
- Single crochet (sc) — the main stitch used for the entire body
- Increase (inc) — two single crochets worked into one stitch to widen the round
- Decrease (dec/sc2tog) — two stitches worked together to narrow the round
- Sewing pieces together — using a yarn needle to whip stitch ears, arms, and tail onto the body
Step-by-Step Crochet Pattern Instructions
Grab your hook and let’s build this cutie piece by piece.
Head
- Starting in main color, make a magic ring, 6 sc into ring (6 stitches)
- Round 2: inc in each stitch around (12 stitches)
- Round 3: sc 1, inc repeat around (18 stitches)
- Round 4: sc 2, inc repeat around (24 stitches)
- Round 5: sc 3, inc repeat around (30 stitches)
- Rounds 6–9: sc around with no increases (30 stitches each round)
- Round 10: sc 3, dec repeat around (24 stitches)
- Round 11: sc 2, dec repeat around (18 stitches)
- Insert safety eyes between rounds 6 and 7, spaced evenly apart
- Round 12: sc 1, dec repeat around (12 stitches), begin stuffing firmly
- Round 13: dec around (6 stitches)
- Fasten off, leaving a long tail for sewing to the body
Body
- Make a magic ring, 6 sc into ring (6 stitches)
- Round 2: inc in each stitch around (12 stitches)
- Round 3: sc 1, inc repeat around (18 stitches)
- Rounds 4–6: sc around with no increases (18 stitches each round)
- Round 7: sc 1, dec repeat around (12 stitches), stuff the body lightly
- Round 8: dec around (6 stitches)
- Fasten off and stuff fully before closing the last few stitches
Ears, Tail, and Little Extras
Quokka ears are small, round, and set close to the head, which gives them that signature cheerful look.
- Ears (make 2): magic ring, 6 sc into ring, then inc around for round 2 (12 stitches). Fasten off, leaving a tail for sewing. Flatten slightly before attaching.
- Tail (optional, make 1): magic ring, 6 sc into ring, work 2 rounds even without increasing, then fasten off and stuff lightly.
- Arms (make 2, optional for extra cuteness): magic ring, 5 sc into ring, work 3 rounds even, fasten off with a long tail for sewing.
Facial Details
The quokka’s charm lives entirely in its face, so take your time here.
- Position the safety eyes fairly close together and slightly forward on the face for that signature grinning look
- Using black yarn, embroider a small triangle or oval nose just below the eyes
- Add a simple curved smile beneath the nose using a backstitch or straight stitch in black or dark brown thread
- Optional: add tiny pink cheek blushes using a bit of pink yarn or fabric marker for extra sweetness
Assembly Process
- Stuff the head firmly, keeping the shape round and smooth
- Stuff the body a bit softer than the head so the two pieces sit nicely together
- Sew the head onto the body using the long yarn tail, tucking in any gaps as you go
- Attach the ears near the top of the head, angled slightly outward
- Sew on arms along the upper sides of the body, if using
- Attach the tail to the back base of the body
- Weave in all remaining yarn tails securely
Finishing Touches
Once your quokka is fully assembled, thread the keyring’s jump ring through a sturdy stitch at the top of the head or between the ears. Give the yarn a gentle tug to check it’s secure, then trim any stray fibers for a neat, polished finish.
Helpful Beginner Tips
A few small habits make a big difference when working on amigurumi projects.
- Keep stitches tight. Amigurumi needs dense, closed stitches so stuffing doesn’t peek through. Try a hook one size smaller than the yarn label suggests.
- Use stitch markers. Since amigurumi is worked in a continuous spiral rather than joined rounds, a stitch marker on round one helps you keep track of where each round begins.
- Stuff as you go. Add stuffing gradually while the opening is still wide, pushing it into corners with the end of your crochet hook for an even, lump-free shape.
- Count often. Checking your stitch count after every round catches mistakes early, before they snowball into a lopsided head.
Design Customization Ideas
Once you’ve mastered the base pattern, the fun part is making it your own.
- Different colors: try a lighter grey, warm tan, or even a fantasy pastel palette for a whimsical twist
- Cute accessories: add a tiny bow, a knitted scarf, or a small flower crochet appliqué behind one ear
- Mini size variations: use a thinner yarn weight and smaller hook for a micro-sized charm that fits on a zipper pull or earring
FAQ Section
What is the best yarn for amigurumi?
Worsted weight cotton or acrylic yarn tends to work best for amigurumi since it holds its shape well and creates tight, even stitches. Cotton gives a slightly firmer texture, while acrylic is soft, affordable, and comes in a huge range of colors.
How do I make my crochet plush firm?
Firmness comes down to two things: tight stitches and generous stuffing. Use a smaller hook than usual, work each stitch snugly, and stuff in small amounts as you close up each section rather than waiting until the end.
How long does this project take?
Most beginners finish a quokka keychain amigurumi in about two to four hours, spread across one or two relaxed crochet sessions. Once you get comfortable with the stitch pattern, future makes go even faster.
Conclusion
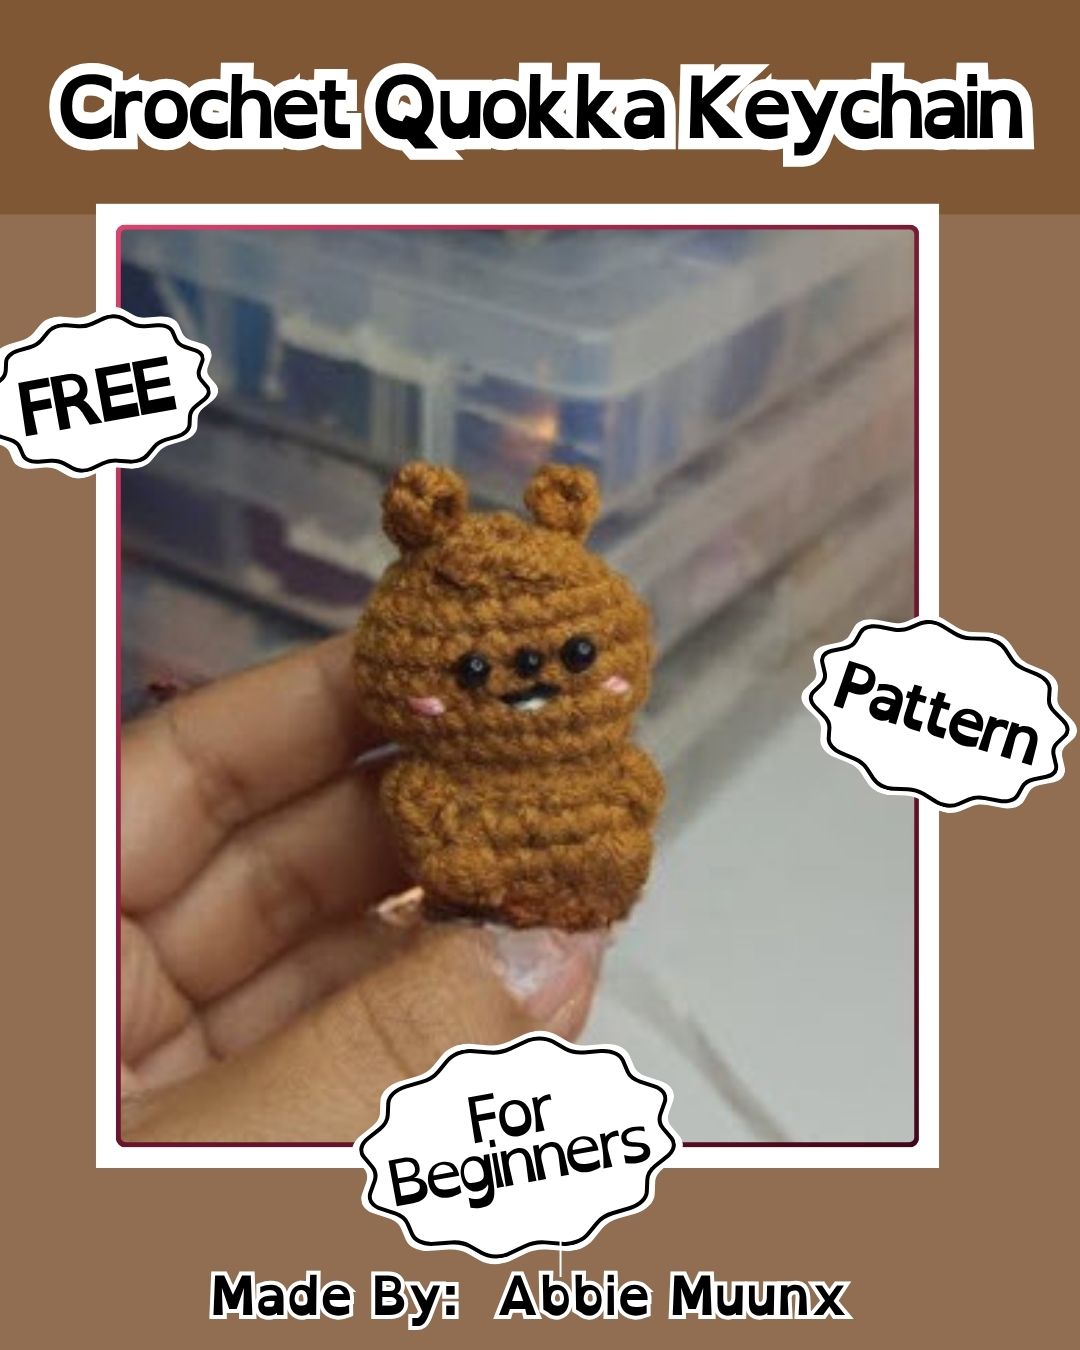
There’s something genuinely satisfying about turning a few balls of yarn into a tiny, grinning Crochet Quokka Keychain Amigurumi charm you made with your own hands. Whether it dangles from your bag, hangs on your keys, or becomes a gift for someone special, this beginner-friendly amigurumi pattern proves that easy crochet projects can still pack a whole lot of charm. Grab your hook, pick your favorite colors, and start stitching your own happy little quokka today.