Graceful Crochet Chunky Tabletop Christmas Tree Pattern
Stitch a Graceful Crochet Chunky Tabletop Christmas Tree Pattern Plush beginner-friendly, cozy, and gift-ready. Enjoy handmade charm, quick rounds, and festive texture perfect for décor, stockings, and holiday markets.
Warm your winter corners with the Graceful Crochet Chunky Tabletop Christmas Tree Pattern Plush. This beginner-friendly crochet Christmas tree pattern works up fast in chunky yarn, creating a snuggly amigurumi plush with timeless texture. Perfect for home decor, thoughtful holiday gifts, and Christmas gift ideas, it shines on mantels, desks, and festive tables.

Source: Pattern
Customize with beads, ribbon, or a tiny star for extra charm. Ideal for makers’ market booths or last-minute presents, this crochet pattern is joyful, practical, and beautifully giftable. If it warms your heart, save it for later or share it with a friend.
Graceful Crochet Chunky Tabletop Christmas Tree Pattern
You know that quiet moment when you’re holding chunky yarn, and the stitches look a little too big to “read”? That’s normal, especially on plush-style projects where the texture hides small details. This tabletop tree works up in a calm rhythm, and even if you’ve made amigurumi before, chunky yarn can make you feel slightly off at first. Still, once the shape starts to stack and taper, it becomes much easier to trust what you’re seeing.
Difficulty Level
Beginner to Easy-Intermediate (depending on finishing and shaping)
You’ll be comfortable if you know:
- single crochet (sc)
- increase (inc) and decrease (dec/inv dec)
- working in the round
- simple seaming
- basic stuffing and shaping
Special Features
- Chunky plush look: soft, full stitches that hide minor tension issues
- Stable tabletop base: designed to sit upright (often improved with weighted filling)
- Quick finish: chunky yarn makes visible progress fast
- Customizable: change height, add “snow,” ornaments, or a star topper
Materials
Yarn
- Main color (tree): [brand + fiber] chunky/bulky/super bulky, [exact yardage/meters used]
- Accent color (optional snow/trim): [yardage/meters]
- Trims (optional): [sparkle yarn/embroidery thread] [amount]
Hook
- [hook size from tutorial] (example: 6.0 mm / 8.0 mm)
Notions
- Stitch marker (1–2)
- Yarn needle
- Scissors
Stuffing
- Polyester fiberfill: about [grams/ounces]
- Optional weight for stability (choose one):
- Poly pellets: [grams] in a fabric pouch, or
- Rice/lentils: [grams] double-bagged, or
- Flat washers: [count + size]
Finished Size
- Approx. [height] tall and [base diameter] wide (depends on yarn and hook)
Gauge (Optional)
- Not critical; focus on tight enough stitches to hold stuffing.
Abbreviations
- MR = magic ring
- sc = single crochet
- inc = increase (2 sc in one stitch)
- dec = decrease (single crochet 2 together; preferably invisible)
- sl st = slip stitch
- ch = chain
- BLO/FLO = back/front loop only
- st(s) = stitch(es)
Sizing Tips (Before You Start)
- If your tree comes out floppy, go down 1 hook size or keep tension tighter.
- If your tree looks too stiff or tiny, go up 1 hook size.
- For a taller tree, add more straight rounds between decrease rounds in the body.
- For a wider base, add one extra increase round early in the base.
Step-by-Step: Body (Tree Shape)
Estimated time: 45–90 minutes, depending on yarn and experience
Work in continuous rounds unless the tutorial says “join rounds.”
Section A: Base (Stability First) — ~15–25 minutes
- Round 1 (Start): MR, [x] sc into ring. (~2 min)
- Round 2: inc around. ([x] sts) (~3 min)
- Round 3: (sc, inc) around. ([x] sts) (~4 min)
- Round 4: (2 sc, inc) around. ([x] sts) (~4 min)
- Round 5: (3 sc, inc) around. ([x] sts) (~5 min)
- Continue base increases as the tutorial states until you reach [base stitch count].
Stability note:
At this point, the circle should lie mostly flat. However, if it is ruffling, you likely increased too fast; if it is cupping sharply, you likely need another increase round.
Section B: Build the Lower Cone — ~15–25 minutes
- Work [n] rounds even (sc around) to create base height. (~5–10 min)
- Begin tapering: follow a decrease pattern such as (k sc, dec) around for [n] rounds. (~10–15 min)
Stuffing timing (important):
Once the opening narrows to about [width], start stuffing firmly. Additionally, insert weight at the bottom now if you’re using it. (~5–8 min)
Section C: Upper Cone + Tip — ~15–35 minutes
- Continue decreases gradually so the cone stays smooth rather than “stepped.” (~10–20 min)
- Add stuffing as you go, because chunky yarn can leave gaps if underfilled. (~3–6 min)
- Finish with remaining decreases until [final stitch count], then close. (~5–10 min)
- Fasten off and weave in ends securely. (~3–5 min)
Making-time checkpoint:
Most beginners finish the body in about 60–75 minutes, although plush yarn can slow you down slightly at first.
Step-by-Step: Ear (Optional Detail)
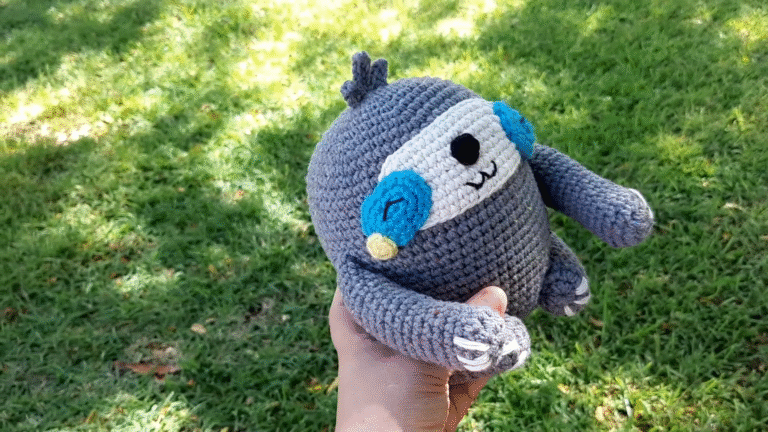
You asked for ear, which is unusual for a Christmas tree; it may be a stylized plush tree character from the video. Since I don’t have the tutorial details, here’s a safe written structure you can match to the video counts.
Estimated time (per ear): 10–20 minutes
Make 2 unless the tutorial specifies one.
Ear Piece — ~10–20 minutes
- MR, [x] sc. (~2 min)
- (sc, inc) around to shape the base. (~3 min)
- Work [n] rounds even for thickness. (~3–5 min)
- Shape ear tip with decreases or short rows as shown in the tutorial. (~3–8 min)
- Flatten top, then sc across to close or leave open for stuffing (tutorial-dependent). (~2–4 min)
- Lightly stuff if needed, then leave a long tail for sewing. (~1 min)
Attach Ears — ~10–15 minutes
- Pin ears symmetrically at [round/height position].
- Sew with whip stitch or mattress stitch.
- Tighten stitches gradually so they blend into plush fabric.
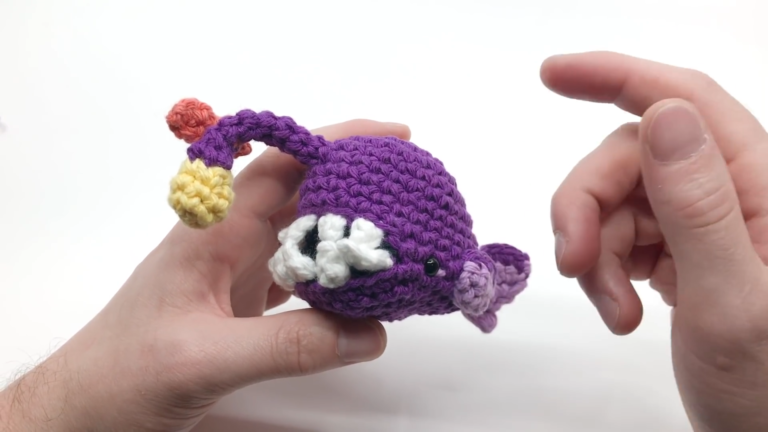
Step-by-Step: Cap (Topper / Hat)
This may be a “cap” like a Santa hat, a tiny topper, or a decorative cover. Without the tutorial specifics, here’s a structure you can align to the video.
Estimated time: 20–40 minutes
Cap Body — ~15–30 minutes
- Start with MR and crochet a small circle: MR [x] sc, then increase rounds until cap width matches the tree top. (~5–10 min)
- Work [n] rounds even for height. (~5–10 min)
- Shape with gentle decreases or keep straight depending on cap style. (~5–10 min)
- Add trim (optional): sc border, crab stitch, or faux fur yarn row. (~3–8 min)
Cap Finishing — ~5–10 minutes
- Add pom-pom or tassel if shown in tutorial.
- Weave in ends.
- Test fit and adjust with one extra round if needed.
Tutor Suggestions (So You Don’t Get Stuck)
- Use strong lighting: plush yarn hides stitches, so better light reduces frustration.
- Count by feel: run your fingertip along the “V” tops of stitches.
- Mark every round: move a stitch marker each round so you don’t lose your place.
- Use invisible decrease: it keeps the cone smooth and prevents holes.
- Pause to shape: after stuffing, press the base flat on a table to check stability.
Common Mistakes (And Easy Fixes)
- Tree won’t stand up
- Cause: not enough weight or under-stuffed base
- Fix: add weight pouch at bottom; stuff base firmer, then shape flat.
- Visible holes between stitches
- Cause: hook too large or loose tension
- Fix: go down a hook size; tighten tension; use plush yarn carefully.
- Cone looks bumpy or “stepped”
- Cause: decreases too aggressive or unevenly spaced
- Fix: spread decreases out; add an even round between decrease rounds.
- Lopsided top tip
- Cause: inconsistent decreases or missed stitches
- Fix: count each round; use marker; ensure decreases are evenly placed.
- Cap doesn’t fit
- Cause: gauge mismatch
- Fix: adjust with one increase or decrease round; add/remove even rounds.
Variations (Easy Custom Ideas)
- Snowy tree: add white surface slip stitches or a white “drip” edging.
- Ornaments: stitch on mini bobbles, beads (if not for kids), or tiny crocheted balls.
- Star topper: crochet a small star and sew at the tip.
- Striped tree: alternate green shades every 2–3 rounds.
- Mini forest set: make 3 sizes by changing base increase rounds and body height.
Finishing Tips for (Crochet Chunky Tabletop Christmas Tree)
- Weaving ends: weave through several stitches in different directions so plush yarn doesn’t “work loose.”
- Stuffing: use small pieces of fiberfill; add gradually; avoid lumps.
- Shaping: press the base flat; gently rotate and pinch the cone to smooth.
- Seams: if sewing ears or cap, pin first, then sew slowly to keep symmetry.
- Stability upgrade: add a cardboard/plastic circle inside the base (covered so it doesn’t poke), if the tutorial allows.