
Free Crochet Bunny Holding Tulip Amigurumi Pattern
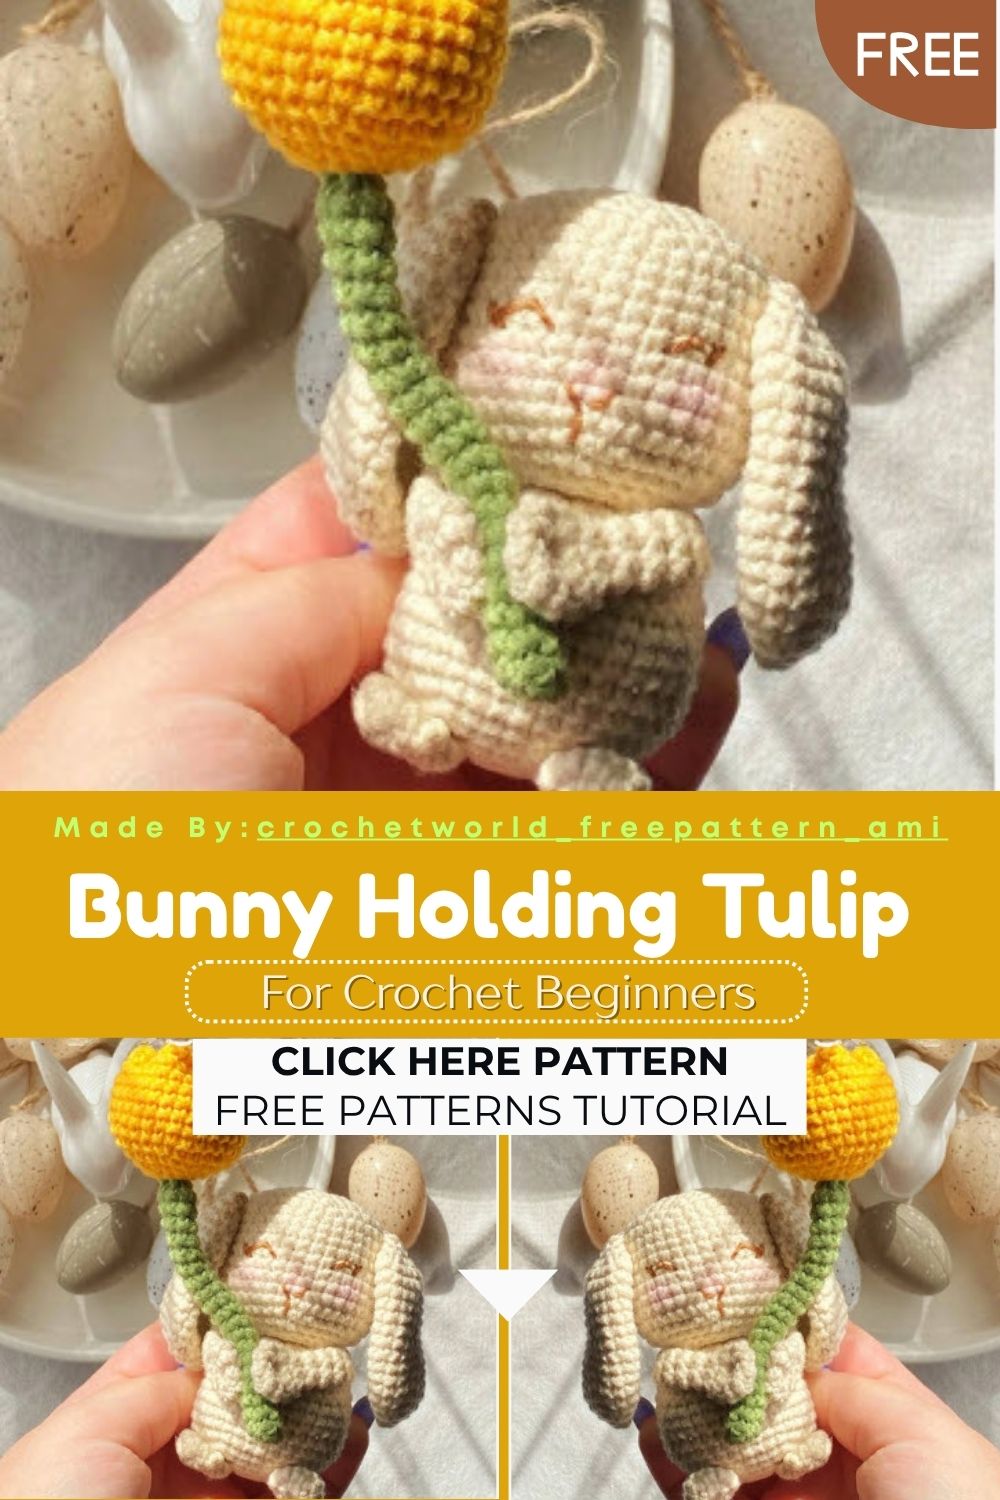
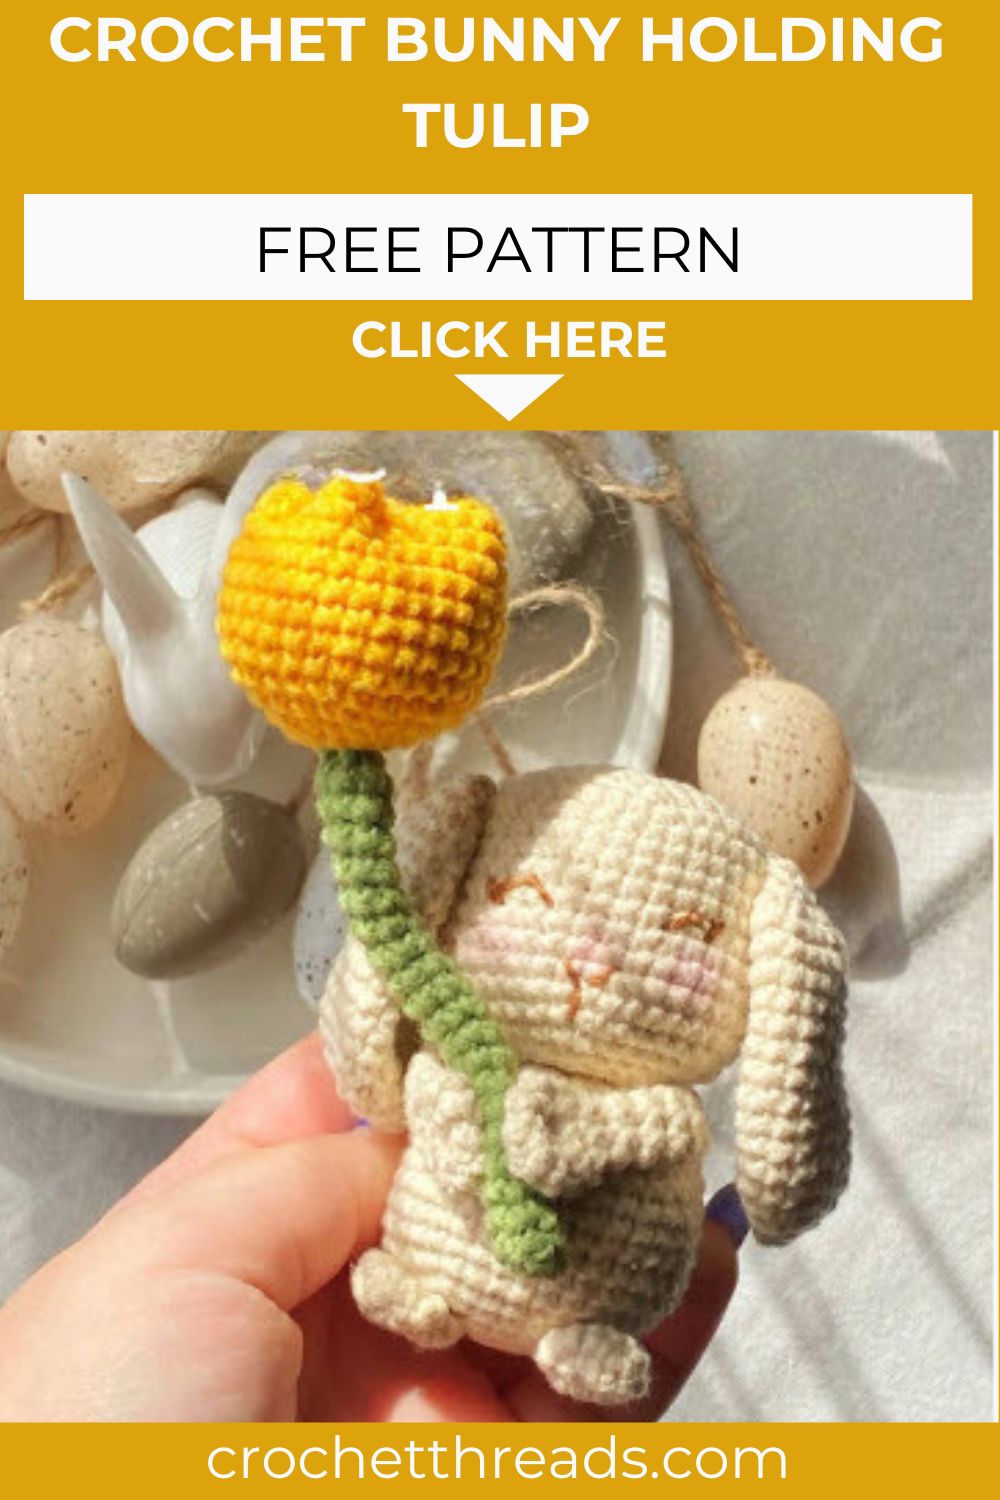
Among spring crochet projects, few are as heart-melting as this Crochet Bunny Holding Tulip, hugging its beautiful tulip. Soft yarn, long dangling ears, and a delicate flower make a charming combo everyone will love.
With every stitch, this adorable bunny comes to life before your eyes. Once the hook is in your hand, you won’t want to stop until it’s done.
Bunnies and tulips belong together, and this amigurumi pair proves it sweetly. Worked in soft yarn, the bunny features a round head, long floppy ears, and tiny stubby legs. A handmade tulip with a wired stem tucks neatly into one paw. Beginners can follow every round without panic, since the stitches stay basic throughout. Honestly, a finished bunny like this brightens any shelf, nursery, or spring gift basket almost instantly.
Skill Level
This Crochet Bunny Holding Tulip pattern suits beginners nicely, relying on the magic ring, single crochet, and basic shaping. Only the tulip wiring needs a careful touch, yet even that stays totally manageable.
Materials You Will Need
Pull your supplies together first, because a ready workspace keeps every round moving smoothly.
- Soft yarn in your chosen bunny shade, such as cream, beige, or soft grey
- Small amounts of green for the tulip stem and a bright color like pink or red for the bloom
- Black embroidery thread for the eyes and nose
- Pink thread for adding a touch of blush to the cheeks
- Crochet hook that matches your yarn weight
- Fiberfill stuffing
- Stitch marker
- Wide-eye needle for sewing and embroidery
- Thin metal wire for the tulip stem
- Cardboard for the base, only if you want the bunny to stand
- Scissors
Abbreviations
Glance at this short list whenever a round looks unfamiliar.
- ch – chain
- MR – magic ring
- sc – single crochet
- inc – increase
- dec – decrease
- sl st – slip stitch
Pattern Overview
Get a quick sense of the whole bunny before your hook touches the yarn. The make breaks into seven separate shapes, and each stays beginner-friendly from start to finish.
- Head: a large rounded ball worked from a magic ring with smooth increases and decreases.
- Body: a smaller round shape that pairs with the head for that classic chibi look.
- Ears: two long floppy pieces, the signature feature of any bunny build.
- Legs: two short stubby shapes that let the bunny sit or stand.
- Arms: two slim limbs, one of them ready to cradle the tulip.
- Tulip stem: a thin tube wrapped around a length of metal wire for bend-and-pose flexibility.
- Tulip bloom: a cupped flower shape that finishes the whole scene.
Master the magic ring early, since every single piece begins right there. No joke, that one move unlocks the entire pattern.
Instructions
Work each part below, then head into assembly once your pieces sit ready. Use a stitch marker and count carefully, because tidy rounds give the cleanest shapes.
Head
- 6 sc in magic ring (6)
- 6 inc (12)
- (1 sc, inc) x6 (18)
- (2 sc, inc) x6 (24)
- (3 sc, inc) x6 (30)
- (4 sc, inc) x6 (36) 7–13. 36 sc (36)
- (5 sc, inc) x6 (42)
- 42 sc (42)
- (5 sc, dec) x6 (36)
- (4 sc, dec) x6 (30)
- (3 sc, dec) x6 (24)
- (2 sc, dec) x6 (18)
- (1 sc, dec) x6 (12)
- 6 dec (6)
Stuff the head firmly as you close it, then fasten off.
Body
- 6 sc in magic ring (6)
- 6 inc (12)
- (1 sc, inc) x6 (18)
- (2 sc, inc) x6 (24)
- (3 sc, inc) x6 (30)
- (4 sc, inc) x6 (36) 7–14. 36 sc (36)
- (4 sc, dec) x6 (30)
- (3 sc, dec) x6 (24)
Attach cardboard inside the base, as shown in the photo, if you want the bunny to stand. Adding cardboard shrinks the body a little. If you dislike that, work one extra round with increases before the decreases.
Ears (make 2)
- 6 sc in magic ring (6)
- 6 inc (12)
- (1 sc, inc) x6 (18)
- (2 sc, inc) x6 (24) 5–15. 24 sc (24)
- (2 sc, dec) x6 (18)
- (1 sc, dec) x6 (12)
- 6 dec (6)
Leave these unstuffed so they flop naturally.
Legs (make 2)
- 6 sc in magic ring (6)
- 6 inc (12)
- 12 sc (12)
- 6 dec (6)
Arms (make 2)
- 6 sc in magic ring (6)
- 6 inc (12)
- 12 sc (12)
- 6 dec (6) 5–9. 6 sc (6)
Tulip Stem
- 6 sc in magic ring (6) 2–21. 6 sc (6)
Tulip Bloom
- 6 sc in magic ring (6)
- 6 inc (12)
- (1 sc, inc) x6 (18)
- (2 sc, inc) x6 (24)
- (3 sc, inc) x6 (30) 6–14. 30 sc (30)
Shape the tulip step by step, following the photo, so the bloom cups nicely.
Now slide a length of metal wire inside the stem, then sew the stem and tulip together. Embroider the eyes and nose with thread, and finish with a little pink blush on each cheek.
Special Techniques
A few core skills carry this whole make, and all of them are gentle on beginners. The magic ring opens every piece, so a clean, tight ring keeps those starting holes from gaping. Continuous spiral rounds come next, which means no joining and no turning, just a marker tracking your first stitch.
Increases and decreases do the shaping, building each ball outward, then drawing it back in. Trust me, even tension here makes the difference between a smooth curve and a bumpy one. The wired stem is the one slightly tricky bit, since the metal needs bending at both ends so it never pokes through. Embroidery wraps things up, giving the face its soft, sleepy charm without any hard plastic parts.
Common Mistakes to Avoid
Scan these slip-ups before you start, and your bunny turns out clean the first time.
- Dropping the stitch marker: lose your round start and the counts wander fast, leaving lopsided shapes behind.
- Uneven stuffing: lumpy fiberfill warps that lovely round head, so add it in small, even bits.
- Exposed wire ends: unbent tips poke through the stem and scratch, so always fold them over first.
- Ears placed too forward: set them slightly back on the head, or the whole face looks crowded.
- Loose tension: gappy stitches let stuffing show, low-key the fastest way to ruin a gift piece.
- Skipping the cardboard: leave it out and a standing bunny tips right over, every single time.
A slow, steady pass over these spots saves you from frogging later.
Assembly
Here comes the moment everything clicks into one cuddly character. Lay out your stuffed pieces and check each shape before the needle goes in.
- Sew the head firmly onto the body, packing a little extra stuffing at the neck for support.
- Pin both ears to the top of the head, angled slightly back, then stitch them down securely.
- Attach the arms to the upper sides of the body, keeping them level with each other.
- Fix the legs at the front base, so the bunny sits or stands without leaning.
- Insert the wire into the stem, sew the stem to the bloom, then tuck the tulip into one paw.
- Embroider the eyes and nose, add the pink blush, and weave in every loose end.
Pin first, check symmetry, then sew, real talk. Those few extra seconds keep the face from ending up crooked.
Important Remarks
Keep these notes close while you crochet, because small calls shape the final result.
- Add the cardboard base if you want a standing bunny, and remember the body shrinks a touch.
- Work one extra increase round before the body decreases if you prefer keeping the fuller size.
- Bend both wire ends fully so no sharp tip ever works its way out of the stem.
- Embroidered eyes make this bunny safe for babies and very young children, so keep them thread-only.
- Swap the tulip color freely, since pink, red, or yellow all look gorgeous in that little paw.
- Gauge stays relaxed for amigurumi, yet tight, even stitches always give the neatest finish.
These pointers come straight from hands-on stitching, so trust them when something feels off.
Conclusion
A little Crochet Bunny Holding Tulip feels like spring sitting right in your palm. You shaped the head and body, stitched floppy ears, added stubby arms and legs, then built a sweet wired tulip to finish. Beginners gain real confidence here, while seasoned makers get a quick, joyful project. Stitch one for a baby gift, an Easter basket, or your own cozy shelf. Not gon lie, gentle makes like this one always pull you straight back to the hook. Grab your yarn and have fun.


